
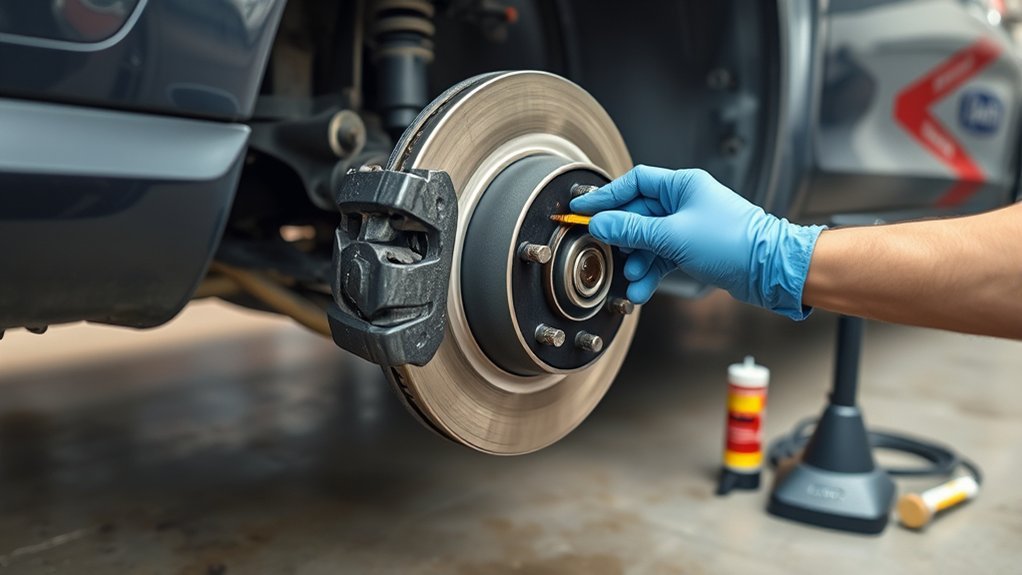
You can turn the steering wheel to look through some wheel openings, but you generally cannot lubricate brake-pad contact points correctly with the tire still installed. The pad ears, abutment hardware, backing-plate contact areas, and caliper guide pins usually require the wheel—and often the caliper or pads—to be removed. Trying to spray or smear lubricant through the wheel can contaminate the rotor or pad friction material and reduce braking.
Quick Answer
You can visually inspect some disc-brake parts without removing the tire, but proper lubrication normally requires removing the wheel and following the vehicle’s service procedure. Never put grease on the rotor or pad friction surface. Drum-brake contact points cannot be lubricated safely without removing the wheel and drum.
Key Takeaways
- Use the wheel opening only for a limited visual inspection, not for blind lubricant application.
- Remove the wheel for reliable access to pad ears, abutment clips, guide pins, boots, and other service points.
- Use only the lubricant type approved for the exact metal-to-metal or metal-to-rubber contact point.
- Keep all lubricant, oil, and cleaner residue off the rotor and friction material.
- Control brake dust with wet-cleaning methods; never blow it with compressed air or scrub it dry.
At a Glance
| Time Required | Varies by vehicle: a brief visual check; substantially longer for correct wheel-off service |
| Difficulty | Easy for inspection; intermediate for brake disassembly and lubrication |
| Tools Needed | Flashlight, wheel chocks, approved jack and stands, hand tools, torque wrench, wet-cleaning supplies, and vehicle-approved brake lubricant |
| Cost | Usually limited to cleaner and lubricant if you already own the correct tools; replacement hardware or professional labor costs extra |
Warning: Brake components are safety-critical. Do not drive if grease, oil, or another contaminant reaches a rotor, drum, pad, or shoe friction surface. Follow the vehicle manufacturer’s service manual; contaminated friction parts may need replacement.
What You Can Do Without Removing the Tire
With the vehicle parked on a firm, level surface, you may be able to turn the front wheels outward and inspect the visible side of a disc brake through the wheel openings. Use a flashlight to look for a deeply scored rotor, a loose part, fluid leakage, a damaged hose, or a pad that appears very thin.
This is only a screening check. The inner pad is often difficult or impossible to see, and a wheel can hide uneven wear, damaged hardware, torn guide-pin boots, or a sticking caliper. Do not push a brush, aerosol straw, or grease applicator through the wheel. You cannot confirm where the product lands, and overspray can reach the braking surfaces.
If the wheel blocks the contact point, it also blocks your ability to clean, inspect, and lubricate that point correctly.
What You Need for the Job
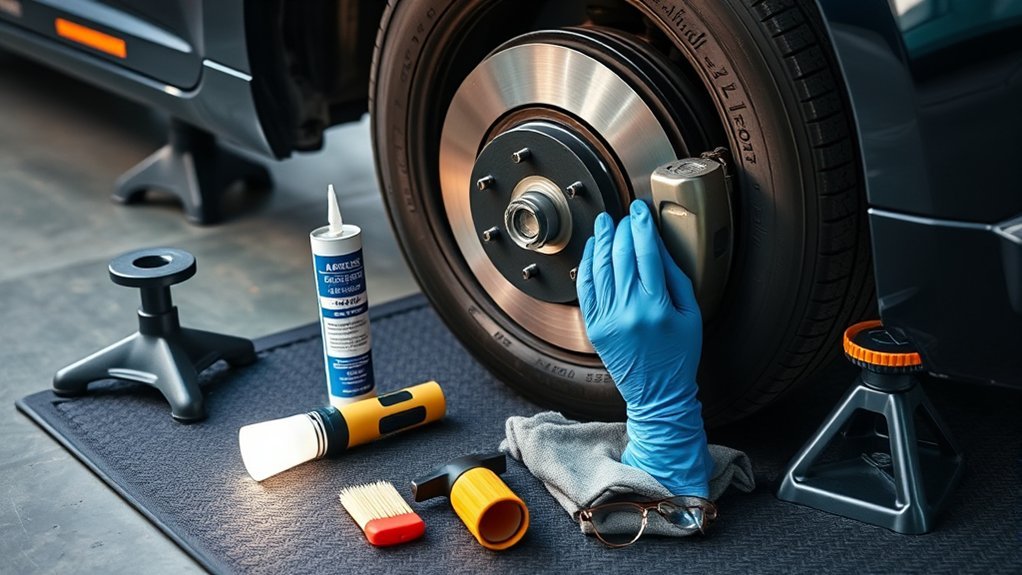
For a proper wheel-off service, gather the tools listed in the vehicle’s repair procedure. Common items include wheel chocks, the correct lifting points, an approved jack, jack stands, hand tools, a torque wrench, eye protection, disposable gloves, lint-free wipes, and a vehicle-compatible brake lubricant.
Do not assume one grease is safe for every location. A lubricant intended for metal abutments may not be suitable for rubber guide-pin boots or sleeves. For example, brake manufacturers may call for a silicone-compatible product at metal-to-rubber points and a different high-temperature product at metal-to-metal points. Follow the brake-part and vehicle manufacturer’s instructions rather than choosing by temperature rating alone. Wagner’s brake-chemical guidance explains why the contact material matters.
Note: Vehicles with an electronic parking brake may require a service mode or scan tool before rear brake work. Hybrid and electric vehicles can also use model-specific procedures. Check the factory service information before disassembly.
[Products Worth Considering]

The Chemical Guys Gerbil Wheel & Rim Brush is designed to safely clean wheels, rims, exhaust tips, tires, and engine bay components without scratching delicate finishes. Its soft natural bristles help lift brake dust, grime, and buildup while conforming to tight spaces and intricate contours. A comfort grip handle delivers control for extended detailing sessions.

This 1/2-inch drive breaker bar delivers powerful leverage for loosening and tightening stubborn lug nuts and automotive fasteners. The 180-degree flex head helps you reach tight spaces at the angle you need, making tire and brake jobs easier. A spring-loaded ball detent design holds 1/2-inch sockets securely while the chrome-moly head provides durable strength for everyday use.

The Mothers wheel and fender brush is designed for gentle, scratch-free scrubbing to remove road grime and brake dust. Its ergonomic shape and soft triple-flagged bristles deliver maximum coverage, including hard-to-reach wheel wells and undercarriage areas. With rubberized gripping and a protective rubber bumper, it helps clean safely while protecting delicate finishes on wheels, fenders, and bumpers.
How to Reach the Brakes Safely
- Read the vehicle procedure first. Confirm the lifting points, wheel-nut torque, brake design, approved lubricant, and any electronic parking-brake steps.
- Stabilize the vehicle. Work on a hard, level surface. Select Park or first gear, switch off the vehicle, and chock the wheels that will remain on the ground.
- Handle the parking brake correctly. It may help hold the vehicle during some front-brake work, but it must be released when the manufacturer’s rear-brake procedure requires it. Never force a rear drum or caliper against an applied parking brake.
- Lift and support the vehicle. Use the specified jacking point and place an approved stand at the manufacturer’s support point. Never work under or beside a vehicle supported only by a jack.
- Remove the wheel. This provides the visibility needed to inspect the rotor, pads, hardware, hose, boots, and lubricant locations. Brembo’s general disc-brake procedure begins with wheel removal and stresses stable support and vehicle-specific instructions. See Brembo’s fitting guidance.
Pro Tip: Service one side at a time and photograph the hardware before removal. The untouched side can help you confirm spring, clip, and pad orientation, but always use the service manual as the final reference.
Control Brake Dust Before Cleaning
Brake dust may contain substances you should not breathe. The U.S. Environmental Protection Agency says some brakes and clutches in use today may still contain asbestos and that you cannot identify asbestos content by sight. EPA recommends wet methods for home mechanics and warns against compressed air, ordinary shop vacuums without HEPA filtration, and dry brushing. Review EPA’s current brake-dust practices.
- Keep bystanders, food, and drinks away from the work area.
- Do not blow the assembly with compressed air.
- Do not sweep or scrub accumulated brake dust dry.
- Use the wet-wipe or other dust-control method recommended for the job.
- Follow the cleaner label for ventilation, skin protection, fire safety, and disposal.
[Products Worth Considering]
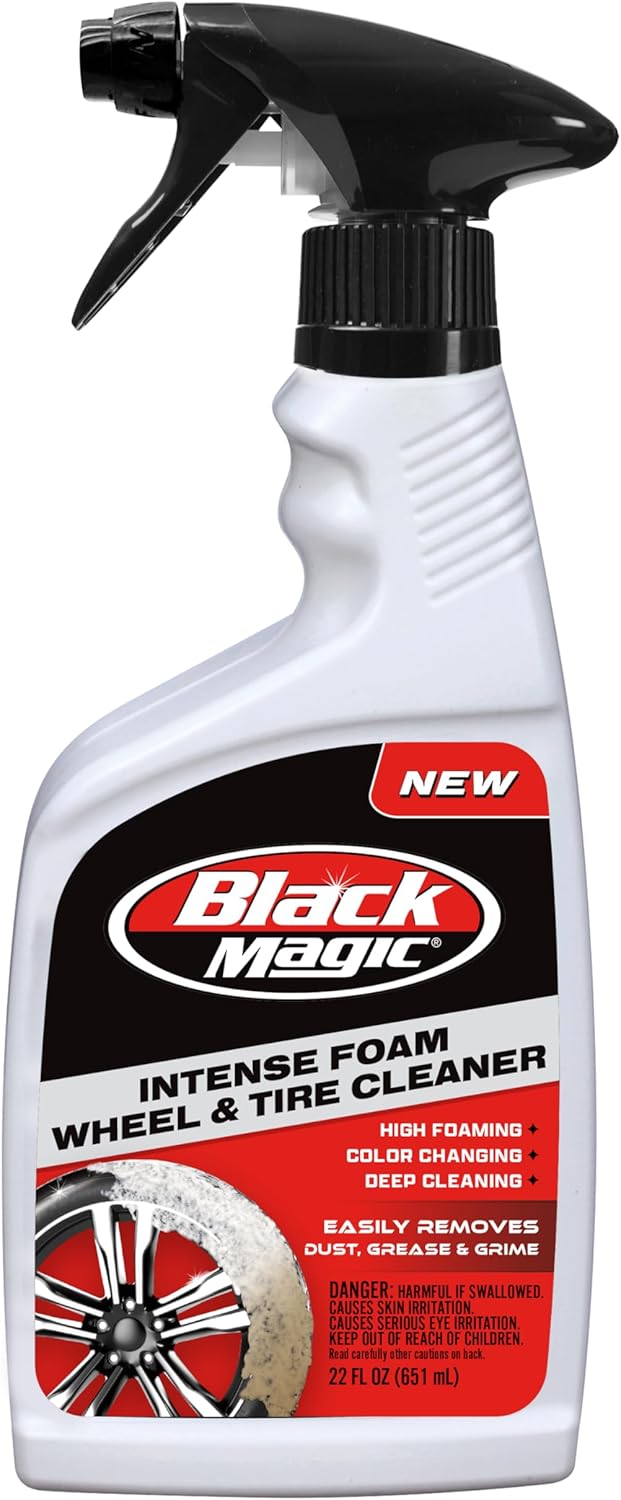
Black Magic Intense Foam Wheel & Tire Cleaner uses a high-foaming action to lift away dirt, grime, and brake dust without scrubbing. The color-changing formula helps show contaminants being dissolved as foam turns from white to brown. Safe for all wheel types and even wheel wells, it leaves a like-new, slick finish with a fresh cherry scent.

The 22800 wheel stud installer makes replacing wheel studs quick and secure, saving time and effort during tire service. It uses a ratchet or impact wrench to pull new studs firmly into place, helping when existing studs are too long. Compatible with most automotive wheels and light-duty truck wheel studs, it’s designed for easy, tool-assisted installation.

This 3-piece wheel brush set makes it easy to clean wheels and tires with soft, scratch-free brushes designed for lifting brake dust and grime. The flexible rim brush bends up to 360 degrees to reach hard-to-access areas for a thorough clean, while the comfortable grip helps control during detailing. A dedicated detailing brush supports gentle cleaning for sensitive surfaces, including interior use.
Where to Apply Brake Grease
Lubricant belongs only on service points identified by the vehicle or brake-component manufacturer. Depending on the design, these may include:
- Caliper guide pins, sleeves, or bushings: use a lubricant that is compatible with the pin, boot, seal, and bushing materials.
- Pad ears and abutment areas: apply a very thin film where the pad backing plate slides against approved hardware or bracket surfaces.
- Specific pad-to-piston or pad-to-caliper contact points: lubricate only when the pad manufacturer or service manual calls for it.
Do not automatically coat the full back of every pad. Some pads have attached shims or molded insulators that must remain clean. Wagner specifically warns that lubricant instructions vary by pad and contact point, while Permatex’s product directions call for only a small amount on listed hardware and contact areas.
Never apply lubricant to the rotor, drum, pad face, shoe lining, wheel studs, lug-nut seats, ABS tone rings, sensors, or any area not named in the service procedure.
[Products Worth Considering]

This professional wheel and rim cleaning brush set lifts brake dust, grime, and dirt with soft, scratch-free microfiber and synthetic wool fibers. The rim brush bends up to 360 degrees for easy access to hard-to-reach areas around spokes, lips, and faces. Ideal for thorough cleaning of car, truck, motorcycle, bicycle, RV, and more wheel and tire surfaces.

This oesee 8-piece wheel care kit helps you clean, scrub, and dry wheels safely with purpose-built brushes and towels. The scratch-free microfiber wheel brush lifts brake dust and grime, while the stiff pro-grip tire brush removes tire browning and embedded dirt. A twist loop microfiber drying towel and an applicator help achieve a streak-free finish and cleaner, more even product application.

The SPTA wheel and tire brush kit makes it easy to remove dirt from wheels, rims, and hard-to-reach areas without needing a high pressure washer. Ergonomic handles and soft, chemical-resistant bristles help you clean faster while reducing the risk of scratching. The set is versatile for cars, trucks, motorcycles, bicycles, RVs, boats, and more.
How to Lubricate Disc-Brake Contact Points Correctly
- Confirm the cause of the noise or drag. Grease will not repair a worn pad, damaged rotor, seized piston, loose bearing, bent shield, or failing hose.
- Remove the wheel and access the hardware. Follow the manufacturer’s sequence for the caliper, pads, clips, and guide pins. Support the caliper so its hose is not stretched or kinked.
- Inspect before cleaning. Replace damaged boots, corroded clips, seized pins, or hardware that the service instructions say is single-use.
- Control dust and clean the approved surfaces. Use a wet method and the cleaner specified for the parts. Do not use compressed air or a dry brush.
- Apply a thin, even film. Coat only the approved contact surface. More lubricant is not better; excess can collect grit or migrate toward the friction area.
- Reassemble to specification. Install the parts in the correct position and tighten fasteners with the specified tool and torque. Refit the wheel and tighten the wheel nuts in the sequence and to the torque listed by the vehicle maker.
- Restore pedal feel before moving. Follow the service procedure for seating the pads, then confirm a firm pedal, proper fluid level, no warning lights, and free wheel rotation before a controlled low-speed test.
How to Grease Drum Brake Contact Points
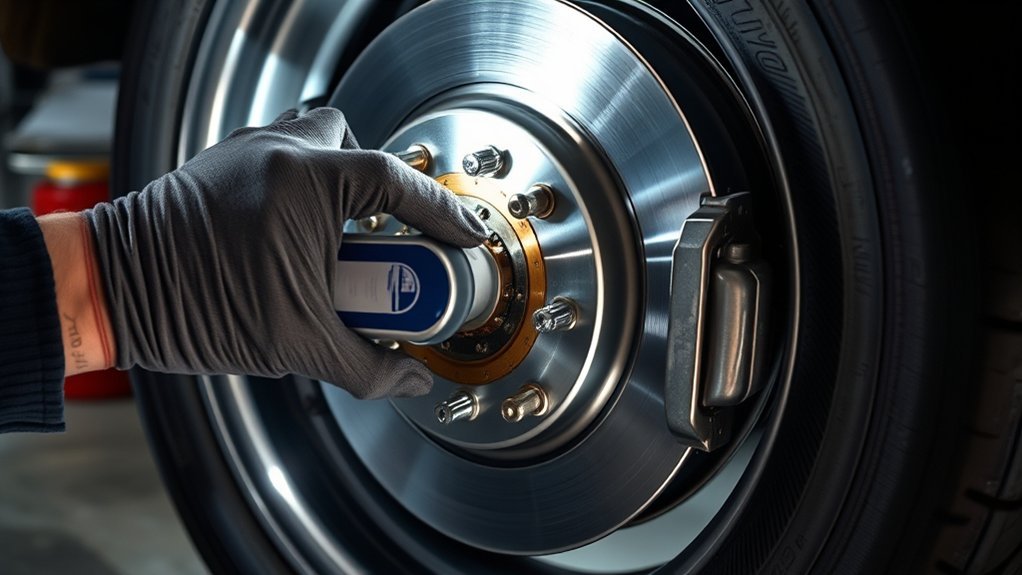
You cannot lubricate drum-brake contact points through the wheel opening. The wheel and drum must be removed so you can see the shoe linings, springs, adjuster, wheel cylinder, and raised backing-plate pads. Because many rear drum systems are connected to the parking brake, release it as directed by the service manual before trying to remove the drum.
- Use the vehicle-specific lifting, support, and drum-removal procedure.
- Control dust with an EPA-recommended wet method. Do not use compressed air or dry brushing.
- Inspect the wheel cylinder for leakage and check the shoes, springs, hold-down parts, adjuster, and drum condition.
- If the service manual calls for lubrication, apply a tiny amount to the raised backing-plate pads where the shoe webs slide and to specified adjuster threads or pivots.
- Keep lubricant off the shoe lining and inside braking surface of the drum.
- Reassemble, adjust, and test the system exactly as the manufacturer specifies.
Warning: Do not pull or hammer on a drum while the parking brake is applied. If the drum is stuck, stop and use the approved release or removal method; forcing it can damage parts and release more dust.
Brake Greasing Mistakes to Avoid
- Trying to lubricate through the wheel: poor visibility makes contamination and missed contact points more likely.
- Using general-purpose or petroleum grease: it may not tolerate brake heat or may damage rubber components.
- Coating the entire pad backing plate: some shimmed or insulated pads should not be greased there.
- Applying too much: excess product attracts debris and can move toward the rotor or lining.
- Ignoring the real fault: squeal, pulling, drag, heat, or uneven wear may point to worn hardware, a seized caliper, a hose problem, rotor damage, or incorrect installation.
- Cleaning with compressed air or a dry brush: this can send fine brake dust into the air.
- Skipping torque and post-service checks: brake and wheel fasteners must be tightened to the manufacturer’s specifications.
What to Do If Grease Gets on the Rotor or Pad
Stop the job and do not drive the vehicle. Do not assume a quick spray will restore contaminated friction material. Brembo warns that grease or oil on pads, rotors, calipers, or brake lines can affect braking and says contaminated parts may need replacement. Clean or replace parts only as directed by the vehicle and component manufacturers. Brembo’s safety instructions provide the general contamination warning.
When to Call a Professional
Use a qualified brake technician when you lack the correct lifting equipment, torque specifications, electronic parking-brake procedure, dust-control setup, or confidence to identify the lubricant points. Professional inspection is also the safer choice if you find a fluid leak, seized part, damaged hose, warning light, soft pedal, severe rust, cracked friction material, blue or deeply scored rotors, or a wheel that stays hot after a short drive.
Frequently Asked Questions
How to Lubricate Brakes Without Removing the Tire?
Do not try to lubricate hidden brake parts through the wheel. You may turn the front wheels for a limited visual check, but proper lubrication normally requires removing the wheel and accessing the exact guide pins, abutments, or pad contact points named by the service manual.
Can You Grease Brakes Without Removing Them?
Not reliably. The wheel and brake hardware block the areas that need inspection, cleaning, and controlled application. Spraying lubricant from outside can contaminate the rotor or pad. Remove the wheel and follow the vehicle-specific procedure, or use a qualified technician.
How Do I Grease Brake Pads?
Brake-pad friction material is never greased. After removing the wheel and accessing the pads, apply only a thin film of the approved lubricant to the exact pad ears, abutments, guide pins, or other contact points listed by the vehicle or pad manufacturer. Some shimmed pads require no grease on the back.
Can I Check My Brake Pads Without Taking My Tire Off?
Sometimes you can see part of the outer pad through an open wheel with a flashlight. That check may reveal obvious wear, but it often cannot show the inner pad, full rotor, boots, slides, or hardware. Remove the wheel for a complete inspection.
Conclusion
You can inspect a few visible brake parts without removing the tire, but safe and accurate lubrication is a wheel-off job. Clean the assembly with dust-control methods, use the correct lubricant for each contact material, apply only a thin film, and keep every friction surface dry. When the procedure, contamination, or brake condition is uncertain, have a qualified technician complete the service.
Sources
- U.S. Environmental Protection Agency: Current Best Practices for Brake and Clutch Repair — brake-dust, asbestos, wet-cleaning, and home-mechanic precautions.
- Brembo: Instructions for Replacement of Brake Disc — wheel removal, stable vehicle support, contamination warnings, and general brake-service steps.
- Wagner Brake: Using Chemicals During Disc Pad Installation — lubricant selection for metal-to-metal and metal-to-rubber contact points.
- Permatex: Ceramic Brake Parts Lubricant Directions — approved application areas and small-amount guidance.


1 thought on “How to Grease Brake Pads Without Removing a Tire: Step-by-Step”