
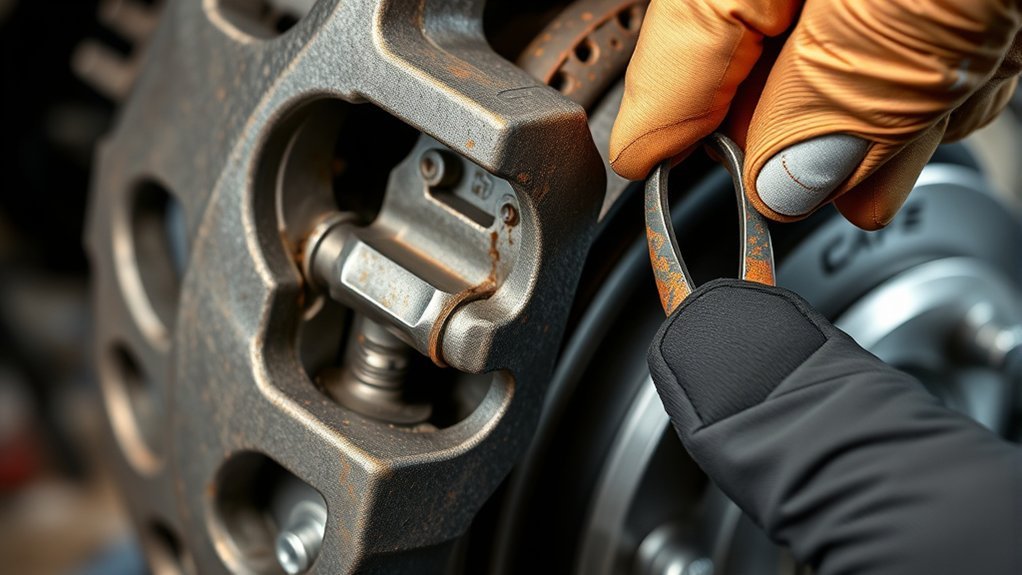
Brake abutment clips are small spring-metal hardware pieces that fit between the brake pad ends and the caliper bracket lands. They help the pads stay correctly positioned, move without binding, and avoid excess rattling or vibration. Their condition matters because corrosion, deformation, or incorrect installation can contribute to noise, uneven wear, brake drag, and heat.
Quick Answer
Brake abutment clips sit on the caliper bracket where the ends of the brake pads slide. They help position the pads, control unwanted movement, and reduce the chance of binding and noise. Inspect them during every brake service and replace damaged, corroded, deformed, or manufacturer-specified replacement hardware.
Key Takeaways
- Brake abutment clips provide controlled contact points between the brake-pad ears and caliper bracket.
- They help keep the pads positioned correctly and can reduce rattling, vibration, binding, and uneven wear.
- Rust beneath the clips can squeeze the pad mounting area and prevent the pads from sliding freely.
- Inspect the clips and bracket lands whenever the brakes are serviced; replace damaged, fatigued, corroded, incorrect, or specified replacement hardware.
- Do not confuse ordinary abutment clips with separate anti-rattle springs, shims, or pad-return/drag-reduction springs used on some vehicles.
What Are Brake Abutment Clips?
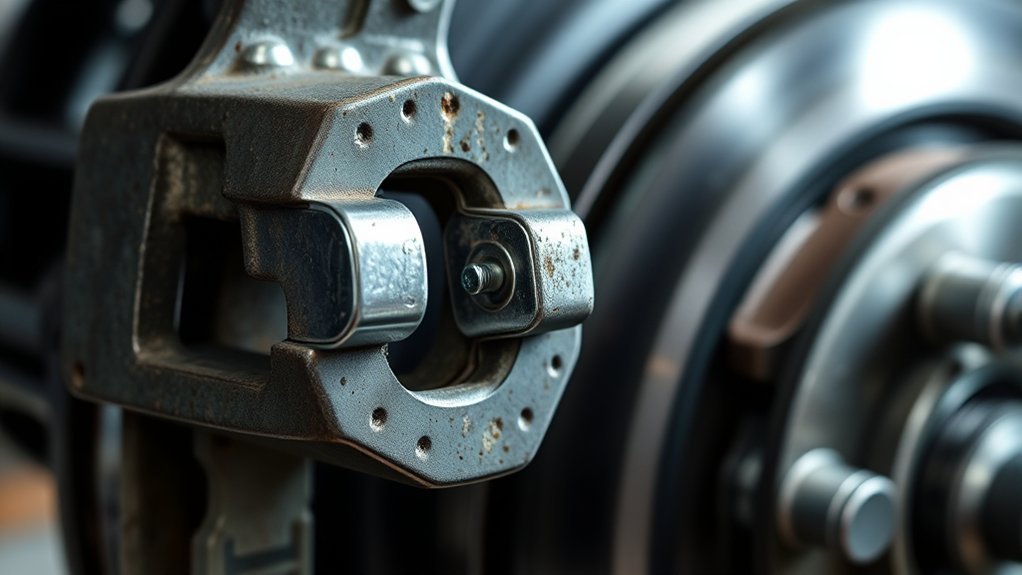
Brake abutment clips are small pieces of brake hardware that seat on the caliper bracket lands and create consistent contact surfaces for the ends, or ears, of the brake pads. Their job is to help the pads remain properly positioned while still allowing the movement required as the brakes apply and release.
You rely on brake abutment clips to help secure the pads, control unwanted movement, and support noise reduction. Properly fitted hardware can reduce the rattling and vibration that occur when a pad has too much clearance inside the bracket.
The clips also protect the pad-to-bracket interface from direct rough contact. However, the hardware cannot compensate for a badly rusted or damaged caliper bracket. Wagner’s brake inspection guidance recommends removing the abutment clips and checking the surfaces beneath them because rust buildup can cause the pads to bind and contribute to uneven wear.
Brake hardware is exposed to water, road salt, dirt, heat cycles, and repeated spring loading. Corrosion, fatigue, wear, or deformation can therefore reduce its ability to hold and guide the pads correctly.
Note: Some brake systems also use separate pad-return, separator, or drag-reduction springs that help move the pads slightly away from the rotor after brake release. These are not automatically the same component as a standard abutment clip. Reinstall every piece of original brake hardware in its correct position unless the vehicle manufacturer instructs otherwise.
Where Brake Abutment Clips Fit
You install brake abutment clips on the caliper bracket lands, where they snap or seat into their designed positions and support the ends of the brake pads.
They form the pad contact surfaces that allow the pad ears to sit evenly and move in a controlled way as the caliper applies and releases the brakes.
Correct fit matters. A clip that is installed in the wrong position, sits on top of heavy corrosion, or does not match the vehicle can make the pad bind or allow excessive movement.
Caliper Bracket Lands
Caliper bracket lands are the contact areas where the brake-pad ears and brake abutment clips meet the bracket. These surfaces need to be clean enough for the hardware to seat fully and for the pads to move as designed.
You need the bracket lands to remain structurally sound because excessive rust buildup beneath a clip can effectively reduce the space available for the pad. That can create pad binding, uneven wear, heat, and incomplete brake release.
Because bracket shapes vary by vehicle, always match replacement abutment clips to the exact brake application. Similar-looking pieces may have different bends, spring fingers, or mounting positions.
During inspection, check the lands for heavy corrosion, pitting, distortion, and buildup beneath the old clips. Wagner specifically recommends removing the clips and cleaning rust from their seating areas when servicing the brake system.
If a new clip does not sit squarely or the pad will not move correctly after installation, do not force, cut, or randomly bend the hardware. Recheck the part number, orientation, and bracket condition.
Keeping the lands clean and the correct clips properly seated helps the pads remain stable without binding.
Pad Contact Surfaces
With the bracket lands clean and correctly shaped, the abutment clips provide controlled contact surfaces for the brake pads. The pad ears should fit securely while still being able to move as required by the brake design.
Inspect these areas because rust, wear, deformation, and fatigue can contribute to:
- rattling, squeaking, or vibration
- uneven or premature pad and rotor wear
- pad binding and residual brake drag
During pad replacement, use the correct new hardware when it is supplied with the pads or specified by the brake or vehicle manufacturer. The clip fingers should guide the brake pads without binding.
If separate pad-return or drag-reduction springs were fitted from the factory, install those pieces as well. Their purpose may include helping the pads retract after brake release, but they should not be confused with every ordinary abutment clip.
Abutment Clips vs. Other Brake Hardware
Several different pieces around a disc-brake caliper are often casually called “brake clips,” but they do not all perform the same job.
| Hardware | Typical Purpose |
|---|---|
| Abutment clips | Fit at the pad-to-caliper-bracket contact points and help guide and locate the pads. |
| Anti-rattle or retaining springs | Apply spring tension to control unwanted pad or caliper movement and noise. |
| Pad shims | Fit on or behind the pad backing plate and help manage vibration and noise. |
| Pad-return or drag-reduction springs | Used on certain brake designs to encourage slight pad retraction after release. |
| Caliper guide pins | Allow a floating caliper to slide as the brakes apply and release. |
Do not assume these parts are interchangeable. Brembo’s brake-pad installation guidance emphasizes cleaning the caliper, guides, and contact surfaces and confirming correct retention-spring operation during installation.
[Products Worth Considering]

The SPTA wheel and tire brush kit makes it easy to remove dirt from wheels, rims, and hard-to-reach areas without needing a high pressure washer. Ergonomic handles and soft, chemical-resistant bristles help you clean faster while reducing the risk of scratching. The set is versatile for cars, trucks, motorcycles, bicycles, RVs, boats, and more.

Malco tire mounting and demounting lubricant is a ready-to-use tire lube formulated to reduce friction during tire installation for passenger cars, light trucks, farm tires, and heavy-duty equipment. It provides rust-inhibiting protection to help reduce corrosion on rims and wheels, and helps support proper tire bead seating during inflation to reduce air leakage. The silicone-free, soap-free formula is whitewall safe to help prevent discoloration on whitewall tires and sensitive sidewall markings.
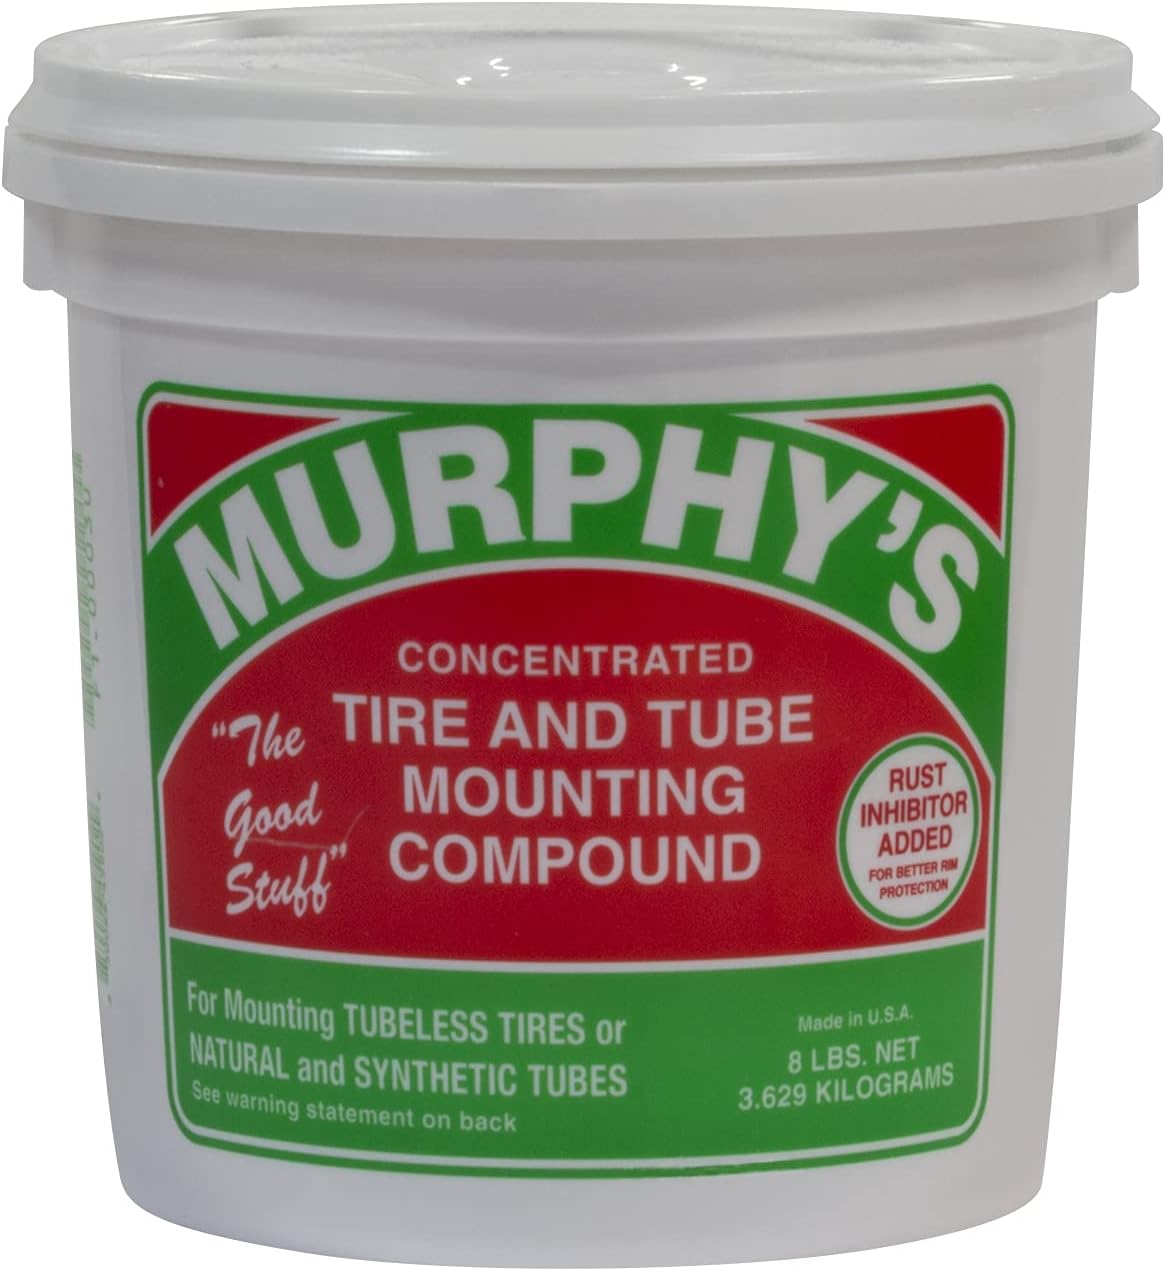
A concentrated tire and tube mounting compound designed to help simplify mounting rubber tires and tubes on passenger, semi truck, construction, and OTR applications. Its ultra-thick formula packs beads effectively and includes rust inhibitors to help protect against corrosion during use.
How Brake Abutment Clips Prevent Noise and Wear
Brake abutment clips help the pads sit correctly in the bracket and move in a controlled manner. Properly fitted hardware limits excessive pad movement that can produce rattling or clunking and helps prevent binding at the pad ears.
| Function | Result |
|---|---|
| Consistent pad contact area | Better pad alignment |
| Secure retention | Less unwanted movement |
| Vibration control | Lower risk of rattles and related noise |
| Free pad movement | Lower risk of binding and brake drag |
| Correct replacement hardware | Restored fit at the pad contact points |
When worn or distorted clips are replaced with the correct hardware, the pads can fit the bracket as intended. That helps avoid the excess movement or binding that contributes to premature wear.
Some brake systems also use separate pad-separator or drag-reduction springs. Those parts can help reduce residual pad-to-rotor contact after release, but they are application-specific and should be installed only where the brake design calls for them.
For best results, treat clip condition as one part of a complete brake inspection rather than assuming that new hardware alone will solve every noise or wear problem.
Signs Brake Abutment Clips Need Replacement
When brake abutment clips deteriorate or no longer fit correctly, you may see corrosion, wear, deformation, looseness, or poor pad movement at the bracket.
During brake service, inspect the clips and the surfaces beneath them. Weak, damaged, or incorrectly seated hardware can allow excessive pad movement or cause the pads to bind.
- Squeaking, rattling, or clunking associated with pad movement
- Excessive pad movement inside the bracket
- Uneven pad wear, rust buildup, or visible clip deformation
- A pad that is unusually difficult to slide into or through the bracket
- Evidence that a clip has shifted or is contacting a part it should not touch
If you find these signs, determine whether the problem is the clip itself, corrosion beneath it, the wrong hardware, or damage to the caliper bracket.
A pad that binds badly in the bracket may fail to release completely. That can cause excess heat and premature pad or rotor damage, so binding should be corrected before the vehicle returns to service.
There is no universal 30,000-to-50,000-mile lifespan for brake abutment clips. Their condition should be checked during brake service and judged by fit, corrosion, spring condition, vehicle-specific instructions, and the condition of the surrounding bracket.
When to Replace Brake Abutment Clips
Replace brake abutment clips whenever they are bent, cracked, badly corroded, loose, fatigued, incorrectly fitting, or otherwise unable to hold and guide the pads as designed.
When you install new brake pads, use the correct replacement hardware when it is included with the pad set or specified by the vehicle or brake-component manufacturer. Bosch brake-service guidance advises replacing accessory parts such as springs and clips during brake-pad service.
At the same time, inspect the bracket lands for corrosion or damage. Installing a new stainless clip over heavy rust can reduce clearance and leave the new pad binding in the bracket.
Do not rely on a universal mileage interval. Climate, road salt, brake temperature, vehicle design, hardware material, and previous service quality all affect condition.
If you notice repeat noise, uneven wear, poor pad return, or a pad that does not move freely after installation, inspect the hardware and bracket before assuming the new pads are defective.
When in doubt, follow the vehicle manufacturer’s brake-service information and the instructions supplied with the replacement pads or hardware.
Warning: Brakes are safety-critical components. Do not force, trim, randomly bend, or substitute hardware that does not fit correctly. Follow vehicle-specific procedures and torque specifications. If you cannot verify the correct parts, orientation, fastener requirements, or safe brake operation, have the system inspected by a qualified technician.
How to Inspect and Fit Brake Abutment Clips Correctly
Correct installation starts with the bracket, not the new clip. Fitting fresh hardware over rust or using the wrong clip can create the same problems you were trying to fix.
- Compare the new and old hardware. Confirm the replacement kit matches the vehicle and note the position and orientation of every original clip and spring.
- Remove the old abutment clips. Inspect both the clips and the bracket surfaces underneath them.
- Check the bracket lands. Look for rust buildup, pitting, distortion, or damage that could prevent the new clips from seating fully.
- Clean the contact areas correctly. Follow the vehicle or brake-component manufacturer’s method and avoid unnecessarily removing protective coatings or bracket material.
- Install each clip in its correct position. The hardware should seat securely without being forced or improvised.
- Test-fit the pads. The pad ears should fit securely but move as the brake design requires. They should not be wedged tightly into the bracket.
- Reinstall all required springs and retainers. Do not omit separate anti-rattle or pad-return hardware that belongs to the application.
- Follow vehicle-specific fastener instructions. Caliper bolts and bracket bolts are not automatically single-use simply because the pads were replaced. Follow the manufacturer’s torque, thread-locker, and replacement requirements.
Pro Tip: Test-fit the pads after the bracket is cleaned and the new clips are installed. If a pad binds, stop and find the cause. Common causes include corrosion beneath the clip, incorrect clip orientation, the wrong hardware kit, damaged bracket lands, or an incorrectly matched pad.
[Products Worth Considering]

Steelman white tire marking crayons provide high-contrast, semi-permanent marks for repairing and inspecting tires and equipment. They write on wet or dry, smooth or coarse surfaces including rubber, metal, glass, and wood, making them ideal for puncture location and damage outlining. The lead- and zinc-free crayons resist weather and fading yet wipe away when you no longer need the marks.

This universal wheel alignment tool helps you accurately restore tire tilt angles after tire or suspension repairs using an adjustable camber gauge. It features a powerful magnetic base that firmly attaches to brake rotors for stationary, slip-free readings, improving consistency during measurement. Built from durable PC plastic, it resists wear and corrosion and is compact enough for car, truck, RV, and motorcycle alignment tasks.

Replace worn wheelchair rear tires with a universal 24x1 no-flat polyurethane foam option designed to mount tightly on 24-inch rims without the tire falling off. Installation is made easier with included tools and multiple methods, including using a pry bar or softening the tire in hot water to reduce resistance. The package includes two tires plus tie ropes for convenient fitting and handling.
Should You Lubricate Brake Abutment Clips?
Lubrication requirements vary by brake design and component manufacturer, so follow the instructions for the vehicle and pad set you are servicing.
Where lubrication is specified, use a brake-specific, high-temperature lubricant that is compatible with the surrounding metals, rubber boots, and other brake components. Wagner’s lubrication guidance recommends brake-specific high-temperature grease and warns against using so much that lubricant can reach the rotor.
Apply only the amount and locations specified. Keep every lubricant completely off the rotor friction surfaces and the friction material of the brake pads.
Do not automatically use copper grease. Ferodo’s brake-pad installation guidance advises against copper-based grease because of corrosion and high-temperature sticking concerns.
Common Abutment Clip Installation Problems
The New Pad Will Not Slide Freely
Do not immediately file or grind the new pad to make it fit. First confirm that the bracket lands are clean, the clips are seated fully, the hardware is in the correct position, and the pad is the correct part for the vehicle.
Rust underneath stainless abutment hardware can expand enough to squeeze the pad mounting area. Cleaning the visible top of the clip without checking underneath it may therefore leave the underlying problem untouched.
The New Clip Will Not Seat
Compare the old and new hardware carefully. Some kits contain clips for different positions, sides, or brake configurations. A clip that requires excessive force may be in the wrong location or may not match the application.
Do not cut or reshape new brake hardware simply to make an incorrect part fit.
A Clip Touches the Rotor
Stop and correct the installation. A properly installed clip should not scrape continuously against the rotor. Check whether the clip is upside down, shifted, damaged, incorrectly matched, or prevented from seating by corrosion.
The Brakes Still Rattle After Pad Replacement
Check that all required anti-rattle springs, retaining hardware, abutment clips, shims, and other application-specific pieces were installed correctly. Also inspect the caliper guide pins and other brake components rather than assuming every noise comes from the pads themselves.
Can You Reuse Brake Hardware?
You should not automatically reuse brake hardware simply because it looks acceptable at first glance. Spring clips can lose tension, corrode, become distorted, or wear at their contact points.
For a pad replacement, install the new correct clips and springs when they are supplied with the brake pads or required by the manufacturer. Always replace hardware that is damaged, heavily corroded, deformed, loose, fatigued, or unable to perform its intended function.
At the same time, do not apply a blanket “replace everything” rule to unrelated components such as caliper or bracket bolts. Fastener reuse depends on the specific vehicle’s service instructions.
[Products Worth Considering]

This car D-wheel lock nut key provides an anti-theft solution for D-shaped wheel lock bolts, helping keep your wheels secure. It features a flower-shaped internal pattern that resists micro-adjustment theft while allowing removal and mounting of compatible locking nuts. Made for reliable performance under high torque, it’s easy to use with standard socket wrench turning for quick tire maintenance and emergency repairs.
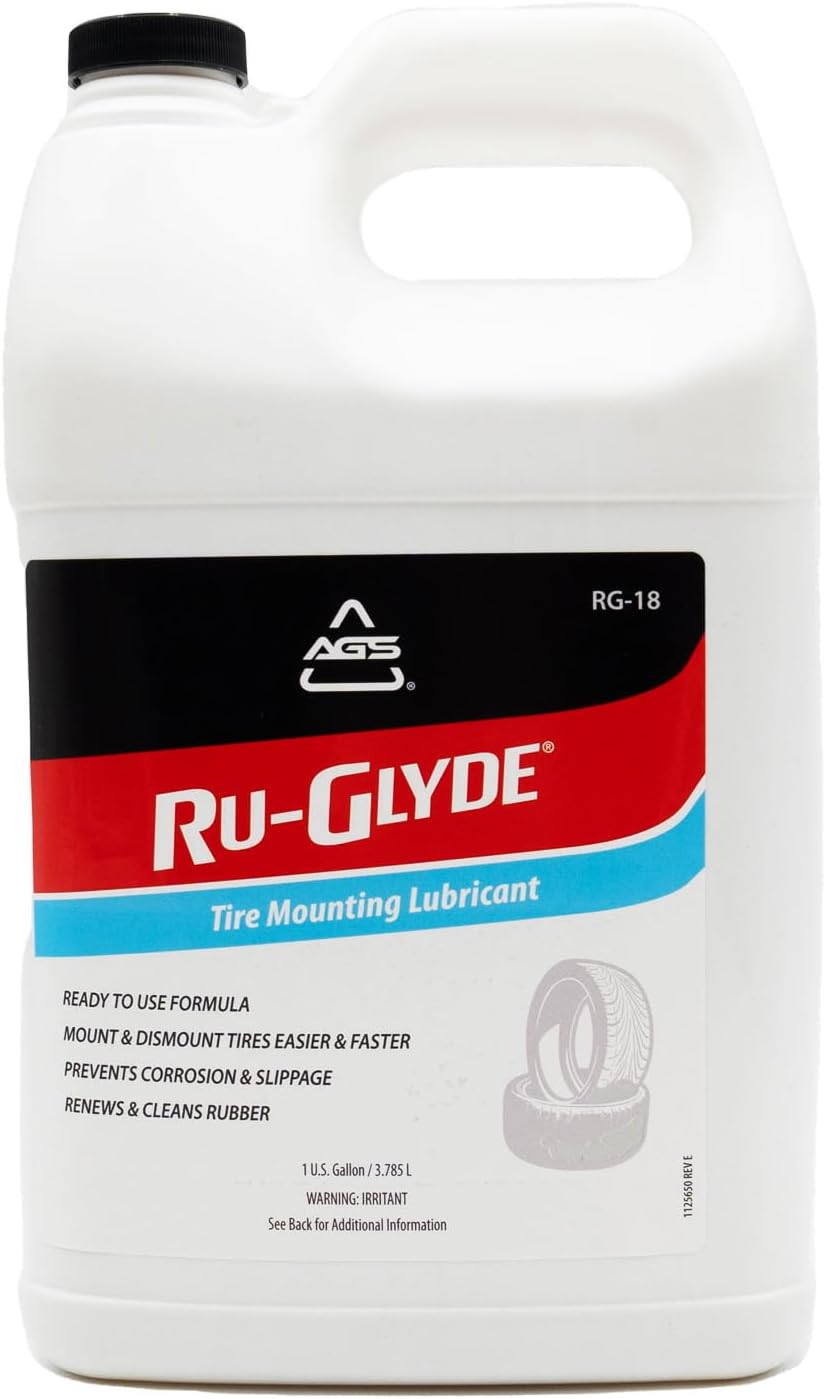
Ru-Glyde tire mounting lubricant from AGS seats tire beads smoothly on the first try with a thick, stay-put formula. It is ready to use with no mixing or dilution, helps prevent rim rust, and dries completely without causing bead slip residue. The water-based formula also conditions aged rubber, making it useful for sidewalls, gaskets, and door seals while remaining safe for tire, wheel, and technicians.

The Big Rig Defense Tire Thumper is a truck tire pressure checker that lets you quickly check multiple tires by giving them a firm whack. Listen for a reassuring thump and feel the stick bounce when a tire is fully inflated, helping you get back on the road safely. It features a comfortable, glove-friendly handle and a secure wrist strap for confident use on busy routes.
Reuse Risks
Reusing marginal brake hardware, including worn abutment clips, can contribute to noise and uneven pad wear because older clips may have fatigue, deformation, or hidden corrosion.
Before deciding that hardware is serviceable:
- Inspect it for wear, corrosion, distortion, and loss of spring tension.
- Inspect and clean the bracket surfaces beneath the hardware.
- Check the service information to see whether new hardware is required or supplied with the replacement pads.
- Confirm that the pads fit correctly and move without binding after installation.
If marginal hardware lets the pads rattle or bind, premature pad or rotor wear can increase future maintenance costs.
For reliable brake operation, use the correct hardware and correct any bracket corrosion or damage instead of relying on clips that no longer fit as designed.
Replace With New Hardware
New brake pad hardware can restore the intended fit at the pad-to-bracket contact points when the old pieces are worn or fatigued.
Fresh, correctly matched clips can help maintain pad position, reduce unwanted movement, and support consistent pad release. However, new clips cannot repair a badly damaged bracket, seized guide pin, contaminated friction surface, or other brake-system fault.
When replacement pads include a hardware kit, install the correct pieces according to the supplied instructions. For separate caliper bolts, bracket bolts, guide pins, boots, and other components, follow the vehicle manufacturer’s individual inspection and replacement requirements.
Frequently Asked Questions
Do Brake Clips Need to Be Replaced?
Replace brake clips when they are corroded, bent, fatigued, loose, damaged, or specified as replacement hardware by the vehicle or brake-component manufacturer. When a new pad set includes the correct hardware, installing it is generally preferable to putting worn spring hardware back into service.
Can You Reuse Brake Abutment Clips?
Do not automatically reuse old abutment clips. Inspect them for corrosion, wear, distortion, and loss of spring tension, and follow the service instructions for the specific brake system. Replace damaged hardware and use new clips when the pad manufacturer or vehicle service information calls for them.
Are Abutment Clips Necessary?
If the brake system was designed to use abutment clips, yes. They are part of the pad-mounting hardware and help provide the correct fit between the pad ears and caliper bracket. Omitting required clips can change pad clearance and allow unwanted movement or poor fit.
How Do I Know if My Brake Clips Are Bad?
Look for corrosion, distortion, looseness, loss of spring tension, polished wear marks, incorrect seating, or pads that rattle or bind at the bracket. Noise alone does not prove the clips are faulty, so inspect the rest of the brake assembly as well.
Should Brake Abutment Clips Be Greased?
Follow the vehicle and brake-component manufacturer’s instructions. Where lubrication is specified, use a compatible high-temperature brake lubricant only at the specified contact points and use it sparingly. Never allow grease to contaminate the rotor or brake-pad friction material.
What Happens if a Brake Pad Binds in the Abutment Clip?
A binding pad may not release normally after braking. That can contribute to uneven wear, excess heat, brake drag, and pad or rotor damage. Check for rust beneath the clip, incorrect hardware, poor clip seating, bracket damage, and other brake-system faults before returning the vehicle to service.
Conclusion
Brake abutment clips are small parts, but their fit affects how the brake pads sit and move inside the caliper bracket. Corrosion beneath the hardware, damaged clips, incorrect orientation, or the wrong replacement kit can lead to rattling, binding, uneven wear, and excess heat.
Inspect the clips and bracket lands whenever you service the brakes. Use the correct replacement hardware when supplied or specified, confirm that the pads move as designed, keep lubricant away from friction surfaces, and follow vehicle-specific procedures for fasteners and torque. Proper hardware installation helps keep the braking system quiet, predictable, and free from avoidable pad binding.
Sources
- Wagner Brake — Checking Brake Caliper & Rotor — supports inspection of abutment clips, cleaning rust beneath the hardware, and preventing pad binding.
- Wagner Brake — Brake System Noise Troubleshooting Tips — supports replacement and inspection of anti-rattle hardware and checking for corrosion and binding.
- Wagner Brake — How to Lubricate Brake Pads — supports use of suitable high-temperature brake lubricant and avoiding excess lubricant contamination.
- Ferodo — How to Install Brake Pads Correctly — supports correct brake-pad installation practices and cautions against copper-based grease.
- Brembo — How to Fit and Replace Directional Brake Pads — supports cleaning contact surfaces, checking guides and retention springs, and using appropriate grease at specified contact points.
- Bosch Aftermarket — Driven by Safety: Braking — supports replacing relevant accessory parts such as springs and clips during brake service.
