
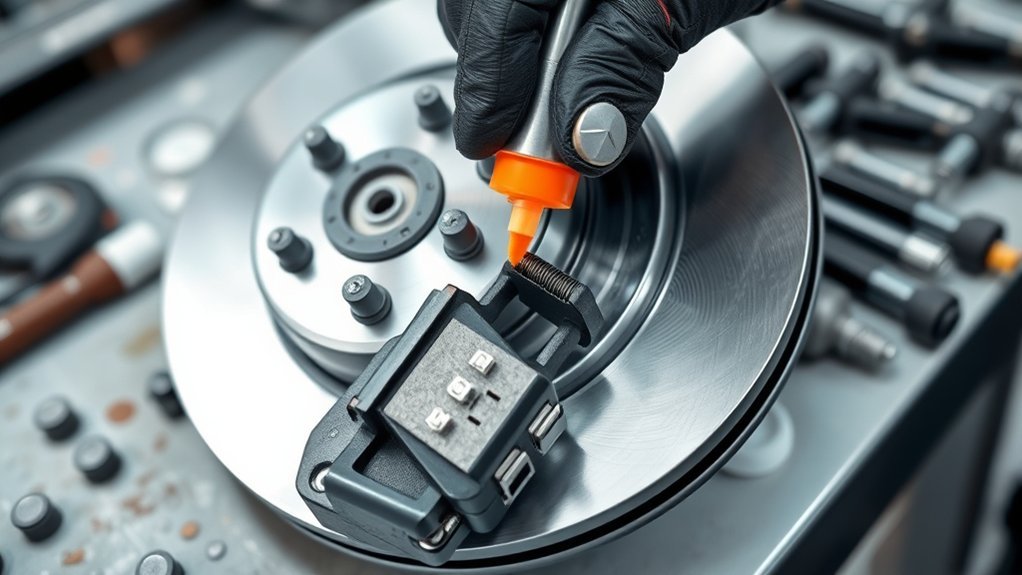
You should apply brake grease only to the brake-system contact and moving points that your vehicle or brake-part manufacturer identifies for lubrication. Typical locations include caliper guide pins, pad ears and abutment points on disc brakes, plus backing-plate shoe lands and adjuster threads on drum brakes. The exact lubricant matters just as much as the location, because rubber, plastic, metal, and pad-shim materials can require different products.
Quick Answer
Apply brake grease only to approved moving or contact points—typically caliper guide pins, pad ears and abutments, and drum-brake shoe lands or adjuster threads. Use a thin film of brake-specific lubricant that matches the materials present. Never put grease on pad or shoe friction material, rotors, or drum friction surfaces.
Key Takeaways
- Lubricate only the points approved by the vehicle, brake-pad, caliper, or lubricant manufacturer.
- On disc brakes, common lubrication points include guide pins, bushings, pad ears, abutment clips, and certain pad-to-caliper contact areas.
- On drum brakes, common points include the raised shoe lands on the backing plate, adjuster threads, and specified self-adjuster or parking-brake pivots.
- Use brake-specific lubricant that is compatible with rubber, plastic, metal, and any pad shims it will touch.
- Keep lubricant completely off pad and shoe friction material and off rotor and drum friction surfaces.
At a Glance
| Time Required | Varies by vehicle and brake design; allow enough time to disassemble, inspect, clean, lubricate, and reassemble correctly. |
| Difficulty | Intermediate. Brake work is safety-critical, so use a qualified technician if you are not confident with the service procedure. |
| Tools Needed | Vehicle-specific brake tools, approved cleaning supplies, torque wrench, suitable dust-control supplies, clean applicator, and the specified brake lubricant. |
| Cost | Brake lubricant itself is usually a small part of the job; total cost depends on whether pads, shoes, hardware, rotors, drums, boots, or calipers also need replacement. |
Warning: Never apply brake grease, anti-seize, oil, or anti-squeal compound to a brake pad or shoe friction surface or to the working face of a rotor or drum. Lubricant contamination can reduce braking effectiveness and may require replacement of contaminated friction material.
What Is Brake Grease?
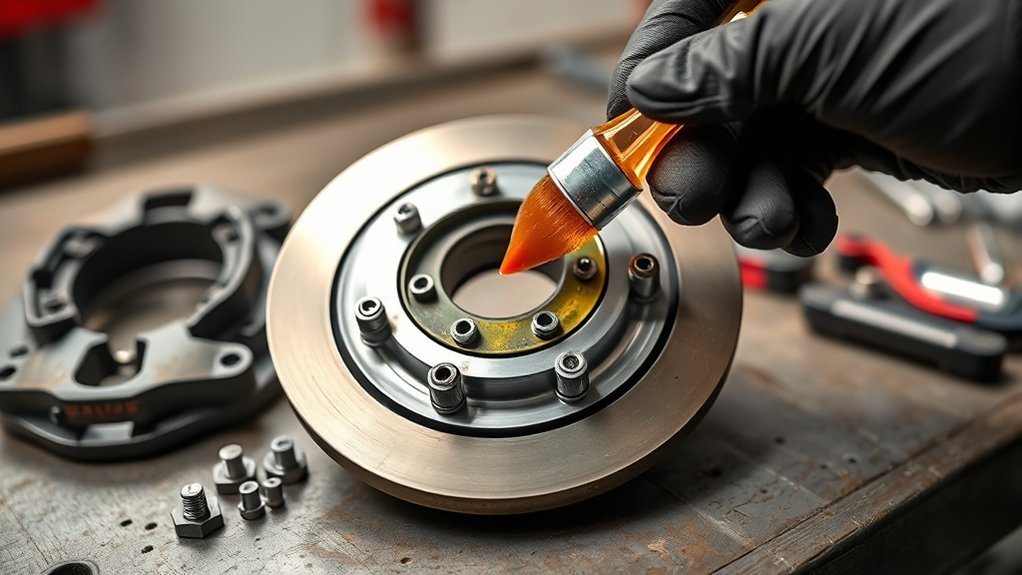
Brake grease is a specialty lubricant made for parts of a brake system that slide, pivot, or contact each other outside the friction surfaces. Unlike ordinary multipurpose grease, a brake lubricant is designed for the heat, contamination, moisture, and material-compatibility demands found around calipers and drum-brake hardware.
Brake grease belongs on approved hardware contact points—not on the surfaces that create the friction needed to stop the vehicle.
The purpose is to reduce sticking, corrosion, wear, and some types of brake noise while allowing hardware to move as designed. However, one lubricant is not automatically correct for every brake part.
For example, Wagner Brake’s caliper guidance distinguishes between metal-to-rubber and metal-to-metal lubrication points. That is why you should choose a product based on both the location and the materials it will touch.
Use only a thin, controlled film. More grease is not better. Excess lubricant can collect debris, interfere with free movement, or migrate toward a friction surface.
Where to Apply Brake Grease on Disc Brakes
Disc brakes commonly need lubrication at the caliper guide system and at selected points where the brake pads move against the bracket or caliper. Exact locations vary by design, so check the vehicle service information and the instructions supplied with the pads, caliper, hardware, and lubricant.
Common locations include caliper slide or guide pins, compatible bushings, pad ears, abutment clips, and certain pad-to-piston or pad-to-caliper contact areas.
Pro Tip: Check the brake-pad and caliper instructions before greasing the back of a pad. Some pads are designed to work with factory shims or integrated noise-control layers and do not need lubricant there.
Metal Contact Points
Start with the places where the brake pad is designed to slide in the caliper bracket. These are usually the pad ears or tabs and their abutment-clip or bracket contact surfaces.
Clean corrosion and hardened deposits from these areas using the service method appropriate for the vehicle. Once the surfaces are clean, apply only the amount of approved brake lubricant needed to leave a light film at the actual sliding interface.
The pad must remain free to move without being loose or forced into the bracket. If rust buildup under an abutment clip is squeezing the pad, adding more grease does not correct the underlying problem. Clean or replace damaged hardware first.
A small amount of compatible lubricant may also be specified where the caliper piston or outer caliper fingers contact the back of the pad. This is not universal. Some pad manufacturers specifically advise against compounds on certain pad backing plates or shim systems.
Do not automatically grease caliper mounting bolts, caliper bracket bolts, rotor-retaining screws, or other torque-critical fasteners. Follow the exact vehicle procedure. Some applications call for clean threads, specified torque, replacement bolts, or threadlocker rather than grease.
Caliper Slides And Pins
Caliper guide or slide pins allow many floating calipers to move laterally as the brakes apply and release. A dry, corroded, or seized pin can contribute to brake drag, uneven pad wear, heat, and noise.
Remove and inspect the pins according to the vehicle procedure. Clean away old lubricant and contamination, inspect the pin surface, and check the rubber boots and bushings for tears, swelling, hardening, or other damage.
Then apply a thin film of brake-specific lubricant approved for the pin and rubber materials. Do not assume that any high-temperature grease is rubber-safe. Products intended for guide pins commonly state their rubber or plastic compatibility on the label or technical data sheet.
Do not pack the pin bore or boot cavity with excess grease. Too much lubricant can make assembly messy, trap contamination, or interfere with free pin travel in some designs.
There is no universal calendar interval for re-greasing every brake system. Inspect and lubricate these components during brake service or at the interval specified by the vehicle manufacturer.
Pad Backing Plate and Abutment Contact Areas
On a disc brake, the pad backing plate is the metal plate behind the friction material. Do not confuse it with the large backing plate used behind many drum-brake assemblies.
Depending on the brake-pad design, a very small amount of approved lubricant may be used where the metal pad back contacts the caliper piston or outer caliper fingers. However, lubricant may be unnecessary or prohibited on certain noise-control shims and coated pad backs.
- Lightly lubricate pad ears or tabs only where they slide against approved abutment surfaces.
- Use only a product suitable for the metal, coating, clip, shim, rubber, or plastic it will touch.
- Do not place lubricant between a pad and a noise-control shim unless the pad or lubricant manufacturer specifically calls for it.
- Keep grease away from the friction material and rotor face.
Where to Apply Brake Grease on Drum Brakes
Drum brakes use several sliding and pivoting hardware points that may need lubrication. According to PowerStop’s brake-lubrication guidance, common locations include the raised backing-plate pads that support the shoes, star-adjuster mechanisms, and applicable self-adjuster or parking-brake linkage points.
Use a thin film only at the specified metal contact surfaces. Never lubricate the brake-shoe lining or the inside friction surface of the drum.
Backing Plate Contact Points
The drum-brake backing plate normally has raised pads or lands where the metal edges of the brake shoes rest and slide. These are common lubrication points.
Clean the lands using an appropriate dust-control method, then inspect them. Minor surface corrosion may be cleaned according to the service procedure, but a deeply grooved or badly damaged backing plate may require replacement rather than simply adding grease.
- Apply a light film to the shoe-contact lands specified by the manufacturer.
- Keep grease completely off the shoe lining and drum friction surface.
- Inspect springs, hold-down hardware, adjuster parts, wheel-cylinder boots, and parking-brake hardware while the assembly is open.
Correct lubrication lets the shoe move on its support points without turning the backing plate into a dirt-catching grease reservoir.
Star Wheel Lubrication
The star-wheel adjuster changes the effective distance between the shoes on many drum-brake designs. Corrosion or dried lubricant can make the adjuster difficult to turn.
When the service procedure calls for it, clean the adjuster and apply a light coating of appropriate brake lubricant to its threaded or sliding surfaces. Do not bury the mechanism in grease.
| Area | Action | Purpose |
| Star-wheel adjuster | Clean and lightly lubricate specified moving surfaces | Helps prevent sticking or seizure |
| Adjuster threads | Apply a light film if specified | Supports smooth adjustment |
| Backing-plate shoe lands | Apply a thin film | Allows shoe movement at support points |
| Brake-shoe lining / drum face | Do not lubricate | Preserves the friction needed for braking |
Shoe Separator Greasing
Some drum brakes use a shoe separator, parking-brake strut, self-adjuster lever, or similar linkage between or alongside the shoes. There is no universal “halfway up the shoe” grease point that applies to every design.
If your service information identifies a metal pivot, strut end, or sliding contact that requires lubrication, clean it and apply a minimal amount of the specified product. Do not put grease on the shoe lining, springs, or nearby friction surfaces unless the exact service procedure identifies a particular contact point.
- Lubricate only designated pivot, strut, or sliding interfaces.
- Keep the lubricant controlled and away from the shoe lining.
- Confirm that the adjuster and parking-brake hardware move correctly after assembly.
How to Prep Brake Parts Before Greasing
Preparation matters because new grease cannot correct rust-jacked hardware, damaged boots, seized pins, worn pads, deeply grooved shoe lands, or contaminated friction material.
Brake-Dust Safety Note: Some brake components in use can contain asbestos. The U.S. EPA advises against cleaning brake assemblies with compressed air or ordinary dry brushing when asbestos status is unknown. Professional shops are subject to OSHA brake-and-clutch dust-control requirements, while home mechanics can reduce exposure by following EPA-recommended wet-cleaning practices.
- Check the service procedure first. Identify the required lubricant, torque specifications, replacement hardware, and any threadlocker requirements.
- Control brake dust. Follow EPA brake-and-clutch dust guidance. Professional workplaces should also follow applicable OSHA requirements.
- Clean the actual contact surfaces. Remove old lubricant, corrosion, and deposits using a method appropriate for the part and dust hazard.
- Inspect the hardware. Replace damaged clips, seized pins, torn boots, badly corroded parts, worn pads or shoes, and other components that are outside service limits.
- Inspect rotors or drums. Resurface only where the manufacturer permits it and the component remains within its service specification; otherwise replace it.
- Dry or prepare surfaces as required. Follow the cleaner and lubricant instructions before applying new grease.
- Apply a small amount. Coat only the specified points, then keep your hands and tools away from friction surfaces.
- Reassemble to specification. Torque fasteners and install any required locking hardware or threadlocker exactly as specified.
Do not dry-sand brake dust merely to make a contact surface look polished. If a backing-plate shoe land is deeply worn or a caliper bracket is badly damaged, replacement may be the correct repair.
[Products Worth Considering]

The Mothers wheel and fender brush is designed for gentle, scratch-free scrubbing to remove road grime and brake dust. Its ergonomic shape and soft triple-flagged bristles deliver maximum coverage, including hard-to-reach wheel wells and undercarriage areas. With rubberized gripping and a protective rubber bumper, it helps clean safely while protecting delicate finishes on wheels, fenders, and bumpers.

This 1/2-inch drive breaker bar delivers powerful leverage for loosening and tightening stubborn lug nuts and automotive fasteners. The 180-degree flex head helps you reach tight spaces at the angle you need, making tire and brake jobs easier. A spring-loaded ball detent design holds 1/2-inch sockets securely while the chrome-moly head provides durable strength for everyday use.

This 3-piece wheel brush set makes it easy to clean wheels and tires with soft, scratch-free brushes designed for lifting brake dust and grime. The flexible rim brush bends up to 360 degrees to reach hard-to-access areas for a thorough clean, while the comfortable grip helps control during detailing. A dedicated detailing brush supports gentle cleaning for sensitive surfaces, including interior use.
What Type of Brake Grease Should You Use?
Use a brake-specific lubricant whose label or technical data sheet approves it for the exact component and material you are servicing.
Permatex’s brake-lubricant guidance, for example, separates brake lubricants by application and component material rather than treating every brake point the same.
- Guide pins, boots, and rubber-contact points: use a brake lubricant specifically rated as compatible with the rubber or plastic used in that application.
- Pad ears, abutments, and other metal contact points: use the high-temperature brake lubricant recommended by the brake or vehicle manufacturer. Moly, ceramic, or other synthetic formulations may be specified depending on the system.
- Pad backs and piston-contact areas: lubricate only if the pad or caliper instructions call for it.
- Drum-brake adjusters and shoe lands: use the specified brake hardware lubricant sparingly.
Avoid ordinary chassis grease, wheel-bearing grease, household grease, or another general-purpose lubricant unless the vehicle manufacturer explicitly specifies it for that brake component.
Also avoid assuming that “high temperature” automatically means “safe for brake rubber.” Compatibility with EPDM and other elastomers must be stated by the product maker or vehicle procedure.
[Products Worth Considering]

This professional wheel and rim cleaning brush set lifts brake dust, grime, and dirt with soft, scratch-free microfiber and synthetic wool fibers. The rim brush bends up to 360 degrees for easy access to hard-to-reach areas around spokes, lips, and faces. Ideal for thorough cleaning of car, truck, motorcycle, bicycle, RV, and more wheel and tire surfaces.

This professional wheel and rim brush kit makes it easy to lift brake dust, grime, and dirt from wheels and tires without scratching finishes. The brushes feature soft, metal-free wool heads and a flexible 360-degree rim brush design for reaching hard-to-clean areas. Includes multiple brush types plus accessories for thorough car, motorcycle, and general vehicle detailing.

Malco tire mounting and demounting lubricant is a ready-to-use tire lube formulated to reduce friction during tire installation for passenger cars, light trucks, farm tires, and heavy-duty equipment. It provides rust-inhibiting protection to help reduce corrosion on rims and wheels, and helps support proper tire bead seating during inflation to reduce air leakage. The silicone-free, soap-free formula is whitewall safe to help prevent discoloration on whitewall tires and sensitive sidewall markings.
Brake Grease vs. Anti-Seize vs. Brake Quiet Compounds
These products are not interchangeable.
- Brake or caliper lubricant is designed to lubricate approved moving brake hardware.
- Anti-seize is mainly intended to prevent threaded or mating metal parts from seizing. It should not automatically be used on guide pins or torque-critical brake fasteners.
- Disc-brake-quiet compounds are vibration-damping products intended for specific pad-back applications. They are not guide-pin grease and must never go on a friction surface.
Do not use copper, graphite, ceramic, silicone, or moly products merely because another vehicle or brake job used them successfully. Match the product to the exact application.
[Products Worth Considering]
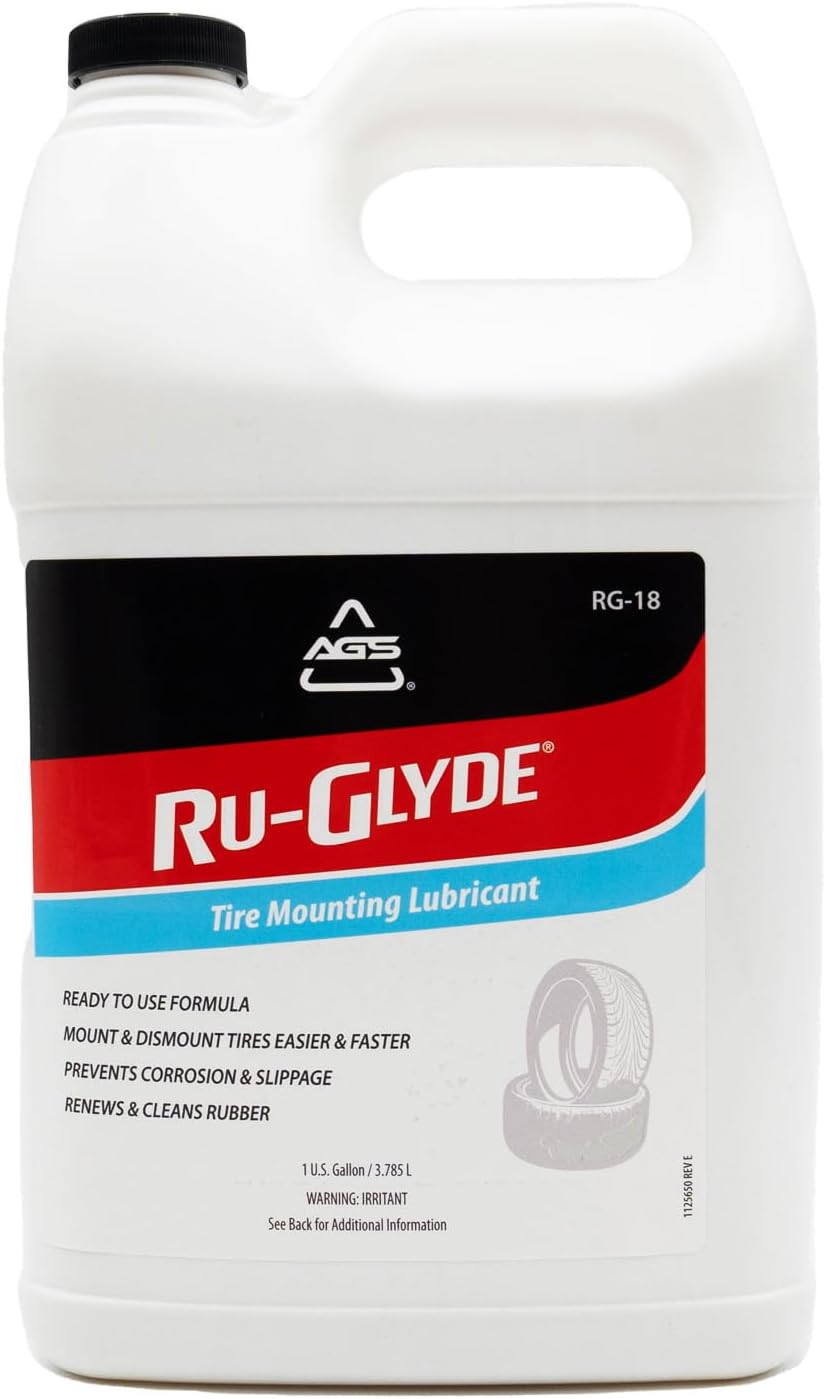
Ru-Glyde tire mounting lubricant from AGS seats tire beads smoothly on the first try with a thick, stay-put formula. It is ready to use with no mixing or dilution, helps prevent rim rust, and dries completely without causing bead slip residue. The water-based formula also conditions aged rubber, making it useful for sidewalls, gaskets, and door seals while remaining safe for tire, wheel, and technicians.
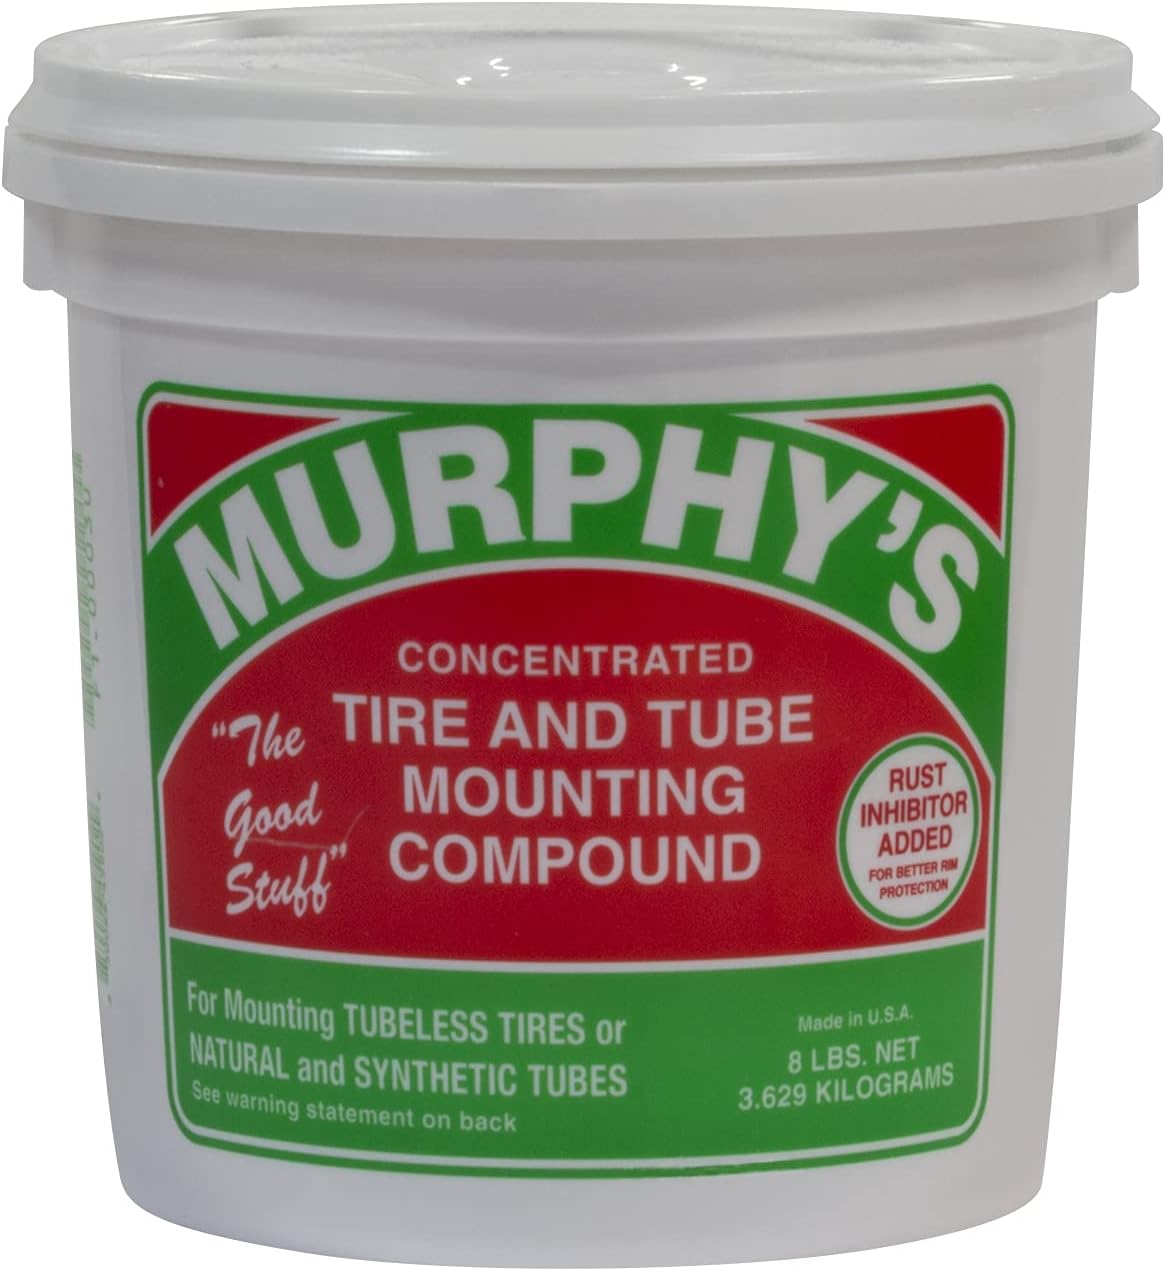
A concentrated tire and tube mounting compound designed to help simplify mounting rubber tires and tubes on passenger, semi truck, construction, and OTR applications. Its ultra-thick formula packs beads effectively and includes rust inhibitors to help protect against corrosion during use.

Steelman white tire marking crayons provide high-contrast, semi-permanent marks for repairing and inspecting tires and equipment. They write on wet or dry, smooth or coarse surfaces including rubber, metal, glass, and wood, making them ideal for puncture location and damage outlining. The lead- and zinc-free crayons resist weather and fading yet wipe away when you no longer need the marks.
Where Not to Apply Brake Grease
Keep brake lubricant away from every surface whose job is to create braking friction.
- Brake-pad friction material
- Brake-shoe lining
- Rotor faces
- Inside drum friction surfaces
- ABS sensor faces unless a manufacturer procedure specifically calls for a product there
- Brake hoses or electrical connectors unless a service procedure specifies a compatible material
- Caliper or bracket bolt threads unless the service manual specifically requires lubrication
Never try to cure a squeak by spraying lubricant through a wheel opening or around an assembled brake. That approach does not clean or inspect the hardware and creates an unnecessary contamination risk.
What to Do If Brake Grease Gets on Pads, Shoes, Rotors, or Drums
If lubricant touches a friction surface, stop and correct the contamination before driving.
Brake pads and shoes are porous friction materials. If they become contaminated with grease or oil, replacement is often the appropriate repair rather than trying to soak or burn the contamination out. Wagner’s brake troubleshooting information lists contaminated friction material as a condition requiring pad replacement.
A contaminated rotor or drum may be cleanable if the service procedure and cleaner manufacturer permit it and the surface can be restored completely. If there is any doubt about remaining contamination, have the brake inspected professionally.
Warning: Do not test-drive a vehicle if you know brake friction surfaces are contaminated or if the brake pedal, caliper movement, shoe adjustment, or fastener installation is uncertain.
Common Brake Grease Mistakes to Avoid
Even the correct brake grease can cause trouble when it is used in the wrong place or in the wrong amount.
- Greasing friction surfaces: reduces the friction the brake needs to stop the vehicle.
- Using general-purpose grease: may expose rubber, plastic, or high-temperature components to an incompatible lubricant.
- Overfilling guide-pin cavities: can interfere with movement or force excess grease out of the boot.
- Greasing over rust: does not correct rust-jacked clips, seized pins, or damaged brackets.
- Automatically greasing pad backs: can conflict with the pad maker’s shim or noise-control design.
- Greasing caliper bolts: may alter the intended thread condition or conflict with threadlocker requirements.
- Ignoring damaged boots: lets water and contamination reach freshly lubricated pins.
- Using more grease to cure persistent noise: delays diagnosis of worn pads, glazing, hardware problems, rotor issues, or misalignment.
If the vehicle pulls, a wheel becomes unusually hot, the brake pedal feels abnormal, the caliper will not move freely, or wear is uneven, inspect the system rather than simply adding lubricant.
Does Brake Grease Stop Squeaking?
Brake grease can reduce some brake squeaks, but it cannot fix every cause of brake noise.
Lubrication can help when noise is caused by dry pad-abutment points, sticking caliper guide pins, or vibration at an approved pad-to-caliper contact. It will not correct worn friction material, a damaged rotor, glazing, loose hardware, debris, a seized caliper, or incorrect installation.
- Clean and inspect the hardware before lubricating it.
- Apply only a thin film at approved contact points.
- Keep grease off every friction surface.
- Diagnose persistent noise rather than repeatedly adding lubricant.
If the squeak continues after the hardware is clean, correctly lubricated, and moving freely, inspect the remaining brake components or have a qualified technician diagnose the noise.
Frequently Asked Questions
Where Do You Spray Brake Lubricant?
Do not broadly spray lubricant around an assembled brake. Brake grease is normally applied in a controlled thin film to specific guide pins, bushings, pad abutments, or other approved contact points after you have gained proper access and cleaned the parts. If a product is an aerosol, follow its label and keep overspray away from friction surfaces.
How Do You Apply Brake Lubricant Without Removing the Brakes?
In most cases, you cannot properly service the important lubrication points from outside an assembled brake. Guide pins, pad ears, abutment clips, and drum-brake shoe lands need enough access for cleaning and inspection before lubrication. Spraying grease through the wheel or around the caliper is not a safe substitute for proper service.
When Should You Use Brake Lubricant?
Use brake lubricant when the vehicle or brake-component procedure calls for it during pad, shoe, caliper, hardware, or drum-brake service. There is no universal mileage, annual interval, or percentage-based rule for every vehicle. Inspect the hardware during brake service and follow the manufacturer schedule.
Where Should Lubricant Be Applied on Disc Brakes?
Common disc-brake lubrication points include caliper guide pins, compatible bushings, pad ears, abutment clips, and certain pad-to-piston or pad-to-caliper contact points. The exact locations depend on the design. Never grease the rotor or the friction side of a brake pad.
Can You Use Copper Grease or Anti-Seize on Brake Guide Pins?
Do not use copper grease, anti-seize, or another compound on guide pins unless the vehicle and product manufacturers specifically approve it for that application. Guide pins often contact rubber boots or bushings, so they need a brake-specific lubricant that is compatible with those materials.
What Happens If Brake Grease Gets on a Rotor or Brake Pad?
Treat it as contamination. Do not drive until it is corrected. Contaminated brake-pad or shoe friction material often needs replacement. A rotor or drum may be cleanable according to the applicable service and cleaner instructions, but it must be completely free of lubricant before use.
Sources
- Wagner Brake — Brake Caliper Cleaning and Lubrication — supports caliper cleaning, metal-to-metal versus metal-to-rubber lubrication, and pad-backing caveats.
- PowerStop — How to Apply Brake Lube — supports common disc- and drum-brake lubrication points, thin application, and friction-surface warnings.
- Permatex — Brake Lubricants — supports brake-specific lubricant selection and component-material compatibility.
- U.S. Environmental Protection Agency — Brake and Clutch Asbestos Best Practices — supports brake-dust exposure precautions and wet-cleaning guidance.
- Occupational Safety and Health Administration — 29 CFR 1910.1001 Appendix F — supports regulated brake-and-clutch dust-control practices.
Conclusion
In short, apply brake grease only to the contact points specified for your brake design. On disc brakes, those points commonly include guide pins, compatible bushings, pad ears, abutment surfaces, and selected pad-to-caliper contact points. On drum brakes, they commonly include backing-plate shoe lands, adjuster threads, and specified linkage pivots.
Clean and inspect the parts first, use a brake-specific lubricant that is compatible with every material it touches, and apply only a thin film. Never lubricate pad or shoe friction material, rotors, or drum friction surfaces. If the service instructions, fastener requirements, contamination condition, or brake-dust handling procedure is unclear, have the brake system serviced by a qualified technician.
