
How to Stop Brakes From Squeaking Without Removing the Tire
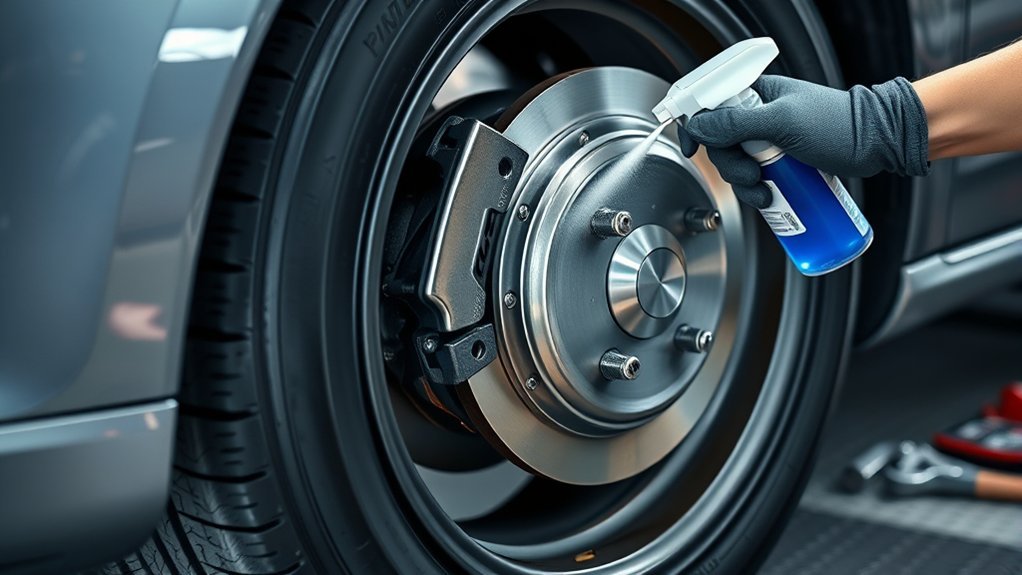
You can often stop brakes from squeaking without removing the tire by spraying exposed brake dust and road grime with brake cleaner, then wiping visible rotor edges and caliper areas. Check for thin pads, rust, glazing, or uneven wear through the wheel opening. If you can reach the pad backing plate, apply a thin layer of anti-squeal lubricant only at contact points. Persistent squeaks or grinding usually mean a deeper issue, and the next steps matter.
Key Takeaways
- Spray brake cleaner onto the rotor and caliper area to remove dust, dirt, and moisture that often cause squeaking.
- Inspect through the wheel for worn pads, rust, glazing, or rotor grooves; thin pads or damage may need professional repair.
- Apply anti-squeal lubricant only to pad backing plates and caliper contact points, never on the rotor or pad friction surface.
- After cleaning, drive gently so new brakes can bed in; persistent squeaks may indicate misaligned or low-quality pads.
- If squeaking becomes grinding, or you notice vibration, soft pedal feel, or warning lights, schedule a brake inspection.
Why Brakes Squeak Without Tire Removal
Even without removing the tire, you can often trace brake squeaks to moisture, rust, or dirt buildup that forms around the rotors and pads, especially after rain or in humid conditions. You can inspect the brakes through the wheel gaps and catch these signs early, before they erode braking performance. Worn pads or calipers may also keep light contact with the rotor, creating a steady squeak you’ll hear without disassembly. If you’re running low-quality pads with high metal content, they can emit a sharp squeal under normal use. New brakes may squeak during bedding-in, and that sound can fade as the surfaces settle, but persistent noise signals a setup issue. Regular visual checks let you spot rust streaks, debris, or abnormal wear patterns fast. By reading these cues, you keep control, reduce friction-related noise, and protect braking performance without waiting for a full teardown. Additionally, using high-quality tire options can enhance overall vehicle performance, reducing brake strain and noise.
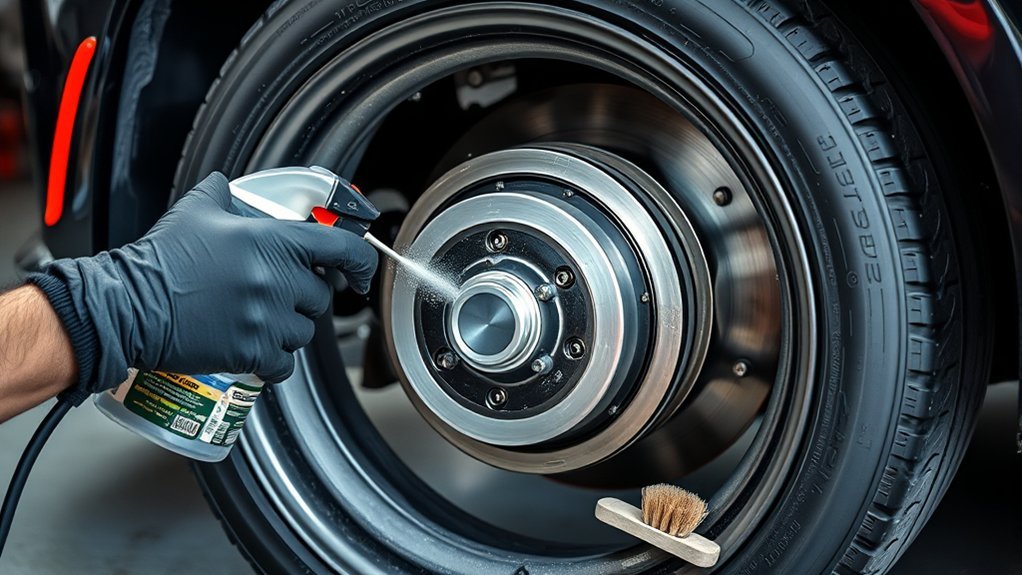
Clean Brake Dust and Road Grime
Brake dust and road grime can build up on brake components and contribute to squeaking, so regular cleaning helps keep the system quiet and efficient. You can clean brake dust with a quality brake cleaner spray that evaporates cleanly and leaves no residue to interfere with braking. Aim the spray at visible caliper and rotor surfaces, then use a small, soft brush to loosen stubborn deposits in tight areas. This lets you maintain brakes without unnecessary disassembly and keeps contaminants from settling into moving parts. Routine cleaning also helps prevent rust and limits wear on pads and rotors. Inspect the area visually while you work; heavy buildup often signals that your brakes need closer attention. By removing grime early, you preserve smooth operation, reduce noise, and protect the braking system’s long-term performance. Additionally, regular maintenance can enhance tread life and overall vehicle safety.
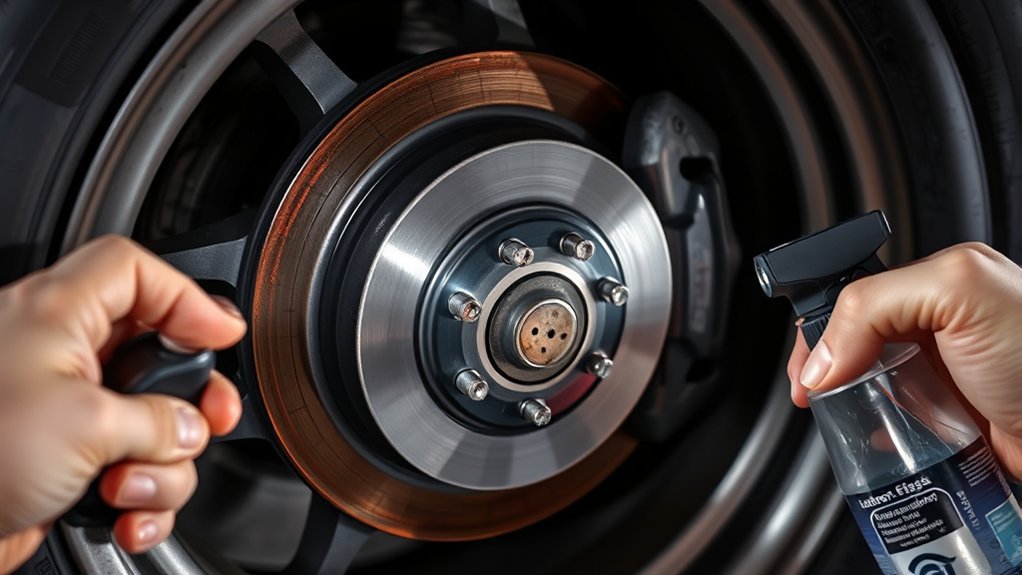
Check for Worn Pads and Rotors
Check your brake pads for wear first, since thin pads can keep constant contact with the rotors and cause squeaking. If the pad thickness is under 3 mm, replace them before the noise and wear get worse. Then inspect the rotors for grooves, uneven surfaces, or other damage that can create vibration and reduce braking performance. Additionally, ensure that your brake pads are designed for consistent traction year-round to maintain optimal braking efficiency.
Pad Wear Signs
Worn pads often leave clear clues before they fail completely: inspect the pad lining for a thin groove or material thickness below 3 mm, and listen for high-pitched squealing or grinding that can mean the pad is contacting the rotor. These pad wear signs help you act before repairs expand. Indicator Sounds often sharpen under light braking.
| Check | Meaning |
|---|---|
| Thin lining | Replace soon |
| Groove visible | Wear limit reached |
| Squeal | Pad contact warning |
| Grind | Severe wear |
| Dust buildup | Inspect pads |
You can also feel for a soft pedal, which needs prompt inspection. If you catch these signs early, you keep control, reduce noise, and protect your freedom on the road without removing the tire.
Rotor Damage Check
Once pad wear gets past the warning stage, inspect the rotors for damage that can keep the squeak going. You should check brake pads first; if they’re under 3 mm thick, replace them before they scar the rotor. Look closely for grooves, scoring, or a rough surface, because these signs point to rotor damage and uneven contact. In moist conditions, rust can build up on the rotor and raise noise while cutting braking efficiency. Clear metallic debris if you see it, since that grit can keep the squeal alive. Also test the calipers; sticking hardware can drag one side, wear the pads unevenly, and aggravate the rotor. If the surface is compromised, you can’t brake freely until you correct it.
Apply Anti-Squeal Lubricant Correctly
You should apply anti-squeal lubricant only to the pad backing plate and the caliper contact points, not the friction surface. Clean the backing and contact areas first so the lubricant bonds properly and works as intended. Use only a thin film, because excess lubricant can migrate and reduce braking performance. Applying it correctly can enhance the overall performance of your vehicle’s braking system, ensuring safety and reliability.
Proper Application Points
Apply anti-squeal lubricant to the back of the brake pads, not the friction surface, to form a barrier that helps damp vibration and reduce brake noise. You’ll target the pad edges where they meet the caliper, since that’s where friction tends to sing. Clean those contact points first so debris doesn’t block adhesion or waste your effort. Use a thin coat of high-temperature brake grease; too much can soften under heat and lose control.
- Backing plate contact zone
- Caliper touch points
- Pad edges with the highest vibration
Let the anti-squeal lubricant dry completely before you drive. That final cure locks the layer in place, helping your brakes stay quiet, responsive, and free from needless squeaking.
Pad Backing Preparation
Clean the brake pad backing thoroughly before adding any anti-squeal lubricant, since dirt and residue can prevent proper adhesion and reduce noise control. For pad backing preparation, use a brake-safe cleaner and a lint-free wipe, then inspect the metal face for corrosion or grit. Apply Anti-Squeal Brake lubricant only on the pad’s rear contact area, where it can damp vibration and free you from needless squeal.
| Step | Action |
|---|---|
| 1 | Clean the backing plate |
| 2 | Dry it completely |
| 3 | Apply a thin, even film |
| 4 | Let it set before reassembly |
This disciplined method improves adhesion and keeps the barrier effective during service. Check the coating at every brake inspection, because wear can return noise.
Avoiding Excess Lubricant
Too much anti-squeal lubricant can backfire by trapping dirt and grime, which may increase brake noise instead of reducing it. When you’re avoiding excess lubricant, use a brake-rated formula only; generic grease can harm components and cut braking performance. Apply a thin film to the pad backing, not the friction surface, so the pads can move freely without contaminating the rotor. Picture the process:
- A clean pad backing with a light, even coating.
- A dry contact edge, free of runoff.
- A quiet brake assembly after curing.
Let the product dry fully before you drive, or it can’t damp vibrations effectively. Inspect and clean the brake parts regularly to reduce buildup, limit reapplication, and keep your braking system responsive, disciplined, and liberated from squeaking.
Identify Weather, Rust, and Glazing Problems
Cold, wet weather can expose brake problems fast, so inspect the pads, rotors, and calipers for rust, moisture buildup, and dirt from road debris. In wintry weather, moisture settles on metal and rust can start squeaking. Check for glazing too: a smooth, shiny pad surface means heat has hardened the friction layer and reduced bite. Use visual checks through the wheel gap to spot these faults early and keep control in your hands. Additionally, understanding the importance of dedicated winter tires can help improve overall vehicle performance in cold conditions.
| Sign | What it means |
|---|---|
| Rust on rotors | Moisture damage |
| Wet, dirty surfaces | Debris-related noise |
| Shiny pad face | Glazing from heat |
Cold weather makes these issues show up sooner, so inspect often. If you see surface rust, clean conditions may restore quiet operation after short driving. If the pads look glazed, note that friction’s already dropped. Catching rust, moisture, and glazing early helps you preserve braking performance and avoid bigger repair costs later.
When to Call a Brake Mechanic
If the squeaking doesn’t stop after cleaning, or you hear grinding, it’s time to call a brake mechanic because those noises can point to worn pads, damaged rotors, or other hidden faults. You shouldn’t push through symptoms that signal risk. A spongy pedal, a warning light, or weak stopping power can mean hydraulic or mechanical failure. If you must press hard to get response, get professional diagnosis now. Vibration, shaking, or pulsing during braking often points to warped rotors or uneven wear. Regular inspections also help you catch rust and early degradation before they trap you in costly repairs. Additionally, having a reliable spare tire kit can provide peace of mind while driving.
- Grinding sound at each stop.
- Soft pedal that sinks under your foot.
- Steering wheel shake when you brake.
Trust a brake mechanic to test components, measure wear, and restore safe control. That’s how you keep freedom on the road without gambling with your safety.
Frequently Asked Questions
Can You Spray WD-40 on Brakes to Stop Squeaking?
No, you shouldn’t spray WD-40 on brakes to stop squeaking. It adds unwanted lubrication, which can reduce friction, worsen brake noise, and compromise safety. You’ll want to use a dedicated brake cleaner to remove grime, then inspect pads and rotors. If you need lubrication techniques, apply high-temperature grease only behind the pads, not on friction surfaces. Persistent squeaking means you should inspect worn components or seek professional service.
How Do Mechanics Stop Brakes From Squeaking?
Mechanics stop squeaks like tuning a taut wire: you inspect, clean, and tame the friction. You’ll use brake cleaner to strip dust and grime, then check caliper slides, backing plates, and rotors for rust or moisture. You’ll replace uneven pads, verify brake pad materials, and apply noise reduction techniques with proper lubricant. If new pads are installed, you’ll bed them in so your brakes stay quiet and free.
Can I Fix Squeaky Brakes Myself?
Yes, you can fix squeaky brakes yourself if you’re careful and the pads aren’t worn out. You can spray brake cleaner through the wheel gaps, then scrub loose grime with a soft brush for better noise reduction. Check brake pad types, because some compounds squeak more than others. If noise continues, you may need new pads, hardware, or a mechanic’s inspection.
Will Brakes Eventually Stop Squeaking?
Yes, your brakes might stop squeaking if the pads finish bedding in or moisture, dirt, and light rust clear away. Good brake maintenance can reduce brake noise by cleaning calipers, rotors, and pad hardware, then lubricating contact points with the right product. If the sound keeps returning, you’re likely facing worn pads, glazed rotors, or a mechanical fault, and you shouldn’t ignore it—freedom depends on reliable stopping power.
Conclusion
In most cases, you can quiet squeaky brakes without removing the tire by cleaning visible dust, checking pad wear, and applying anti-squeal lubricant to the right contact points. But don’t assume noise always means a simple fix. A theory worth testing is that moisture or surface rust causes the squeak, especially after rain. If the sound stays sharp, repeatable, or gets worse, you’ve likely got glazed pads or worn hardware, and you should call a brake mechanic.
Related Articles
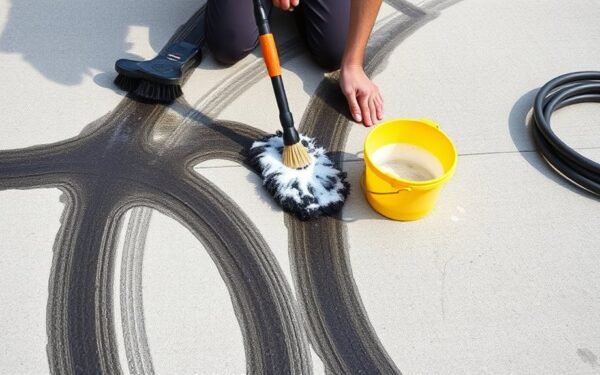
How to Remove Tire Skid Marks From Concrete: Proven Tips
Ditch stubborn tire skid marks from concrete with proven cleaning tips—and discover why they keep returning so you can stop them for good.
Read More
How to Apply Tire Shine: Step-by-Step Guide for a Lasting Finish
I’ll show you how to apply tire shine for a long-lasting finish that resists sling and fades, but the best step is still ahead.
Read More
Does America’s Tire Do Brakes? Services Offered & What to Expect
Brakes? America’s Tire offers inspections and brake services, but what they actually check—and what they might find—could surprise you.
Read More