How to Convert Tube Tires to Tubeless on a Bicycle
You can convert many bicycle tube tires to a tubeless setup, but only when the rim and tire are designed for tubeless use or for a manufacturer-approved conversion system. The safe process is simple in principle: confirm compatibility, clean and tape the rim, install a tubeless valve, mount the tire, add the right amount of sealant, inflate the bead safely, then check for leaks before riding.
Quick Answer
To convert a bicycle tube tire to tubeless, use a tubeless-ready rim and tire, seal the rim bed with tubeless tape, install a tubeless valve, mount the tire, add sealant, inflate quickly to seat the bead, then spin, shake, and leak-check the wheel before riding.
Key Takeaways
- Do not rely on tape and sealant alone unless the rim is marked tubeless-ready, tubeless-compatible, TLR, TR, TCS, or UST.
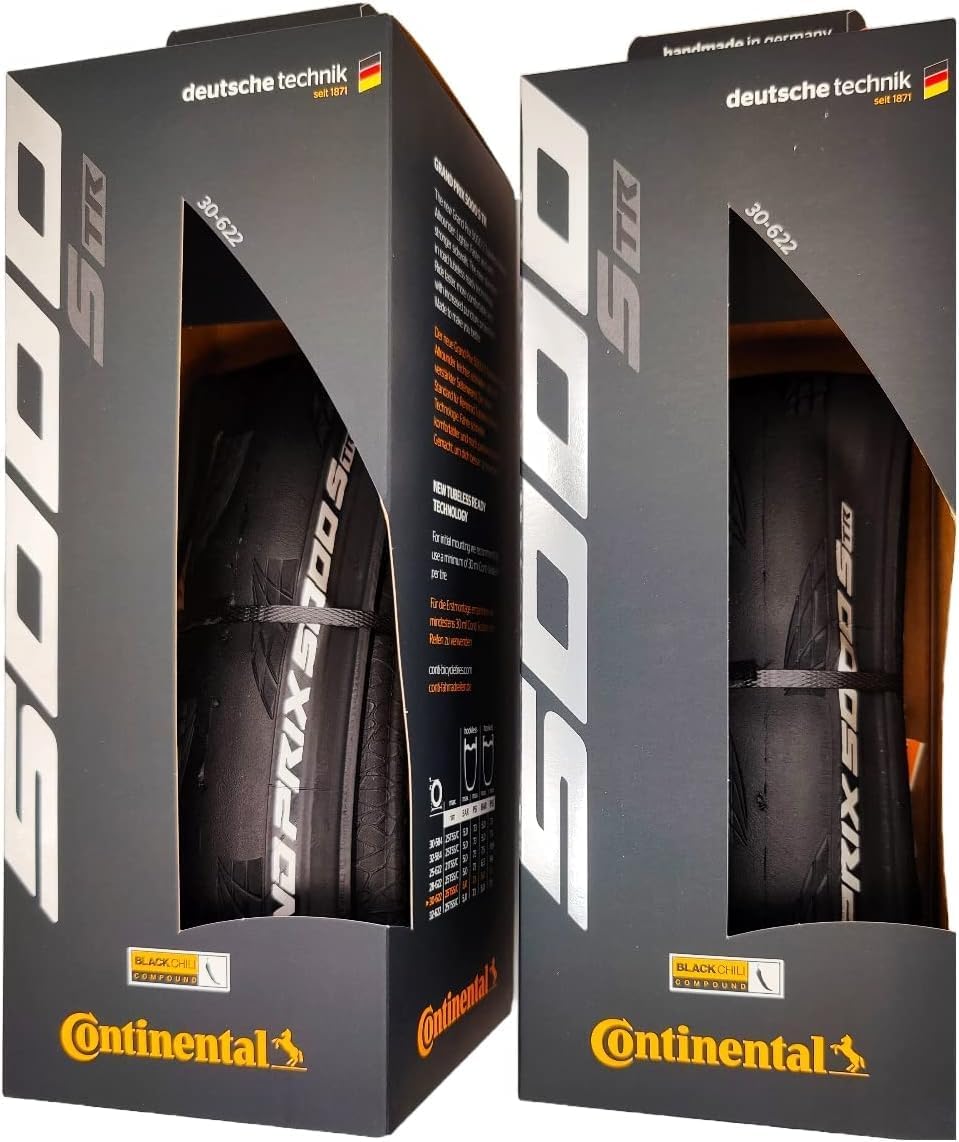
- Use a tubeless-ready tire whenever possible; ordinary tube-type tires may leak, burp air, or fail to seat securely.
- Sealant volume depends on tire size, not one universal number: many road tires use less than large MTB tires.
- Never exceed the lower maximum pressure printed on the tire or rim while seating the bead.
- Check sealant every 2–6 months, or more often in hot, dry climates or before big rides.
At a Glance
| Time Required | 30–60 minutes per wheel, plus a pressure check after several hours or overnight |
| Difficulty | Moderate DIY; use a bike shop if compatibility is unclear |
| Tools Needed | Tubeless tape, tubeless valve, sealant, valve-core remover, clean rags, isopropyl alcohol, scissors, plastic tire levers, floor pump, booster pump, or compressor |
| Cost | Low to moderate for tape, valves, and sealant; higher if you need a booster pump or compressor |
Warning: This guide is for bicycle tires only. Do not convert car, motorcycle, scooter, or e-bike tires outside the tire and rim maker’s instructions. A poor tubeless setup can lose air suddenly, so stop and use a qualified bike mechanic if the rim, tire, or pressure limit is uncertain.
Before You Start: Tubeless Tools, Tires, and Rim Requirements
Before you remove the tube, confirm the wheel and tire can safely run tubeless. Look for markings such as Tubeless Ready, Tubeless Compatible, TLR, TR, TCS, or UST on the rim, tire sidewall, or manufacturer specifications. A complete tubeless-ready system normally uses a compatible rim, compatible tire, tubeless tape, a tubeless valve, and sealant. WTB, for example, describes its TCS system as a matched tubeless-ready setup using tires, rims, tape, valves, and sealant together.
If your rim is not marked tubeless-ready or tubeless-compatible, do not assume tape and sealant will make it safe. Stan’s NoTubes explains that tape-and-valve conversions are appropriate for rims labeled “Tubeless Ready,” “Tubeless Compatible,” or similar; older non-tubeless rims may require a specific rim-strip conversion or a different wheelset. You can read the manufacturer guidance here: Stan’s Tape & Valves Support.
[Products Worth Considering]

The GERCHWAY Presta Valve Adaptor Pump offers a versatile dual‑head chuck that fits both Presta and Schrader valves, eliminating the need for extra adapters. Its precision gauge accurately reads 5–100 PSI with ±2 PSI tolerance, ensuring safe and optimal tire inflation for bikes, motorcycles, SUVs, and cars. The 18‑inch hose provides flexible reach, while the 3‑in‑1 design lets you check pressure, release air, or inflate directly from an air compressor.

The AZUNO digital tire inflator gauge offers precise pressure readings for both Presta and Schrader bike valves, eliminating the need for separate adapters. Its bright LCD backlight and automatic shut‑off conserve battery life, while the included 18‑inch hose and accessories make setup quick and hassle‑free. Built with durable steel and brass components, it provides reliable performance for bicycles, motorcycles, and other vehicles.

The CO2 Inflator Kit provides rapid tire inflation for road and mountain bikes, delivering up to 100 psi in seconds with threaded 16 g cartridges. Its compact design fits easily in a saddle bag, and the included insulated sleeve protects hands from the cold discharge. Compatible with both Presta and Schrader valves, it offers a lightweight alternative to hand pumps for quick repairs on the trail.
Compatibility Checklist
- Rim: Must be tubeless-ready, tubeless-compatible, or part of an approved conversion system.
- Tire: Use a tubeless-ready tire whenever possible. A basic tube-type tire may leak through the casing or fail to hold the bead securely.
- Hookless rims: Use only tires approved for your hookless rim and follow the lower maximum pressure listed by the tire or rim maker.
- Tape width: Choose tubeless tape that covers the rim bed from sidewall to sidewall. Stan’s recommends tape about 1–2 mm wider than the internal rim width for many tubeless-ready rims.
- Valve length: Match the valve length to your rim depth, especially on deep carbon road or gravel wheels.
- Sealant: Use bicycle tubeless sealant and follow the sealant maker’s dose chart for your tire size.
Note: “Tubeless-ready” usually means the tire and rim still need tape, valves, and liquid sealant. It does not always mean the wheel is ready to inflate straight out of the box.
Tools and Supplies You Need
- Tubeless-ready tire and rim, or an approved conversion kit
- Tubeless rim tape in the correct width
- Tubeless valve with a removable core
- Valve-core remover
- Bicycle tubeless sealant
- Sealant injector or measuring cup
- Clean lint-free rags
- Isopropyl alcohol or a rim-maker-approved cleaner
- Scissors or a sharp blade for tape
- Plastic tire levers
- Floor pump with gauge, tubeless booster pump, air tank, or compressor
- Soapy water or tire-mounting fluid for stubborn beads
Prep the Rim: Clean, Tape, and Install the Tubeless Valve
Remove the wheel, deflate the tire, unseat both beads, and take out the tube. Remove the old rim strip unless your wheel already has undamaged tubeless tape installed. Wipe the rim bed, center channel, and spoke-hole area with isopropyl alcohol or a cleaner approved by the rim maker. Let the rim dry fully so the tape can bond.
| Step | Why it matters |
|---|---|
| Clean rim | Removes oil, dust, and old sealant so tape can stick |
| Apply tape | Seals spoke holes and creates the airtight rim bed |
| Open valve hole | A small clean hole helps the valve base seal |
| Install valve | The rubber base and nut seal the air path at the valve |
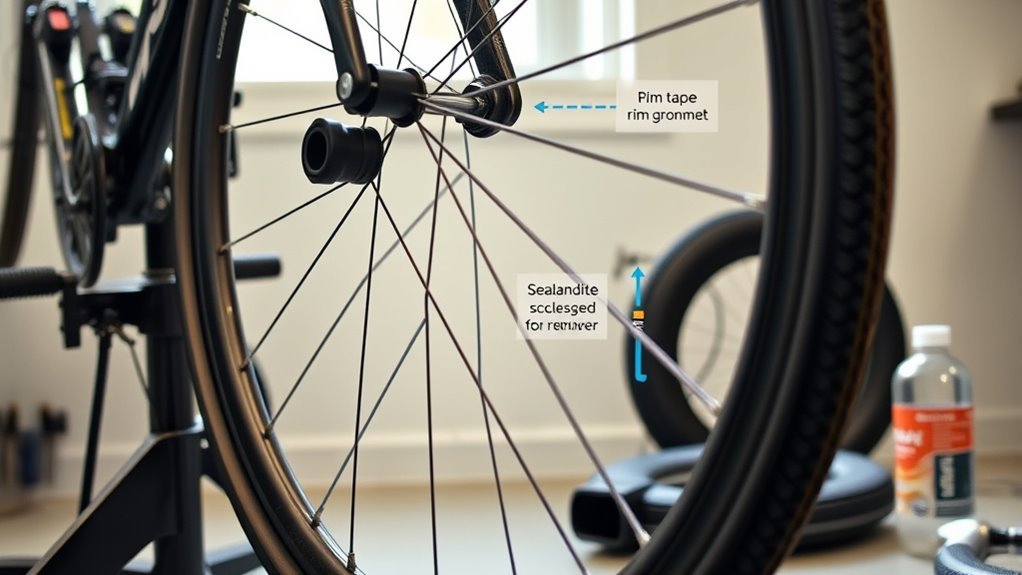
Start taping a few centimeters before the valve hole, keep firm tension on the tape, and press it smoothly into the center channel. Avoid wrinkles, bubbles, or tape running up the rim sidewall. Overlap the tape past the valve hole by several centimeters, or follow the tape maker’s overlap instructions. If your rim or tire maker calls for two layers, apply the second layer in the same direction.
Make the valve hole as small as practical. A round pick, small awl, or the valve itself can help open a neat hole without tearing the tape. Push the tubeless valve through from inside the rim, seat the rubber base squarely, then tighten the nut by hand. Do not crush the rubber base with pliers.
Pro Tip: After taping, run a clean thumb or rag around the whole rim bed with firm pressure. This helps the tape conform into the channel and reduces tiny air paths around spoke holes.
Mount the Tire and Seat the Bead for a Tubeless Setup
Check the tire’s rotation arrow before mounting. Fit one bead into the rim’s center channel first. Then work the second bead onto the rim by hand, starting opposite the valve and finishing near the valve. Keep both beads pushed into the deepest part of the center channel; this gives the bead more slack and reduces the chance of damaging the tape.
- Use plastic tire levers only when needed, and take small bites to avoid pinching the bead or cutting the tape.
- Make sure the valve sits between the beads, not trapped under one bead.
- Inspect the bead line around both sides of the tire before final inflation.
- If the tire is very tight, add a small amount of soapy water or approved mounting fluid to the beads.
You can add sealant in two ways. The cleaner method is to mount both beads first, remove the valve core, and inject sealant through the valve. The faster method is to leave a small gap in the second bead, pour sealant into the tire, then finish mounting the bead. Some thicker race sealants cannot be injected through a valve, so always check the sealant instructions.
Add Sealant and Inflate: Tips for Getting an Airtight Seal
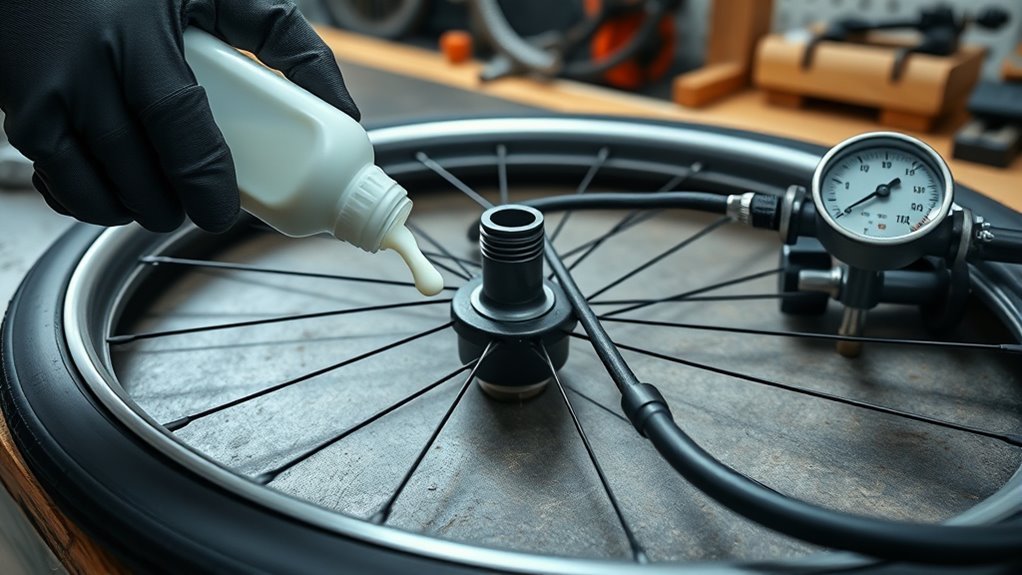
Use the sealant amount recommended by the tire or sealant maker. As a practical starting point, many road and cyclocross tires use about 30–60 ml, many gravel and medium-width tires use about 60–90 ml, and large mountain bike or plus tires often use about 90–120 ml. Stan’s lists 60 ml for road and cyclocross tires and 89–118 ml for many 29er XC tires, while Schwalbe lists 60–90 ml for 23–60 mm tires and 90–120 ml for 62–100 mm tires. For brand-specific dosing, see Stan’s Sealant Support and Schwalbe Tubeless guidance.
For the first inflation, remove the valve core so air can enter faster. Use a floor pump, tubeless booster, air tank, or compressor to deliver a quick high-volume blast. You should hear one or more pops as the beads move into the bead seat. Watch the molded bead line on each side of the tire; it should sit evenly all the way around the rim.
Warning: Never exceed the lower maximum pressure printed on the tire or rim. This is especially important with hookless rims, road tubeless tires, carbon rims, and high-volume compressors.
Once the bead is seated, reinstall the valve core if you removed it, inflate to your starting riding pressure, then spin, shake, and rock the wheel so sealant coats the casing, bead, and valve area. Lay the wheel flat on one side for a few minutes, flip it, then repeat. Recheck pressure after several hours and again the next day before your first ride.
Note: CO2 cartridges are best saved for roadside emergencies. Schwalbe advises against CO2 for setup, and Stan’s recommends replacing CO2 with regular air afterward because prolonged CO2 exposure can reduce sealant life.
[Products Worth Considering]

The CO2 Bike Tire Inflator provides fast, precise inflation for road and mountain bikes with a CNC‑machined aluminum body and brass internals. Its control lever lets you regulate gas flow, preventing freezing and ensuring safe, leak‑free connections to both Presta and Schrader valves. Compact and lightweight, it’s ideal for race, group rides, and timed events, delivering reliable performance with premium threaded CO2 cartridges.

The 5 Gallon Air Tire Bead Seater quickly inflates tire sidewalls to seat the bead onto the rim, works for tires up to 24.5 inches on vehicles ranging from cars to ATVs. Its heavy‑duty all‑steel construction with powder coating ensures durability, while the easy‑to‑read gauge lets you monitor pressure accurately. The long‑reach metal barrel delivers a precise air blast at the perfect angle for efficient bead seating. Ideal for automotive shops and DIY enthusiasts needing reliable tire repair performance.
Fix Common Seal and Seating Problems (Quick, Step-by-Step)
If the bead will not seat, do not simply keep adding pressure. First, check that both beads are in the rim’s center channel, the valve core is removed, and the tire beads are lightly lubricated with soapy water or tire-mounting fluid. Then try a fast blast of air from a booster pump or compressor while staying under the tire/rim pressure limit.
Sealant Distribution Techniques
After inflation, rotate the wheel slowly, then give it several firm shakes with the valve at different positions. This moves sealant to the bead, sidewalls, and any tiny casing pores. If one spot keeps bubbling, hold that spot at the bottom so sealant pools there, then shake and reinflate.
- Spin and shake immediately after inflation.
- Hold leaking areas low so sealant can reach them.
- Lay the wheel flat on each side for a few minutes.
- Recheck pressure after several hours or overnight.
Bead Seating Troubleshooting
Use the molded bead line on the tire as your guide. If the line dips below the rim in one spot, deflate the tire, push both beads back into the center channel, add a little soapy water, and inflate again. Schwalbe also recommends centering the tire by hand at low pressure when the tire and rim tolerances make seating difficult. For more fitting guidance, see Schwalbe tire fitting instructions.
| Problem | Likely cause | Fix |
|---|---|---|
| Air leaks from spoke holes | Rim tape is torn, wrinkled, too narrow, or poorly sealed | Remove the tire, peel off the tape, clean the rim, and retape the full rim bed |
| Air leaks at the valve | Valve base is not seated, tape hole is too large, or nut is loose | Reseat the valve, tighten the nut by hand, and retape if the hole is damaged |
| Bead will not pop into place | Air is escaping too fast or beads are not in the center channel | Remove valve core, lubricate beads, use a booster/compressor, and check bead position |
| Sidewall weeps sealant | Porous casing or low sealant coverage | Spin, shake, lay the wheel on each side, and add sealant if the tire maker allows it |
| Tire burps air while riding | Pressure too low, incompatible tire/rim, damaged bead, or hard cornering impacts | Increase pressure within limits, inspect the bead, and confirm tire/rim compatibility |
| Valve clogs | Dried sealant in valve core | Remove and clean or replace the valve core |
A tubeless setup is not finished when the tire first holds air. It is finished when the bead is evenly seated, no bubbles appear during a leak check, and the tire still holds pressure after several hours.
Maintain Tubeless Tires: Topping Up Sealant, Pressures, and Inspection
Tubeless systems reduce many small puncture flats, but they are not puncture-proof. Large cuts, torn sidewalls, damaged beads, and dried sealant can still leave you stranded. Check tire pressure before rides and inspect tread, sidewalls, and the bead area for cuts, embedded glass, thorns, or sealant stains.
- Check sealant every 2–6 months: Stan’s says sealant generally lasts 2–6 months depending on temperature, humidity, storage, riding frequency, casing thickness, and punctures already sealed.
- Check more often in heat: Hot, dry climates can dry sealant faster.
- Use the right pressure: Pressure depends on tire width, rim type, rider weight, bike load, and terrain. Stay within the lower maximum listed by the tire or rim maker.
- Refresh damaged tape: Do not patch torn tubeless tape. Remove it, clean the rim, and retape.
- Carry repair backup: Bring a tubeless plug tool, pump or emergency CO2, spare tube, tire boot, and valve-core tool on longer rides.
Pro Tip: If you hear dried sealant rattling inside the tire, it is time to open the tire, remove the dried clumps, wipe out excess residue, and add fresh sealant.
Frequently Asked Questions
Can I convert my tube tire to tubeless?
Yes, if your bicycle rim and tire are tubeless-ready, tubeless-compatible, or approved for a specific conversion system. Remove the tube, tape the rim properly, install a tubeless valve, mount the tire, add sealant, inflate safely, and check for leaks before riding.
Can you make a tube-type tire tubeless?
Sometimes a tube-type bicycle tire will hold air with sealant, but it is not the best or safest choice. A true tubeless-ready tire has a bead and casing designed to hold air and stay seated. For reliable riding, use a tire marked tubeless-ready, TLR, TR, TCS, UST, or similar.
Do I need a special pump for tubeless tires?
Not always. Some tire and rim combinations seat with a normal floor pump, especially after removing the valve core. Stubborn setups often need a tubeless booster pump, air tank, or compressor to deliver a fast burst of air.
How much sealant should I put in a tubeless bike tire?
Use the sealant maker’s chart first. As a general guide, many road tires use about 30–60 ml, many gravel tires use about 60–90 ml, and larger mountain bike tires often use about 90–120 ml. Porous casings and plus-size tires may need more.
Why is air leaking from my spoke holes?
Air from spoke holes almost always points to a rim-tape problem. The tape may be too narrow, wrinkled, torn, or poorly sealed at the valve. Remove the tire, clean the rim bed, and retape the rim rather than patching one small section.
How often should I top up tubeless sealant?
Check sealant every 2–6 months. Inspect more often in hot, dry weather, before races, before long trips, or when the tire starts losing air faster than usual. If the inside is dry or only has rubbery clumps, add fresh sealant.
Conclusion
Converting bicycle tube tires to tubeless is worth doing when your rim and tire are compatible and you take the setup steps carefully. Clean the rim, use the correct tape width, install a good tubeless valve, add the right sealant amount, inflate without exceeding pressure limits, and check for leaks before riding. Keep sealant fresh, carry a plug kit and backup tube, and fix persistent leaks early so your tubeless setup stays reliable instead of becoming a roadside problem.
Sources
- Stan’s Tape & Valves Support — rim tape width, tubeless-ready conversion limits, tape installation, and retaping guidance
- Stan’s Sealant Support — sealant quantity, 2–6 month sealant life, CO2 caveat, and maintenance guidance
- Schwalbe Tubeless FAQ — tubeless tools, sealant amounts, maximum pressure warning, and inflation guidance
- Schwalbe Tire Fitting Guidance — tire fitting, bead centering, soapy water/assembly fluid, and rim seating troubleshooting
- WTB TCS Technology — tubeless-ready tire, rim, tape, valve, and sealant system compatibility
- Park Tool Tubeless Tire Conversion — mechanic-style tubeless conversion workflow and setup fundamentals
Related Articles
How Much Does a Semi Truck Tire Weigh? Exact Weight Guide
Know the exact weight of a semi truck tire, from standard steer tires to heavy-duty options, and discover what changes it next.
Read More
How Much Does a Car Tire Weigh? Exact Weight Guide
Discover how much a car tire weighs and why the exact number depends on size, build, and vehicle type.
Read More
How Heavy Is a Car Tire? Average Weight by Size & Type
Just how heavy is a car tire? Find the average weight by size and type, and discover what else changes before you choose.
Read More