
Tubeless Bead: 3 Ways to Seat It Without Compressor
A tubeless bead that won’t pop into place can turn a simple tire job into a messy, frustrating stop. You don’t need a shop compressor for many setups, but you do need fast airflow, a clean rim, and careful bead position. This guide shows you how to prep the wheel, seat the bead, add sealant, and fix the most common leaks without damaging your tire or rim.
What’s in This Article
- Quick Answer: Seat a Tubeless Bead Without a Compressor
- What You Need: Pumps, Valve Tools, and Sealant
- Prep Rim and Tyre: Tape, Valve Cores, and Bead Positioning
- 3 Ways to Seat a Tubeless Tyre Bead Without a Compressor
- Add Sealant, Reseat the Valve, and Finish Inflation
- Troubleshooting: Leaks, Stubborn Beads, and When to Seek Help
- Frequently Asked Questions
- Conclusion
Quick Answer: Seat a Tubeless Bead Without a Compressor
Remove the valve core to open the airway, then seat the bead with a fast burst from a high-volume track pump, air-chamber pump, or CO2 cartridge. Clean the rim first, center both beads in the rim channel, and wet the bead with a light soap-and-water mix so it can slide into place. Once you hear the bead pop, reinstall the valve core, inflate to the correct pressure, and check for leaks around the bead, valve, and rim tape.
Key Takeaways
- Remove the valve core before inflation so more air reaches the tire at once.
- Place both beads in the rim’s center channel before you start pumping.
- Use soapy water on the bead to reduce friction and help you spot leaks.
- Use CO2 or an air-chamber pump when a standard track pump can’t move enough air.
- Stop and get bike shop help if repeated attempts risk tire or rim damage.
What You Need: Pumps, Valve Tools, and Sealant
Gather your tools before you start so you don’t lose pressure halfway through the job. You need a high-volume floor pump, a valve-core remover, tubeless sealant, tire levers, and a small cup of soapy water.
Choose a pump that moves a lot of air quickly, not just one with a high maximum pressure. Wider tyres and loose rim fits often need an air-chamber pump or CO2 cartridge to seat the bead.
Estimated total time: 15 to 30 minutes for a clean, compatible rim-and-tyre setup.
| Item | Purpose |
|---|---|
| High-volume pump | Creates a fast pressure rise to seat the bead |
| Valve tools | Remove and reinstall the core for faster airflow |
| Sealant & levers | Seal small leaks and help place the bead |
Add sealant only after you confirm the bead can seat, unless your setup seals better with sealant already inside. Use about 1–2 oz for many bicycle tyres, then adjust for tire size and the sealant maker’s guidance.
[Products Worth Considering]

The CO2 Inflator Kit provides rapid tire inflation for road and mountain bikes, delivering up to 100 psi in seconds with threaded 16 g cartridges. Its compact design fits easily in a saddle bag, and the included insulated sleeve protects hands from the cold discharge. Compatible with both Presta and Schrader valves, it offers a lightweight alternative to hand pumps for quick repairs on the trail.

The AZUNO digital tire inflator gauge offers precise pressure readings for both Presta and Schrader bike valves, eliminating the need for separate adapters. Its bright LCD backlight and automatic shut‑off conserve battery life, while the included 18‑inch hose and accessories make setup quick and hassle‑free. Built with durable steel and brass components, it provides reliable performance for bicycles, motorcycles, and other vehicles.

The AstroAI MC3 offers versatile, high‑pressure and high‑volume inflation with dual metal motors and OmniVent heat dissipation, delivering up to 160 PSI and 350 L/min. It runs on 110 V AC, 12 V DC, or a built‑in rechargeable battery, providing up to 20 minutes of continuous use. Integrated storage and a digital HD screen make it convenient for car, bike, and outdoor inflation needs.
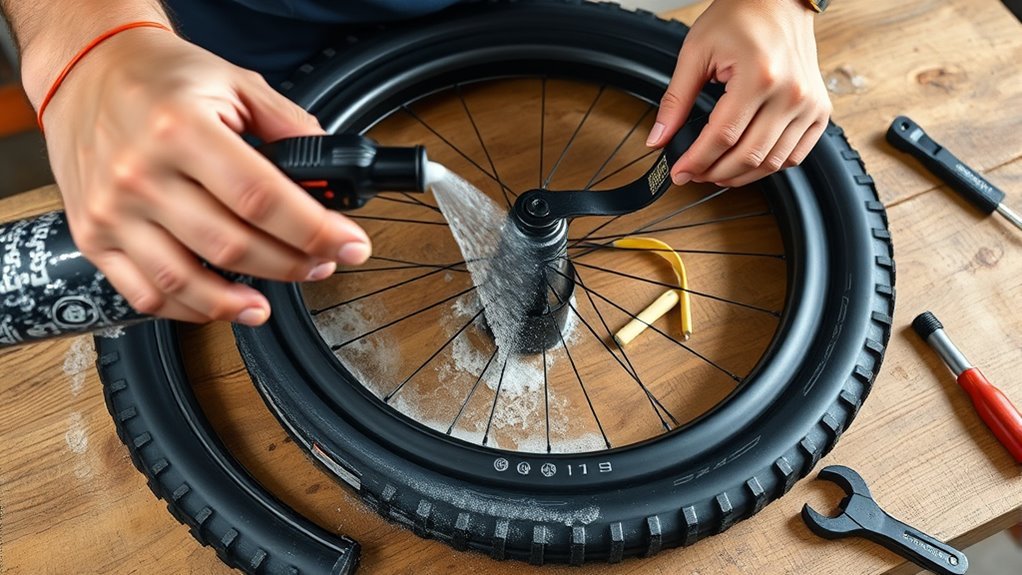
Prep Rim and Tyre: Tape, Valve Cores, and Bead Positioning
Good prep makes the biggest difference when you don’t have a compressor. Clean the rim, check the tape, remove the valve core, and place both beads in the center channel before you inflate.
Clean Rim Bed
Wipe away grease, dirt, and dried sealant so the tape and bead can seal against clean surfaces. Inspect the rim channel for cuts, dents, sharp edges, and old adhesive.
Clean the rim bed with isopropyl alcohol and a lint-free rag. Let it dry before you apply tape or mount the tyre.
| Task | Tool | Acceptable Result |
|---|---|---|
| Clean rim bed | Isopropyl alcohol, rag | Bare, residue-free surface |
| Apply tape | Tubeless rim tape, roller | Full spoke-hole coverage |
| Check bead placement | Hands/visual | Bead centered in channel |
Press the tape firmly into the rim bed and overlap it at the valve hole. Poor tape causes many slow leaks, especially around spoke holes.
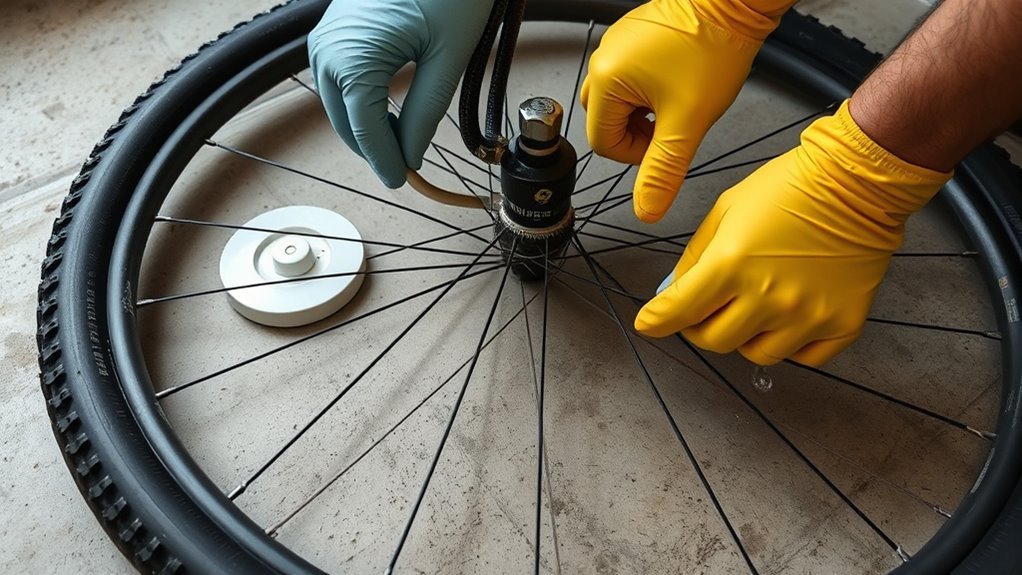
Remove Valve Cores
Loosen and remove the valve core with a core remover so the valve can pass more air. This extra flow helps the bead snap onto the rim shoulder before air escapes around the sidewalls.
Check the valve threads, rubber base, and stem for damage while the core sits out. Replace bent, cracked, clogged, or corroded parts before you inflate.
Keep a spare valve core nearby. After the bead seats, reinstall the core snugly, add sealant if needed, and rotate the wheel to spread the sealant.
Seat Bead In Channel
Place both beads in the rim’s center channel before you inflate. That center valley gives the tyre enough slack to move outward and pop onto the rim shoulder.
Hold loose sections in place with your hands or tire levers while you start pumping. Keep fingers clear of pinch points as the bead moves.
| Task | Tool | Goal |
|---|---|---|
| Tape rim | Tubeless tape | Airtight seal |
| Hold bead | Tire lever/hand | Center channel alignment |
| Inflate | Pump | Correct tire pressure |
Warning: Never exceed the lower maximum pressure listed on the tyre or rim.
3 Ways to Seat a Tubeless Tyre Bead Without a Compressor
You can seat a tubeless bead without a compressor by using short, high-flow bursts of air. Start with a track pump on easy setups, then move to an air chamber or CO2 if the bead still leaks.
- Remove the valve core. Open the valve fully so your pump can move more air into the tyre.
- Center both beads. Push the beads into the rim channel all the way around the wheel.
- Lubricate the bead. Wipe a light soap-and-water mix around both bead edges.
- Inflate with fast strokes. Pump hard and steady until you hear the bead pop into place.
- Check the bead line. Spin the wheel and confirm the molded line sits evenly above the rim.
- Reinstall the valve core. Tighten it snugly, then inflate the tyre to your riding pressure.
[Products Worth Considering]

This heavy‑duty tire inflator kit features a 50‑foot hybrid polymer hose and a universal glad‑hand attachment, allowing trucks to tap onboard air for quick tire inflation. The 30° dual air chuck reaches hard‑to‑reach valve stems, while weather‑resistant construction ensures reliable performance indoors and out. Ideal for fleet managers and truck drivers who need a portable, high‑pressure solution.
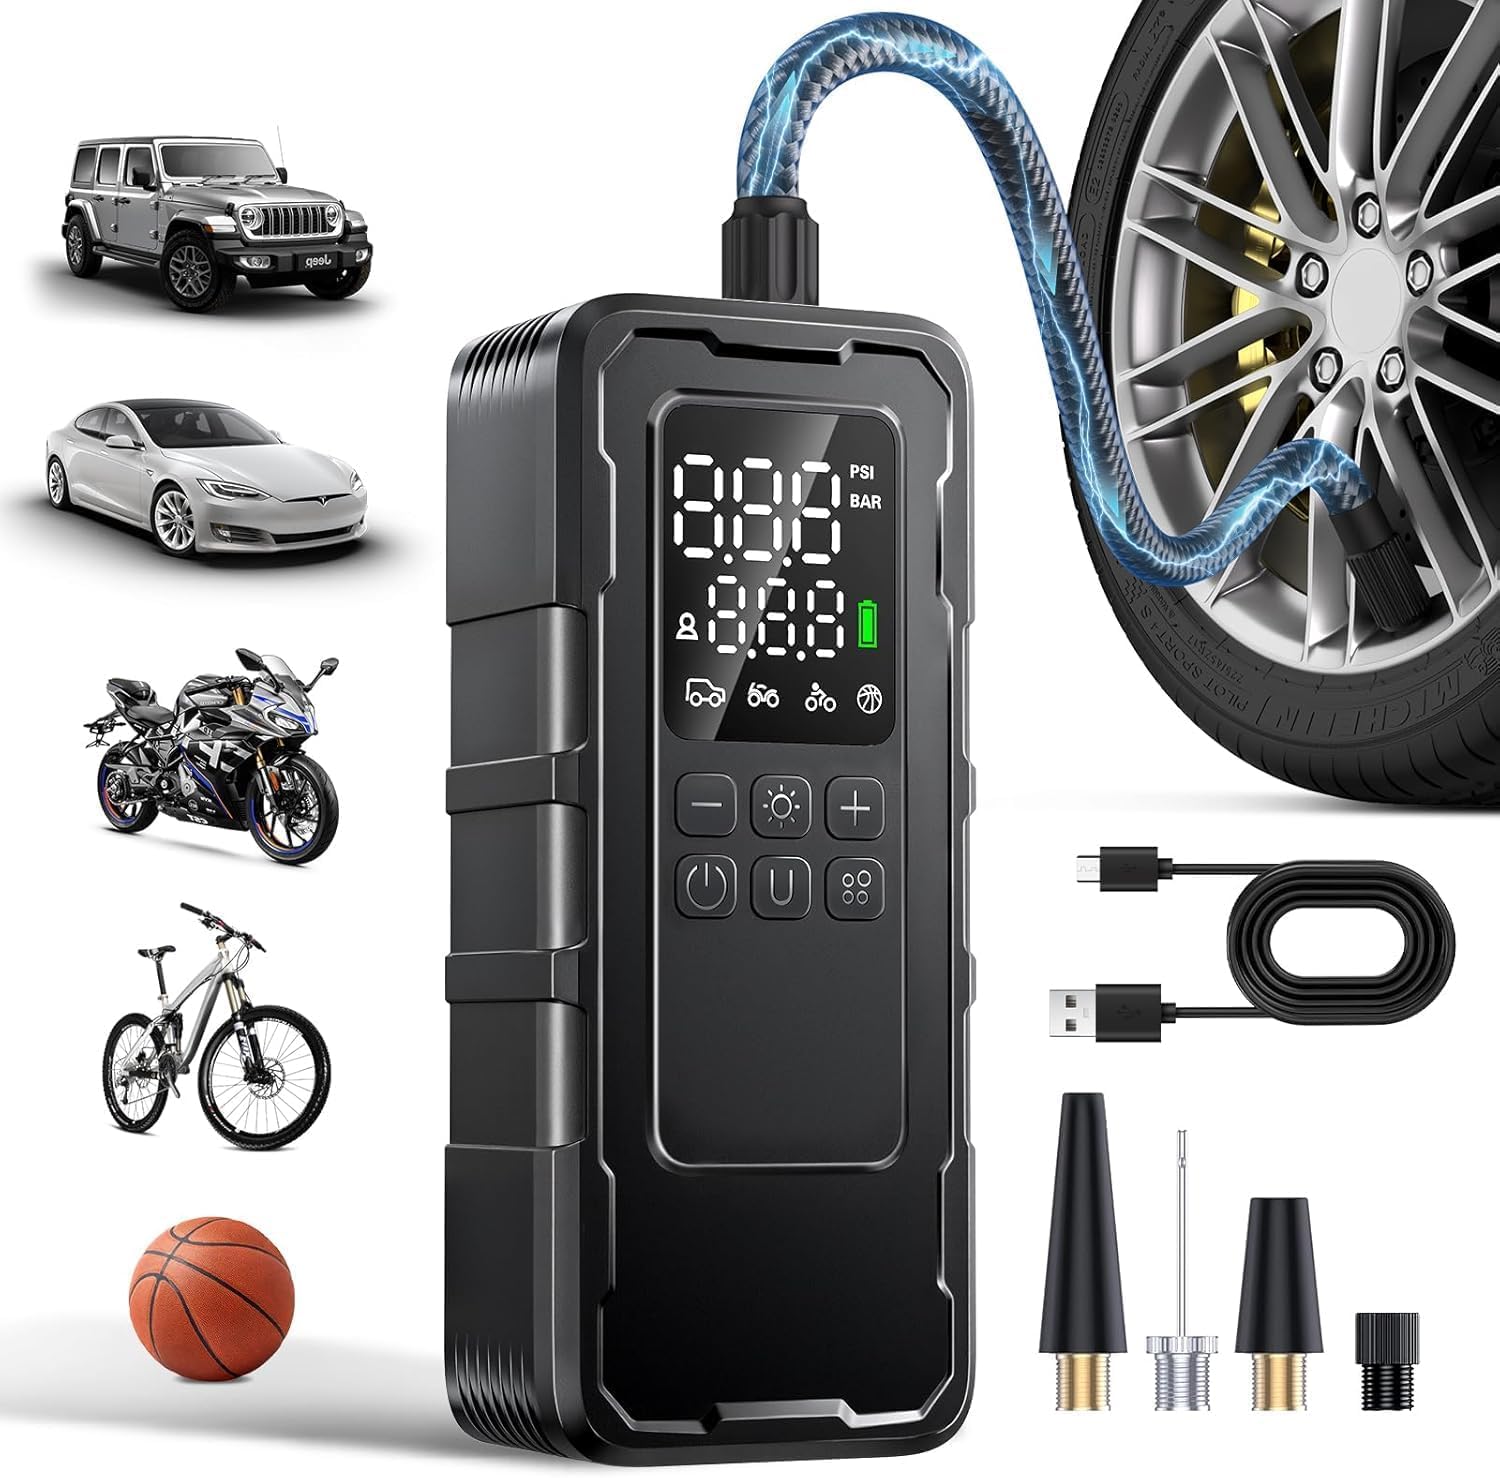
The HUANTER portable air compressor delivers up to 150 PSI for fast, quiet inflation, making it ideal for roadside emergencies, daily commuting, and outdoor travel. Its 7800mAh rechargeable battery provides multiple uses per charge, while the digital display and auto shut‑off prevent over‑inflation. The compact design with quick‑connect hose and LED light adds convenience for car, bike, and inflatable needs.
Rapid Pump Inflation
Try rapid pump inflation first when your rim and tyre fit tightly. Remove the valve core, attach the pump head firmly, and pump with fast full strokes.
Listen for a sharp pop or ping as the bead seats. Check both sides because one side may seat before the other.
- Remove the valve core to increase air volume.
- Use a high-volume pump for a stronger burst.
- Confirm the pump head seals tightly on the valve.
- Listen for a clear pop as the bead seats.
- Use soapy water to help the bead slide.
CO2 And Air Chambers
CO2 canister bursts and pumped air chambers give you more air at once than a basic hand pump. They help when air escapes around the bead faster than you can pump.
CO2 works well for field repairs because it delivers an instant blast. It also chills during discharge, so handle the cartridge with care and check pressure again after the tyre warms.
An air-chamber pump gives you better control at home. Pump the chamber, connect it to the valve, and release the stored air in one quick rush.
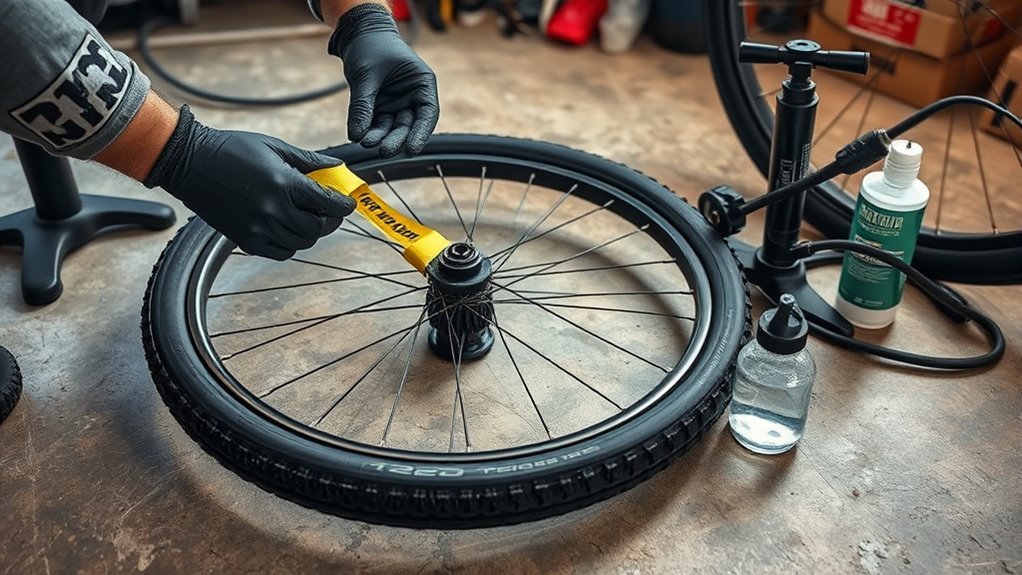
Pro tip: Strap the tyre tread lightly with a toe strap or webbing strap to push the beads outward before inflation.
Add Sealant, Reseat the Valve, and Finish Inflation
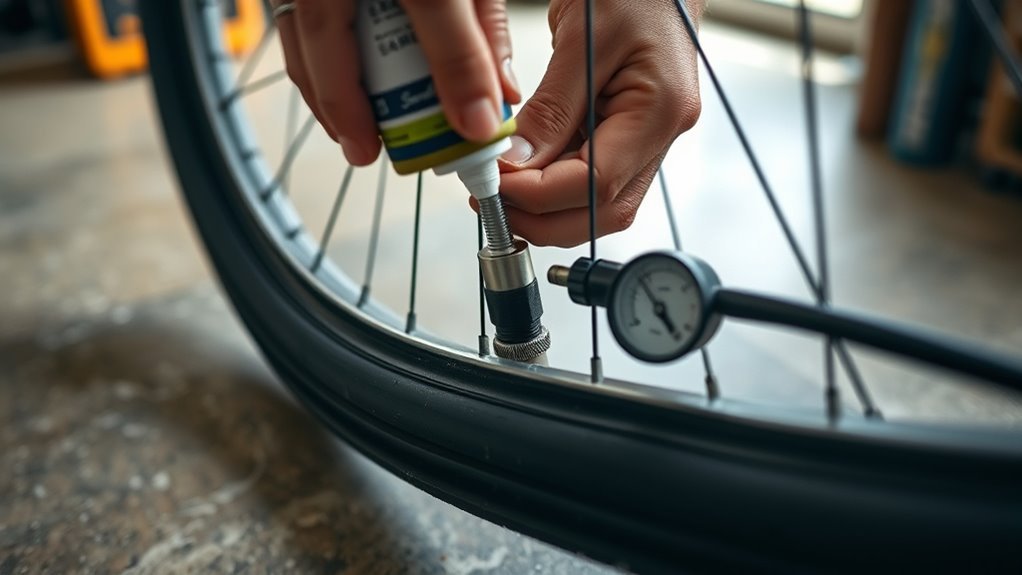
- Deflate the tyre if needed. Keep the bead seated while you release enough pressure to remove the valve core safely.
- Inject the sealant. Add about 1–2 ounces for many bicycle tyres, then adjust for tyre size and product guidance.
- Reinstall the valve core. Tighten it snugly with a valve-core tool so air can’t leak through the stem.
- Inflate the tyre. Bring it to about 80–90% of your intended riding pressure while you check the bead.
- Spread the sealant. Shake the wheel side to side and spin it so sealant reaches the casing and bead area.
- Inspect for leaks. Look around the bead line, valve base, and spoke holes for bubbles or wet spots.
- Top up pressure. Set the tyre to your preferred riding pressure, then take a short test ride.
Note: Some sealants don’t work well with CO2, so check the sealant label before you rely on it.
Troubleshooting: Leaks, Stubborn Beads, and When to Seek Help
If your tubeless tire won’t hold air or the bead won’t seat, find the leak before you keep pumping. Check the valve, bead, rim bed, and tape in that order.
If air escapes through spoke holes, inspect the rim tape for tears, gaps, or poor overlap. Replace damaged tape instead of stacking random tape over a dirty rim bed.
If the bead resists seating, push both beads back into the center channel, wet the bead with soapy water, and use quick pump bursts. Rotate the wheel between attempts so sealant can reach small gaps.
Stop if the tyre bulges unevenly, the bead line looks crooked, or the rim shows damage. A bike shop can check compatibility and seat the bead without risking a blow-off.
Frequently Asked Questions
Can I Seat a Tubeless Bead Using CO2 Cartridges?
Yes, you can seat a tubeless bead with CO2 if the tyre and rim fit well enough. CO2 gives a fast burst, but it costs more per attempt and can chill the valve and cartridge during use.
How Do I Convert Non-Tubeless Rims Safely?
Start by checking whether the rim and tyre maker allows a tubeless setup. If the rim lacks tubeless approval, use tubes or ask a bike shop before you try a conversion.
Is Rim Tape Reusable Between Tires?
You should replace rim tape when it lifts, tears, wrinkles, or loses its seal. Fresh, correctly sized tape gives you a safer and more reliable tubeless setup.
Can Sealant Damage My Rim or Brakes?
Most bicycle tyre sealants won’t harm rims when you clean spills quickly. Keep sealant away from brake pads and rotors because residue can reduce braking performance.
How Often Should I Top up Sealant After Seating?
Check sealant every 2–6 months, depending on heat, humidity, tyre size, and sealant type. Top it up when the tyre starts losing air faster or when the inside feels dry.
Conclusion
The key to seating a tubeless bead without a compressor is simple: prepare the rim well and move air into the tyre fast. Remove the valve core, center the bead, use soapy water, and choose the strongest air source you have. After the bead seats, add sealant, reinstall the core, and check the bead line before you ride. If the setup still won’t seal after careful prep, let a bike shop inspect the rim, tyre, and tape. A clean, patient setup gives you a safer tyre and fewer roadside problems.
Related Articles
How Much Does a Car Tire Weigh? Complete Weight Guide by Type
Standard car tire weights vary widely by type, and the full guide reveals why some are surprisingly heavier than others.
Read More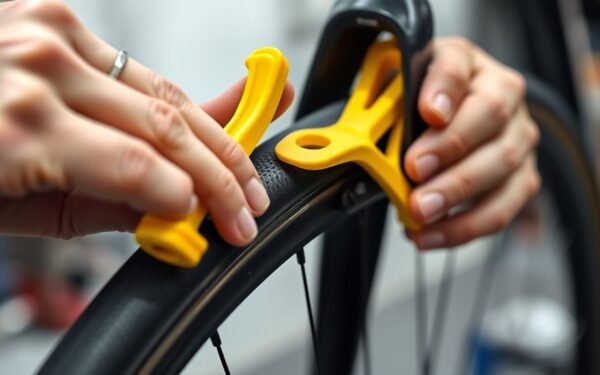
Easy Tire Levers Guide: Avoid Pinching Tubes
Gentle leverage, valve alignment, and a second lever keep your tube safe—learn the simple tricks to avoid pinches and what to do if it won’t budge.
Read More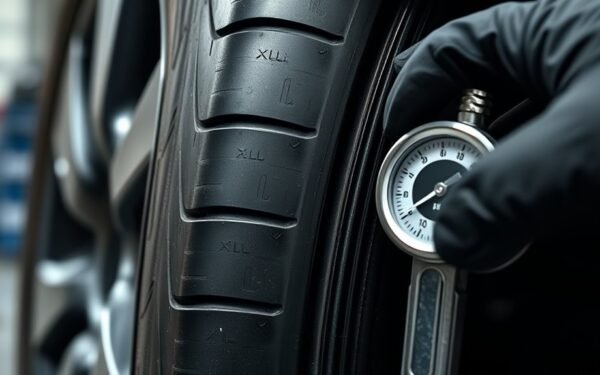
XL Tire Meaning Explained: Extra Load Guide
Curious what XL means on a tire and how Extra Load affects pressure, capacity, and safety—discover why proper inflation matters and what to check next.
Read More