
How to Put Slime in a Tire: Step-by-Step Sealant Guide
Choose the right Slime for your tire: tubeless tire sealant for cars and trucks, or tube sealant for bike inner tubes. Deflate the tire, place the valve stem up, and remove the valve core with the cap tool. Inject 2-4 oz. of sealant through the valve stem, then reinstall the core and inflate to the recommended pressure. Spin or drive about 0.2 miles, then check for leaks and pressure, and the details get even more useful.
Key Takeaways
- Choose the correct Slime product for your tire type and valve, such as Schrader, Presta, tubeless, or tube sealant.
- Position the valve stem correctly, remove the valve cap, and carefully remove the valve core to deflate the tire.
- Inject 2–4 ounces of Slime sealant through the valve stem, then reinstall the valve core securely.
- Inflate the tire to the manufacturer’s recommended pressure and wipe away any excess sealant.
- Spin or drive the tire a short distance, then check for leaks with soapy water and tighten if needed.
Which Slime Product Should You Use?
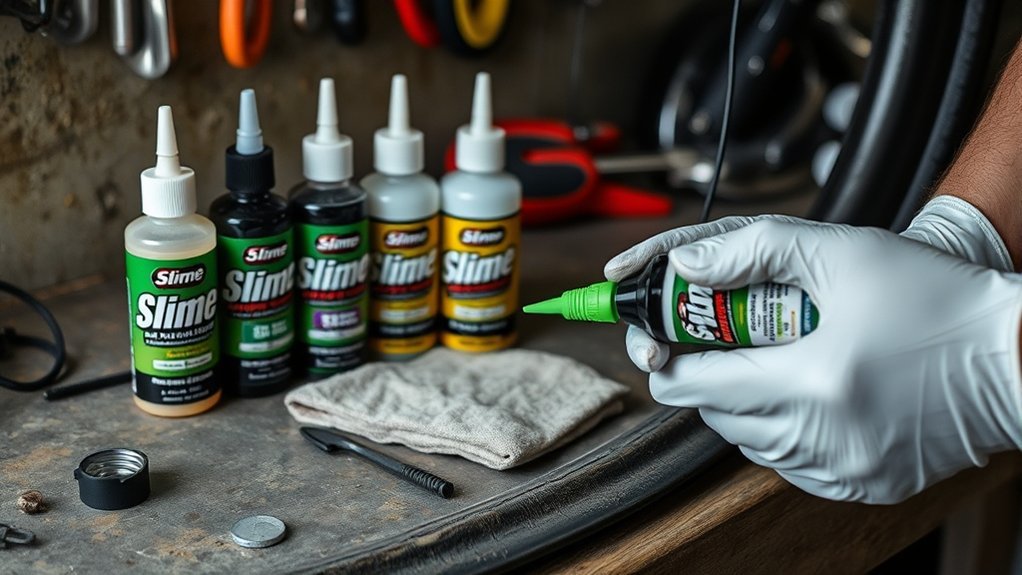
For the right repair, choose the Slime product that matches your tire and your goal: use the yellow bottle for emergency repairs, and the red, blue, or black bottles for preventive maintenance. You should pick Slime tube sealant for bicycle inner tubes and tire sealant for tubeless car or truck tires. Match the sealant to your valve type before you install Slime; it must work with Schrader valves or Presta valves to flow correctly. Check the bottle label for the recommended application amount: most tires need 2-4 oz, which keeps the process efficient and waste low. If you maintain multiple tires, a gallon can seal more than 40, so you can stretch your resources. Berryman Products is recommended when you want quality sealants designed for specific tire needs. That choice helps you restore control, reduce downtime, and keep your ride moving without relying on inflated prices. Having a reliable tire plug kit, like the AUTOWN Plug Kit, ensures you’re prepared for unexpected punctures.
Gather Your Tools and Deflate the Tire
Start by gathering the correct Slime bottle and positioning the valve stem in the upper half of the tire so the sealant can spread properly. Use the bottle’s black cap as one of your tools to remove the valve cap, then back out the valve core carefully. Let air escape slowly so you can deflate the tire without stress or wasted motion. Keep the core aside for later reinstallation, and inspect the tread and sidewall for puncturing debris. Remember, proper surface preparation is crucial to ensure the sealant adheres effectively.
Gather the correct Slime bottle, raise the valve stem, remove the core, and deflate slowly before checking for puncture debris.
- Select the right Slime sealant bottle.
- Position the valve stem high on the tire.
- Remove the valve core with the cap tool.
- Deflate fully and check for nails or thorns.
When the tire holds no air pressure, you’re ready to inject the sealant cleanly and move toward a self-reliant repair.
How Do You Remove the Valve Core?
First, identify whether you’re working with a Schrader or Presta valve so you can use the correct removal method. If you’ve got a Schrader valve, use the black cap from the Slime bottle as the core tool; for a Presta valve, unscrew the knobby top section first. Then twist the valve core counter-clockwise until it comes free, and expect a hiss as the tire starts to deflate. It’s important to ensure that the tire is at a reasonable tread life before attempting to seal it with Slime.
Identify Valve Type
Before you remove the valve core, identify whether your tire uses a Schrader or Presta valve. This step keeps the process clean and controlled. If you see a Schrader valve, use the included black cap tool to twist the core counter-clockwise and remove it. If you see a Presta valve, unscrew the knobby top first, then use the tool to remove the valve core. Listen for air hissing out; that means the tire’s deflating normally.
- identify valve type
- match the correct tool
- remove the valve core
- set aside the core for reinstallation
With the valve open, you can inject the Slime sealant without fighting pressure. Work carefully, stay precise, and keep the core safe for reinstallation after the sealant goes in.
Use Core Removal Tool
Use the black cap from the Slime bottle as your valve core removal tool. Check whether you’re working with Schrader valves or Presta valves before you touch anything. On Schrader valves, seat the core removal tool squarely, then twist counter-clockwise until the valve core frees up and air starts to hiss; that hiss tells you the tire’s deflating. On Presta valves, unscrew the knobby ball at the top instead. Don’t rush—control matters. Once the core is out, place it in a safe place where you can find it later. That small part keeps your system intact, and you’ll need it to reinstall after you inject Slime sealant. With the valve open and the tire relaxed, you’re ready for the next step in the process.
Turn Core Counter-Clockwise
Turn the valve core counter-clockwise with the black cap from the Slime bottle until it loosens and air starts to hiss out. Before you remove the valve, check compatibility so you don’t damage a Schrader valve or Presta valves. On a Schrader valve, keep the cap aligned and turn counter-clockwise until the core backs out. On Presta valves, unscrew the knobby top, then pull the core free to let air to escape and deflate the tire.
- Confirm the valve type.
- Use the Slime cap.
- Turn counter-clockwise.
- Set aside the core.
That hiss tells you the seal is open and you’re ready to install Slime. Follow this sealant guide, work cleanly, and keep the valve core set aside for reinstallation.
How to Put Slime in a Tire
Select the correct Slime bottle for your use case—yellow for emergency repair, or red, blue, or black for prevention—and position the valve stem in the upper half of the tire. Remove the valve core, let the tire deflate completely, then inject 2–4 oz. of sealant through the valve stem using the clear tube. Reinstall the valve core, inflate to the manufacturer’s specified pressure, and check for leaks before driving about 0.2 miles to distribute the sealant. Using a 3T Electric Car Jack can make the tire-changing process even easier in case of an emergency.
Preparing the Tire
Before you add Slime, check the tire’s valve type so you know whether you’re working with a Schrader or Presta stem. Then position the valve stem in the upper half of the tire for ideal sealant distribution. Use the black cap as a valve core removal tool, then remove the valve core so air can escape and the flat tire can fully deflate. For Schrader, twist counter-clockwise; for Presta, use the knobby ball to remove the valve core. Next, inspect the tire carefully for puncturing objects and clear them out before you inject Slime sealant.
- Position the valve.
- Deflate completely.
- Inspect the tire.
- Remove puncturing objects.
This prep gives you a clean, controlled setup and keeps your wheel ready for liberation from repeated flats.
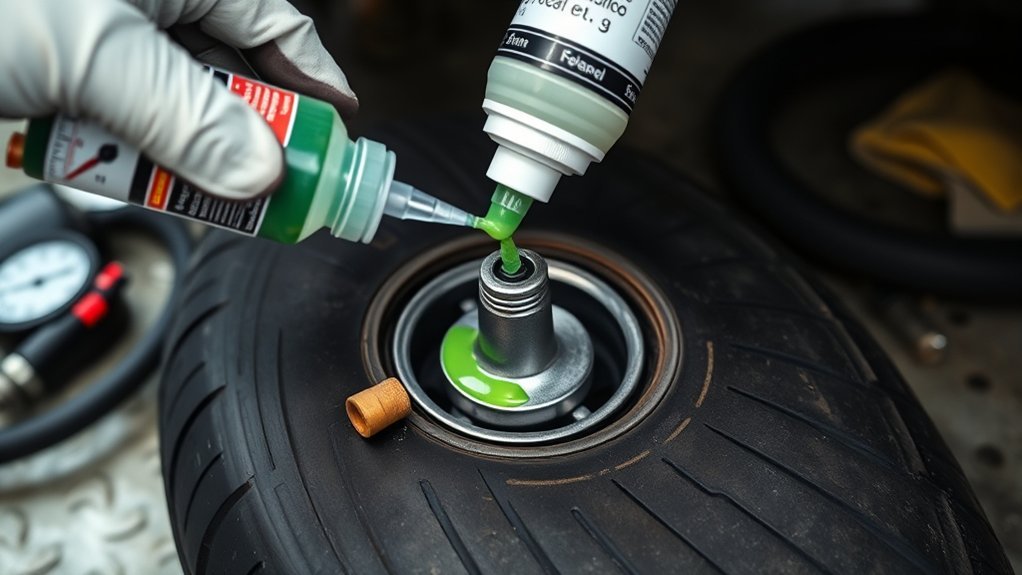
Adding the Slime
With the valve stem positioned in the upper half of the tire, remove the valve core using the black cap tool from the Slime bottle and let the tire deflate fully. Check whether you have a Schrader or Presta valve, then use the open stem as a clean sealant entry point. Measure 2-4 oz. and inject Slime according to tire size and type. Keep the tire level so the liquid moves freely. Reinstall valve core tightly, wipe off excess, and prepare to inflate tire to the manufacturer’s recommended pressure. After inflation, drive or rotate the wheel to distribute sealant evenly around the casing. This step helps the sealant reach punctures fast, so you can keep moving with less downtime and more autonomy.
Reinstall the Valve Core and Inflate the Tire
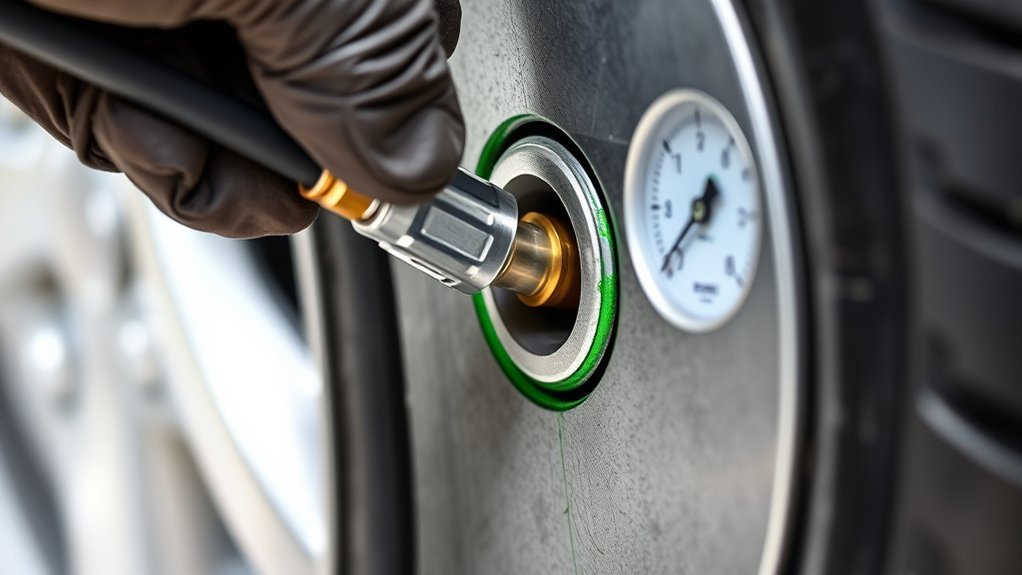
Reinstall the valve core by threading it back in with the black tool or your fingers and turning it clockwise until it’s snug, which restores a tight seal. Then wipe away any excess Slime around the valve area so the seal stays clean and controlled.
- Use a tire inflator to inflate the tire.
- Check the sidewall label for the recommended pressure, usually 30-35 PSI.
- Rotate the tire briefly to distribute Slime sealant through the casing.
- Verify the valve area is leak-free with soapy water.
As you inflate, add air in measured bursts and stop at the specified pressure; overinflation can reduce effectiveness and limit your freedom on the road. The Slime sealant then moves through the tire, coating the inner surface so it can help seal punctures fast. If you see bubbles, tighten the core and recheck. When the pressure is right, your tire is ready for service with a practical, field-tested defense. Additionally, using a temporary seal can provide peace of mind for unexpected punctures.
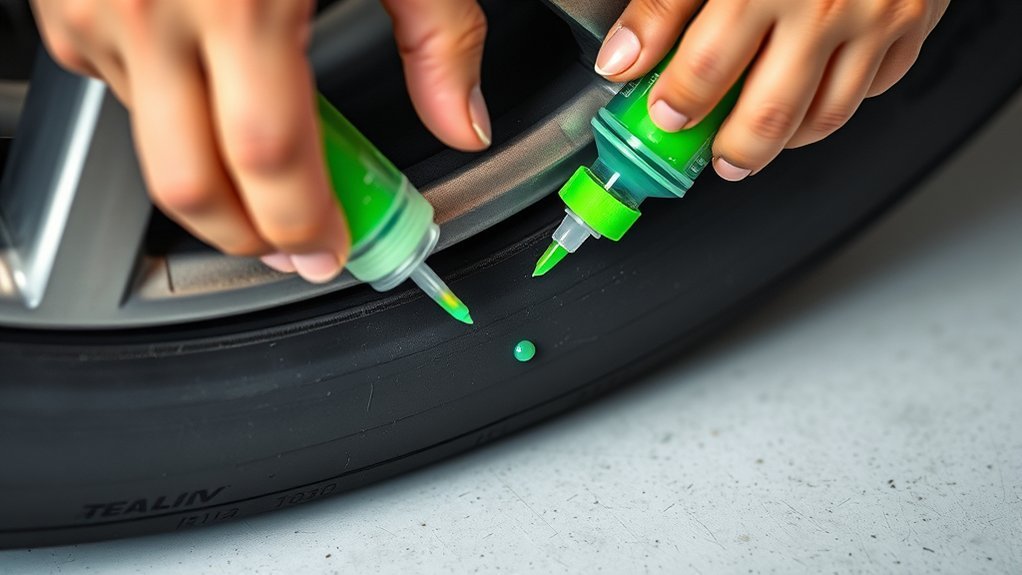
Spin the Tire and Check for Leaks
Spin the tire several times so the Slime spreads evenly across the inner surface and can start sealing any punctures. Keep spinning the tire to achieve even distribution of the sealant, then roll the vehicle about 0.2 miles so pressure and motion help the punctures close. Next, check for leaks by visually inspecting the valve area and tread. Look for wet sealant, bubbles, or air escaping at the valve core and along the casing. If you detect a leak, stop and verify the valve core seats fully; re-tighten it or replace it if the seal won’t hold. For a bicycle, spin the wheel by hand and watch for any loss of air around the sidewall or valve. When the reading stays steady and no leak appears, you’ve successfully plugged the punctures and restored a controlled, self-reliant seal. Proper application of the sealant ensures durability and effectiveness in sealing leaks.
Frequently Asked Questions
Why Won’t Slime Go Into My Tire?
You’re likely facing Tire valve problems, Slime viscosity issues, or improper Proper tire pressure. Check that you’ve fully removed the valve core, the stem isn’t clogged, and the tire is deflated enough for flow. Verify Tire sealant compatibility, Slime shelf life, and the recommended dose for your size. Different Tire puncture types and Seasonal tire considerations can affect entry. Use correct Slime application techniques, and inspect Air leak causes. Follow Slime maintenance tips.
How Much Slime Should I Put in My Tire?
You should match Slime to your tire sizes: 8 oz for most car tires, 2–4 oz for bikes, and up to 16 oz for larger truck or SUV tires. Check the chart for slime types, application methods, and installation tools. You’ll get sealant benefits and better leakage prevention if you follow product reviews, use DIY techniques carefully, and avoid common mistakes. Keep up maintenance tips and don’t overfill.
How Far to Drive After Putting Slime in the Tire?
You should drive about 0.2 miles after applying Slime, then check tire pressure, inspect leak detection, and confirm sealant effectiveness. You’re using parallel tire maintenance steps: drive, seal, verify. This supports driving safety, protects tire lifespan, and improves DIY repairs. For product comparison and application techniques, follow the label exactly. Avoid long trips right away; short movement helps activation and long term effects stay controlled.
How Long Does It Take Tire Slime to Harden?
Tire Slime doesn’t harden fully; you’ll notice initial sealing within minutes, but you should drive about 30 minutes for full distribution. In colder temps, it can take longer. For slime application techniques, tire maintenance tips, sealant effectiveness comparison, tire repair myths, puncture prevention strategies, product safety information, application tools review, environmental impact considerations, user experience stories, and maintenance frequency recommendations, you’ll want to check the tire soon.
Conclusion
Now you’ve sealed the tire with Slime, reinstalled the valve core, and brought it back to pressure. As the wheel spins, the green sealant coats the inner tread like a thin protective film, ready to rush toward any tiny puncture and plug it fast. Check for slow leaks and keep an eye on pressure over time. With careful installation and a quick inspection, you’ve given your tire a practical, reliable layer of protection.
Related Articles
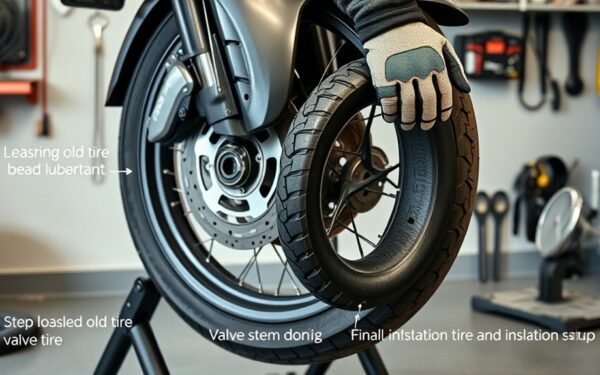
How to Install a Motorcycle Tire: Step-by-Step Tutorial
Learn how to install a motorcycle tire step by step, avoid costly mistakes, and discover the simple trick most riders miss.
Read More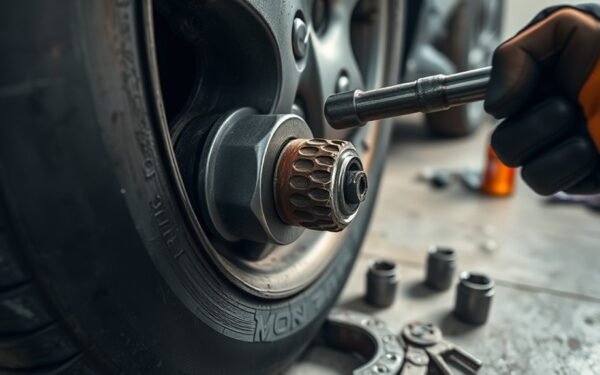
How to Get a Stripped Lug Nut Off a Tire: Proven Removal Tips
Learn how to remove a stripped lug nut with simple tools and proven tricks, even when it seems impossible.
Read More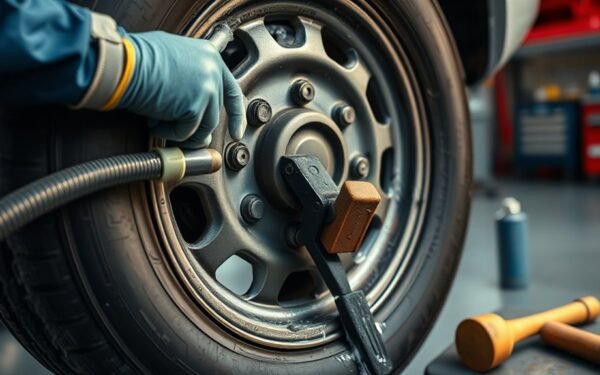
How to Get a Tire to Bead: Proven Tricks When It Won’t Seat
Master the simple tricks to seat a stubborn tire bead and discover the one adjustment that can finally make it snap into place.
Read More