
Motorcycle Tire Pressure Guide: Best PSI for Road, Track & Rain
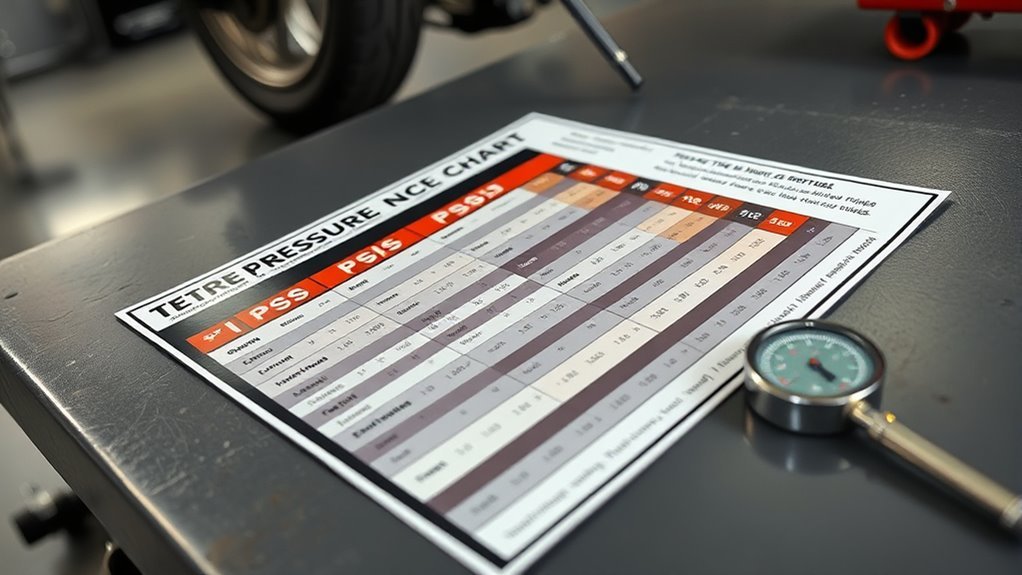
Last updated: June 2026 — Figures cross-referenced with Michelin, Pirelli, Dunlop, and Bridgestone manufacturer documentation.
For road tires, most sportbikes and naked bikes run 33–36 PSI front and 36–42 PSI rear as a starting point — always verify against your owner’s manual, which typically gives a 28–40 PSI range depending on bike type and load. Getting this wrong by even a few PSI changes your contact patch, accelerates wear, and affects braking and cornering stability. For track tires, start with a cold pressure around 26–36 PSI. Aim for a hot target of 33–36 PSI in the front and 23–26 PSI in the rear. Use slightly lower pressures for wet or rain tires. Always measure tires cold (after the bike sits for at least three hours). Adjust based on ambient temperature, rider weight, and the track surface. If you use tire warmers for track slicks, slightly overinflate before fitting the warmers. Once the carcass reaches race temperature, bleed down to your target hot pressure — this bleed-down technique applies to track slicks only, not road tires. Set warmers to 70–90°C for slicks.
Quick Answer: Best PSI Ranges for Road, Track, Rain
A few clear PSI ranges cover most riding situations:
- Everyday road use: Most sportbikes and naked bikes start at 33–36 PSI front and 36–42 PSI rear. Cruisers typically run 28–36 PSI front and rear. Touring and adventure bikes often run higher in the rear to handle load. Always check your owner’s manual — front and rear targets differ by bike type and are never the same value.
- Track tires: Start cold around 26–36 PSI. Adjust based on hot pressures after a few laps.
- Wet conditions (Rain tires): Aim for a cold pressure of 30.5–33 PSI. Set warmers to 40–50°C.
Road pressures balance longevity, comfort, and steady grip. Front and rear targets are always different — the rear tire carries more of the bike’s weight and runs at higher pressure. Sticking near the manual’s midpoint works best for street riding. On the track, starting in the 26–36 PSI cold window allows you to dial in pressures based on hot readings. This helps you find the ideal contact patch to maximize cornering and braking. For wet conditions, slightly higher cold figures maintain predictable tread contact and reduce aquaplaning risk. Tire pressure directly changes the contact patch, heat build-up, and carcass flex. Use measured adjustments rather than guesswork.
[Products Worth Considering]
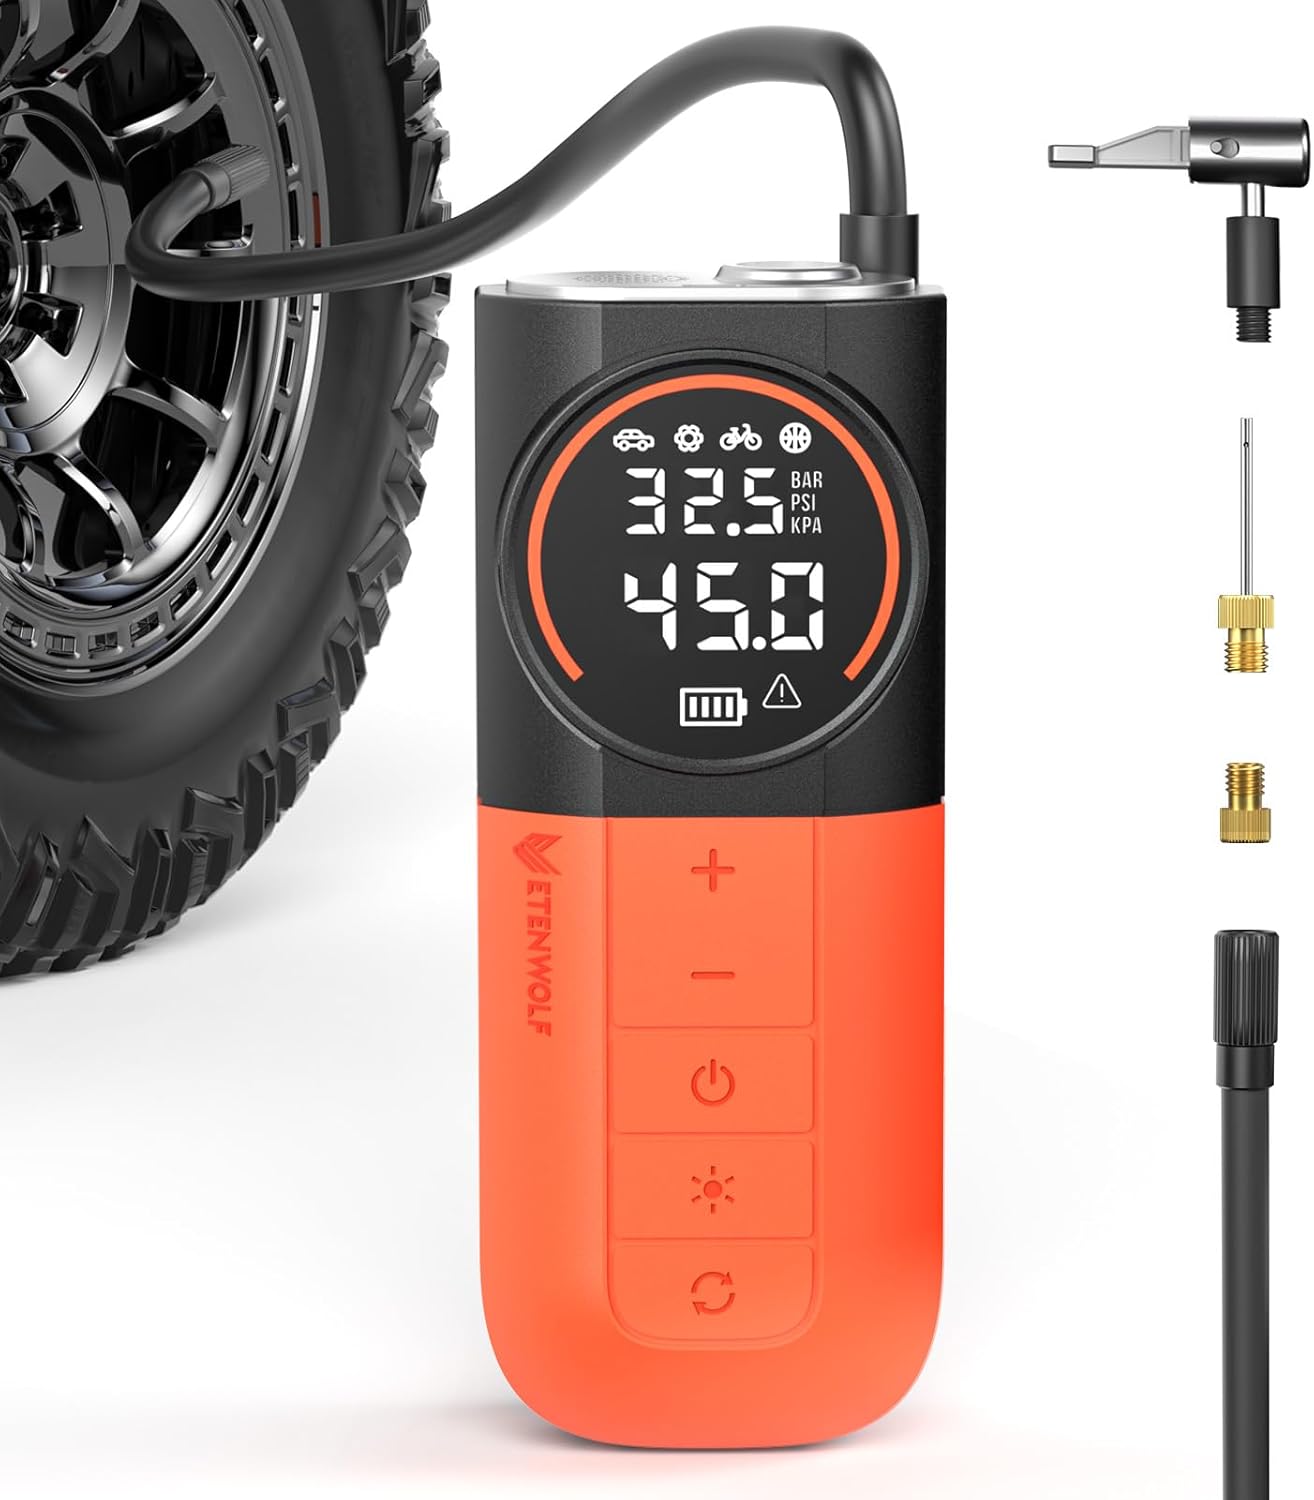
The ETENWOLF S1 cordless tire inflator delivers ultra-fast inflation with up to 160 PSI and a 20 L/min airflow for quicker tire top-offs. Its 5200mAh battery and cooling system support inflating many tires and sports balls on a single charge, while the digital pressure gauge and multi-unit display help you reach the right pressure accurately. With preset modes, pressure memory, an auto-stop feature, and an LED flashlight, it’s built for easy roadside and everyday use.

This portable cordless tire inflator delivers fast, efficient inflation for cars, motorcycles, bikes, and sports balls with a digital pressure gauge. Use the one-click PSI preset with auto shut-off for accurate, hands-free topping to your target pressure up to 150 PSI. It’s compact and rechargeable with a built-in emergency LED light plus valve adapters and accessories for quick, ready-to-go use.

This portable cordless tire inflator delivers up to 160 PSI with fast 17 L/min airflow to help you quickly top up tires and get back on the road. It features dual power mode, running on a 21V rechargeable battery or a 12V DC adapter for convenient roadside use. An automatic shut-off with digital pressure gauge helps prevent overinflation, and a built-in LED light improves visibility in low-light conditions.
Understand Cold vs Hot Pressure: When and How to Check
Always check your tire pressure cold—before you ride. This gives you a true baseline for adjustments. Heat from riding raises pressure and easily masks underinflation. Measure cold tire pressure with a reliable gauge after the bike has sat for at least three hours or overnight. Record the ambient temperature. As a practical rule of thumb, tire pressure changes by approximately 1 PSI for every 10°F (0.07 bar per 5.5°C) of temperature shift — use this to anticipate how cold readings will climb once the tire reaches operating temperature. In colder weather, adjust your target cold values downward slightly to compensate for pressure loss.
After a track session or aggressive ride, measure hot pressure to confirm you are in the correct operating range. Typical hot targets are 33–36 PSI for the front and 23–26 PSI for the rear. Use consistent measurement techniques: use the same gauge, follow the same valve sequence, and take quick readings to avoid heat loss. Comparing your cold-to-hot differences helps you understand how your riding style and the bike’s load impact the tires.
Regular monitoring prevents uneven wear and sharpens handling. Keep your tools calibrated and make small, deliberate adjustments based on your data.
If you want more help choosing pressure tools for roadside checks, you may also find these tire inflator and tire maintenance guides useful for everyday motorcycle and vehicle care.
Using Tire Warmers: PSI Settings, Timing, and Best Practices
Tire warmers quickly bring a tire up to its ideal temperature. You need to set them to the correct target and leave them on long enough to penetrate the carcass. For tires like the MICHELIN Power Slick Evo, Cup Evo, and RS, use 70–90°C. For Power Rain tires, use 40–50°C. Run them for at least one hour to guarantee uniform heating and avoid hot spots.
For track-focused slick tires, overinflate slightly before fitting the warmers. Once the rubber is uniformly warm and stable at race temperature, bleed the air down to your recommended hot pressure. The reason this works: race slick hot targets are set and measured at operating temperature, not at ambient. You are actively bleeding to the final race pressure once the tire is fully warm — which is why the hot target for a slick (such as ~24.7 PSI rear for the Michelin Power Slick Evo) is lower than the overinflated cold starting pressure. Check your pressures again after the first run, as shifting ambient conditions will change your targets. Maintain your warmers and keep your pressure gauges calibrated. Treat tire warming as a core track routine — precise inputs yield predictable grip. Keep records of your settings, heating times, and hot pressures so you can reproduce good setups later.
[Products Worth Considering]

The Fanttik X10 Pro is a cordless portable tire inflator that reaches up to 150 PSI and can inflate an R15 tire in about 35 seconds for quick roadside or home top-ups. With AccuInFlate auto-stop and smart start/stop controls, it helps maintain accurate pressure and frees your hands once the target is reached. A high-visibility digital display and preset modes make it easy to set and monitor inflation for cars, motorcycles, bikes, and balls.

This cordless portable tire inflator delivers fast, safe inflation with an automatic shutoff when the target pressure is reached, helping prevent overinflation. The built-in LED lighting and real-time digital display make it easier to check pressure and handle roadside tire changes at night. It includes multiple nozzles for use on cars, motorcycles, bicycles, and inflatables like balls and swimming rings.
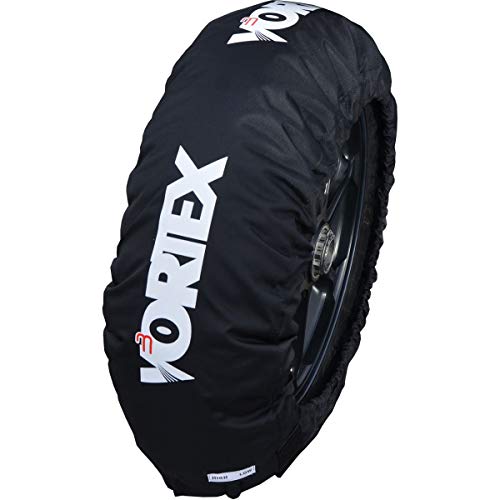
DuPont Nomex Inner liner/Melt proof design
PSI Examples by Brand and Tire Size (Michelin, Pirelli, Dunlop, Bridgestone)
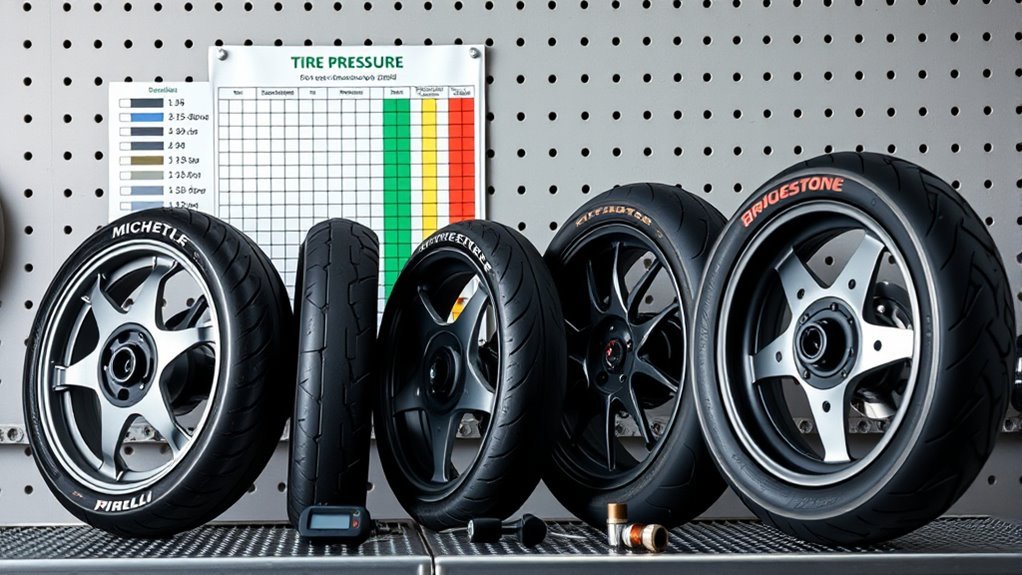
Here are real-world PSI examples from leading race and sport tire lines. Use these Michelin, Pirelli, Dunlop, and Bridgestone recommendations as starting points drawn from manufacturer documentation. You will still need to fine-tune them based on your bike, load, and track layout. Always verify against the current specification sheet for your tire model and compound, as figures may be updated between product generations.
[Products Worth Considering]

1. Reliable Air Pressure Gauge for Tires, full gear precision movement with bronze bourdon tube, no battery required, durable brass construction, accuracy meets ANSI Grade B40.1 Standards, more accurate and reliable than digital tire pressure gauge, maintains good performance for many years.
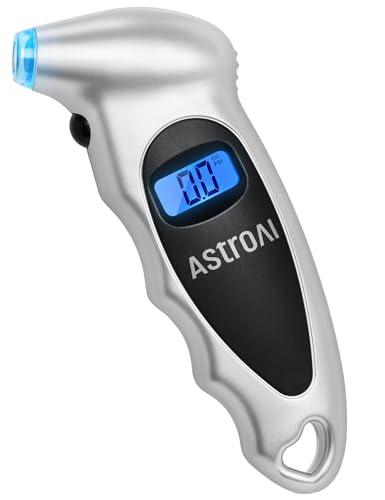
Accurate, Dependable Readings: Factory‑calibrated to ±1 PSI, so you can confidently match your vehicle’s recommended PSI (check the door jamb sticker). Ideal for monthly checks and road trips — consistent results every time, cold or warm.

PROCESS LEVEL ACCURACY: Each ETENWOLF’s digital tire pressure gauge is calibrated manually to ANSI B40.7 Grade 2A(plus-minus 1 PSI).Presta valve adapter not included, if used for bicycles, it must be purchased separately
Michelin Pressure Examples
Start with Michelin’s listed cold pressures as your baseline. Apply adjustments to reach the hot targets: 33–36 PSI for Power Performance Cup fronts and 23–26 PSI for rears. For the Power Slick Evo rear, the target hot pressure is approximately 24.7 PSI — reached by overinflating cold, heating fully with tire warmers, then bleeding down to that figure at race temperature (see Tire Warmers section above). Verify the front hot target with your Michelin race support contact, as it varies by circuit and conditions. Tune to track feedback, including lap times, feel, and wear patterns.
| Tire Model | Position | Cold PSI | Hot Target PSI |
|---|---|---|---|
| Power Performance Cup | Front | 30.5 | 33–36 |
| Power Performance Cup | Rear | 18.9 | 23–26 |
| Power Slick Evo | Rear | Overinflate cold (pre-warmer)* | ~24.7 (bled to at race temp) |
| *Overinflate cold, heat with warmers at 70–90°C for at least 1 hour, then bleed to target hot pressure. Verify front hot target with Michelin race support. Adjust all targets by ambient temperature and track surface conditions. | |||
Pirelli, Dunlop, Bridgestone
For Pirelli, Dunlop, and Bridgestone slicks, set your cold pressures from the manufacturer’s specs and aim for their published hot ranges after a proper warm-up. These are illustrative starting points — compound-specific guidance may differ. Always confirm against the manufacturer’s current race support documentation for your compound and class.
- Pirelli Diablo Superbike: cold 30.5 PSI; hot target 32–36 PSI after a session.
- Dunlop KR106/KR108: cold 30.5 PSI; heat to 80°C for 60 minutes, hot target 33–38 PSI. The target range varies by compound — consult Dunlop’s race support chart for your specific compound.
- Bridgestone V02/V03 (120/70-17 front): cold 33 PSI; heat to 80°C for 45 minutes to reach hot spec.
- Adjust pressures progressively. Log your changes and prioritize grip and stability.
Adjust PSI for Ambient Temp, Track Surface, and Rider Weight
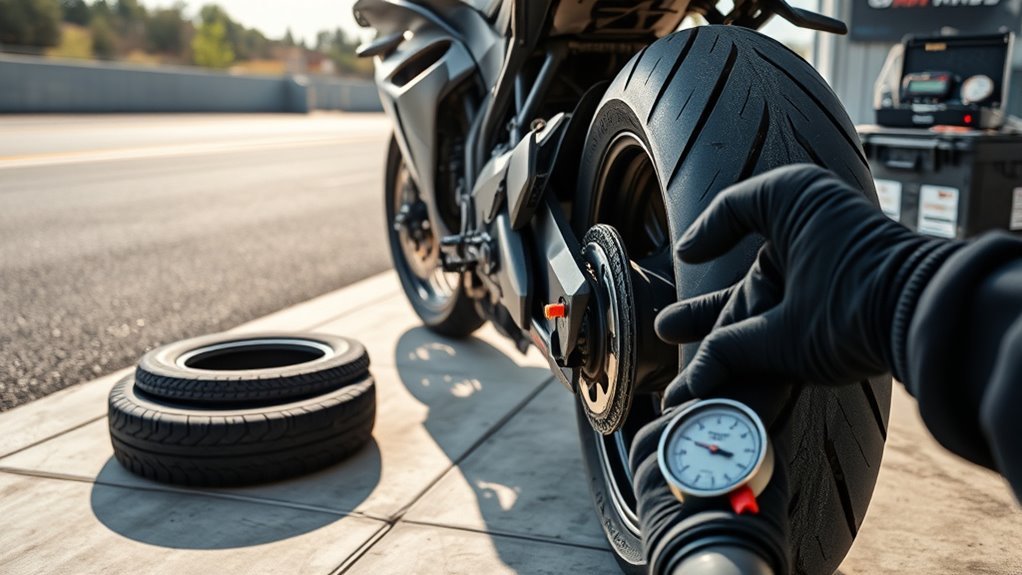
Ambient temperatures, track conditions, and rider weight change how a tire heats and deforms. Raise your cold PSI in cold air and lower it in intense heat. Highly abrasive track surfaces also demand small PSI adjustments to preserve the contact patch. Increase your cold PSI for heavier riders or heavy cargo to prevent excessive tire flex and overheating. If riding two-up or with a loaded luggage setup, add 3–4 PSI to the rear cold pressure as a starting point and recheck hot pressure after your first ride.
| Condition | Adjustment |
|---|---|
| Cold ambient (below 10°C / 50°F) | +1–3 PSI cold |
| Hot track / hot ambient | −1–2 PSI cold |
| Passenger + luggage (rear tire only) | +3–4 PSI rear cold |
| Abrasive track surface | +1 PSI cold to protect contact patch |
Start conservative: change just one PSI per tire, then test. Record your hot pressures after a few laps, evaluate the bike’s feedback, and iterate from there.
Reading Tire Wear Patterns
Adjusting PSI isn’t just about reading a gauge; your tires will physically show you if the pressure is wrong. A cold tear happens when the tire is underinflated. The surface heats up much faster than the carcass, causing the rubber to tear away in deep, fingernail-shaped gouges. A hot tear occurs when the tire is overinflated. The contact patch shrinks, overheats, and melts the surface rubber in shallow, sweeping lines. Center wear — tread worn predominantly down the middle strip — indicates chronic overinflation on road tires: the tire is riding only on its crown rather than spreading load across the full contact patch. Edge wear, where both shoulders wear faster than the center, points to chronic underinflation: the tire is bulging outward and rolling on its shoulders rather than its intended tread surface. Checking your wear patterns after every track session — and monthly on road tires — helps you fine-tune your PSI targets for better grip and longer tire life.
Monthly Checks, Wear Signs, and When to Replace Tires
During your monthly checks—and before any long ride—inspect your pressure, tread depth, and sidewalls. Catching wear or damage early is critical for safety. You can reference guidelines from organizations like the Motorcycle Safety Foundation to build a solid pre-ride habit. Measure pressure cold and look closely for uneven wear or bald spots. Check sidewalls for cracks, bulges, or cuts.
- For road riding, consider replacing tires when tread depth reaches 2 mm — not just the legal minimum of 1.6 mm. The 1.6 mm threshold is the lowest limit permitted by law in most countries, but grip, wet-weather performance, and handling stability degrade noticeably above that point. For track use, replace earlier — slick performance falls off well before the legal minimum. Use a tread depth gauge or the built-in wear bars to verify.
- Find the source of persistent pressure loss. Check for punctures, failing valves, or rim damage. Never ignore a slow leak.
- If you see uneven wear, inspect your alignment, suspension settings, and loading habits.
- Immediately replace tires with sidewall damage, visible cords, or bulges. These risk dangerous blowouts regardless of your PSI.
Frequently Asked Questions
What PSI Should Motorcycle Tires Be?
For most road motorcycles, front tires run 33–36 PSI and rear tires run 36–42 PSI as a general starting point. The correct figure depends on your specific bike, tire, and load — always check your owner’s manual. Sportbikes, cruisers, touring bikes, and adventure bikes all carry different weights and have different manufacturer targets. Front and rear pressures are always different values on the same bike.
Should Front and Rear Motorcycle Tires Have the Same Pressure?
No. Front and rear motorcycle tires always require different pressures. The rear tire carries more of the bike’s weight, manages acceleration forces alongside braking, and is designed to run at a higher PSI. Running equal pressure front and rear degrades handling balance and accelerates uneven wear on both tires.
How Often Should I Check Motorcycle Tire Pressure?
Check tire pressure before every ride, or at minimum weekly. Tires lose pressure gradually over time, and temperature swings between night and day can shift readings by 1–2 PSI. Always check cold — before you ride or after the bike has sat still for at least three hours. Monthly checks should also include a visual inspection of tread depth and sidewall condition.
What Happens If Motorcycle Tire Pressure Is Too Low?
Underinflated tires build excess heat due to an oversized, soft contact patch flexing repeatedly. This causes accelerated and uneven wear, reduced handling precision, longer braking distances, and — in severe cases — sudden carcass failure. On track, underinflation typically shows as cold tearing and a vague, slow-responding front end.
What Happens If Motorcycle Tire Pressure Is Too High?
Overinflated tires narrow the contact patch, reducing grip — especially mid-corner. Riders notice harsher feel over bumps, reduced confidence when leaning, and center-strip wear developing over time on road tires. On track, overinflation produces hot tearing as the undersized contact patch overheats quickly under load.
How Does Temperature Affect Motorcycle Tire Pressure?
Temperature directly affects air pressure inside the tire. As a practical rule, pressure changes approximately 1 PSI for every 10°F (0.07 bar per 5.5°C) of temperature change. This is why cold pressure must always be set before riding, and why hot readings after a track session are higher than your cold baseline — both are normal and expected behavior.
Is 90 PSI Too High for Bike Tires?
Yes — for a motorcycle. 90 PSI far exceeds the safe operating range for any motorcycle tire and carries a serious risk of sudden failure. Motorcycle tires operate in the 26–42 PSI range depending on type and application. If you are thinking of road bicycle tires, those are a different product category that uses 80–130 PSI. Always follow the maximum pressure specification printed on the tire sidewall and in the manufacturer’s documentation.
Conclusion
Consistent tire pressure is the foundation of motorcycle handling. Always check your tires cold before riding and adjust based on hot track conditions, rider weight, and surface type. For most road motorcycles, a practical baseline is 33–36 PSI front and 36–42 PSI rear — but verify against your specific bike and tire manufacturer’s documentation, since cruisers, touring bikes, and adventure bikes all have different targets. On track, start in the 26–36 PSI cold range and dial in based on hot readings after a few laps. Make small, data-driven adjustments, inspect your tires monthly, and replace them at 2 mm of remaining tread for road use — not at the 1.6 mm legal minimum, which is the floor, not the target.
Quick action checklist:
- Check cold front and rear pressure separately before every ride.
- Record the ambient temperature and use the 1 PSI per 10°F rule to anticipate hot readings.
- After a track session, log hot pressures and compare them to your cold start — the delta tells you how hard your setup is loading the tires.
- Inspect tread depth, sidewalls, and wear patterns monthly.
- Replace road tires at 2 mm of remaining tread; replace track tires earlier, before performance degrades.

Related Articles
Why Do EV Tires Wear Out Faster?
I reveal why EV tires wear out faster, from instant torque to extra weight, and show what’s secretly chewing through your tread.
Read More
What Are Run-Flat Tires and How Do They Work?
Need a tire that keeps you moving after a puncture? Discover how run-flat tires work and why their hidden limits matter.
Read More
How to Stop Tires From Rubbing: 10 Clearance Fixes
Baffled by tire rub? Discover 10 proven clearance fixes that can save your setup—and find out which one actually works best.
Read More