
Flat Tire on the Highway: Safe Steps to Pull Over & Fix
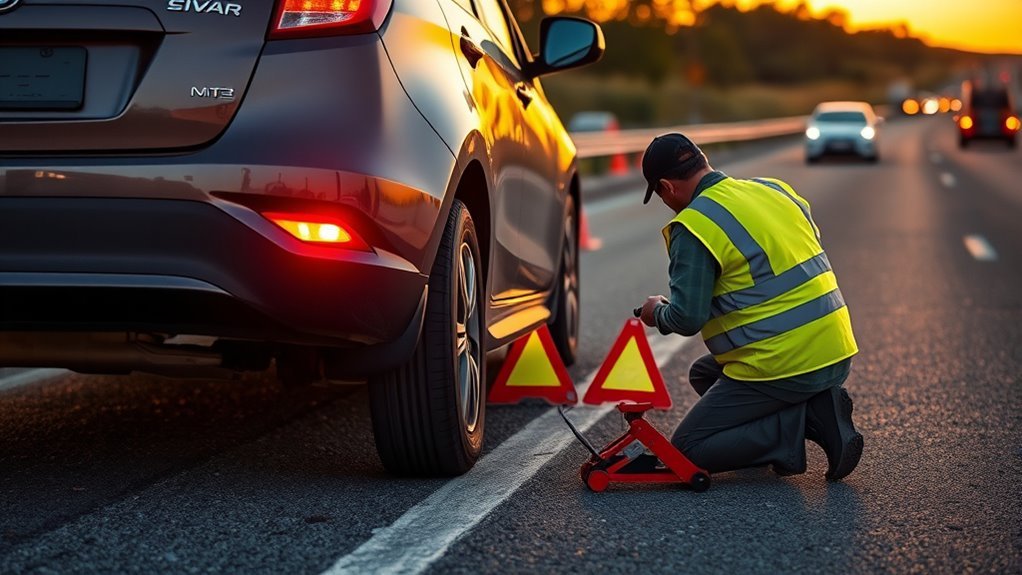
A flat tire or tire blowout on the highway is a safety problem first and a repair problem second. Your goal is to keep control of the vehicle, get away from moving traffic, make yourself visible, and only change the tire if the location is truly safe. If the shoulder is narrow, traffic is fast, visibility is poor, or you feel unsure, stay belted in a protected spot and call roadside assistance.
Quick Answer
If your tire blows out on the highway, grip the wheel firmly, avoid slamming the brakes, let the car slow gradually, signal, and steer smoothly to the shoulder or nearest exit. Turn on hazards, stop well away from traffic, set the parking brake, and call help if changing the tire would put you near moving vehicles.
Key Takeaways
- Do not brake hard during a blowout. Hold the steering wheel, keep the vehicle straight, and slow down gradually.
- Only change a tire on a flat, firm, well-lit area away from traffic. A parking lot or wide shoulder is safer than a narrow highway shoulder.
- Use the jack point listed in your owner’s manual, hand-thread lug nuts first, and tighten them in a star pattern.
- Temporary donut spares are usually limited to about 50 mph and short distances. Follow the label on the spare and your owner’s manual.
- After installing a spare, check pressure and go to a tire shop for repair, replacement, and final torque verification.
At a Glance
| Time Required | 15–30 minutes once you are in a safe location |
| Difficulty | Moderate; do not attempt it beside fast traffic |
| Tools Needed | Inflated spare, jack, lug wrench, wheel chocks or a sturdy block, tire pressure gauge, flashlight, gloves, warning triangles or flares |
| Cost | Usually $0 if you use your own spare; repair or replacement costs depend on the tire damage |
How to Tell It’s a Flat Tire
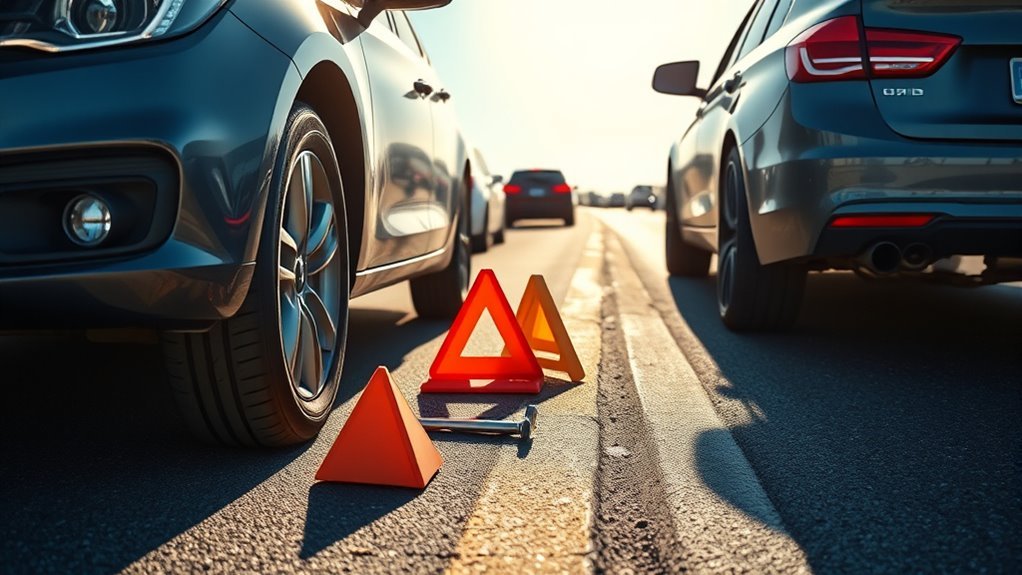
Noticing a flat tire early can keep you from damaging the wheel, suspension, or surrounding body panels. The first signs usually show up in the way the vehicle feels. The steering may pull to one side, the car may feel unstable, or you may hear a steady thumping sound as the tire rotates.
Watch for these common signs:
- Pulling or drifting: the vehicle wants to move toward the side with the low tire.
- Thumping, flapping, or grinding: a deflated tire may slap the road or let the rim contact pavement.
- Visible sagging: one tire looks lower than the others.
- TPMS warning light: newer vehicles have tire pressure monitoring systems, but NHTSA says TPMS is not a substitute for monthly tire-pressure checks.
- Sudden boom and loss of control: this is more likely a blowout than a slow leak.
If the vehicle still handles normally and you only see a low-pressure warning, slow down and get to a safe place to inspect the tire. If the vehicle pulls sharply or you hear a loud blowout, focus on steering control before doing anything else.
[Products Worth Considering]

This roadside assistance kit helps drivers and passengers in urgent situations after an accident or breakdown, providing practical support while waiting for help. It includes a lightweight, compact tire inflator for fast inflation of standard vehicle tires, plus reinforced jumper cable protection for safer handling. Ideal for winter weather, road trips, camping, and travel, with everything stowed neatly in a trunk bag.

This spare tire tool kit is designed for the 2004 to 2018 Ford F-150 to help you loosen and tighten wheel lug nuts and manage the spare tire and provided jack functions from underneath the vehicle. It includes the lug nut wrench and extension pieces plus a convenient storage carrying case for organized transport. The jack itself is not included.

Camco Trailer Aid Plus tandem tire ramp lifts your trailer for quick, safe tire changes with ample clearance from its 5 1/2-inch lift. It helps you change a flat tire without unloading cargo, making roadside and routine maintenance more efficient. The heavy-duty, waterproof and rustproof polymer design supports up to 15,000 lb and is built for easy portability and storage.
Pull Over Safely on a Highway
When a tire fails at highway speed, stay calm and keep both hands on the steering wheel. Avoid sudden braking, sharp steering, or quick lane changes. Let the vehicle slow gradually, turn on your hazard lights, signal early, and move toward the breakdown lane, a wide shoulder, a rest area, or a nearby exit.
Warning: Do not stop in a travel lane unless the vehicle cannot move. If you are stuck in a lane, keep your seatbelt on, turn on hazards, and call emergency services immediately.
Choose the safest stopping point you can reach without forcing the damaged tire to shred or the wheel to ride on the road. A gas station, parking lot, wide shoulder, or exit ramp is better than a narrow shoulder beside fast traffic. Once stopped, put the transmission in Park or in gear for a manual vehicle, set the parking brake, and keep the hazard lights on.
Before opening a door, check mirrors and traffic. If the driver’s side faces moving traffic, exit from the passenger side when possible. If traffic is heavy or there is no safe working space, stay inside with your seatbelt fastened and call roadside assistance.
Take Immediate Safety Steps Before Exiting
As soon as you stop, make the vehicle visible and prevent it from moving. Keep your hazard lights flashing. If it is safe to get out, place warning triangles, LED beacons, or flares behind the vehicle according to the product instructions and local law. Do not walk into a travel lane to place them.
Choose a Safe Spot
Pick a flat, level, firm area well away from moving traffic. Avoid soft dirt, steep slopes, narrow bridges, curves, and blind hills. A jack can sink, slip, or tip if the ground is unstable. If the only available area is unsafe, do not attempt the tire change.
- Park as far from traffic as practical.
- Keep wheels straight and set the parking brake.
- Ask passengers to move to a safe area away from traffic if it is safer than staying inside.
- Place wheel chocks or a sturdy block in front of and behind the tire opposite the flat.
- Never crawl under a vehicle supported only by a jack.
Activate Hazard Lights
Turn on your hazard lights before opening the door. Hazard lights warn other drivers that your vehicle is stopped or moving abnormally. Keep them on until the vehicle is repaired, towed, or safely back in traffic.
At night or in rain, use extra visibility tools if you have them: a reflective vest, flashlight, road triangles, or battery-powered emergency beacon. Visibility matters just as much as the tire repair.
Stay Inside Vehicle
If you are on a busy highway, a narrow shoulder, a bridge, a construction zone, or a dark road, staying inside with your seatbelt on may be safer than stepping into traffic. Call roadside assistance, a tow service, or emergency services if your stopped vehicle creates a hazard.
Your life matters more than the tire. A flat can be replaced; a roadside injury may not be so simple.
Check Tools and Spare Tire Condition
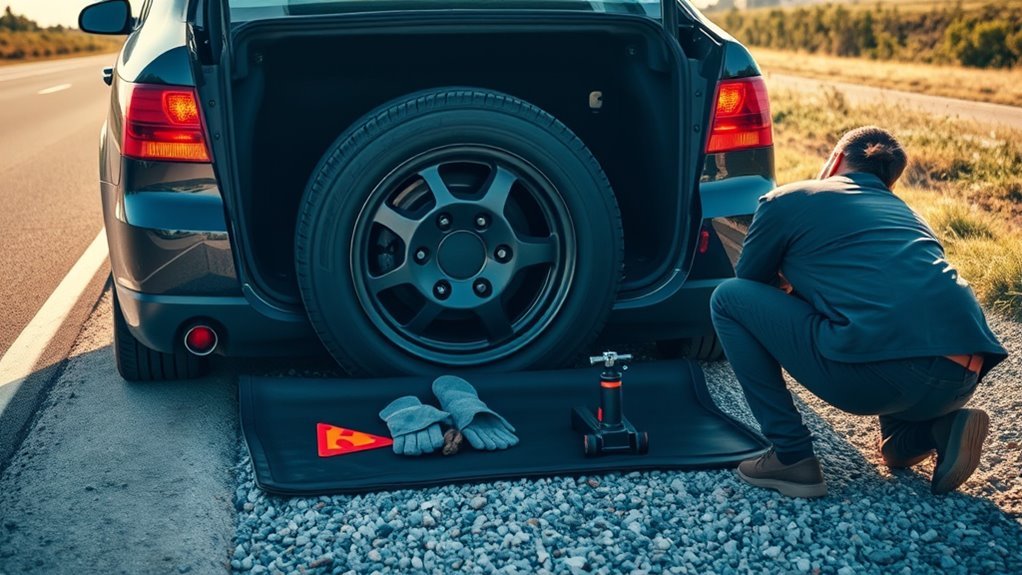
Before loosening anything, confirm that you have the right equipment and that the spare tire is usable. Some newer vehicles do not include a spare; they may come with run-flat tires or an inflator-and-sealant kit instead. Check your owner’s manual so you know what your vehicle actually has.
NHTSA recommends checking the pressure of all tires, including the spare, at least once a month when the tires are cold. The correct pressure is listed on the Tire and Loading Information Label on the driver’s doorjamb or in the owner’s manual, not on the tire sidewall maximum-pressure number.
| Item | What to Check |
|---|---|
| Spare tire | Correct PSI, no cracks, no bulges, no dry rot, enough tread |
| Jack | Correct vehicle jack, good condition, works smoothly |
| Lug wrench | Fits your lug nuts snugly and is not bent or worn |
| Wheel chocks | Use chocks or a sturdy block to reduce rolling risk |
| Pressure gauge | Use after installing the spare and during monthly checks |
| Repair kit or sealant | Use only if approved for your vehicle and the damage is a small tread puncture |
Note: Tire sealant usually will not fix a sidewall cut, shredded tire, bent rim, or blowout. Some sealants can also complicate tire repair or affect TPMS sensors, so read the vehicle manual and sealant label first.
Loosen Lug Nuts and Position the Jack
Remove the wheel cover if needed, then loosen the lug nuts while the tire is still on the ground. Turn each lug nut counterclockwise just enough to break it loose. Do not remove the nuts yet. Loosening them before lifting the vehicle keeps the wheel from spinning and gives you better control.
Use steady pressure instead of jerky force. If a lug nut will not loosen, do not jump on the wrench; that can slip, damage the nut, or injure you. Call for help if the lug nuts are seized or if you do not feel safe continuing.
Break the lug nuts loose while the vehicle is still on the ground, but remove them only after the vehicle is lifted and stable.
Next, place the jack only at the manufacturer’s approved jack point. The jack point may be marked under the rocker panel, on the frame, or in another reinforced location depending on the vehicle. The owner’s manual is the final authority. Raising the car from the wrong place can damage the vehicle or cause the jack to slip.
Raise the vehicle slowly until the flat tire is just off the ground. Keep hands, feet, and tools clear of pinch points. Do not put any part of your body under the vehicle.
Remove the Flat and Install the Spare Tire
Once the vehicle is lifted and stable, remove the loosened lug nuts and place them somewhere they cannot roll away. Pull the flat tire straight off the wheel studs. If it sticks, tap the tire sidewall gently with your hand or foot while keeping your body balanced and away from traffic.
Slide the spare tire onto the wheel studs and push it flush against the hub. Hand-thread each lug nut first. This helps prevent cross-threading, which can damage the studs and make the wheel unsafe. Tighten the nuts by hand until they are snug, but do not fully torque them while the vehicle is still raised.
Pro Tip: If safe and practical, place the removed flat tire flat under the vehicle near the jack area while you work. It is not a substitute for proper jack placement, but it can add a small backup barrier if the jack shifts.
Lower the Car, Tighten Lug Nuts, and Check Safety
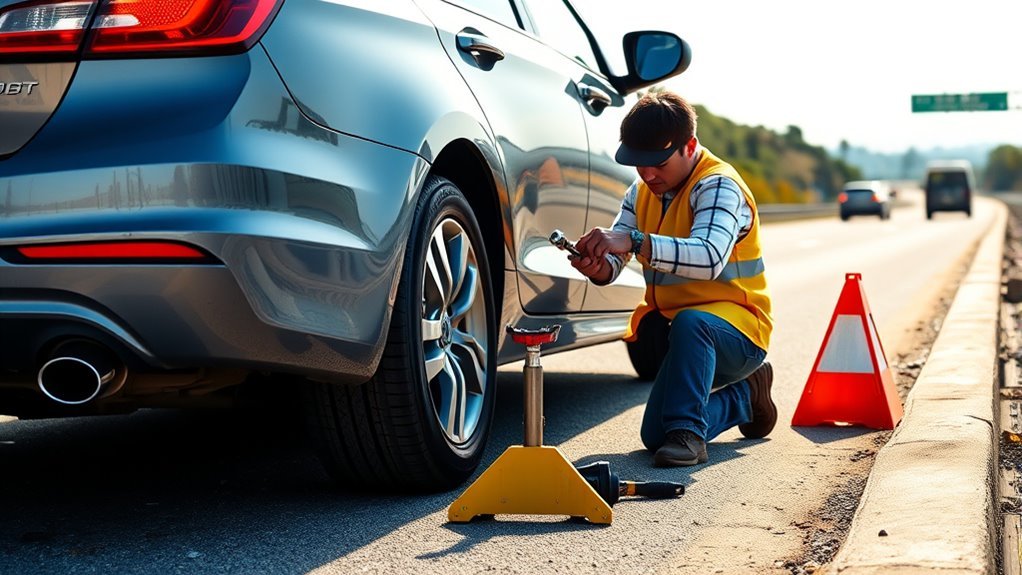
Lower the vehicle until the spare tire touches the ground and can no longer spin, then tighten the lug nuts in a star or crisscross pattern. This helps seat the wheel evenly against the hub. After the nuts are snug, lower the vehicle fully and remove the jack.
[Products Worth Considering]

This portable cordless tire inflator delivers up to 160 PSI with fast 17 L/min airflow to help you quickly top up tires and get back on the road. It features dual power mode, running on a 21V rechargeable battery or a 12V DC adapter for convenient roadside use. An automatic shut-off with digital pressure gauge helps prevent overinflation, and a built-in LED light improves visibility in low-light conditions.

The JACO FlowPro Tire Inflator measures, inflates, and airs down tires up to 100 PSI with battery-free operation and ±2% accuracy after calibration. It features a glowing pressure dial for night visibility, a heavy-duty steel build with a hybrid hose, and a precision push-to-inflate thumb trigger. The patented Lightning Air Chuck locks on for a secure seal, and the kit includes quick-connect hardware for easy inline use with your air compressor.
Lower Vehicle Safely
Lower the jack slowly. Watch for shifting, tilting, or any sign that the spare is not seated correctly. Once the vehicle is fully on the ground, remove the jack and stow it where it belongs.
Do a quick stability check before driving:
- All lug nuts are present and tight.
- The spare sits flush against the hub.
- The vehicle is no longer leaning unusually.
- The jack, tools, wheel chocks, and warning devices are cleared from the road.
- The flat tire is secured in the trunk or cargo area.
Final Lug Nut Check
For the final lug-nut check, use a torque wrench if you have one and tighten to the specification in your owner’s manual. If you only have the factory lug wrench, tighten the nuts firmly in a star pattern and drive carefully to a tire shop as soon as possible so a technician can verify the torque.
Check the spare tire’s pressure before rejoining traffic. Compact spares often require higher pressure than regular tires, but the correct number is the one listed by your vehicle manufacturer or on the spare’s label. Do not rely only on the TPMS light because some vehicles do not monitor the spare tire.
Aftercare: Tire Pressure, Repair Options, and Next Steps
After installing the spare, drive cautiously and avoid sudden braking, fast cornering, and high speeds. A temporary spare is built to get you to service, not to replace a regular tire for daily driving. AAA’s common guidance for donut spares is to keep speed at or below 50 mph and limit distance to about 50 miles, unless your owner’s manual or spare-tire label gives stricter limits.
Go directly to a tire shop or safe repair location. A technician can inspect the damaged tire from the inside, check whether the puncture is repairable, inspect the wheel, verify lug-nut torque, and confirm that the spare is safe for the short drive.
A tire may be repairable if the puncture is in the tread area and within repair-size limits. A tire usually needs replacement if it has sidewall damage, shoulder damage, large cuts, exposed cords, a shredded casing, run-flat damage beyond the manufacturer’s limits, or evidence that it was driven too far while flat.
Special Cases: Run-Flat Tires, Sealant Kits, and No Spare
If your vehicle has run-flat tires, you may be able to keep driving for a limited distance after losing pressure. For example, Bridgestone describes many run-flat tires as capable of up to 50 miles at 50 mph under specified conditions. Always follow your tire brand and vehicle manual because limits vary.
If your vehicle has an inflator-and-sealant kit instead of a spare, use it only as directed. Sealant kits are intended for small tread punctures, not blowouts, sidewall cuts, damaged wheels, or separated tread. After using sealant, tell the tire shop so the technician can clean the tire and inspect the TPMS sensor and valve stem.
If you have no spare, the spare is flat, the wheel is damaged, or the kit cannot seal the leak, do not keep driving on a flat tire. Call roadside assistance or a tow truck.
When to Call Roadside Assistance or Emergency Services
Call roadside assistance when changing the tire would put you close to moving traffic, when the weather or lighting is poor, when the shoulder is too narrow, when you lack the right tools, or when the lug nuts or jack do not cooperate. AAA flat-tire service, for example, can change a flat if you have a usable spare or arrange a tow if you do not.
Call emergency services immediately if there is a crash, an injury, smoke, fire, a fuel leak, a disabled vehicle blocking traffic, or any situation where other drivers are endangered. If you are unsure whether the situation is an emergency, choose the safer call.
Preventing the Next Highway Flat
You cannot prevent every puncture, but you can reduce the odds of a highway flat or blowout with simple maintenance. Check tire pressure monthly when tires are cold, including the spare. Inspect tread depth, sidewalls, and valve stems. Replace tires that are worn to 2/32 inch, cracked, bulging, or repeatedly losing air. Rotate tires on the schedule in your owner’s manual unless your vehicle uses different front and rear sizes or another special setup.
Keep an emergency kit in the vehicle with a tire pressure gauge, flashlight, gloves, reflective vest, warning triangles, portable inflator, and your roadside assistance information. Before long trips, confirm that your spare, jack, and lug wrench are actually in the vehicle and usable.
Frequently Asked Questions
Can I drive on a donut spare and for how long?
Yes, but only temporarily. A common rule for compact donut spares is no more than 50 mph and about 50 miles, but your owner’s manual and the label on the spare are the final authority. Drive to a tire shop as soon as possible.
Will my car warranty cover tire repair or replacement?
Usually, the vehicle warranty does not cover normal tire punctures or road-hazard damage unless you bought separate tire-and-wheel protection or the tire has a manufacturer defect. Review your warranty documents, tire warranty, and any road-hazard plan before paying out of pocket.
How do run-flat tires change my response to a highway flat?
Run-flat tires may let you keep driving slowly to a safer location after pressure loss, often up to about 50 miles at 50 mph depending on the tire and vehicle. You should still slow down, avoid hard maneuvers, check your manual, and get the tire inspected promptly.
Can tire sealant damage my vehicle’s tire pressure sensor?
Some sealants are labeled TPMS-safe, but compatibility depends on the sealant, sensor design, and vehicle. Use only products approved for your vehicle, and tell the tire shop if you used sealant so the technician can inspect and clean the sensor area.
What should I do if my spare tire is also flat?
Do not install a flat or damaged spare. If you have a portable inflator and the spare holds air, inflate it to the recommended pressure. If it will not hold air, call roadside assistance or a tow truck.
Is it safe to change a tire on the highway shoulder?
Only if the shoulder is wide, flat, firm, well-lit, and far enough from traffic. If vehicles are passing close by, the flat is on the traffic side, or you feel unsafe, stay belted in a protected spot and call for help.
Conclusion
You handle a highway flat by staying calm, keeping control, and choosing safety over speed. Steer smoothly away from traffic, make the vehicle visible, and change the tire only when the location is safe. Use the proper jack point, tighten lug nuts in a star pattern, check spare pressure, and drive directly to a tire shop. If anything feels unsafe, call trained help and wait in the safest available place.
Sources
- NHTSA TireWise: Tire Safety Ratings and Awareness — tire pressure, tread depth, TPMS limits, and tire maintenance guidance.
- eCFR 49 CFR 571.138: Tire Pressure Monitoring Systems — federal TPMS purpose and warning requirements.
- AAA: How Long Can You Drive on a Spare Tire — temporary spare speed and distance guidance.
- AAA Flat Tire Road Service — when roadside assistance may change a flat or arrange towing.
- Bridgestone Run-Flat Tire Technology — run-flat distance and speed limits after a puncture.
- Consumer Reports: Tire Sealant Review — limitations of sealant kits and the value of a true spare.

Related Articles
How to Break a Car Window in an Emergency Safely
After an emergency, a few simple moves can break a car window safely—but one crucial choice could change everything.
Read More
How to Buy Car Insurance: Coverage Guide for Beginners
Choose the right car insurance coverage and compare smarter to avoid costly gaps—discover the key details beginners often miss.
Read More
How to Get Cheap Car Insurance: 10 Ways to Cut Costs
Maximize savings on cheap car insurance with 10 smart cost-cutting moves, and discover the one strategy most drivers overlook.
Read More