
An inner tube is the airtight rubber chamber used inside a tube-type tire. It works with the valve stem, rim hole, tire bead, and tire casing to hold pressure and keep the tire seated. Most slow leaks start when one of those parts does not match: the tube folds, the valve pulls sideways, or the bead fails to seat evenly. Before installation, match the tube size to the tire marking, confirm the valve stem fits the rim hole, inspect bead and rim condition, then inflate only to the pressure listed by the tire, rim, or equipment maker.
Editorial Team · Last updated: July 7, 2026 · Reviewed for tire fitment, valve, and installation accuracy.
Quick Answer
An inner tube works as the airtight chamber inside a tube-type tire. The valve stem controls inflation and pressure checks, while the tire bead keeps the tire seated on the rim. You need the correct tube size, valve type, rim-hole fit, bead seating, and pressure range to reduce leaks, stem tears, pinching, and sudden pressure loss.
Key Takeaways
- Match the tube size to the tire size, rim diameter, and tire type marking before installation.
- Choose a valve stem that fits the rim hole, rim depth, and working tire pressure.
- Use butyl tubes when you want strong air retention and lower maintenance.
- Inspect valve stems, bead seating, rim tape, and tube condition to catch leaks early.
- Call a tire professional when the tire is used on a vehicle, leaks continue, or fitment details are unclear.
Who This Guide Is For and What It Covers
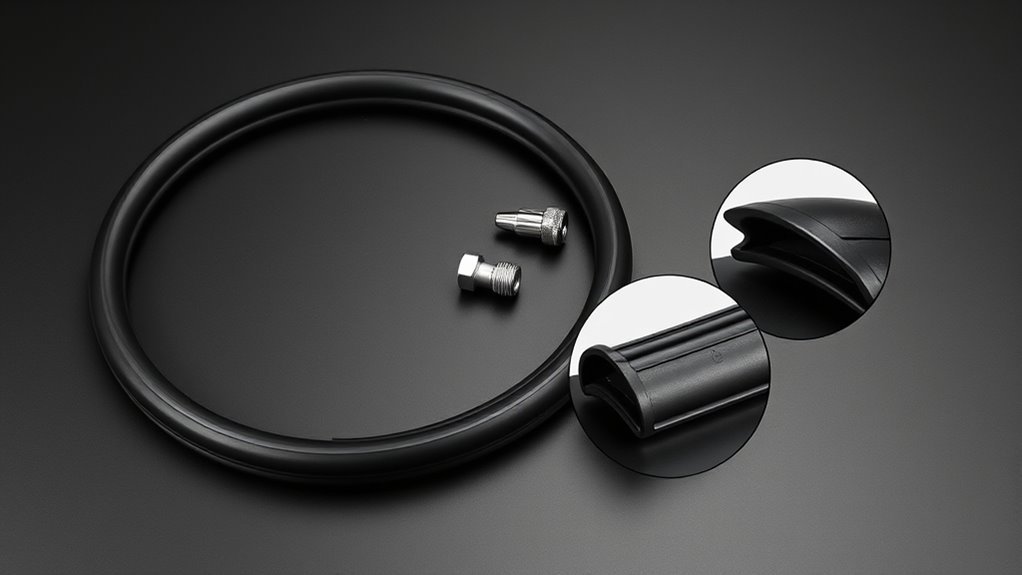
This guide is for you if you need a clear, practical primer on inner tube parts and how they work. You’ll learn how the valve stem controls one-way airflow, why the tube body must hold pressure, and how the tire bead keeps the tire seated on the rim.
You’ll also learn how tube material, valve fit, rim markings, and bead condition affect safety. Use these checks when you choose a tube, install one, or troubleshoot slow air loss.
Inner Tube Fit Checklist Before Installation
Use this checklist before you buy or mount a tube. It gives you a fast way to separate a safe match from a risky guess.
| Check | What to Confirm | Why It Matters |
|---|---|---|
| Tire marking | Size, rim diameter, TT/TL marking, load, and pressure | Prevents tube stretch, folds, and overpressure |
| Tube marking | Tube size range and valve reference | Keeps the tube flat inside the casing |
| Rim hole | Valve diameter, angle, and length | Reduces stem leaks and tearing |
| Bead and rim | Clean bead seat, no rust, cracks, or sharp edges | Helps the tire seat evenly and hold pressure |
How Tubes, Valves, and Beads Work Together
The tube, valve, and bead form one pressure system. The rubber tube creates the airtight chamber, the valve stem lets you add and check air, and the bead locks the tire to the rim.
The valve core seals the stem after inflation. Regular valve maintenance, including checking the core and cap, helps protect pressure and tube life.
Tire beads use high-tensile wire or other low-stretch bead material to hold the tire against the rim. Correct tube diameter, valve type, and bead seating help prevent leaks, stem stress, early wear, and unsafe pressure loss.
Warning: Don’t force a tube, valve, or tire bead that doesn’t match the rim, because poor fit can cause air loss, stem damage, or bead unseating.
Read Tire & Rim Markings to Pick the Right Inner Tube
Tire and rim markings tell you which tube will fit and perform safely. Check the tire size, rim diameter, tubetype or tubeless marking, load rating, pressure range, and valve hole before you install a tube.
For example, a size such as 540/65 R30 tells you the tire fits a 30-inch rim. A tire marked tubetype (TT) needs an inner tube, while a tubeless (TL) tire usually does not need one unless the tire maker, rim maker, or dealer specifically approves that use.
Match the tube reference and valve type to the rim hole and pressure needs. If the markings do not line up, don’t guess. Replace the part or check the tire and rim specifications.
| Marking or Clue | What It Tells You | Action |
|---|---|---|
| Rim diameter | The wheel size the tire fits | Match the tube diameter |
| Tube size range | The tire widths the tube can support | Avoid undersized or oversized tubes |
| Valve reference | Stem style, length, angle, or base type | Match the rim hole and access angle |
| Pressure rating | Safe inflation range for the assembly | Use the lowest applicable limit from tire, rim, and equipment specs |
Inner Tube Materials: Butyl vs. Natural Rubber
The construction material affects air retention, durability, flexibility, and service life. Most inner tubes use butyl rubber or natural rubber.
Choose butyl when you want strong air retention and lower gas loss. It also resists moisture and works across a broad temperature range, which can mean longer service intervals.
Natural rubber gives strong elasticity and good flex under repeated movement. It can suit applications that need more ride compliance, but it usually needs more frequent pressure checks because it can lose air faster than butyl.
[Products Worth Considering]

FANSPRO’s 2-pack 26-inch bicycle inner tubes are built for reliable performance on road and mountain bikes. They fit tire widths from 2.125 to 2.40 inches and use a 48mm Schrader valve for convenient inflation. The set includes two durable tire levers to help you remove and install tubes quickly after a flat.

This heavy-duty fat bike inner tube is built for secure fit on 20-inch wheels with 3.5 to 4.0 inch wide tires, including e-bikes and mountain bikes. It uses thick butyl rubber for improved durability, air tightness, and a smoother, more comfortable ride. A standard Schrader valve makes inflation easy and helps keep pressure stable for safer rides, with tire levers included for simpler installation.
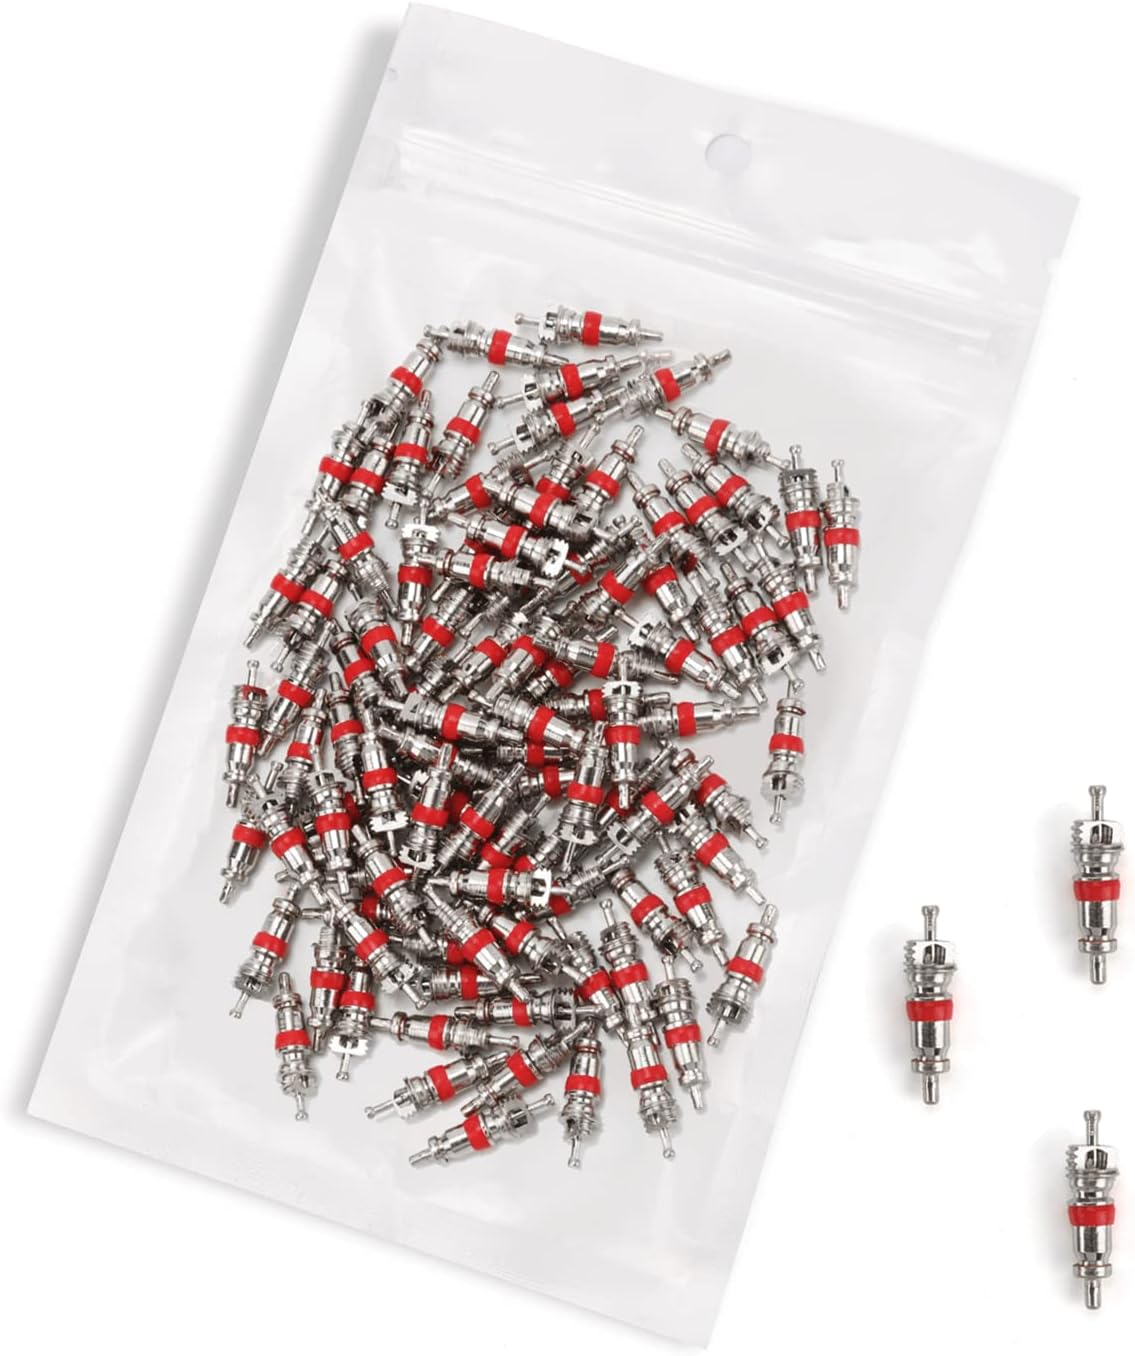
Replace worn Schrader valve cores with durable, nickel-plated replacements designed to resist rust and corrosion for a longer service life. Each core is 100% leakage tested and rated for up to 300 PSI, helping maintain a safe, reliable tire pressure system. Universal fit makes them suitable for cars, RVs, ATVs, motorcycles, bicycles, and many refrigeration/air conditioning applications.
Valve Types: Choose the Right Stem for Your Rim
Valve stems may look simple, but the wrong stem can cause leaks, poor sealing, or unsafe inflation. Choose a stem that fits the rim hole, tube design, rim depth, and working pressure.
Common tube stem families include TR13, TR15, TR218A, TR220, TR300, and other straight or bent stems. The exact code matters because it can describe base diameter, stem length, stem angle, and intended service.
Check the rim hole size before installation. A loose stem can leak at the base, while a forced stem can crack, tear the tube, or sit at an unsafe angle.
| Valve Family | Typical Use | Fit Check Before Buying |
|---|---|---|
| TR13 | Smaller straight rubber tube stems | Confirm rim-hole diameter and tube maker chart |
| TR15 | Larger-base straight tube stems | Confirm rim-hole diameter and pressure range |
| TR218A / TR220 / TR300-style stems | Heavier, larger, angled, or equipment-specific tube setups | Confirm valve reference, angle, length, rim access, and service pressure |
Use the tire, tube, rim, or equipment maker’s fitment chart as the final authority. Valve-code tables vary by application, so don’t rely on a generic chart for a vehicle or heavy-equipment tire.
[Products Worth Considering]

This heavy-duty bicycle rim liner provides complete tube protection by shielding the inner tube from rim spoke holes and sharp metal burrs that can cause flats. Made from premium, wear-resistant PVC, it lays flat with optimized 18 mm width and 0.50 mm thickness for edge-to-edge coverage. Installation is quick with flexible stretch placement and a secure, non-slip fit.

This Hycline 2-pack mountain bike tire set delivers durable, puncture-resistant performance with a high-grip, aggressive tread designed for traction on hard surfaces and confident handling through mud and soil. Includes matching inner tubes and tire levers for easier everyday maintenance and quicker installation after folding storage. Built for a range of riding conditions with reinforced rubber and nylon cord for wear-resistant reliability.

Replace worn tires quickly with this universal 4.80/4.00-8 tire and inner tube set designed for wheelbarrows and outdoor utility carts. The ribbed tread helps reduce turf damage while the natural rubber construction supports longer service life. Compatible with 15.5-inch outer diameter, 4-inch width, and 8-inch rim diameter wheels, it uses a straight TR-13 valve stem for easy installation. For best results, inflate with a manual pump and do not exceed 25 PSI.
Beads & Bead Filler: How They Affect Tube Fit and Safety
The bead secures the tire to the rim and helps the tube work inside a stable tire shape. You should inspect bead wires, bead filler, and rim contact areas before mounting.
Bead filler sits near the bead wires and supports the lower sidewall. Its stiffness affects how the tire handles load, flex, and pressure.
Good bead fit helps maintain air pressure, reduces slippage, and lowers the risk of leaks or blowouts.
Bead Construction Materials
Bead construction usually combines high-tensile steel wires with rubber compounds. Some bead wires use copper, brass, or bronze plating to help resist corrosion and improve bonding with rubber.
The bead wire provides hoop strength, which helps lock the tire to the rim. That strength helps prevent tire movement under side loads, speed, and vehicle weight.
Match the bead diameter and tire construction to the rim size. A mismatch can cause leaks, poor retention, or tire damage.
Bead Filler Functionality
Bead fillers support the bead area and lower sidewall. They help the tire keep its shape under pressure and load.
Filler density and stiffness affect how the tire transfers force through the sidewall. Stiffer filler can improve stability, while softer filler can change ride feel and flex.
Inspect bead fillers and bead areas for cracks, separation, or wear. Damage in this area can lead to air loss, bead movement, or structural failure.
Fit and Retention
A secure bead-to-rim interface supports tube fit and tire retention. Check that the bead and bead filler match the rim profile and tire design.
Proper bead alignment helps prevent slippage and supports consistent pressure. Beads with high-tensile steel resist deformation under load.
- Check bead-to-rim fit before inflation.
- Choose bead filler stiffness that suits load, speed, and handling needs.
- Inspect bead coating, filler, and rim contact areas for wear.
These checks lower failure risk and help the tire stay seated during use.
Pick a Compatible Inner Tube & Valve: 30-Inch Example
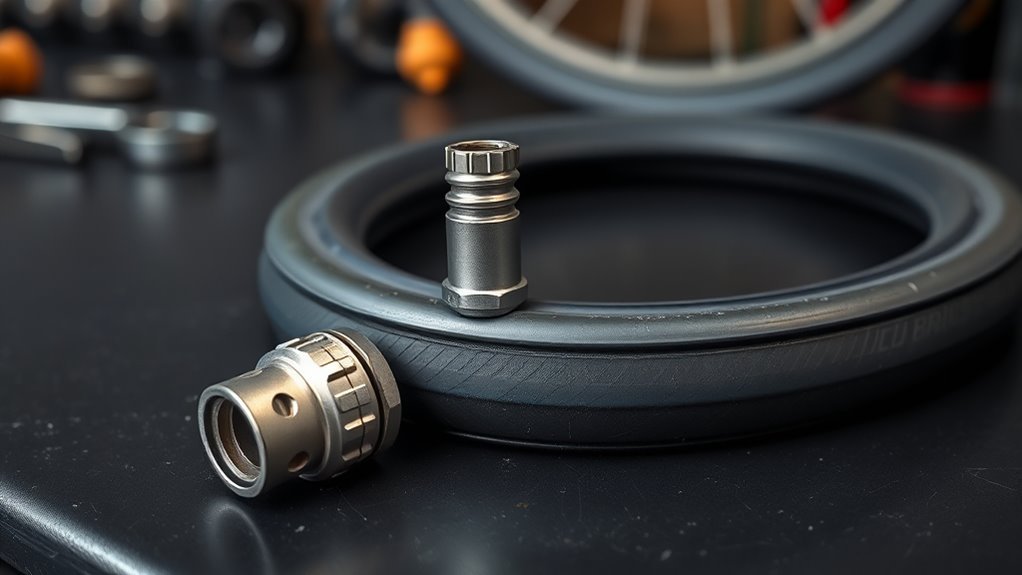
Start by matching the inner tube’s designation to your 30-inch tire. Confirm whether the tire needs a tubetype tube or supports tubeless use.
Next, match the tube width to the tire’s cross-section. A tube that fits the correct width range reduces pinching, folding, and stretch.
Choose butyl rubber tubes when you need durable air retention. If a tube chart lists valve reference M754, TR218A, or another code for a 30-inch tire, treat that as an exact fitment note, not a universal rule. Confirm the code against the rim, tire, tube, and equipment specifications before you buy.
Verify valve length against rim depth. A short valve can make inflation hard, while an over-stressed or angled valve can crack at the base.
Pro tip: Before mounting, lay the tube inside the tire and check that it sits flat without twisting or stretching.
[Products Worth Considering]

This 2-pack bicycle inner tube set is designed for kids, road, and MTB bikes with 20-inch tires in the 1.75 to 2.125 width range, using a 32mm AV Schrader valve. Each tube includes two tire levers for easier installation and safer handling while swapping tubes. Butyl rubber delivers reliable air retention, elasticity, and comfort for everyday rides.
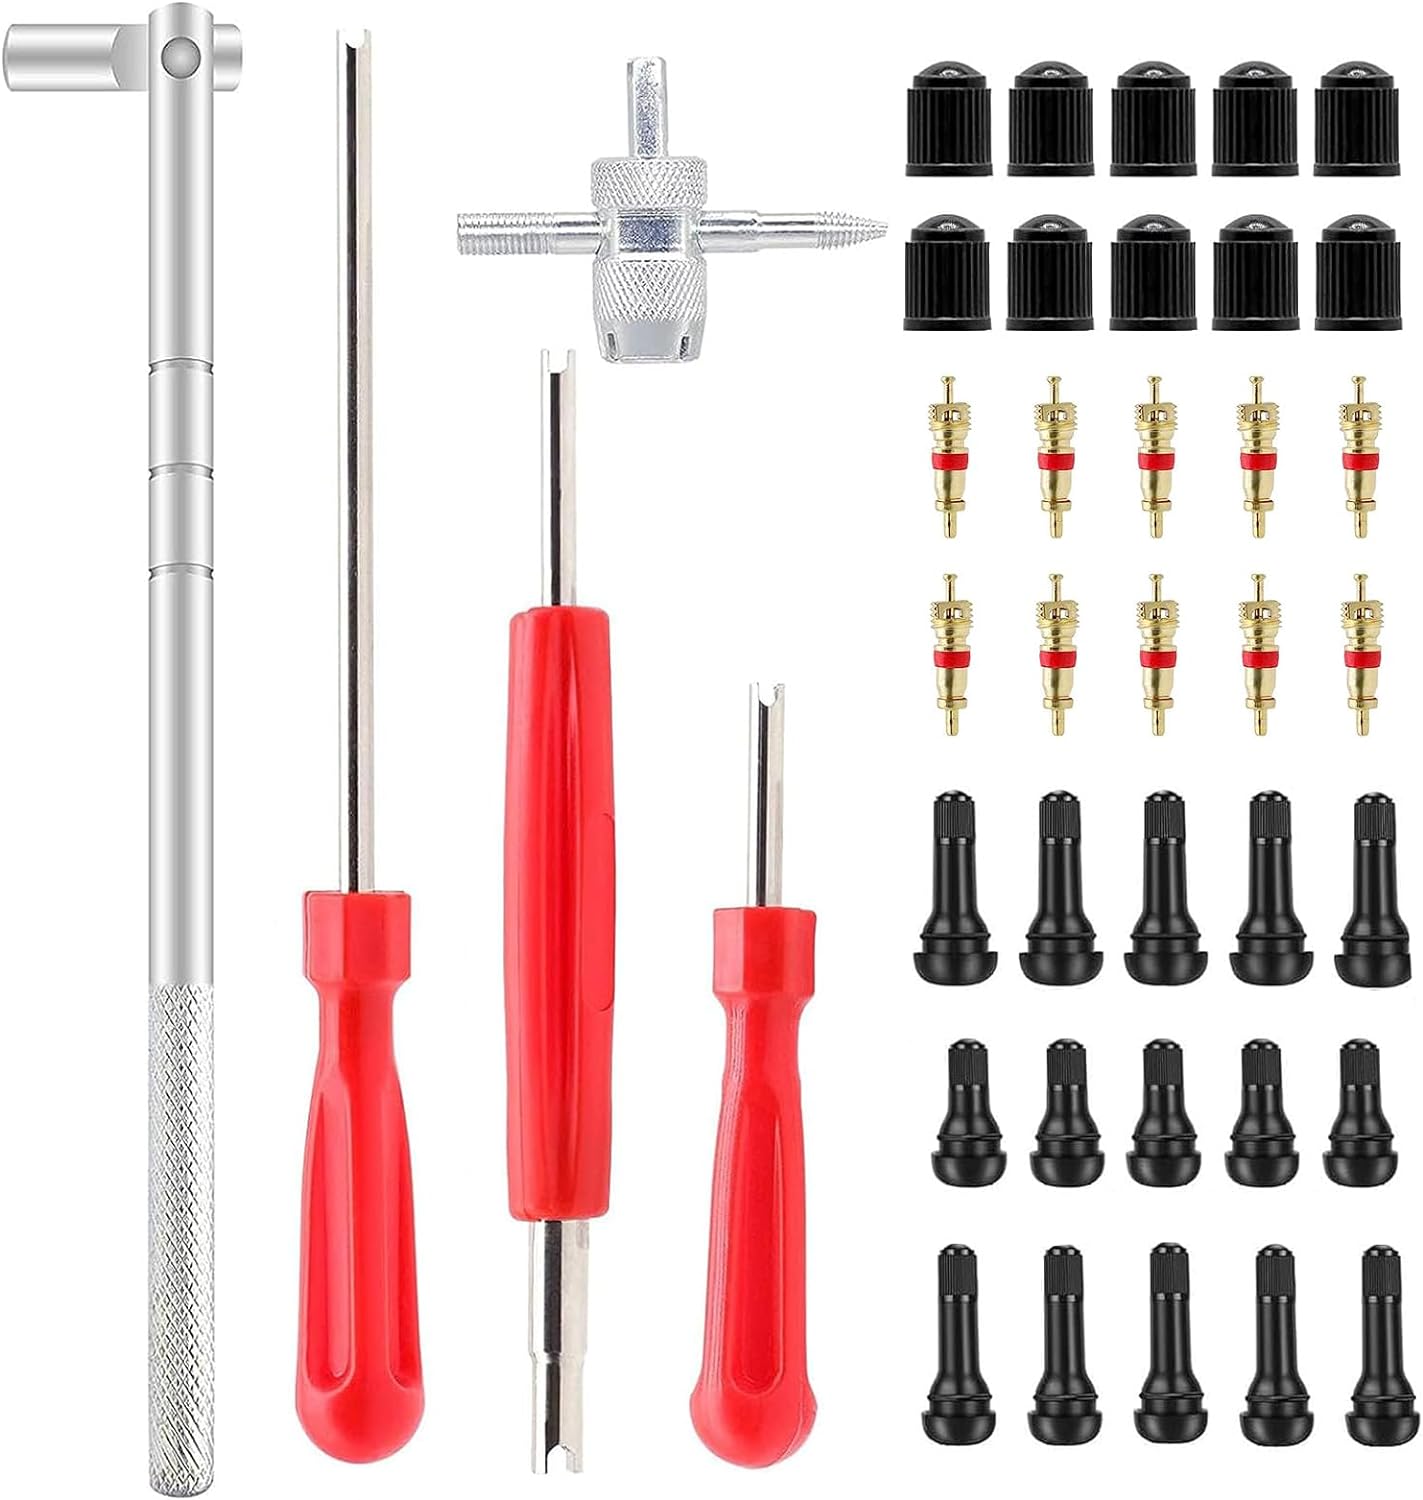
This ZHSMS valve stem puller and installer tool set makes it easy to remove and install tire valve stems without damaging wheels or valves. It uses a leverage design to save effort and includes valve stem tools plus removable valve core functionality for quick tire repairs. Compatible with tubeless tires for passenger cars, motorcycles, ATVs, off-road vehicles, and trucks.

Replace worn inner tubes on compatible Razor and kids electric mini dirt bikes with a correct 12.5x2.75 straight valve stem tube. It helps prevent leakage and keeps tires working safely for daily rides and rough terrain use. The package includes two tubes, a valve core wrench, brass valve stem cores, and red valve caps.
Install and Maintain Tubes: Stems, Sealing, and Leak Checks
Align the valve stem with the rim hole before you seat the tube. Place the tube evenly inside the tire to prevent pinches and stem stress.
Partially inflate the tube so it takes shape, then seat the beads evenly. Inflate to the recommended pressure shown by the tire, rim, or equipment specifications.
Check valve cores for tight sealing and replace damaged cores. Use valve caps to keep dirt and moisture away from the core.
- Inspect valve stems for cracks, corrosion, or looseness before use.
- Apply soapy water to the valve, bead, and rim seams to find bubbles.
- Check pressure weekly and adjust it to the recommended pounds per square inch (PSI).
Keep stems straight during installation and avoid pulling them sideways. This helps reduce slow leaks and extends tube life.
Common Inner Tube Mistakes to Avoid
Many tube failures start with fit or installation errors. Avoid mixing tube sizes, valve stems, or rim types unless the specifications allow it.
- Don’t install a tube with a valve stem that sits at an angle.
- Don’t inflate a tube fully before the bead seats evenly.
- Don’t reuse a tube with cracks, folds, patches near the stem, or visible wear.
- Don’t ignore repeated pressure loss, even when the tire looks normal.
- Don’t install a tube over damaged rim tape, rust, exposed spoke holes, or sharp rim edges.
Small errors can lead to pinches, stem tears, and slow leaks. Fix the cause before you return the tire to service.
Troubleshooting: Valve Failures, Slow Leaks, and When to Call a Dealer
Valve issues often start with poor alignment, a loose core, or a poor rim fit. Check the stem alignment and rim attachment first.
For slow leaks, apply soapy water to the valve stem, valve base, bead, and rim. Bubbles show escaping air.
Inspect the tube for debris, folds, pinches, or punctures. Also check rim tape, because exposed spoke holes or sharp rim edges can damage the tube.
| Symptom | Likely Cause | First Check |
|---|---|---|
| Stem leans sideways | Tube shifted, wrong valve angle, or rim-hole mismatch | Deflate, reseat tube, and verify valve code |
| Bubbles at valve base | Torn tube, loose fit, or damaged stem base | Replace tube or confirm rim-hole fit |
| Repeated pinholes | Debris, sharp rim edge, or failed rim tape | Inspect inside casing and rim bed |
| Bead will not seat evenly | Dirty rim, wrong tire/rim match, or damaged bead | Stop inflation and inspect the bead seat |
If a new valve core or tube does not stop air loss, stop guessing. Persistent leaks, unclear failure points, vehicle tires, and incompatible parts need dealer or tire professional diagnosis.
Sources and Methodology
This guide was reviewed against tire-component references, current valve-fit guidance, and tube-installation best practices. Because tube fitment varies by bicycle, motorcycle, trailer, agricultural, industrial, and vehicle tire type, always treat the tire, rim, tube, and equipment maker’s specifications as the final source.
- Pneumatic tire component overview
- Valve type, rim compatibility, and valve-length guidance
- Tube installation, leak finding, and bead seating guidance
Frequently Asked Questions
What Is the Difference Between TR13 and TR15 Valve Stems?
The main difference is stem size and fit. TR13 usually fits smaller rim holes, while TR15 fits larger rim holes and heavier tube applications. Always match the valve to the rim hole, valve angle, and pressure range listed by the tube or equipment maker.
What Are the Parts of a Tire Valve?
A tire valve includes the stem, core, cap, and sealing area. The stem holds the valve assembly, the core controls airflow, and the cap helps keep dirt out.
What Is the Anatomy of the Tire Tube?
A tire tube includes the rubber body, valve stem, valve core, seams, and reinforced areas near the stem. The rubber body holds air, while the valve lets you inflate and check pressure.
What Are the Six Major Parts of a Tire?
The six major tire parts are the tread, sidewall, bead, body plies or cord body, inner liner, and valve area. Tire construction combines rubber, steel, and fabric to support strength, air control, and road contact.
Can You Use an Inner Tube in a Tubeless Tire?
You can use a tube in some tubeless tires only when the tire and rim specifications allow it. Check the manufacturer or a tire professional first, because the wrong setup can trap heat, create fit problems, or hide bead-seat damage.
What Does TT Mean on a Tire?
TT usually means tube type, which means the tire is designed to be used with an inner tube. TL usually means tubeless. Do not convert between the two unless the tire and rim specifications allow it.
Why Does My Inner Tube Valve Stem Sit Crooked?
A crooked valve stem usually means the tube shifted, the tube is twisted, the valve angle is wrong, or the tire crept on the rim. Deflate the tire, reseat the tube, and confirm that the valve code matches the rim.
Conclusion
The safest inner tube setup starts with a correct match between the tube, valve, tire, and rim. Check the markings, choose the right material, seat the bead evenly, and keep the valve straight.
After installation, test for leaks and monitor pressure often. If the tire keeps losing air or the parts don’t match clearly, get professional help before using the tire again.
