

A dead TPMS sensor battery does not automatically mean you can open the sensor and install a new coin cell. Most conventional direct TPMS sensor bodies are sealed around their battery and electronics, so the normal repair is to replace the sensor. Battery-only replacement should be attempted only when the sensor manufacturer specifically identifies the battery as serviceable and provides a procedure.
Quick Answer
Most TPMS sensor batteries are sealed inside the sensor body and are not designed for normal replacement. If the battery dies, you usually replace the entire sensor. Replace only the battery when the sensor manufacturer specifically provides a battery-service procedure, then test and relearn the sensor according to your vehicle’s instructions.
Key Takeaways
- First confirm that your vehicle uses direct TPMS; indirect systems do not use the same battery-powered pressure sensors inside the wheels.
- Most conventional direct TPMS sensor bodies are sealed or potted, so a dead internal battery normally means replacing the sensor rather than opening it.
- Do not assume the battery is a CR2032 or another common coin cell. Use only the exact battery specification and procedure supplied by the sensor manufacturer if battery service is supported.
- When installing a replacement sensor, inspect or replace the appropriate valve service components and tighten hardware to the specified torque.
- TPMS relearn procedures are vehicle-specific and may be automatic, stationary/manual, OBD-based, or a combination.
- After service, verify tire pressure with an accurate gauge, activate the sensor with a compatible TPMS tool when required, complete the correct relearn, and confirm that no malfunction warning remains.
At a Glance
| Time Required | Varies by vehicle, wheel service, sensor programming, and relearn method |
| Difficulty | Moderate to advanced; tire removal and mounting require proper equipment and training |
| Tools Needed | Accurate tire-pressure gauge, compatible TPMS activation/scan tool, torque wrench, correct sensor and service kit, plus proper tire-service equipment when the sensor must be removed |
| Cost | Varies by sensor type, valve service parts, tire labor, programming, and relearn requirements |
Can You Replace a TPMS Sensor Battery?
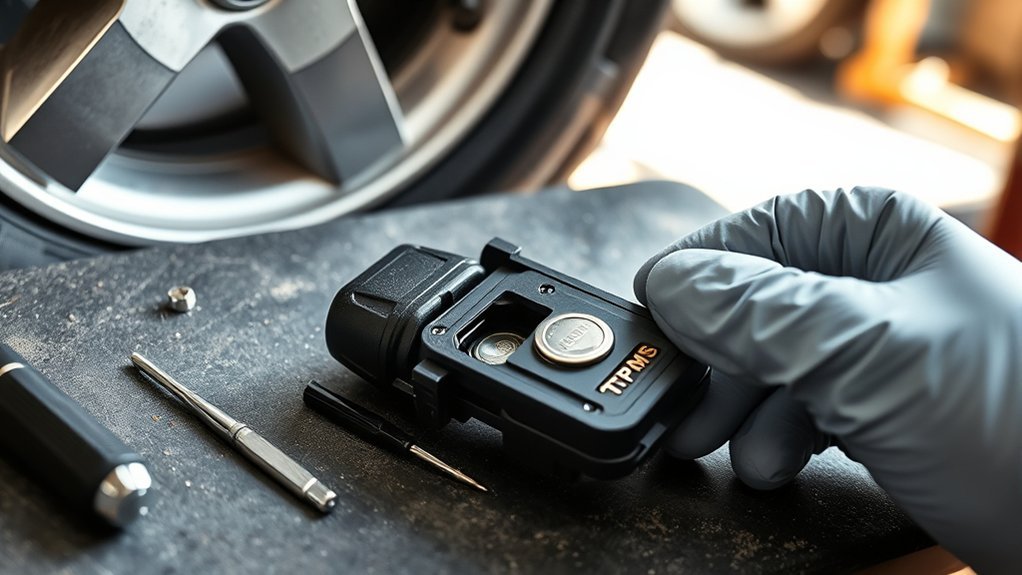
Sometimes, but only when the specific sensor is designed and documented for battery service. For most conventional direct TPMS sensors, replacing the whole sensor is the correct response to a dead internal battery.
Schrader explains that TPMS sensor bodies may be laser-welded or epoxy-potted to protect their battery and electronics from moisture, debris, and damage. In these designs, the internal electronics are not normal service items.
That distinction is important because a sensor’s valve components may be serviceable even when its battery is not. A replaceable valve stem, grommet, nut, core, cap, or screw does not mean you can replace the battery inside the sensor body.
Note: Battery replacement applies only to direct TPMS sensors with an internal power source. Indirect TPMS uses vehicle data such as wheel-speed information rather than a pressure sensor mounted in each wheel.
What Tools and Parts You Need
Start with diagnosis rather than buying a generic coin-cell battery. For a conventional direct TPMS system, useful tools and parts include:
- An accurate tire-pressure gauge
- A TPMS activation or diagnostic tool compatible with your vehicle
- The correct replacement sensor if the original sensor battery has failed
- The correct TPMS valve service kit for the sensor design
- A torque wrench or suitable torque tool for hardware that has a specified tightening value
- Proper tire-mounting equipment if the sensor must be removed from inside the wheel
If your exact sensor is one of the uncommon designs for which the manufacturer provides a battery-service procedure, use the battery, terminal configuration, sealing materials, and tools stated in that procedure. Do not choose a battery simply because it resembles a CR2032 or another familiar coin cell.
TPMS sensor batteries commonly provide years of service; Schrader describes an average battery life of roughly five to ten years, depending on the application and operating conditions.
Warning: Accessing a wheel-mounted TPMS sensor may require tire deflation, bead separation, tire mounting, inflation, and wheel handling. Improper tire service can injure you or damage the tire, wheel, valve, or sensor. If you do not have the correct tire equipment and training, have a tire professional perform that part of the job.
[Products Worth Considering]

This TPMS sensor training and relearn reset tool is customized for Ford, Lincoln, and Mercury vehicles to help activate tire pressure programming after sensor replacement or tire rotation. It can activate individual tire pressure sensors with one-button operation, helping prevent TPMS warning light illumination. It is not a sensor programming tool and cannot program replacement sensors—use it to trigger/activate sensors only.
This TPMS relearn tool helps you quickly activate, match, and reset GM tire pressure sensors to keep the vehicle monitoring system working properly. It clears tire pressure alarms and dashboard warning lights after sensor replacement or tire rotation, and supports learning for common 315/433 MHz TPMS sensors. Designed for simple one-button operation, it can help you avoid unnecessary trips to repair shops.

Replace your worn or missing TPMS sensors with pre-programmed, direct-fit sensors for compatible Ford, Lincoln, and select Mazda models. Each sensor comes ready to activate with a scan tool, helping restore accurate tire pressure monitoring and trouble-free installation. Built with a long-life CR2032 battery and tested before factory release, this set provides dependable performance with a one-year warranty.
How to Open a Sealed TPMS Sensor
In normal service, you should not open a sealed TPMS sensor. A smooth welded housing or epoxy-potted sensor body is intended to keep moisture, road debris, vibration, and other contaminants away from the electronics.
If the manufacturer identifies the battery as non-serviceable, cutting the housing, excavating potting compound, or prying at the circuit board turns a standard sensor replacement into an unsupported electronic modification. Replace the sensor instead.
Identifying Seal Type
Identify the exact sensor before attempting any work. Check the vehicle year, make, and model; the sensor part number; valve design; and manufacturer documentation.
A sealed sensor may have a continuous housing, welded cover, or potted electronics with no documented battery-access feature. A removable valve stem or service kit does not prove that the battery itself is replaceable.
If documentation does not specifically describe a battery-replacement procedure, treat the sensor battery as non-serviceable.
Opening Potting Compound
Do not remove potting compound from a conventional sealed TPMS sensor as part of routine service. The compound protects the circuit board and internal battery from environmental and mechanical stress.
Digging, cutting, grinding, or scraping around the battery can damage circuit traces, the pressure-sensing element, antenna components, or the housing seal. Even if you manage to power the electronics again, restoring the original environmental protection may not be practical.
- Identify the exact sensor and confirm its service instructions.
- If the battery is listed as non-serviceable, replace the sensor body.
- If the manufacturer provides a battery-service procedure, follow that procedure exactly rather than improvising a method.
Removing Battery Tabs
Battery tabs inside a sealed TPMS sensor are not ordinary valve-service components. Do not pry or cut factory battery connections unless the sensor manufacturer specifically instructs you to service them.
Improvised removal can damage nearby electronics or create a poor electrical connection. A sensor that has been physically damaged, improperly sealed, or modified without an approved service procedure should not be relied on for tire-pressure monitoring.
How to Find the Right Replacement Battery
If your sensor manufacturer explicitly allows battery replacement, use the exact battery specification in its service documentation. Confirm all of the following before installation:
- Battery chemistry and nominal voltage
- Physical dimensions
- Terminal or tab configuration
- Polarity
- Temperature and environmental requirements stated by the sensor manufacturer
- Approved sealing or reassembly procedure
Do not assume that two batteries with similar dimensions are interchangeable.
For a conventional sealed sensor, you are actually looking for the correct replacement TPMS sensor, not a replacement battery. Match the replacement sensor to the vehicle application and confirm that it supports the required protocol and installation style.
Pro Tip: Before removing a tire, trigger all installed sensors with a compatible TPMS tool when possible. That can help identify which sensor is not responding and reduces the chance of replacing the wrong component.
[Products Worth Considering]

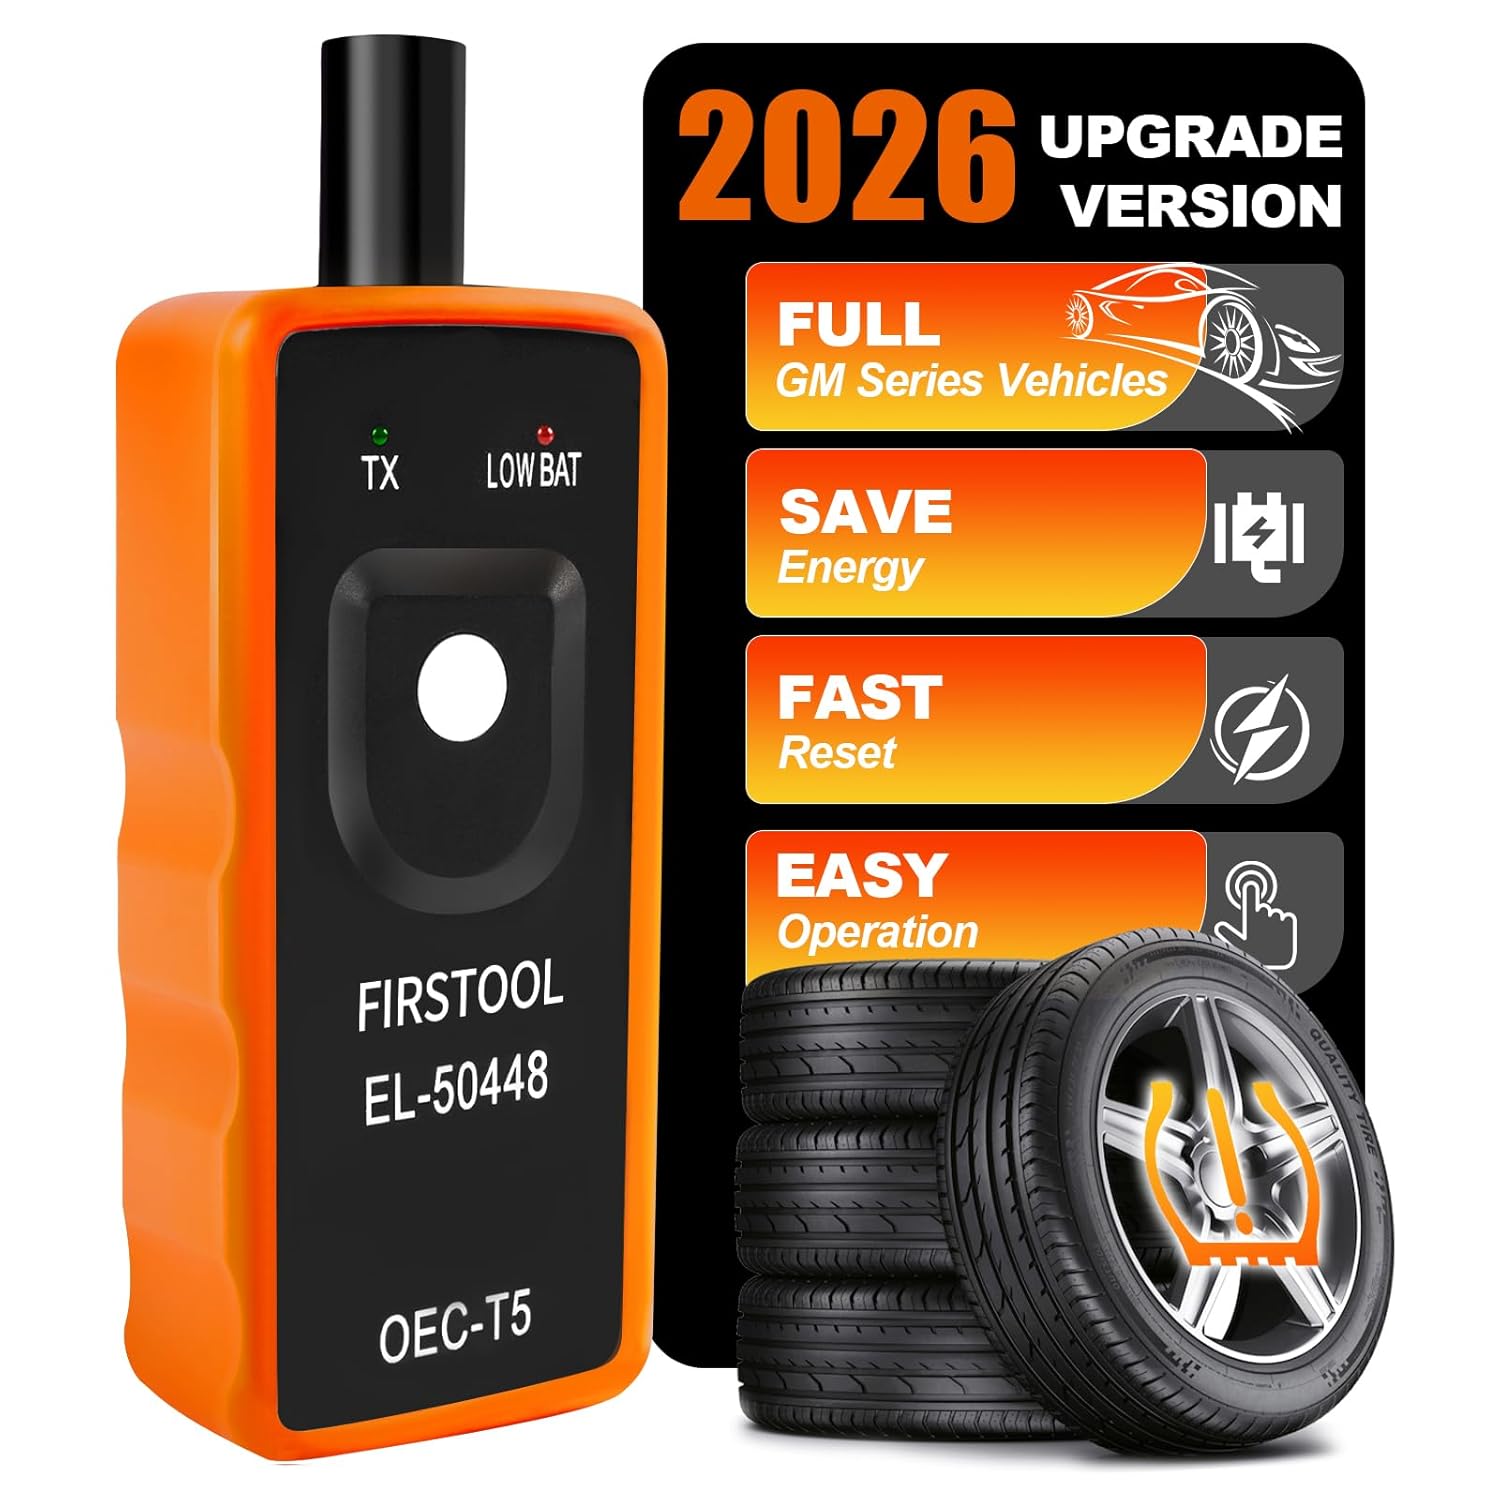
This GM TPMS relearn and reset tool (EL-50448) helps you activate and reset OE/OEM compatible tire pressure sensors for many Chevrolet, GMC, Buick, and Cadillac vehicles. It includes a pre-installed 9V alkaline battery for ready-to-use performance and features a one-button design for quick DIY TPMS relearn. Use it to clear the TPMS warning light, set the correct dashboard tire pressure, and test sensor operation.
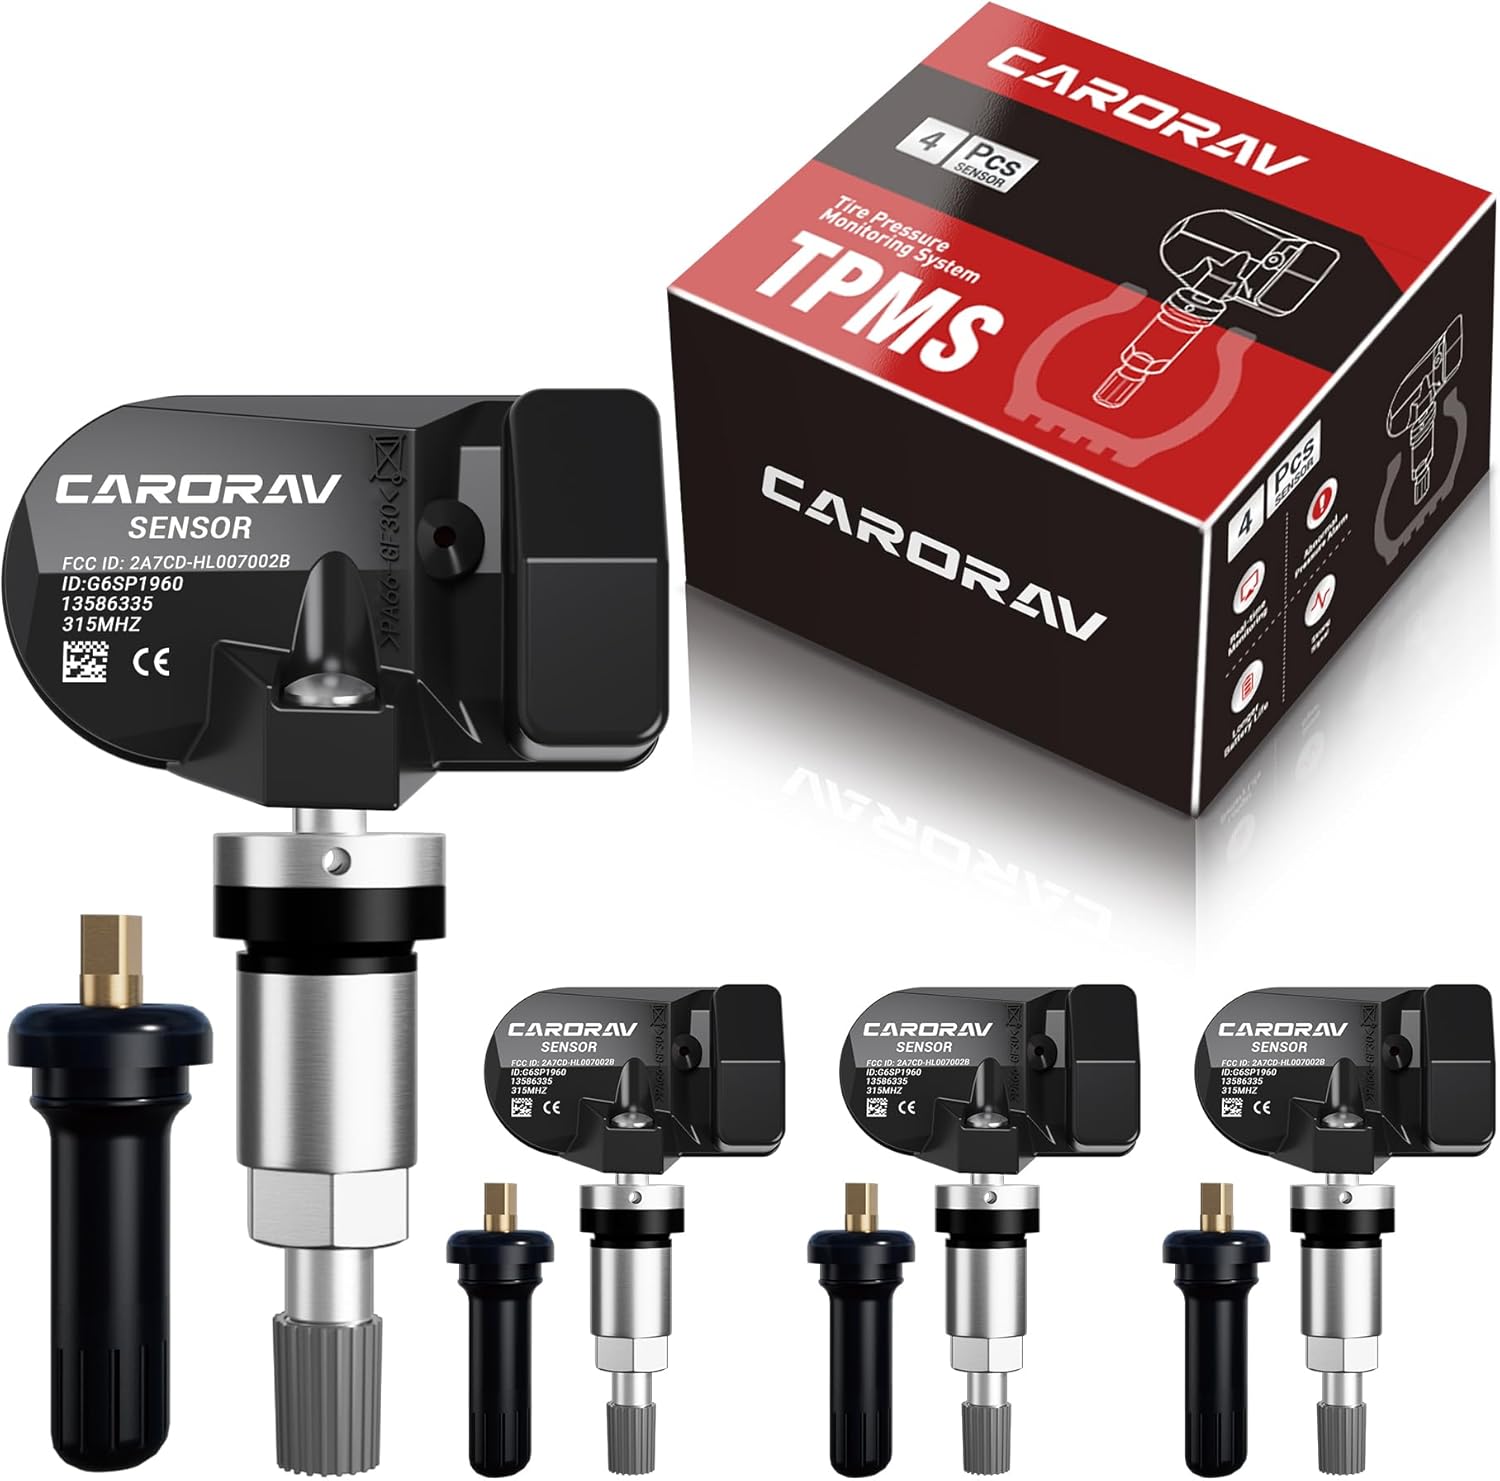
Replace worn or missing TPMS sensors with CARORAV pre-programmed GM-compatible sensors for a smoother installation experience. These 315MHz replacement sensors help monitor tire pressure in real time with long battery life, and they are designed to withstand harsh temperatures. Manual or OBDII relearn may be required to reset the system for proper recognition.

The UYYE TPMS relearn tool helps activate and relearn tire pressure monitor sensors quickly, typically in minutes. It supports TPMS learn mode resetting using a simple three-step process: enter learn mode, position the tool near the valve stem, and press the learn button. Designed for specific GM models, it streamlines sensor programming and reduces trips to dealers or tire shops.
How to Remove the Old Battery
Only remove an old TPMS battery when the manufacturer of that exact sensor provides a battery-replacement procedure. Follow its instructions for opening the housing, disconnecting the old cell, maintaining polarity, and protecting the electronics.
Do not use a generic procedure based only on the appearance of the sensor. Sealed OEM-style sensor bodies commonly have their electronics protected by welded plastic or potting compound, so forcing access can permanently damage them.
If no approved battery-service instructions exist, stop at this point and replace the complete sensor.
How to Spot Weld the Battery Tabs
Do not assume that spot welding is the correct repair for every TPMS sensor. Factory battery connections, materials, tab geometry, and electronic layouts vary between sensor designs.
If a manufacturer-supported battery-service procedure specifies welded tabs, use only the connection method and settings required by that procedure. Incorrect welding can produce a weak joint, short the battery, damage the cell, or harm nearby electronics.
- Confirm that battery replacement is officially supported for the exact sensor.
- Use the specified battery and terminal configuration.
- Follow the manufacturer’s documented connection method.
- Inspect the finished connection before reassembly.
If the manufacturer does not provide a battery-service process, replacing the complete sensor is the safer and more reliable option.
How to Reseal and Reassemble the Sensor
If you are working on a sensor specifically designed for battery service, reseal it exactly as its manufacturer requires. The housing must protect the electronics from moisture, debris, vibration, and movement.
For conventional sensor replacement, focus instead on the valve hardware and wheel seal. Schrader recommends renewing appropriate TPMS service-pack components during tire service rather than reusing worn sealing hardware.
| Step | Purpose |
|---|---|
| Use the correct service kit | Provides compatible sealing and valve components for the sensor design |
| Inspect valve and wheel sealing surfaces | Helps prevent slow air leaks and corrosion-related problems |
| Align the sensor correctly | Reduces the risk of installation or tire-mounting damage |
| Tighten hardware to specification | Avoids under-tightening or damage caused by excessive torque |
Do not guess at a universal torque value. Clamp-in stems, sensor screws, nuts, and other hardware can have different specifications. Use the sensor manufacturer’s or vehicle manufacturer’s value for the exact application.
TPMS Relearn Methods
Replacing or servicing a direct TPMS sensor may require the vehicle to recognize the sensor ID again. There is no single reset procedure for every car.
ATEQ describes three main direct-TPMS relearn methods:
- Auto relearn: The vehicle learns the sensor information automatically after the required conditions are met, often during driving.
- Stationary or manual relearn: The vehicle is placed in a learn mode and the sensors are activated in a specified sequence.
- OBD relearn: A compatible diagnostic/TPMS tool transfers sensor IDs to the vehicle through the diagnostic connector.
Some vehicles use a combination of methods. Always follow the procedure for the exact year, make, model, and sensor application rather than relying on a generic driving speed or time.
How to Test the Repaired TPMS Sensor
After servicing or replacing the sensor, verify both tire pressure and TPMS operation before considering the job complete.
- Set the tires to the vehicle manufacturer’s recommended cold pressures shown on the tire-information placard.
- Check pressure with an accurate tire-pressure gauge.
- Use a compatible TPMS tool to activate or read the sensor when the application supports it.
- Complete the correct vehicle-specific relearn or initialization procedure.
- Confirm that the TPMS warning or malfunction indication behaves normally afterward.
NHTSA explains that a TPMS malfunction may be indicated by the warning symbol flashing for 60 to 90 seconds and then remaining illuminated. A solid low-pressure warning, by contrast, generally means one or more tires need to be checked and inflated correctly.
Do not rely only on the dashboard display to determine actual pressure. NHTSA recommends regular pressure checks with an accurate gauge because TPMS is not a replacement for normal tire maintenance.
When to Replace the Whole Sensor
Replace the complete TPMS sensor when its internal battery is dead and the sensor body is sealed or otherwise classified as non-serviceable.
Full replacement is also appropriate when you find:
- A cracked, distorted, or physically damaged sensor body
- Severe corrosion or damaged valve hardware that cannot be properly serviced
- A sensor that does not respond to the correct activation tool
- Persistent TPMS faults after correct installation and relearn
- An incompatible sensor, frequency, protocol, or application
- Damage caused during tire mounting or previous repair attempts
If one original sensor has failed because of age, consider checking the remaining sensors at the same time. Sensors installed together have experienced similar years of service, although their remaining battery life may not be identical.
[Products Worth Considering]
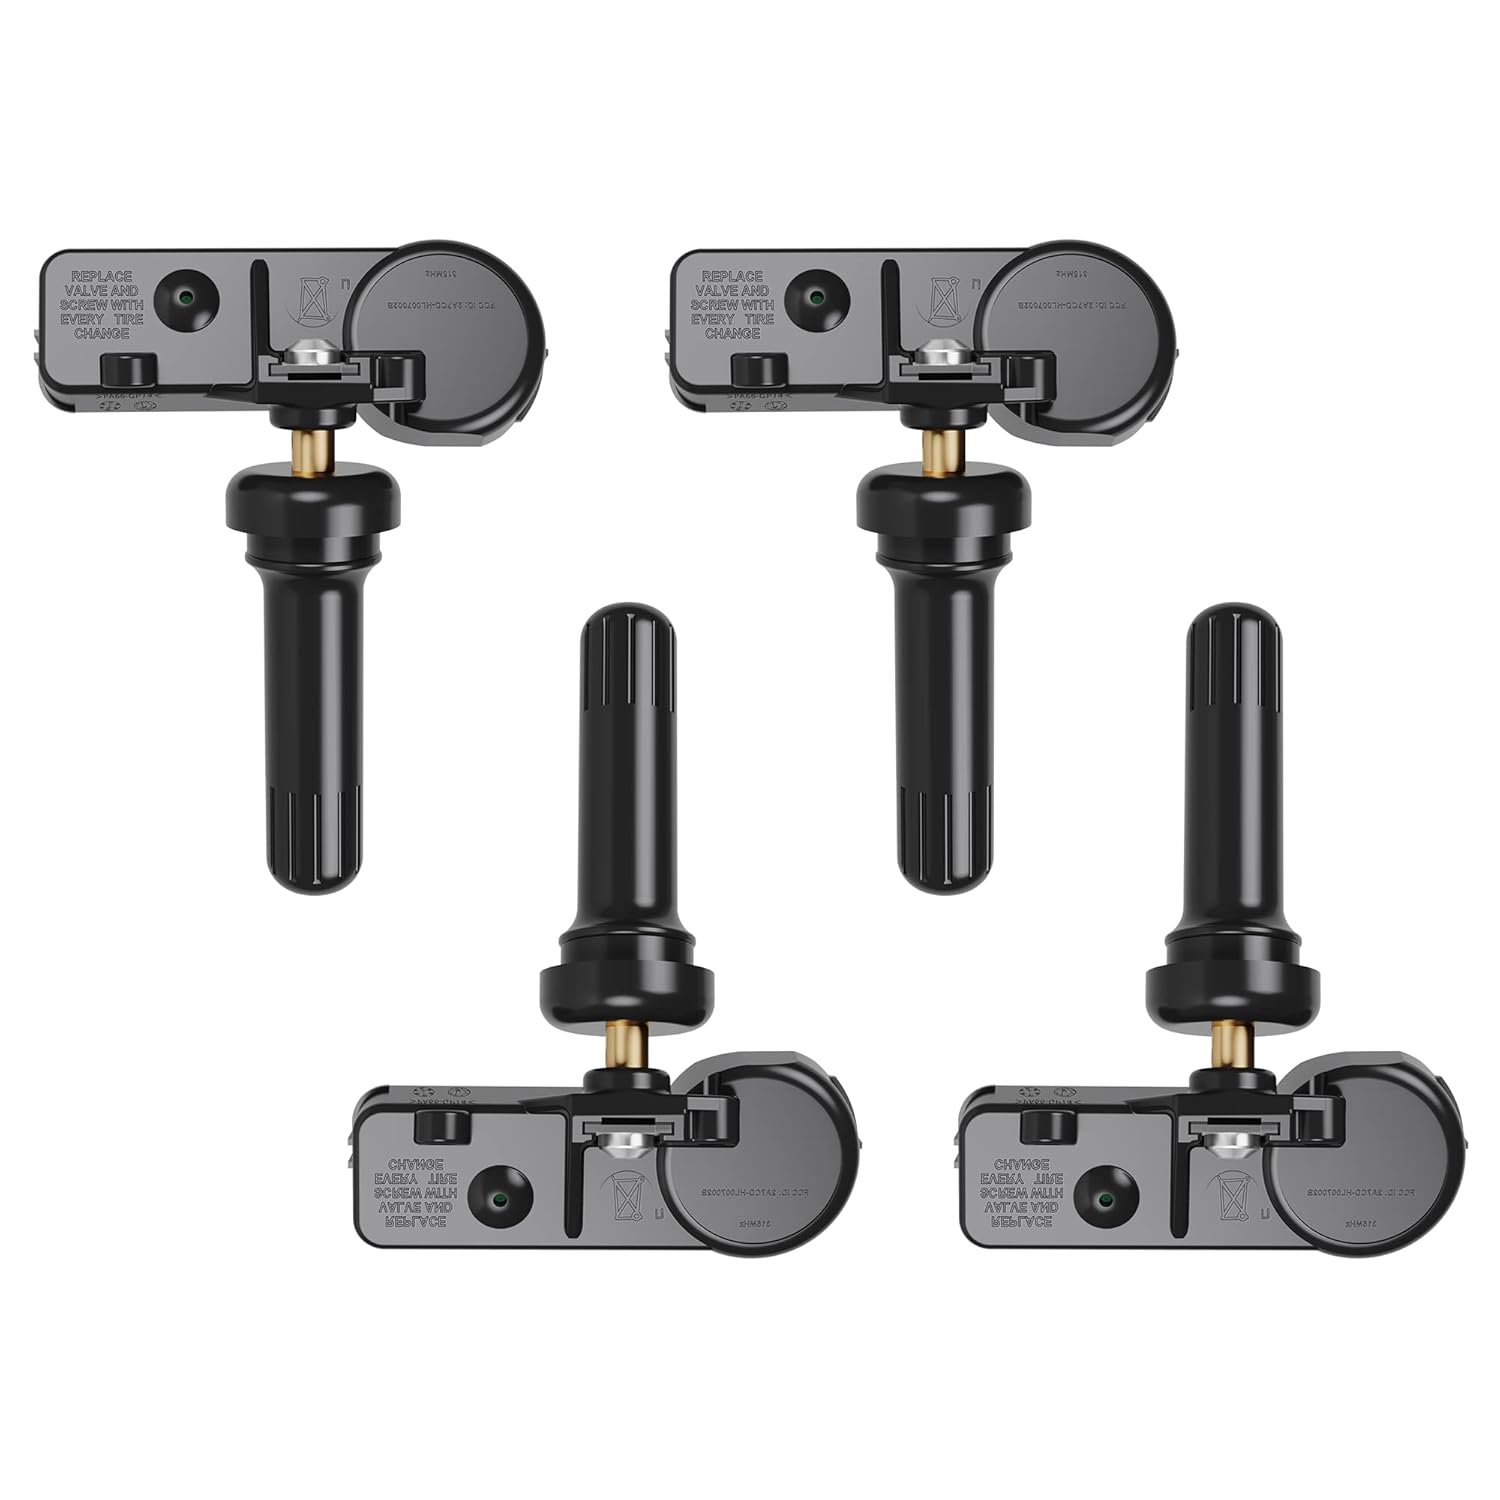
Replace worn or faulty TPMS sensors with this brand new 315MHz GM-compatible replacement set for select Chevy, GMC, Buick, Cadillac, and similar vehicles. These sensors are pre-programmed for your make/model/year and typically only require activation with a scan tool. Built for long service life with a high-temperature battery, they help maintain reliable tire pressure monitoring for safer driving.

The AICEL TPMS relearn tool helps you quickly reset or relearn tire pressure sensors after replacement, tire rotation, or resolving tire pressure alarms. It provides an activation reset function so your vehicle’s TPMS can operate optimally, saving time and money on frequent visits to an auto shop. Designed for easy use on most vehicles, it works by placing the tool near the valve stem and using the learn button.

Masoll Gen 2 external TPMS sensors are a DIY replacement set of 4 for select GM vehicles made after 2006, helping you shut off the TPMS warning light quickly. Simply screw the sensors onto the tire valves and sync to your car ECU using the included EL-50448 relearn tool. Dual-frequency 315/433 MHz design provides OEM-level performance with accurate readings and replaceable batteries for about two years.
TPMS Battery Replacement Cost and Reliability
The cost of TPMS service varies too much to give one reliable universal figure. The final amount can depend on the replacement sensor, valve service kit, wheel and tire labor, sensor programming, relearn procedure, local labor rates, and whether more than one aging sensor is being replaced.
- Diagnose the sensor before buying parts.
- Do not budget for a simple coin-cell swap unless the exact sensor officially supports battery replacement.
- Include any required service kit, tire labor, programming, and relearn when comparing costs.
A battery-only repair may appear inexpensive, but opening a sealed sensor creates reliability and sealing concerns. For a non-serviceable sensor, a new correctly matched sensor provides a known housing, battery, and electronics package and is the normal long-term repair.
Schrader reports an average TPMS sensor battery life of roughly five to ten years. Actual life varies with sensor design and use, so age is useful context but should not replace diagnosis.
Common TPMS Problems After Sensor Service
The New Sensor Does Not Respond to the TPMS Tool
Confirm that the tool supports the vehicle and sensor, that the correct year/make/model is selected, and that a programmable sensor was programmed before installation when required. An incorrect or incompatible replacement sensor may not communicate with the vehicle.
The TPMS Light Still Flashes
A flashing-then-solid TPMS warning points to a system malfunction rather than simply low tire pressure. Recheck sensor activation, sensor IDs, programming, relearn completion, and vehicle-specific diagnostic trouble codes.
The TPMS Light Stays Solid
Check every tire with an accurate gauge and set pressures according to the vehicle placard. A solid warning can indicate that one or more tires remain significantly underinflated.
There Is an Air Leak Around the Valve
Inspect the valve stem, grommet, core, nut, cap, wheel sealing surface, and other applicable service components. Use the correct service kit and tightening specifications rather than reusing damaged sealing parts.
The Sensor Activates but the Vehicle Does Not Recognize It
The sensor may still require a relearn or ID transfer. Check whether the vehicle uses automatic, stationary/manual, OBD, or combined relearn procedures and complete the exact procedure for that application.
Frequently Asked Questions
Can I replace my TPMS battery myself?
Only if the manufacturer of your exact sensor identifies its battery as replaceable and provides a service procedure. Most conventional sealed direct-TPMS sensor bodies are not designed for battery replacement, so a dead battery normally requires a new sensor.
Can I replace my TPMS sensors myself?
It is possible if you have the correct sensor, TPMS diagnostic equipment, tire-service equipment, torque information, and relearn procedure. Because the sensor is normally mounted inside the wheel, many owners have a tire shop handle tire removal, sensor installation, reinflation, and leak checking.
How do I reset my TPMS after replacing a battery or sensor?
Follow the procedure for your exact vehicle. Direct TPMS systems may use automatic, stationary/manual, OBD, or combined relearn methods. If the original sensor ID remains unchanged after a manufacturer-supported battery service, some vehicles may resume communication without registering a new ID, but you should still follow the vehicle’s specified verification procedure.
What happens when a TPMS battery dies?
The direct TPMS sensor can stop transmitting usable data to the vehicle. Depending on the system, you may receive a TPMS malfunction warning or lose a pressure reading from that wheel. Confirm the fault with appropriate diagnosis before replacing the sensor.
How long does a TPMS sensor battery last?
A commonly cited average is about five to ten years, but actual battery life depends on the sensor design, use, and operating conditions. Battery age can help with diagnosis, but it does not prove that a particular TPMS fault is caused by the battery.
Does an indirect TPMS have batteries in the wheels?
Indirect TPMS works differently from direct TPMS and uses vehicle data such as wheel-speed information rather than a battery-powered pressure sensor installed in each wheel. If your vehicle has indirect TPMS, there is no direct wheel-sensor battery to replace.
Conclusion
Replacing a TPMS sensor battery is not a routine repair for most conventional direct TPMS sensors. Their batteries and electronics are commonly enclosed inside sealed sensor bodies, so battery failure normally calls for complete sensor replacement.
If your exact sensor is specifically designed for battery service, follow its manufacturer’s battery, connection, sealing, and testing procedure. Otherwise, avoid cutting or excavating the housing. Install the correct replacement sensor and service components, complete the proper vehicle-specific relearn, and verify tire pressure with an accurate gauge.
Many TPMS sensor batteries provide roughly five to ten years of service, but lifespan varies. If an older original sensor fails, checking the remaining sensors can help you plan future service without assuming that every warning light is caused by a dead battery.
Sources
- National Highway Traffic Safety Administration — TireWise — TPMS warning behavior, direct and indirect systems, and tire-pressure maintenance guidance.
- Schrader TPMS Solutions — Serviceable vs. Replaceable TPMS Components — explains sealed sensor bodies, internal electronics, batteries, and serviceable valve components.
- Schrader TPMS Solutions — TPMS Service Kits — guidance on valve stems, grommets, nuts, valve cores, caps, and other service components.
- ATEQ TPMS — OBD, Auto and Stationary TPMS Relearns — explains the main types of vehicle-specific TPMS relearn procedures.
- Schrader TPMS Solutions — TPMS Battery-Life Guidance — supports the commonly cited average battery lifespan of approximately five to ten years.
