
How To Install a Leveling Kit on a Toyota Tacoma
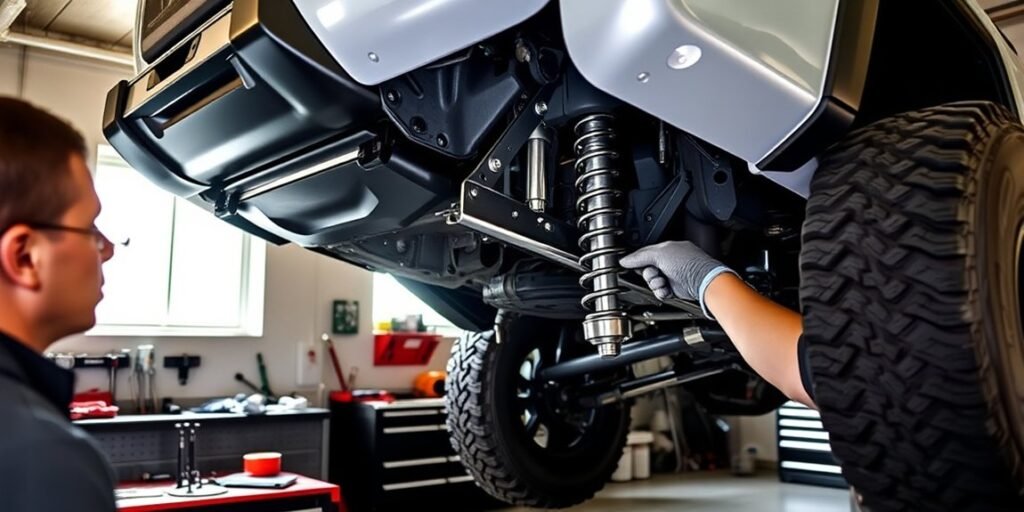
A Toyota Tacoma leveling kit can clean up the factory rake, add a little tire clearance, and give the truck a more balanced stance. The safest way to install one is to treat the kit instructions and Toyota service information as the final authority, because torque specs, hardware, sensor compatibility, and even the basic procedure can change by model year, drivetrain, trim, and kit design.
Quick Answer
To install a Toyota Tacoma leveling kit, confirm the kit fits your exact year and trim, support the truck safely on rated jack stands, install the front spacers or replacement struts, install rear blocks if included, torque every fastener to the kit or OEM spec, check brake-line clearance, then get a professional alignment.
Key Takeaways
- Do not assume every Tacoma leveling kit is the same. Fitment differs between 2nd Gen, 3rd Gen, and 4th Gen trucks.
- Never work under a Tacoma supported only by a hydraulic jack; use rated jack stands on a firm, level surface.
- Torque specs are kit-specific. Use the instructions that came with your leveling kit and the correct Toyota service data for your model year.
- A professional alignment is required after changing ride height to protect handling and tire wear.
- After installation, check brake hoses, ABS wires, steering sweep, tire rub, headlight aim, and fastener torque.
At a Glance
| Time Required | About 4–6 hours for an experienced DIYer; Toyota estimated 4–5 hours of labor for its dealer-installed TRD lift kit. |
| Difficulty | Advanced DIY. Suspension experience is strongly recommended. |
| Tools Needed | Floor jack, rated jack stands, wheel chocks, socket/wrench set, breaker bar, torque wrench, pry bar, marker, measuring tape, and possibly a spring compressor. |
| Cost | Basic spacer kits are usually much less than full suspension systems. Toyota’s TRD lift kit was announced at $1,450 MSRP before labor, so total cost depends heavily on kit type and installation method. |
Warning: This is general guidance, not a replacement for the instructions that came with your leveling kit or the Toyota repair manual for your exact Tacoma. Suspension work affects steering, braking, rollover risk, tire wear, and brake-line clearance. If you are not comfortable supporting the truck and working around loaded suspension parts, have a qualified shop install the kit.
Before You Buy: Confirm the Kit Fits Your Tacoma
Start with fitment. A leveling kit for a 2005–2015 Tacoma may not fit a 2016–2023 Tacoma, and 2024+ Tacoma kits are different again. The 2nd Gen Tacoma covers 2005–2015, the 3rd Gen covers 2016–2023, and the 4th Gen starts with 2024. Toyota also redesigned the 2024 Tacoma platform, so do not treat older 2005–2023 instructions as automatically correct for a 2024+ truck.
Check the kit listing against your Tacoma’s year, drivetrain, cab and bed, suspension package, and trim. Pay special attention if you have a TRD Pro, Trailhunter, long-bed truck, 2WD model, 4-cylinder model, hybrid model, or a truck with Toyota Safety Sense sensors. Toyota’s own Tacoma TRD Lift Kit, for example, lists specific fitment exclusions and notes Toyota Safety Sense compatibility for that kit.
Note: A “3-inch leveling kit” does not always mean the spacer itself is 3 inches thick. Spacer geometry can multiply lift height. Use the kit manufacturer’s stated lift amount, not the physical thickness of the spacer, when planning tire fitment and alignment.
[Products Worth Considering]

Universal magnetic jack pad with aluminum grooved design to protect vehicle pinch welds during lifting. Durable nylon pad inserts are upgraded and secured with screws to resist damage and keep in place. Designed to fit most single vehicle pinpoint welds for safer, stable jacking when changing tires, repairs, or performing oil changes.

Secure your trailer or RV tires with a scissor-style wheel chock stabilizer that applies opposing force to help prevent wheel shift. It fits tight wheel gaps from 3.5 inches up to 12 inches and works for travel trailers, campers, fifth wheels, toy haulers, and heavy-duty trucks. The surface uses new electrophoretic technology to help prevent rust for reliable travel use.
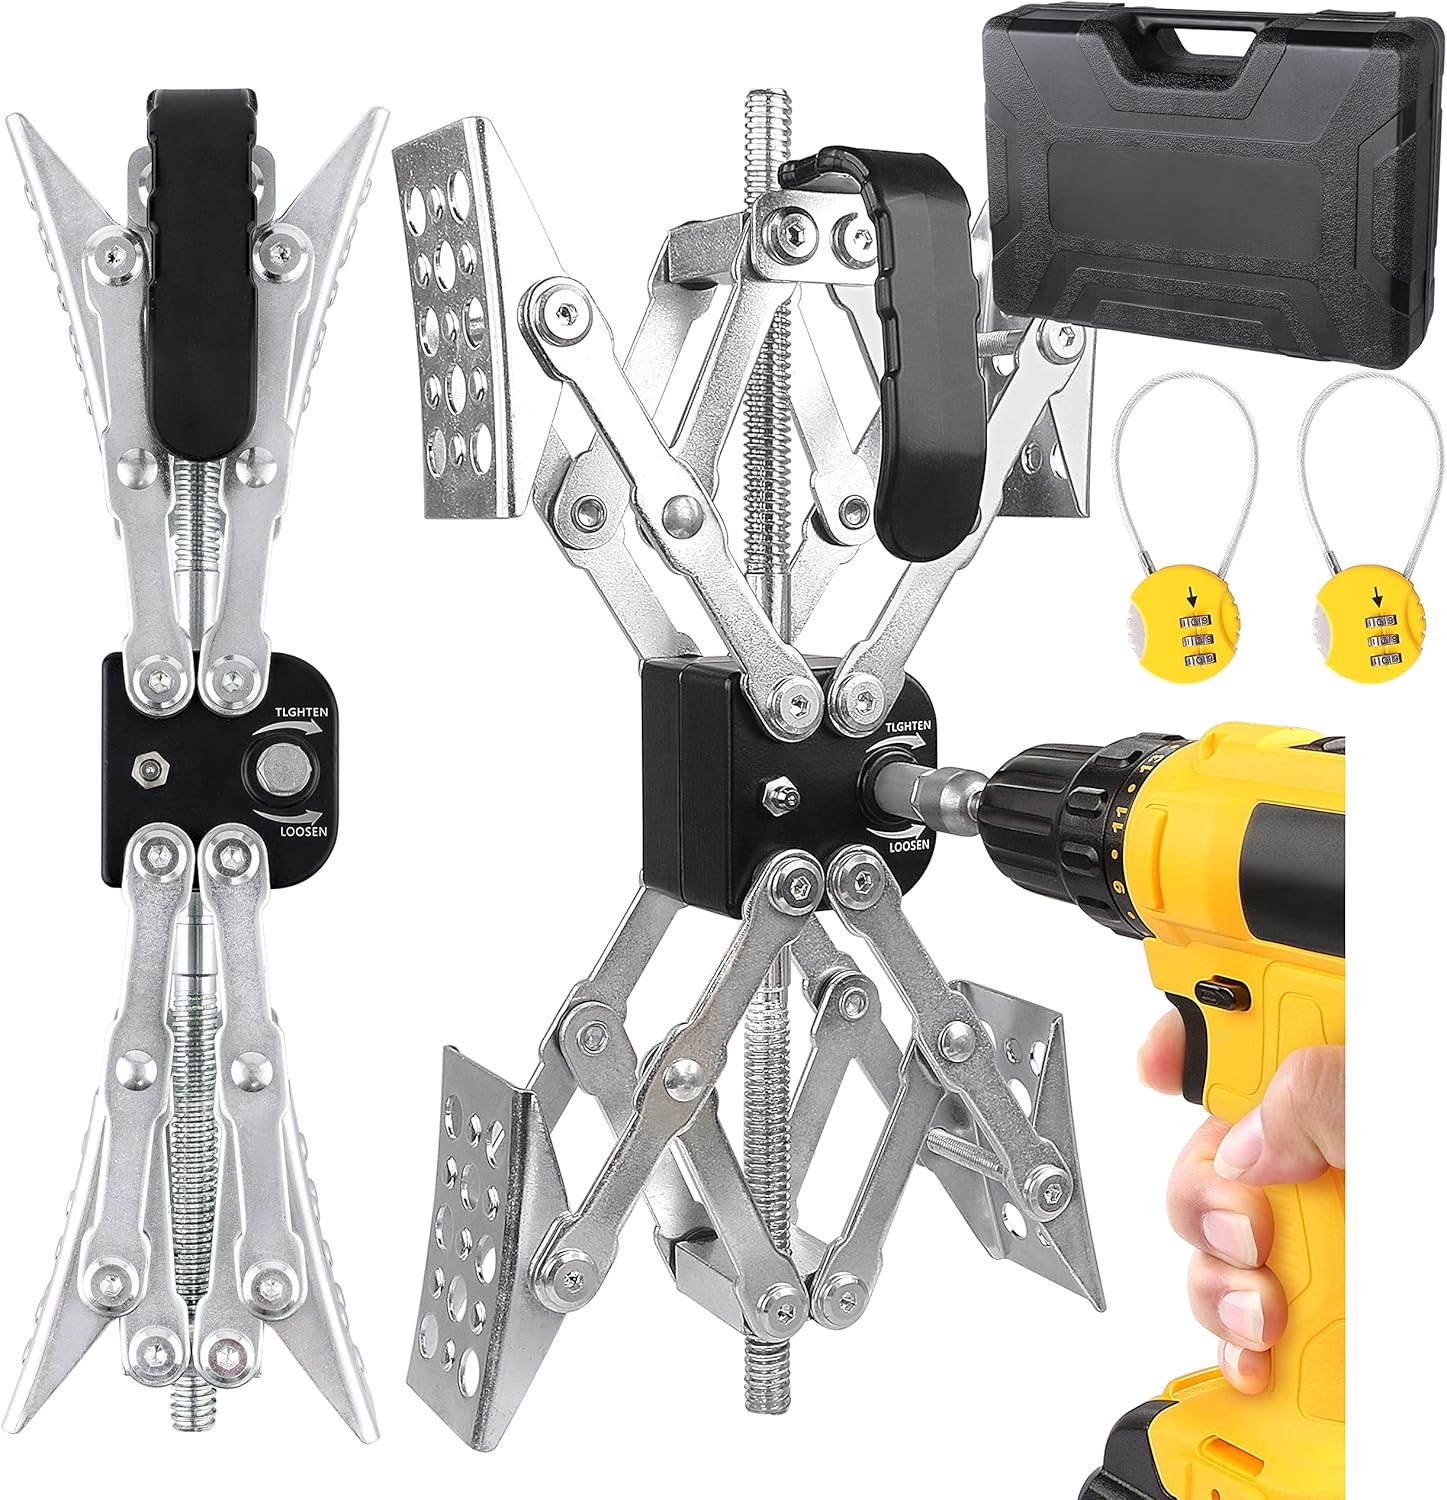
Lock the Maxchock X-style wheel stabilizers between tandem tires to reduce sway and keep your RV travel trailer secure while camping. The adjustable design fits a wide range of wheel gaps, and included hardware lets you install quickly with a power drill. Built from heavy-gauge steel with zinc plating, the chocks include locks and an organizer case for safer, more convenient use.
Why You Should Consider a Leveling Kit for Your Tacoma
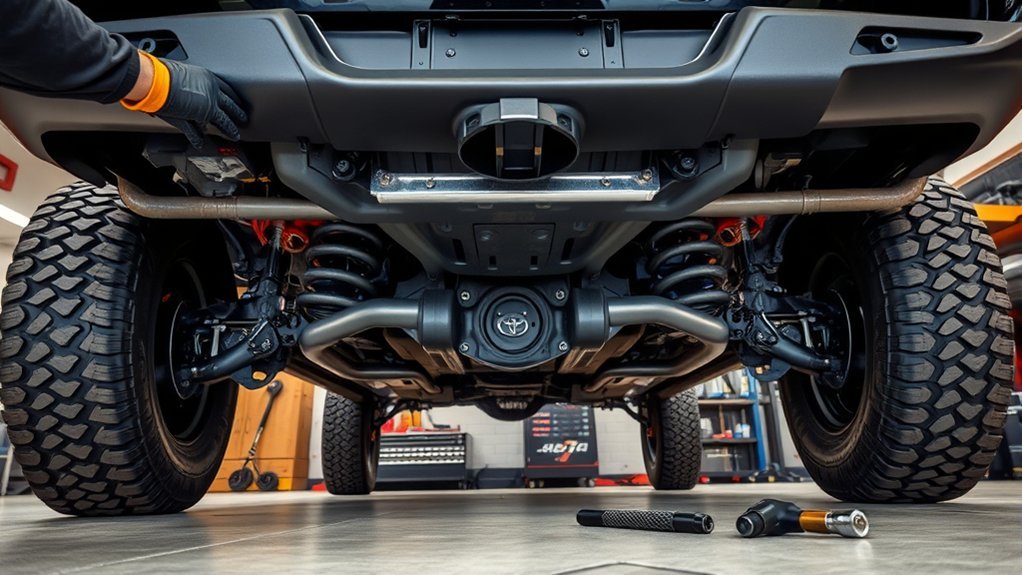
A leveling kit raises the front of the truck, or raises the front and rear by different amounts, to reduce the factory nose-down rake. The result is a more even stance and, depending on the kit, more clearance for slightly larger tires. A modest lift can also improve approach angle, which helps when the front bumper or skid plate would otherwise contact a trail obstacle.
There are trade-offs. Raising ride height changes suspension geometry, steering feel, headlight aim, brake-hose position, and sometimes driver-assistance sensor aim. Toyota’s dealer-installed TRD lift kit for 2020-and-newer V6 4×4 Tacomas was designed as a complete system with TRD-tuned Bilstein shocks, a 2-inch front lift, a 1-inch rear lift, and Toyota Safety Sense compatibility. Many spacer kits are simpler and less expensive, but they depend more heavily on correct installation, alignment, and post-install checks.
A leveling kit is best when you want a cleaner stance and mild clearance gain. It is not a substitute for a complete suspension system if you need major off-road travel, heavy overlanding weight support, or race-speed trail performance.
What Tools and Parts Do You Need for the Install?
Installing a leveling kit on your Toyota Tacoma requires the right tools, safe support equipment, and kit-specific parts. Organize everything before lifting the truck so you are not searching for hardware while suspension parts are loose.
| Tools | Parts |
|---|---|
| Socket set and wrenches, commonly including 14mm, 17mm, 19mm, 22mm, and 24mm depending on kit/year | Front strut/coilover spacers or replacement front strut assemblies |
| Torque wrench covering the kit’s required torque range | Rear lift blocks or rear spacers, if your kit includes rear lift |
| Floor jack, rated jack stands, and wheel chocks | New U-bolts, washers, and nuts for rear blocks |
| Breaker bar, pry bar, paint marker, measuring tape, and rubber mallet | Kit-supplied bolts, lock washers, spacers, brackets, and thread locker if specified |
| Spring compressor only if the kit instructions require strut disassembly | Brake-line, parking-brake, skid-plate, sensor, or differential-drop hardware if included |
Wear eye protection and gloves. Have a second person nearby if you are removing and reinstalling heavy strut assemblies. Before you loosen anything, read the full instruction sheet from start to finish and compare every part in the box against the parts list.
Warning: A hydraulic jack is for lifting, not supporting. Use a jack with enough capacity for the vehicle, place the truck on a firm and level surface, chock the wheels, and support the raised load with jack stands immediately. OSHA’s jack safety standard also requires the load to be secured after it is raised.
Pre-Install Checklist Before You Lift the Truck
Do these checks before you remove the first wheel:
- Measure stock ride height: Measure from the center of each wheel hub to the fender lip and write down all four numbers. This helps confirm the final stance.
- Inspect suspension wear: Check ball joints, tie rods, control-arm bushings, sway bar links, shocks, leaf springs, and wheel bearings. A leveling kit will not fix worn parts.
- Check tire plans: If you are installing larger tires, confirm the size with the kit maker and a tire professional. NHTSA advises using the vehicle manufacturer’s recommended tire size or another size confirmed as correct for the vehicle.
- Plan tire pressure: Use the Tire and Loading Information label or owner’s manual as the starting point for tire pressure. If tire size, load rating, or payload changes make the original placard inaccurate, get correct pressure guidance from a tire professional.
- Confirm alignment access: Book an alignment for the same day or the next business day. Do not put significant miles on the truck before alignment.
- Review warranty impact: Non-genuine or unauthorized parts can affect coverage for related failures. Toyota states that damage caused by non-genuine or unauthorized parts is not covered under Toyota Genuine Parts warranty terms.
Step-by-Step Leveling Kit Installation
The steps below match the general flow used by many Tacoma spacer and spacer/block kits, but your exact kit instructions come first. Some kits require cutting, strut disassembly, differential-drop hardware, brake-line brackets, parking-brake spacers, or sensor-related parts. Do not skip those kit-specific steps.
1. Set Up the Truck Safely
- Park on a flat, solid surface.
- Set the parking brake and chock the wheels that will stay on the ground.
- Break the lug nuts loose slightly before lifting.
- Lift the front of the Tacoma by the approved jacking point or frame area recommended for your model.
- Place rated jack stands under the frame and lower the truck onto the stands.
- Shake the truck lightly to confirm it is stable before removing the wheels.
2. Install the Front Leveling Spacers or Struts
- Remove the front wheels.
- Remove any skid plate or splash shield if it blocks access.
- Support the lower control arm with a jack so it cannot drop suddenly.
- Disconnect or loosen only the components your kit instructions require. Depending on the kit, this may include the sway bar link, lower strut bolt, lower ball joint housing bolts, brake-line bracket, or upper strut nuts.
- Watch the brake hose, ABS wire, and CV axle angle as the suspension droops. Do not let any hose or wire carry the weight of the suspension.
- Remove the strut/coilover assembly carefully.
- If your kit uses a top spacer, install it on the strut in the required orientation. If the instructions say to rotate or “clock” the top hat, mark the original orientation first.
- If the kit requires a spring compressor, use only a quality compressor and follow the tool instructions exactly. Compressed coil springs store dangerous energy.
- Reinstall the strut assembly and start all fasteners by hand before tightening.
- Torque the supplied hardware and factory hardware to the exact values in your kit instructions and Toyota service information.
Pro Tip: Leave some suspension bolts snug but not fully torqued until the vehicle is at normal ride height if the kit instructions call for it. Tightening certain bushing-mounted parts at full droop can preload the bushings and shorten their life.
3. Install the Rear Lift Blocks if Your Kit Includes Them
- Chock the front wheels, lift the rear, and support the frame with jack stands.
- Support the rear axle with a floor jack so it cannot rotate or drop suddenly.
- Work one side at a time to help keep the axle controlled.
- Remove the old U-bolts. Do not reuse stretched, rusted, or kit-replaced U-bolts unless the instructions specifically allow it.
- Lower the axle just enough to slide the lift block between the axle pad and leaf spring.
- Seat the leaf-spring center pin fully into the block and the block fully into the axle pad.
- If the block is tapered, face it exactly the direction the instructions specify. On many Tacoma rear-block kits, the small end of the taper faces forward, but verify your kit.
- Install the new U-bolts, washers, and nuts.
- Tighten the U-bolts gradually in a crossing pattern so the plate pulls down evenly.
- Torque the U-bolts to the kit specification, then repeat the process on the other side.
Warning: Do not stack lift blocks. Stacked rear blocks can shift, increase axle wrap, overload hardware, and create a serious loss-of-control risk. Use the correct single block or a proper suspension system designed for the lift height you need.
4. Torque Wheels and Do the First Safety Check
- Reinstall the wheels and snug the lug nuts by hand.
- Lower the Tacoma to the ground.
- Torque the lug nuts to the Toyota specification for your wheel and model year.
- Bounce the truck gently to settle the suspension.
- Turn the steering wheel lock-to-lock while watching the brake hoses, ABS wires, sway bar links, tires, wheels, and fender liners.
- Check for contact with brake lines, fuel lines, exhaust, wiring, skid plates, and moving parts.
- Verify that 4WD engages if you have a 4WD Tacoma.
- Measure the final ride height and compare it with your pre-install numbers.
Torque, Alignment, and Clearance Checks You Should Not Skip
Torque values are not universal. For example, one 2024 Tacoma leveling kit instruction sheet lists 45 ft-lb for supplied front strut nuts and 61 ft-lb for lower strut hardware, while other Tacoma instructions tell installers to use factory specs for several fasteners. The safe rule is simple: use the torque values from your exact kit and Toyota service data, and use a calibrated torque wrench.
After the Tacoma is back on the ground, schedule a professional alignment. ReadyLift’s Tacoma instructions state that alignment is required after installation to help prevent premature tire wear, and Rough Country’s 2024 Tacoma instructions say to align the vehicle immediately to factory specifications. Ask the alignment shop for a printout showing caster, camber, and toe before and after adjustment.
Also check headlight aim after the install. Raising the front of the truck can aim the headlights higher, which may reduce your nighttime visibility and glare into oncoming traffic. If you changed tire size, confirm whether the speedometer, odometer, and driver-assistance systems need recalibration.
[Products Worth Considering]

Camco’s RV wheel chocks with an attached rope help keep your travel trailer securely in place for safer unhitching or parking. This 2-pack is compatible with wheels up to 26-inch diameter and features durable UV-resistant construction for reliable outdoor performance. The rope enables quick, safe removal so you can prepare for your next trip with less hassle.

Make hard-to-reach areas easier to access with the MAXXHAUL truck tire service step featuring an adjustable width and height. The foldable design stores compactly, while the serrated non-slip platform provides secure footing for tire-related maintenance. It fits most stock tire sizes up to 31-inch diameter with a 300-lb capacity.
Common Mistakes to Avoid During Installation
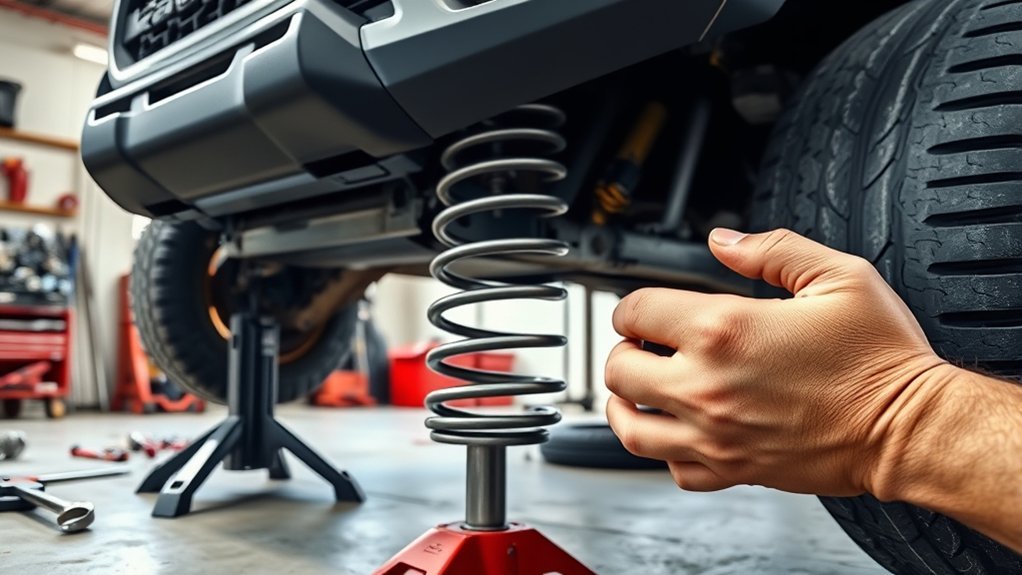
Most leveling kit problems come from rushing the prep work or treating all kits as interchangeable. Avoid these mistakes:
- Using the wrong kit: Match the kit to your exact Tacoma generation, trim, drivetrain, and suspension setup.
- Skipping jack-stand safety: Never work under a truck held only by a jack.
- Guessing torque specs: “Close enough” is not safe on suspension hardware.
- Letting the suspension hang by the brake hose: Support the control arm and axle so hoses and wires are not stretched.
- Stacking rear blocks: Use the correct block height and new U-bolts supplied by the kit.
- Skipping alignment: Ride height changes affect toe, camber, and caster. Alignment is not optional.
- Ignoring Toyota Safety Sense and headlight aim: Lift height and grille/sensor changes can affect sensor performance on equipped trucks.
- Installing larger tires without checking clearance: Test full steering lock, compression, reverse, and driveway-angle situations before assuming the tires fit.
Troubleshooting After a Tacoma Leveling Kit Install
If something feels wrong after the install, stop driving and inspect it before the problem damages parts or creates a safety issue.
| Problem | Likely Cause | What to Check |
|---|---|---|
| Clunk over bumps | Loose strut, sway bar, ball joint, or U-bolt hardware | Recheck torque with the correct specs; inspect washers, nuts, and brackets. |
| Truck pulls or steering wheel is off-center | Alignment is out | Get a professional alignment and keep the printout. |
| Brake hose looks tight at full droop or full steering lock | Hose bracket not relocated or lift exceeds hose slack | Do not drive until brake-line routing and slack are corrected. |
| Tire rub | Tire too large, wheel offset too aggressive, or alignment not optimized | Check fender liners, mud flaps, body mount area, upper control arm clearance, and caster settings. |
| Vibration after lift | Driveline, CV, wheel balance, or tire issue | Check wheel balance, lug torque, CV angles, driveshaft angles, and kit instructions for differential-drop guidance. |
Maintenance Tips for Your Tacoma After Leveling Kit Installation
After installing a leveling kit on your Toyota Tacoma, maintenance matters more than before. The suspension is now operating at a different angle, and loose hardware or poor alignment can quickly damage tires and parts.
- Recheck fasteners: Follow the kit’s retorque schedule. Many manufacturers call for checking hardware after the first few hundred miles; some specify 500 miles.
- Recheck wheel torque: After removing wheels, recheck lug torque after a short drive and again according to Toyota or wheel-manufacturer guidance.
- Watch tire wear: Feathering, cupping, or inside-edge wear usually means alignment or suspension issues need attention.
- Inspect brake hoses and ABS wires: Check them after the first drive, after alignment, and after hard off-road use.
- Check tire pressure cold: NHTSA recommends checking tire pressure when tires are cold and using the vehicle placard or owner’s manual as the correct pressure source unless your modified tire setup requires professional guidance.
- Inspect after trail use: Look for shifted blocks, loose U-bolts, bent brackets, leaking shocks, and fresh contact marks.
- Recheck headlights: Adjust headlight aim if the front lift changed beam height.
Note: If you add larger or heavier tires after the leveling kit, braking distance, steering feel, fuel economy, and speedometer accuracy can change. Confirm tire size, load rating, and pressure with a tire professional.
Frequently Asked Questions
Can I install a leveling kit by myself?
Yes, but only if you have solid suspension experience, a safe work area, rated jack stands, a torque wrench, and the correct instructions for your exact kit. If the kit requires strut disassembly, cutting, brake-line changes, sensor calibration, or spring compression, professional installation is the safer choice.
Are leveling kits good for Tacomas?
A leveling kit can be good for a Tacoma if your goal is mild stance correction, modest ground-clearance improvement, or room for slightly larger tires. It is not the best answer for heavy overlanding loads, high-speed off-road driving, or major suspension travel gains. For those uses, a full suspension system may be better.
How much does it cost to put a leveling kit on a Tacoma?
Cost depends on the kit style. Basic spacer kits are usually the cheapest, while complete suspension systems and dealer-installed kits cost more. Toyota announced its TRD lift kit at $1,450 MSRP before labor, with estimated labor of 4–5 hours. A DIY install can save labor, but you should still budget for alignment.
Do you have to align a truck after installing a leveling kit?
Yes. A leveling kit changes ride height and suspension geometry, so the Tacoma needs a professional alignment after installation. Driving without alignment can cause pulling, off-center steering, poor handling, and uneven tire wear.
Will a Tacoma leveling kit void my warranty?
A leveling kit does not automatically void the entire vehicle warranty, but damage caused by non-genuine or unauthorized parts may not be covered. Toyota Genuine Parts warranty language says damage caused by a non-genuine or unauthorized part or component is not covered. Keep receipts, alignment records, and installation instructions.
What size tires can I run after leveling a Tacoma?
There is no single answer because tire fitment depends on generation, lift height, wheel offset, tire width, trim, alignment, and fender clearance. Check the leveling kit’s tested tire size, then confirm clearance at full steering lock and suspension compression. If the tire size changes, confirm pressure and speedometer accuracy.
Should I install a front-only leveling kit or a front-and-rear kit?
Choose based on your current measurements and how you use the truck. A front-only kit can level an unloaded Tacoma, but a rear block or rear spring solution may be better if you carry tools, camping gear, a bed rack, a drawer system, or towing tongue weight. Measure before buying.
Conclusion
A Toyota Tacoma leveling kit can improve stance and add useful clearance, but the job must be done with fitment, torque, safety, and alignment in mind. Verify the kit for your exact Tacoma, support the truck correctly, follow the kit instructions instead of guessing torque values, check every brake hose and wire, and align the truck before regular driving. Done carefully, a leveling kit can make your Tacoma look better and perform more confidently without creating avoidable suspension problems.
Sources
- Toyota Genuine Tacoma TRD Lift Kit — official fitment, lift height, Toyota Safety Sense compatibility, and warranty language.
- Toyota USA Newsroom: Tacoma TRD Lift Kit — official MSRP, labor estimate, lift amount, and capability details.
- Toyota Owners Manuals and Warranties — official source for model-specific owner information and warranty documents.
- OSHA 29 CFR 1910.244: Jacks — jack capacity, load marking, firm foundation, and securing raised loads.
- NHTSA Tire Safety — tire size, cold tire pressure, tire placard, and TPMS guidance.
- ReadyLift Tacoma Installation Instructions — manufacturer guidance for brake-hose clearance, post-install alignment, fastener retorque, and rear-block safety.

Related Articles
How Tire Weight Affects Toyota Tacoma Performance
How does tire weight influence your Toyota Tacoma's performance and efficiency? Discover the surprising effects that could change your driving experience.
Read More
Tire Noise Levels by Tire Type on a Toyota Tacoma
A comprehensive look at how tire types affect noise levels in your Toyota Tacoma reveals surprising insights that could enhance your driving experience.
Read More
How To Choose Tires for a Dual Use Toyota Tacoma
Unlock the secrets to selecting the perfect tires for your dual-use Toyota Tacoma, ensuring optimal performance and comfort on every adventure. Discover more inside!
Read More