
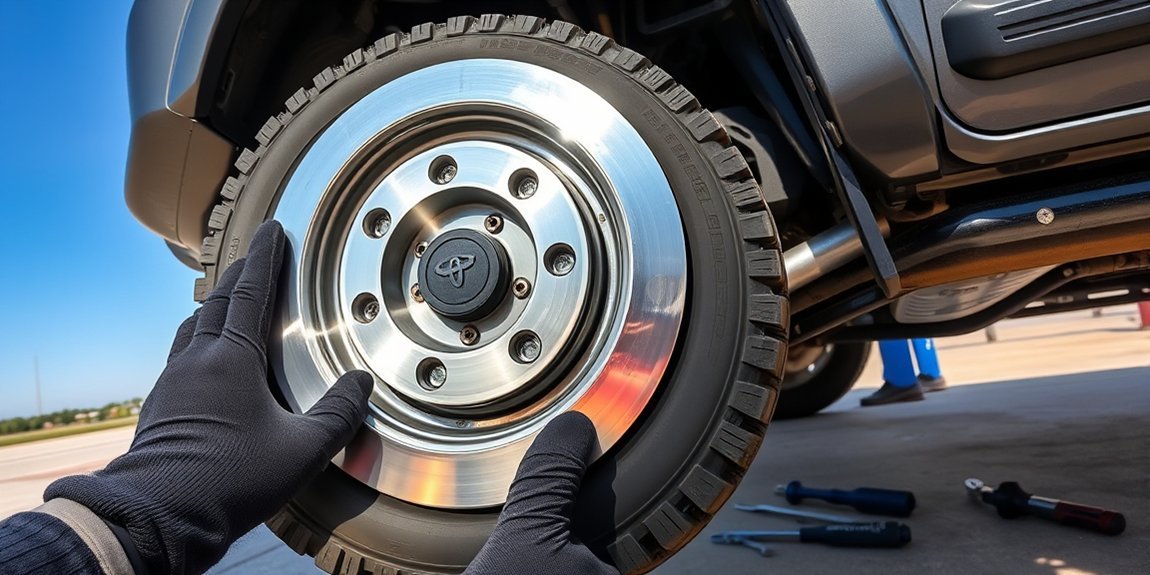
Installing wheel spacers on a Toyota Tacoma can improve stance and inner tire clearance, but it is also a wheel-retention job. The spacer, hub, wheel studs, lug nuts, and wheel must all match correctly. Before you start, confirm your Tacoma model year, bolt pattern, hub bore, wheel type, spacer thickness, and the correct torque specification from your owner’s manual or spacer manufacturer.
Quick Answer
To install Tacoma wheel spacers safely, lift the truck on jack stands, clean the hub, confirm hub-centric fitment, seat the spacer flat, hand-start the hardware, torque in stages using a criss-cross pattern, reinstall the wheel, then re-torque after the first 50–100 miles.
Key Takeaways
- Wheel spacers widen your Tacoma’s track width, not its wheelbase.
- Use hub-centric spacers with the correct bolt pattern, center bore, thread pitch, and lug-seat style.
- Torque specs vary by Tacoma model year and wheel type, so do not rely on one generic number.
- Do not use impact tools for final tightening; use a calibrated torque wrench.
- Re-torque the spacer and wheel hardware after 50–100 miles and inspect regularly afterward.
At a Glance
| Time Required | 45–90 minutes for all four wheels, depending on rust and tool setup |
| Difficulty | Moderate DIY; safety-critical because the wheel is being removed and reinstalled |
| Tools Needed | Floor jack, jack stands, wheel chocks, breaker bar, 21 mm socket for most Tacoma lug nuts, torque wrench, wire brush, shop towels, and spacer hardware |
| Cost | Spacer kit plus any tools you do not already own; quality hub-centric Tacoma spacer kits commonly vary by material, thickness, and hardware |
Why Install Wheel Spacers on Your Tacoma?
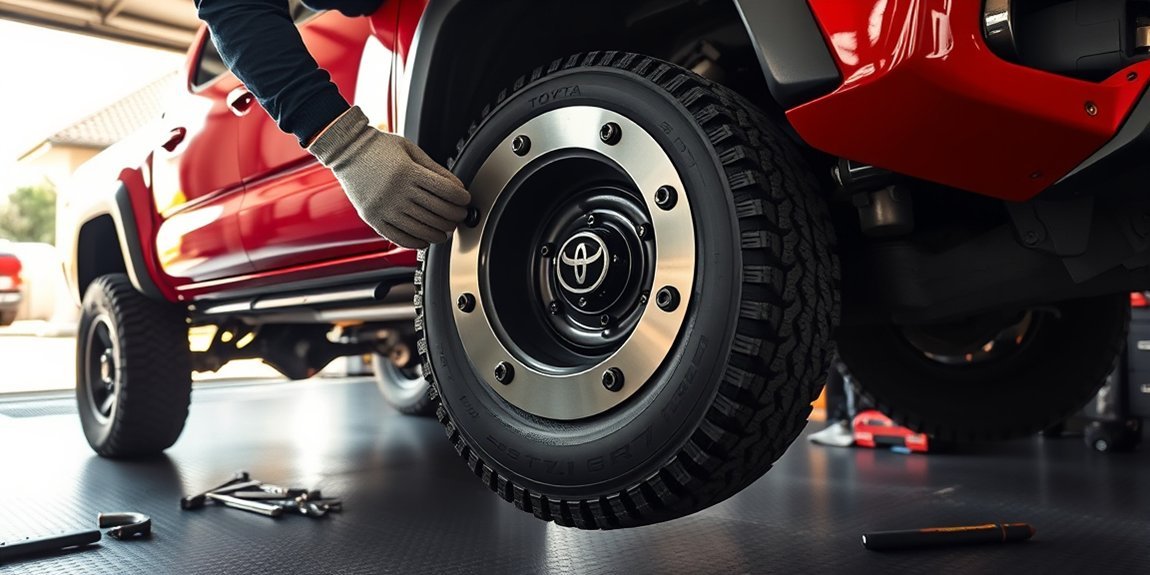
Wheel spacers move the wheels outward from the hub. On a Tacoma, that can help with inner tire clearance, create a wider stance, and make the truck look more planted. The correct term is track width, not wheelbase. Wheelbase is the distance between the front and rear axles, and spacers do not change it.
Spacers are commonly used when a wheel or tire sits too close to suspension components, upper control arms, or brake components. They may also help create the look many Tacoma owners want after installing wider tires or different-offset wheels. However, spacers are not a universal tire-clearance fix. Moving the tire outward can help inner clearance while increasing the chance of rubbing the fender liner, cab mount area, or outer flare.
Note: If your Tacoma rubs after larger tires, diagnose where it rubs before buying spacers. Inner control-arm rubbing, outer fender rubbing, and body-mount rubbing require different fixes.
[Products Worth Considering]

These M14x1.5 closed-end chrome lug nuts are a one-piece replacement designed for secure fitment on compatible GM, Ford, and select Chrysler/Dodge models. Featuring a 60-degree conical seat and anti-rust chrome plating, they help resist corrosion and maintain a bright look for everyday driving. Built for long-term durability, they include OEM-style part references and are backed by 12 months of support.

The 22800 wheel stud installer makes replacing wheel studs quick and secure, saving time and effort during tire service. It uses a ratchet or impact wrench to pull new studs firmly into place, helping when existing studs are too long. Compatible with most automotive wheels and light-duty truck wheel studs, it’s designed for easy, tool-assisted installation.

This 1/2-inch drive breaker bar delivers powerful leverage for loosening and tightening stubborn lug nuts and automotive fasteners. The 180-degree flex head helps you reach tight spaces at the angle you need, making tire and brake jobs easier. A spring-loaded ball detent design holds 1/2-inch sockets securely while the chrome-moly head provides durable strength for everyday use.
Check Fitment Before You Install
Do not start installation until the spacer matches your Tacoma and your wheels. Use this checklist before lifting the truck:
- Model year: Earlier Tacomas and 2024+ Tacomas can use different stud sizes and hub-bore dimensions.
- Bolt pattern: Many 6-lug Tacomas use 6×139.7 mm, also written as 6×5.5 inches. Confirm your exact truck.
- Thread pitch: Many 1995–2023 Tacomas use M12 x 1.5 wheel studs. Many 2024+ Tacomas use M14 x 1.5 wheel studs.
- Center bore: Use hub-centric spacers that match your Tacoma hub and wheel center bore. Do not rely on the lug nuts alone to center the wheel.
- Spacer thickness: Make sure the spacer is thick enough for the design and does not create fender or body rubbing.
- Stud protrusion: On bolt-on spacers, the factory studs must not stick past the spacer face unless the back of the wheel has deep enough pockets to clear them.
- Lug-seat style: Stock Toyota wheels often use washer-style lug nuts, while many aftermarket wheels use 60-degree conical seats. Match the nut seat to the wheel and spacer instructions.
Warning: Never stack wheel spacers, never drive with a spacer that does not sit flat, and never install a wheel if the studs, lug nuts, or spacer threads are damaged. If anything binds, wobbles, or will not seat by hand, stop and inspect the fitment.
What Tools Do You Need for Installation?
To install wheel spacers on your Toyota Tacoma, gather everything before lifting the truck. You will need:
- Floor jack and jack stands to lift and support the Tacoma safely.
- Wheel chocks to keep the truck from rolling.
- Breaker bar and socket to loosen the lug nuts. A 21 mm socket fits many Tacoma factory lug nuts, but verify yours.
- Calibrated torque wrench for final tightening.
- Wire brush to clean rust, dirt, and scale from the hub face.
- Shop towels and brake cleaner to clean the mounting surface.
- Spacer hardware supplied or specified by the spacer manufacturer.
Pro Tip: Loosen the wheel lug nuts slightly while the tire is still on the ground. Then lift the truck, place it securely on jack stands, and remove the wheel.
[Products Worth Considering]

Upgrade your wheels with MIKKUPPA M12x1.5 mag seat lug nuts built for secure, corrosion-resistant performance. These closed-end chrome lug nuts are a direct replacement for select Toyota models, including Camry, Corolla, RAV4, Sienna, Avalon, Highlander, Matrix, Venza, and Prius. Triple-chromium plating and cold-forged, heat-treated steel help deliver strength for daily driving and replacement needs.

The Dr.Roc spare tire tool kit helps you release, lower, or raise your spare tire with reliable extension tools and a lug nut wrench. It is made from rustproof automotive-grade steel and includes an organized carry case for convenient storage. Designed for compatibility with select GM models from the late 1990s through 2019, it uses upgraded extension components to install and remove spare tires with less hassle.

The Trivd Frol 1/2" air impact wrench delivers high performance torque up to 1500 ft-lbs with a twin hammer impact mechanism for strong, balanced blows. It features an ergonomic grip, compact lightweight design, and quick-stop control with 3 forward speeds up to 8000 RPM plus a reverse speed. Built for demanding automotive repair and tire shop work, the rear exhaust helps keep debris away from the surface.
Preparing Your Tacoma: Cleaning and Inspecting the Wheel Hub
A spacer must sit perfectly flat against the hub. Dirt, rust flakes, burrs, or old corrosion can prevent the spacer from seating and may create vibration or uneven clamping force.
Remove Rust and Dirt
Clean the wheel hub thoroughly before installing the spacer. Follow these steps:
- Park on a level surface, set the parking brake, and chock the wheels that stay on the ground.
- Lift the Tacoma and support it with jack stands at the proper jacking points.
- Remove the wheel and inspect the hub face, wheel studs, and brake rotor hat.
- Use a wire brush to remove rust and debris from the hub face.
- Wipe the surface clean so the spacer can sit flush.
Check Surface Smoothness
After cleaning, inspect the surface by eye and touch. Look for raised rust, nicks, burrs, or anything that can hold the spacer away from the hub. Also inspect each wheel stud for stretched threads, cross-threading, corrosion, or damage.
| Inspection Point | What to Check |
|---|---|
| Hub face | Flat, clean, dry, and free from rust scale |
| Wheel studs | No damaged threads, stretching, or heavy corrosion |
| Spacer bore | Fits the Tacoma hub without rocking or binding |
| Wheel back pad | Has enough clearance for studs or spacer hardware |
Torque Specs for Safe Spacer Installation
Torque is not based only on whether the stud is M12 or M14. It also depends on model year, wheel type, spacer hardware, and the manufacturer’s instructions. Always confirm your Tacoma’s owner’s manual and the spacer instructions before final torque.
| Tacoma Application | Common Reference Torque | Important Note |
|---|---|---|
| Many 1995–2023 Tacoma models | 83 ft-lb / about 113 N·m | Verify by year, trim, wheel, and owner’s manual. |
| Many 2024+ Tacoma models with aluminum wheels | 97 ft-lbf / 131 N·m | Toyota manual data for current-generation Tacoma wheel installation lists this value for aluminum wheels. |
| Many 2024+ Tacoma models with steel wheels | 154 ft-lbf / 209 N·m | Toyota manual data lists a higher value for steel wheels on current-generation Tacoma applications. |
| Spacer-to-hub hardware | Use spacer manufacturer instructions | Some spacer kits specify a different torque than factory wheel nuts. |
Warning: Torque specs usually assume clean, dry threads unless the manufacturer says otherwise. Do not oil, grease, or apply anti-seize to wheel studs unless the torque procedure specifically calls for it.
Step-by-Step Guide to Installing Tacoma Wheel Spacers
Once the spacer fitment and torque specs are confirmed, follow a careful installation process. Work on one wheel at a time if you are doing the job at home.
Tools Needed For Installation
Before removing the first wheel, confirm you have the correct spacer kit, the correct lug nuts or spacer nuts, a torque wrench that covers your required torque range, and safe lifting equipment. The job is not complicated, but it must be done accurately.
Spacer Installation Steps
- Park safely. Use a flat surface, set the parking brake, and chock the opposite wheels.
- Loosen the lug nuts. Break them loose slightly while the tire is still touching the ground.
- Lift and support the truck. Raise the Tacoma and place it securely on jack stands. Do not work under or around a truck supported only by a jack.
- Remove the wheel. Set the wheel aside with the mounting face facing up so you can inspect the wheel pockets and lug-seat style.
- Clean the hub. Remove rust, dirt, and debris from the hub face and center pilot.
- Test-fit the spacer. Slide the spacer onto the hub. It should sit flat without rocking. If it does not, remove it and find the interference point.
- Hand-start spacer hardware. Thread the supplied nuts by hand first. If a nut does not spin on smoothly, stop and inspect the threads.
- Torque in stages. Tighten in a criss-cross pattern in two or three passes until reaching the spacer manufacturer’s required torque.
- Check stud protrusion. Confirm factory studs or spacer studs do not interfere with the back of the wheel.
- Install the wheel. Hand-start the wheel lug nuts, then snug them in a criss-cross pattern.
- Lower enough for final torque. Lower the Tacoma until the tire touches the ground enough to prevent rotation, then torque the lug nuts in stages using the correct spec.
- Repeat on the other wheels. Use the same cleaning, seating, and torque process each time.
Note: Do not use an impact wrench for final torque. An impact can over-tighten hardware, damage threads, or give a false sense that the spacer is properly seated.
Why and When to Re-Torque Your Spacers?
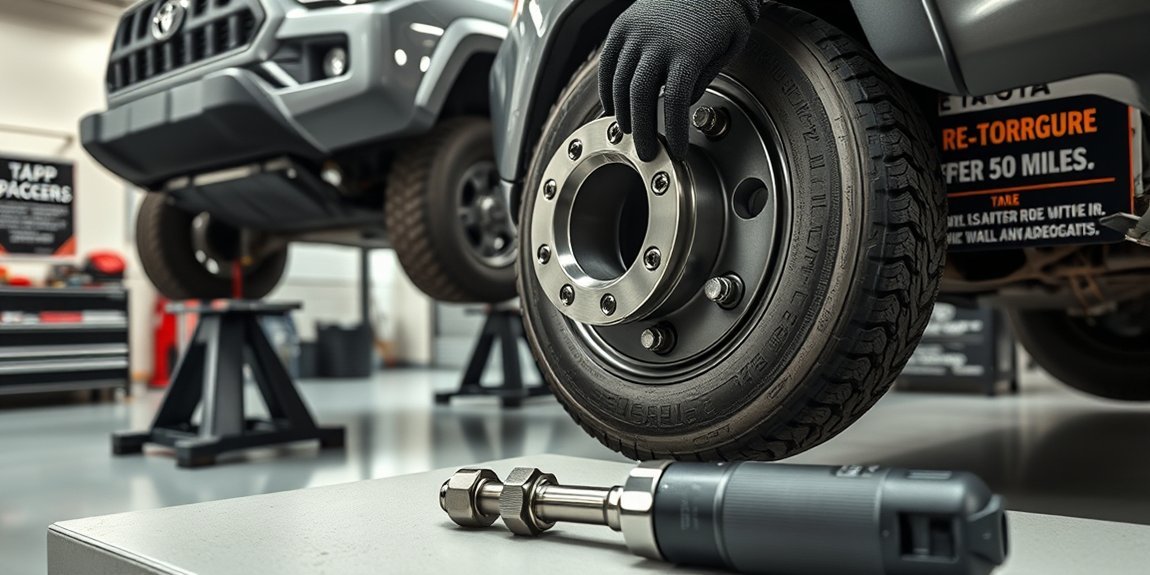
Re-torquing is a required safety step after installing wheel spacers. During the first drives, the wheel, spacer, hub, and hardware can settle under load and heat cycles. If a nut moves during the re-torque check, remove the wheel and inspect the installation.
| When to Check | What to Do |
|---|---|
| After the first short test drive | Listen for clicking, clunking, rubbing, or vibration. Recheck visually. |
| After 50–100 miles | Re-torque spacer hardware and wheel lug nuts according to the correct specs. |
| After off-road use or heavy loads | Inspect and recheck torque sooner. |
| At tire rotations or oil changes | Inspect the spacers, studs, nuts, and wheel mounting surfaces. |
Final Safety Checks After Re-Torquing
After re-torquing, do a complete safety check before returning to normal driving:
- Confirm final torque. Use the correct torque for your Tacoma, wheel type, and spacer hardware.
- Inspect the hub and spacer interface. The spacer should sit flat with no visible gap.
- Check wheel clearance. Turn the steering wheel lock-to-lock and inspect clearance around the tires, fenders, suspension, and brake lines.
- Drive slowly first. Start with a short drive at low speed, then gradually increase speed if there is no noise or vibration.
- Watch for symptoms. Stop driving if you feel vibration, hear clicking, smell hot brakes, or see uneven wheel movement.
A wheel spacer installation is only as safe as its fitment, seating surface, hardware quality, and torque procedure.
Troubleshooting After Installation
If something feels wrong after installing Tacoma wheel spacers, do not ignore it. Use these checks:
- Vibration at speed: Check that the spacer is hub-centric, fully seated, and torqued evenly. Also inspect wheel balance.
- Clicking or clunking: Stop driving and inspect lug nuts, spacer nuts, studs, and wheel seating.
- Steering pull: Check tire pressure, wheel seating, and alignment if tires or suspension were changed.
- Rubbing when turning: Inspect inner control-arm clearance, fender liner, mud flap, and cab-mount area.
- Hardware loosens during re-torque: Remove the wheel and spacer, clean again, inspect the hardware, and reinstall. Replace damaged parts.
Why Choose BONOSS Spacers?
BONOSS offers Tacoma-specific hub-centric wheel spacers for different model-year ranges, including 2005–2023 Tacoma applications and 2024+ Tacoma applications. According to BONOSS, its Tacoma spacers are available in forged 6061-T6 or 7075-T6 aluminum, with 7075-T6 versions listed at tensile strength of at least 572 MPa. BONOSS also describes its “active cooling” groove design as a way to move air around the spacer area while the wheel rotates.
Those are manufacturer claims, so they should be treated as product specifications rather than a guarantee that every Tacoma will brake better or handle better. The more important safety factors are correct fitment, quality hardware, clean mounting surfaces, proper torque, and regular inspection.
[Products Worth Considering]

These aluminum alloy tire valve stem caps with an O-ring seal help protect valve stems from corrosion while adding a clean, stylish look to your vehicle. The universal fit works across cars, trucks, motorcycles, bicycles, and more, making them an easy upgrade for everyday driving and off-road use. Installation is quick, and the included four-pack keeps all your tires dressed and protected.

Upgrade your wheels with MIKKUPPA closed-end lug nuts designed for reliable fit and corrosion resistance. The one-piece, cold-forged and heat-treated steel construction helps resist rust and stripping, while the integrated finish delivers a durable black appearance. Built to OEM standards with a conical 60-degree seat, these nuts provide a secure solution for compatible Ford, Honda, Jeep, and Chevrolet models.

This universal wheel alignment tool helps you accurately restore tire tilt angles after tire or suspension repairs using an adjustable camber gauge. It features a powerful magnetic base that firmly attaches to brake rotors for stationary, slip-free readings, improving consistency during measurement. Built from durable PC plastic, it resists wear and corrosion and is compact enough for car, truck, RV, and motorcycle alignment tasks.
Frequently Asked Questions
Do I need an alignment if I put spacers on my Tacoma?
Not always. Wheel spacers alone do not directly change camber, caster, or toe. However, an alignment is smart if you also changed tires, wheels, suspension, ride height, upper control arms, or if the truck pulls, vibrates, or shows uneven tire wear.
What year was the worst year for Toyota Tacoma?
That depends on the data source and what problem you are measuring. Some complaint databases show more owner-reported issues for certain model years, including 2016 transmission-related complaints. For spacer installation, the more important point is to verify your exact model year, wheel studs, hub bore, torque spec, and service history.
Is there a downside to wheel spacers?
Yes. Incorrect spacers can cause vibration, rubbing, extra load on wheel bearings and suspension parts, damaged studs, or wheel-retention problems. The risk is much lower when you use quality hub-centric spacers, correct hardware, clean mounting surfaces, and proper torque.
How do I install wheel spacers correctly?
Confirm fitment first, clean the hub, test-fit the spacer, hand-start the hardware, torque in stages with a criss-cross pattern, check stud clearance, reinstall the wheel, torque again, test drive, and re-torque after 50–100 miles.
Can I install Tacoma wheel spacers myself?
Yes, if you have safe lifting equipment, a proper torque wrench, and confidence working with wheel hardware. If you are unsure about hub-centric fitment, stud protrusion, torque specs, or rubbing, have a qualified technician install them.
Should I use thread locker on wheel spacers?
Only use thread locker if the spacer manufacturer specifically requires it for that hardware. Do not add lubricants or chemicals to wheel studs unless the torque procedure says to, because it can change clamping force.
Conclusion
Installing wheel spacers on your Toyota Tacoma can improve stance and help with certain wheel-and-tire clearance problems, but the job must be done carefully. Confirm fitment, clean the hub, use hub-centric spacers, torque the hardware in stages, check stud clearance, and re-torque after 50–100 miles. If anything vibrates, clicks, rubs, or will not seat flat, stop driving and inspect the installation before continuing.
Sources
- Toyota Owners — 2024 Tacoma Manuals and Warranties — official owner manual access and warranty/manual reference.
- Toyota Owners — 2026 Tacoma Flat Tire Procedure — current-generation Tacoma wheel-nut torque references for steel and aluminum wheels.
- Motorsport Tech Wheel Spacer/Adapter Installation Instructions — clean, flat mounting surfaces, hand tools, and torque-wrench guidance.
- Custom Wheel Accessories — Wheel Spacer/Adapter Installation Instructions — re-torque interval and clearance checks after installation.
- BONOSS 2024+ Toyota Tacoma Wheel Spacers — manufacturer specifications for 2024+ Tacoma hub-centric spacer options.
- BONOSS 2005–2023 Toyota Tacoma Wheel Spacers — manufacturer specifications for earlier 6-lug Tacoma spacer applications.

