
Toyota Hilux Wheel Spacers: What They Do and When to Use Them
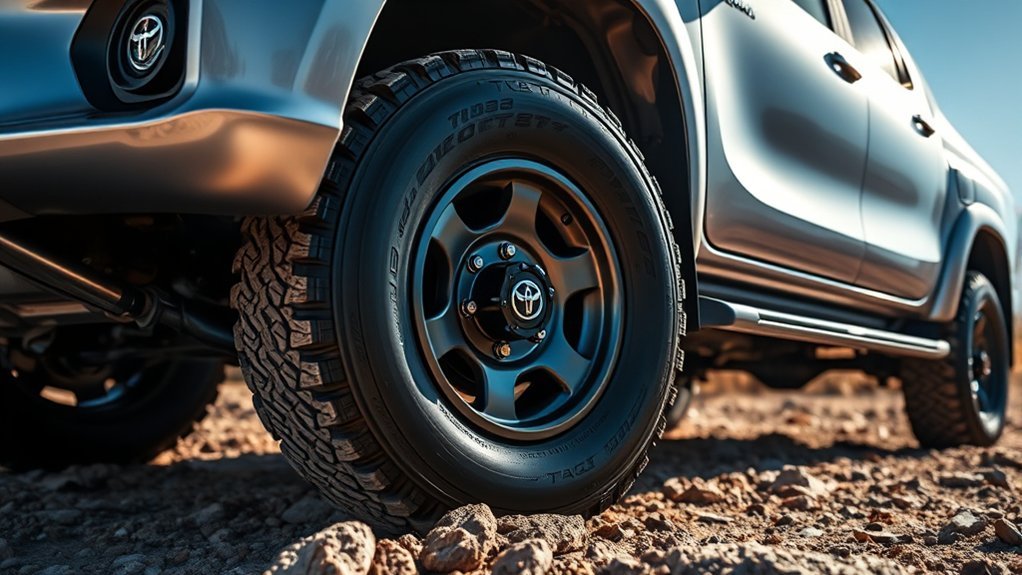
Toyota Hilux wheel spacers can solve specific wheel-clearance problems, but they are not a universal off-road upgrade. A correctly matched spacer moves the wheel outward and widens the track. That may improve inner clearance and stance, yet it also changes wheel offset, steering feel, and the loads carried by wheel-end parts. Safe results depend on exact vehicle fitment, the smallest useful thickness, approved hardware, and careful installation.
Quick Answer
Wheel spacers can help a Toyota Hilux clear suspension or brake components and create a wider stance, but they do not lower the center of gravity or guarantee more traction. Use a vehicle-specific, load-rated kit, choose only the thickness you need, confirm full-lock and suspension clearance, and follow the spacer and Toyota torque instructions.
Key Takeaways
- Spacers widen the track; they do not change the Hilux’s center-of-gravity height.
- Moving a tire outward can improve inner clearance but may create new rubbing at the fender, body mount, or bumper.
- Fitment must match the exact Hilux model year, chassis, axle, bolt pattern, stud thread, hub bore, wheel type, and load requirement.
- A precision hub-centric design is usually the most practical choice for a Hilux, but correct seating, hardware, thread engagement, and torque matter more than marketing terms alone.
- Use a torque wrench, recheck fasteners at the interval stated by the spacer maker, and stop driving if you notice looseness, clunking, or new vibration.
At a Glance
| Time Required | About 1–2 hours for four wheels; longer if extended studs or extra clearance work is required |
| Difficulty | Intermediate to advanced; professional installation is the safer choice |
| Tools Needed | Wheel chocks, floor jack, rated jack stands, sockets, breaker bar, wire brush, straightedge, ruler, and calibrated torque wrench |
| Cost | Varies by approved kit, hardware, axle coverage, and professional labor |
Warning: A spacer or wheel that does not sit fully flush can loosen or damage studs and may allow a wheel to separate. Do not stack spacers, use damaged hardware, guess at torque, or keep driving with clicking, clunking, wobble, or fresh vibration.
How Wheel Spacers Affect Hilux Off-Road Performance
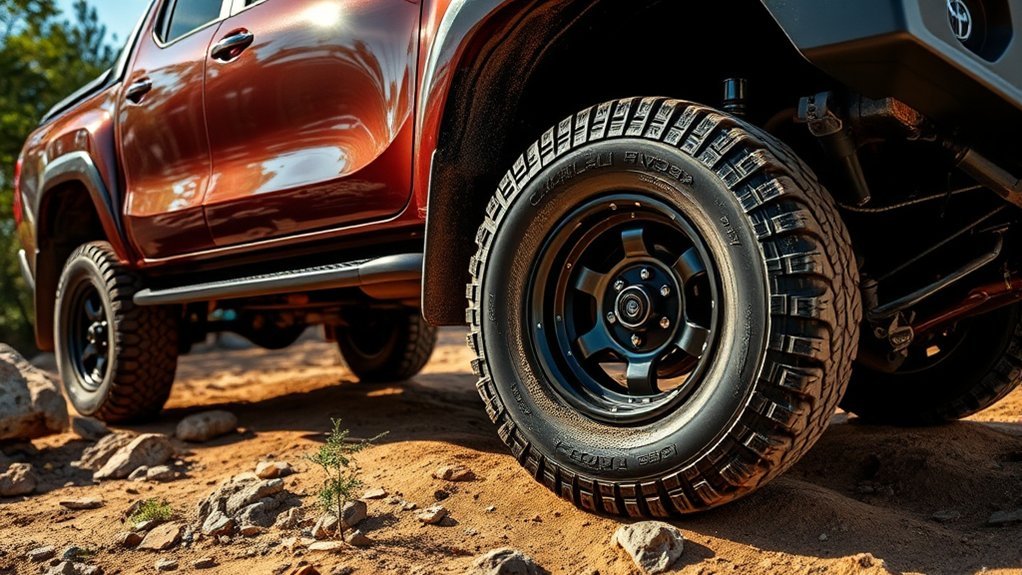
A wheel spacer sits between the wheel and hub, moving the wheel outward by the spacer’s thickness. A 20 mm spacer on each side increases the axle’s total track by about 40 mm. The wider stance may make the truck feel more planted, but it does not lower the vehicle’s center of gravity.
The main practical benefit is clearance. A spacer can move the inner sidewall away from an upper control arm, suspension link, or brake component. It can also help some wheels clear a larger brake caliper. However, moving the tire outward may reduce clearance at the fender lip, mud flap, bumper edge, or body mount during steering and suspension compression.
Spacers do not create tire grip. Traction still depends mainly on the tire, inflation pressure, load, surface, and driver input. They also change effective wheel offset and scrub radius. An SAE study on light-truck handling found that scrub radius is an important steering and handling variable, so a large offset change should not be treated as harmless. See the SAE paper on scrub radius and SUV handling.
Use a spacer to solve a measured fitment problem—not because a certain thickness is said to match a driving style.
Check Fitment Before Buying Hilux Wheel Spacers
Toyota Hilux wheel fitment is not identical across every generation, market, body style, or 2WD and 4WD configuration. Do not order from the model name alone. Match the kit to the exact model year and chassis or VIN information, then confirm all of the following:
- Bolt pattern and stud count: Every hole must match without forcing the spacer onto the studs.
- Stud thread and nut seat: The thread pitch and the nut’s seat shape must match the vehicle, spacer, and wheel.
- Vehicle hub bore: A hub-centric spacer should fit the Hilux hub closely without binding or rocking.
- Wheel center bore: The spacer’s outer pilot must correctly support the wheel when the application uses hub centering.
- Axle and load rating: The spacer and fasteners must be rated for the truck’s actual axle loads and intended use.
- Wheel material and rear pockets: Some bolt-on systems require recesses in the back of an alloy wheel so the original studs do not hold the wheel away from the spacer.
- Brake, suspension, and body clearance: Check the whole steering and suspension range, not only the truck sitting straight on level ground.
Major spacer manufacturers use several systems. Slip-on spacers normally need longer wheel studs or bolts to maintain safe thread engagement. Bolt-on spacers fasten to the hub and provide a second set of studs or threaded holes for the wheel. Eibach’s system guide also warns that bolt-on designs may need wheel pockets to clear original hardware. Review Eibach’s spacer types and measurement guide.
Pro Tip: With the current wheel and tire installed, hold a straightedge against the tightest outer fender point and measure the gap to the tire. Choose a spacer thinner than that gap, then confirm clearance at full steering lock and through suspension travel.
[Products Worth Considering]

This 100-piece tire repair screw plug kit provides a fast, self-service solution for punctures on the road. Choose the correct plug size, insert it into the break, and screw...
Why Hub-Centric Spacers Are Usually the Best Choice
A vehicle-specific hub-centric spacer uses a center bore that fits the hub and an outer pilot that supports the wheel’s center bore. This helps the spacer and wheel sit concentrically while the fasteners provide the clamping force. For a Hilux used on rough roads, that precise fit is generally preferable to a generic plate with oversized center and bolt holes.
“Hub-centric” is not a complete safety rating. A good kit also needs accurate machining, suitable fasteners, enough thread engagement, corrosion protection, traceable vehicle fitment, and a load rating appropriate for a pickup. Aluminum labels such as 6061-T6 or 7075-T6 do not by themselves prove the complete assembly is safe.
A thin spacer may also cover part of the original hub pilot without providing a new pilot for the wheel. Confirm that the wheel remains correctly centered after installation. H&R describes hub-contact systems and different fastening designs for standard and aftermarket wheels. See H&R’s wheel-spacer system overview.
Choosing the Right Thickness for Toyota Hilux Wheel Spacers
There is no universal “daily driving,” “overlanding,” “rock crawling,” or “sand” thickness. The right spacer is the smallest thickness that solves the measured clearance or stance problem while leaving a safe margin everywhere else.
| Question | What to Check | Why It Matters |
|---|---|---|
| What is rubbing now? | Inner sidewall, control arm, caliper, fender, body mount, or bumper | A spacer helps inner clearance but can worsen outer rubbing |
| How much room is available? | Measure inside and outside at full lock and through suspension travel | Static fender measurements alone can miss contact while driving |
| Will the hardware fit? | Stud length, nut depth, thread engagement, and wheel-pocket depth | Protruding studs or nuts can stop the wheel from seating flush |
| Is the change approved? | Local modification rules, inspection needs, tire coverage, and insurer requirements | Road-use rules differ by location and vehicle class |
Thicker is not automatically better. Moving the wheel farther outward increases the change in offset and the leverage applied to bearings, studs, ball joints, and steering parts. It can also increase steering kickback on rough ground. If the required spacer is unusually thick, a wheel with the correct offset may be the cleaner solution.
Debunking Myths About Hilux Wheel Spacers
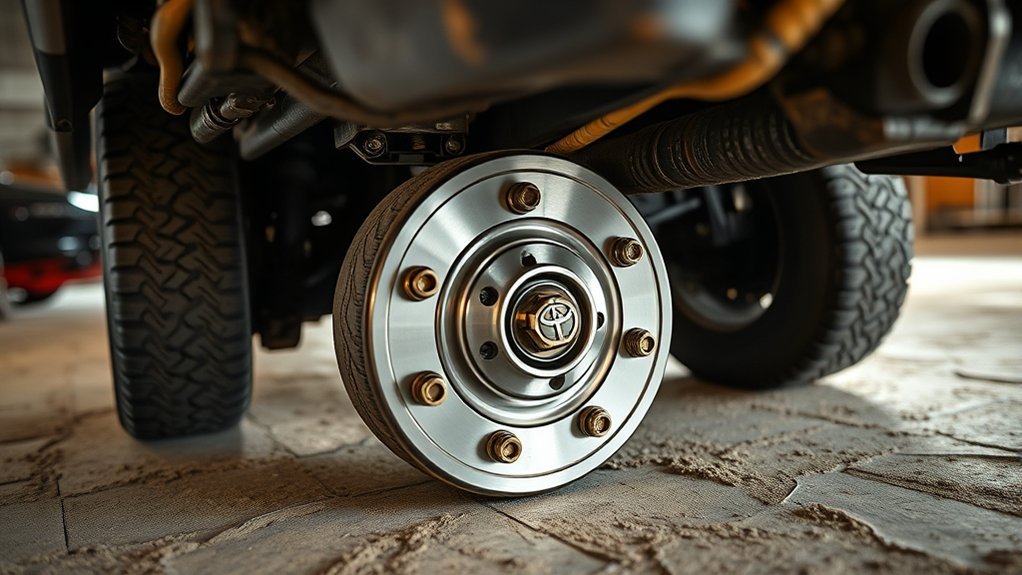
Wheel spacers are neither automatically safe nor automatically dangerous. The result depends on engineering, fitment, installation, and use. The most common myths hide that middle ground.
Common Misconceptions Explained
- Myth: Spacers lower the center of gravity. They do not change the height of the vehicle’s mass. They only move the wheels outward.
- Myth: A wider track always adds traction. It may change balance and body movement, but it does not improve the tire’s rubber, tread, or grip on the surface.
- Myth: Spacers always fix tire rub. They can fix inner rub and create outer rub at the same time.
- Myth: Any hub-centric spacer is safe. The spacer must still match the exact hub, wheel, hardware, load, and approval requirements.
- Myth: Up to 50 mm is safe on every Hilux. No universal safe thickness exists. Vehicle geometry, wheel offset, tire size, use, and local rules all matter.
Safety Concerns Addressed
Correct clamping is the foundation of wheel security. The spacer and wheel mating faces must be clean, flat, and fully seated. Fasteners must have the required engagement and be tightened with a calibrated torque wrench in the specified pattern.
H&R’s bolt-on spacer instructions require checking that the spacer sits flush, that original studs or supplied nuts do not interfere with the wheel, and that fasteners are re-tightened after about 100 km. The instructions also say to use the vehicle, wheel, and spacer approval torque information rather than a made-up universal value. Read H&R’s DRM safety and installation instructions.
Legal requirements are also location-specific. For example, Victoria’s official modification guide says changes that may affect handling or registration compliance can require approval. Check the current rules where the Hilux is registered before buying parts. See Victoria’s vehicle-modification guidance.
How to Install Toyota Hilux Wheel Spacers Safely
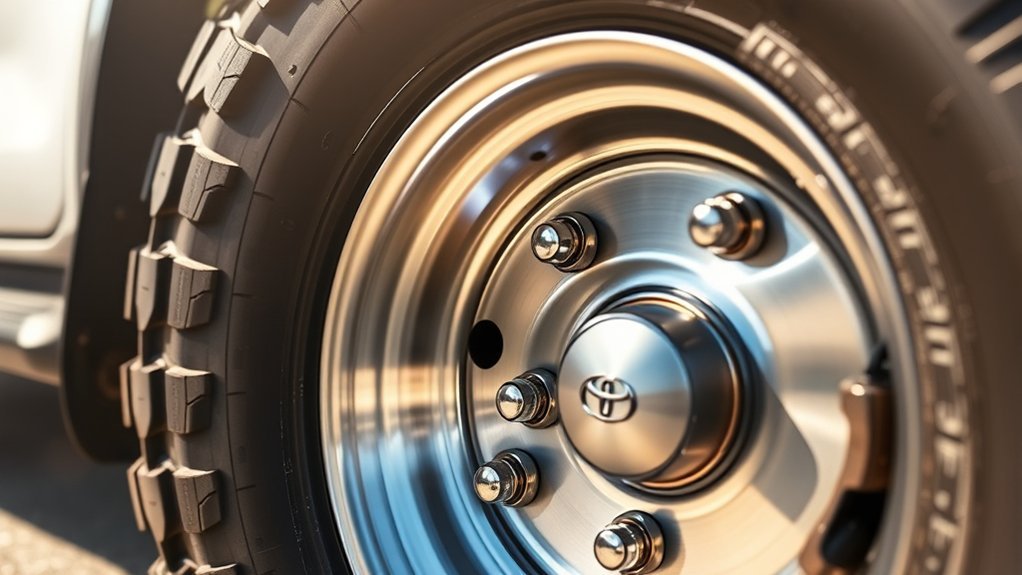
The procedure below is a general safety guide. The exact order, torque values, hardware, and thread requirements must come from the instructions for your spacer, wheel, and Hilux model. Use a qualified workshop when studs must be replaced, parts need modification, or you cannot verify the fit.
Note: Toyota’s current 2026 Japan-market Hilux manual lists 105 N·m for the factory wheel nuts, but that figure is not a blanket specification for every Hilux, wheel, or spacer system. Confirm the value in the owner’s manual for your exact vehicle and in the spacer instructions. View Toyota’s current Hilux maintenance data.
- Confirm the parts before lifting the truck. Match the spacer part number to the exact Hilux and wheel application. Check bolt pattern, hub bore, thread, load rating, supplied hardware, and instructions.
- Park and secure the vehicle. Work on a hard, level surface. Apply the parking brake, place the transmission in Park or gear, and chock the wheels that remain on the ground.
- Loosen the wheel nuts slightly. Break them free before lifting, but do not remove them.
- Lift at the approved point and support the Hilux. Follow the owner’s manual and use rated jack stands. Never work under or around a vehicle supported only by a jack.
- Remove the wheel and inspect the hub. Stop if a stud, nut, hub, bearing, or wheel mounting face is cracked, stretched, badly corroded, or damaged.
- Clean the mating surfaces. Remove rust, dirt, paint flakes, and debris from the hub face, hub pilot, spacer, and wheel mounting face. Keep the faces flat and dry unless the part manufacturer gives different written instructions.
- Test-fit the spacer on the hub and in the wheel. It must sit flush with no rocking. On bolt-on systems, check whether original studs or spacer nuts protrude and whether the wheel has deep enough pockets to clear them.
- Install the spacer hardware by hand. Start every nut without cross-threading. Tighten in a crisscross pattern with a calibrated torque wrench to the specification supplied for that exact application. Do not use an impact wrench for final torque.
- Mount the wheel. Hand-start all wheel nuts, confirm the wheel sits flat against the spacer, then tighten in a crisscross pattern to the correct wheel-and-spacer specification.
- Check clearance before normal driving. Turn the steering from lock to lock. Inspect brake hoses, ABS wiring, suspension parts, fender edges, and tire coverage. A workshop should also check clearance through suspension compression.
- Road-test gently. Start at low speed and listen for rubbing, clicking, or clunking. Stop immediately if the steering shakes, the vehicle pulls unexpectedly, or a wheel feels loose.
- Recheck torque. Follow the kit’s stated interval. H&R specifies about 100 km for its DRM system. Reinspect after wheel removal, a hard impact, or severe off-road use.
| Stage | Pass Check | Stop If |
|---|---|---|
| Spacer on hub | Fully flush, centered, and stable | It rocks, binds, or sits on rust or a retaining clip |
| Wheel on spacer | Full face contact with no hardware interference | Studs or nuts touch the back of the wheel |
| After torque | All fasteners reach the specified torque smoothly | A thread spins, binds, stretches, or will not hold torque |
| Road test | No new noise, vibration, pull, or rubbing | Any wheel-end warning sign appears |
What Are Real Users Saying About Hilux Wheel Spacers?
Owner reports can help you spot common fitment patterns, but they are not a substitute for verified specifications. Positive reports often focus on improved stance, inner tire clearance, and a vibration-free fit. Negative reports commonly involve rubbing, loose hardware, corrosion between mating faces, or vibration caused by poor centering and incorrect wheel seating.
When reading a review, look for details that match your truck:
- The same Hilux generation, chassis, 2WD or 4WD configuration, and axle
- The same wheel width, offset, center bore, tire size, and suspension setup
- The exact spacer part number, thickness, hardware, and installation method
- Long-term mileage and inspection results, not only first-day appearance
- Clear disclosure of any trimming, stud changes, lift kit, or alignment work
Claims such as “zero vibration,” “better hill climbing,” or “safe at any speed” should be treated as personal experience, not proof that the same spacer will behave the same way on another Hilux.
Maintenance Checks for Hilux Wheel Spacers
Wheel spacers become part of the wheel-retention system, so inspect them with the same care as wheels, studs, and nuts. Follow the spacer maker’s written service schedule rather than relying on a universal 500-mile rule.
Regular Torque Rechecks
Recheck torque after the initial bedding-in distance stated by the manufacturer. H&R specifies about 100 km for the system linked above. After that, inspect at normal wheel-service intervals and after removing a wheel, striking a pothole or rock, or completing severe off-road driving.
Use a calibrated torque wrench. Do not simply apply more force to a fastener that repeatedly loses torque. Remove the wheel and inspect the threads, seats, spacer, and mating surfaces to find the cause.
Visual Inspections for Wear
- Cracks, deformation, impact marks, or damaged hub pilots
- Rust, corrosion, fretting dust, or polished movement marks between faces
- Stretched, bent, cross-threaded, or corroded studs and nuts
- Loose wheel bearings, roughness, humming, or play at the wheel
- Tire rubbing, cut sidewalls, damaged brake hoses, or scraped suspension parts
- Uneven tire wear, changed steering feel, or repeated vibration
Remove the spacer from service if it is damaged or if the manufacturer’s fitment and inspection requirements can no longer be met.
Problems After Installation: What to Check
New Vibration at Road Speed
Stop and check that the hub, spacer, and wheel are clean and fully flush. Confirm the correct center bore, hub pilot, torque, thread engagement, wheel-pocket clearance, and wheel balance. A spacer should never be used to hide a bent wheel, damaged hub, or worn bearing.
Rubbing at Full Lock or Over Bumps
Identify the exact contact point. The tire may now clear an inner suspension part but hit the fender, bumper, body mount, or mud flap. Do not assume a thinner or thicker spacer will fix it without measuring the full steering and suspension range.
Clicking, Clunking, or a Loose-Wheel Feel
Stop driving immediately. Have the wheel, spacer, fasteners, studs, hub, and bearing inspected. Continuing to drive can turn a correctable fitment problem into wheel-end damage or wheel loss.
Frequently Asked Questions
When should you use wheel spacers on a Toyota Hilux?
Use them when a measured fitment issue requires the wheel to move outward, such as inner tire contact with a suspension part or insufficient wheel-to-caliper clearance. They can also be used for stance when legal, but a wheel with the correct offset may be a better long-term solution.
Do wheel spacers affect alignment?
A spacer alone does not normally change the set toe or camber angles because it does not move the suspension mounting points. It does change effective wheel offset and scrub radius, which can alter steering feel and kickback. Check alignment when tires wear unevenly, the truck pulls, or suspension and tire changes were made at the same time.
Can you daily-drive a Hilux with wheel spacers?
Yes, when the spacers are approved for the exact vehicle and wheel combination, correctly installed, regularly inspected, and legal where the truck is registered. Daily use is not safe when the wheel cannot sit flush, hardware engagement is inadequate, or vibration and looseness are ignored.
What are the main disadvantages of wheel spacers?
They add another set of critical mating surfaces or fasteners, change wheel offset and steering geometry, can increase wheel-end leverage, may create outer tire rub, and require added inspection. Poor fitment can cause vibration, damaged studs, loose wheels, or accelerated wear.
Is a 50 mm spacer safe for a Hilux?
There is no universal safe thickness. A 50 mm change is substantial and should only be considered when a vehicle-specific, load-rated system is approved for the exact setup and all clearance, steering, hardware, and legal checks pass. In many cases, a correctly offset wheel is the better solution.
Can you stack two wheel spacers?
Do not stack spacers unless a vehicle-specific manufacturer approval explicitly permits that exact arrangement. Stacking adds extra interfaces, makes centering and clamping harder to control, and can create unsafe hardware engagement.
Conclusion
Toyota Hilux wheel spacers can be useful when they solve a verified clearance problem and are treated as safety-critical wheel hardware. Choose the smallest suitable thickness, verify the exact vehicle and wheel fitment, use a precision load-rated system, and confirm that every surface sits flush. Proper torque, early reinspection, and ongoing checks matter more than claims about aggressive stance or automatic off-road gains.
Sources
- Toyota Hilux digital owner’s manual: tire replacement — clean wheel-contact surfaces, correct nut installation, and factory wheel-nut tightening guidance for the listed 2026 configuration
- H&R TRAK+ DRM installation and safety instructions — flush seating, thread engagement, hardware clearance, torque-wrench use, and initial torque recheck
- Eibach Pro-Spacer system and measurement guide — slip-on and bolt-on systems, extended hardware, wheel-pocket clearance, and thickness measurement
- SAE Technical Paper 982834: The Impact of Scrub Radius on Sport Utility Vehicle Handling — why wheel offset and scrub-radius changes affect light-truck handling
- Transport Victoria VSI 8 vehicle-modification guide — an official example of jurisdiction-specific approval and registration requirements

Related Articles
Toyota Hilux Run-Flat Tires: What You Need to Know
Take control of your safety with Toyota Hilux run-flat tires; discover their benefits and hidden costs that could change your driving experience forever.
Read More
Effects of Underinflated Tires on the Toyota Hilux
Inadequate tire pressure in your Toyota Hilux can lead to serious safety issues and costly repairs; discover how to avoid these pitfalls.
Read More
The Risks of Overinflating Toyota Hilux Tires
Overinflating your Toyota Hilux tires can lead to dangerous blowouts and uneven wear, but understanding the risks is crucial for your safety.
Read More