
4Runner Tire Losing Air Slowly: How to Diagnose the Cause
Start by visually inspecting your 4Runner’s tire for embedded objects, sidewall cracks, or wheel damage. Apply soapy water to spot bubble-forming leaks you can’t see. Check valve stems and bead seals—twist the stem to listen for hissing. Rule out temperature effects first; a 10°F drop costs you 2% pressure. DIY sealants work temporarily, but professional repairs guarantee permanent fixes. You’ll find the complete diagnostic breakdown waiting below.
Start With Visual Checks: Find Slow Tire Air Loss Causes
A systematic visual inspection serves as your foundation for identifying slow tire air leaks. Begin by examining the tire tread for embedded objects—nails, screws, or glass fragments that create punctures. Move to the sidewall inspection, scanning for cracks, cuts, or bulges that signal structural compromise and air seepage. Check the valve stem meticulously; cracks or corrosion here permit gradual pressure loss. Inspect the bead area where rubber meets rim—dirt buildup or corrosion disrupts the seal. Examine the wheel itself for bends or cracks that generate escape paths for air. Apply soapy water to suspected zones; bubbles reveal leak locations precisely. This methodical approach eliminates guesswork, empowering you to reclaim control over your 4Runner’s reliability. Each inspection point builds certainty, transforming mystery into actionable knowledge. You diagnose efficiently, you repair confidently, you drive assured.
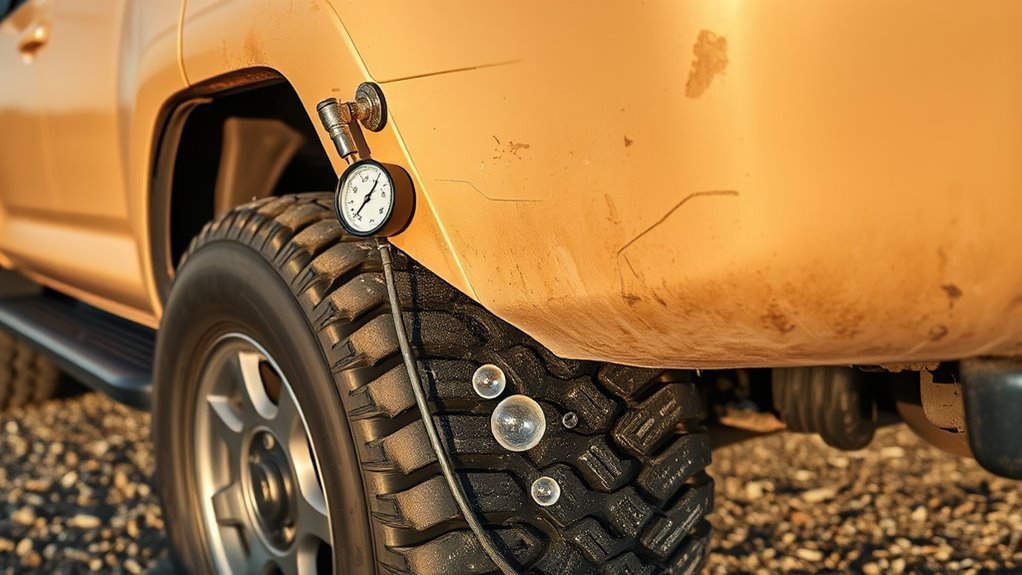
Test for Hidden Leaks: Soapy Water Method for Slow Leaks
You’ll find the soapy water method indispensable when visual inspection fails to reveal a slow leak’s source. Mix dish soap with water and apply it liberally across the tire’s surface—tread, sidewall, bead, and valve stem. Confirm you’ve inflated the tire to full air pressure first; lower pressures hide marginal leaks that expand under proper load.
Watch for bubble formation at any leak site within five minutes. The escaping air pushes through the solution, creating visible clusters that pinpoint exact failure points. Listen simultaneously for faint hissing sounds while applying the mixture—this dual-sensory approach accelerates detection.
For persistent mysteries, submerge the tire completely. Rising air bubbles reveal breaches invisible to surface testing. This method requires no demounting, preserving your time and labor while delivering definitive diagnostics. You’ve now isolated the leak and can proceed with targeted repair rather than speculative replacement.
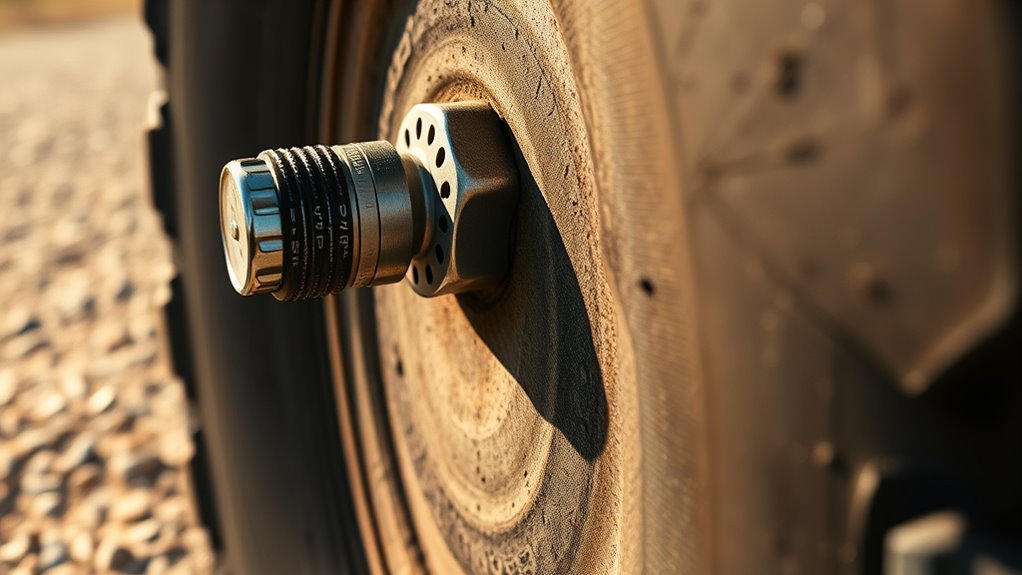
Check Valve Stems and Beads: Common Sources of Slow Air Loss
While the soapy water method reveals where air escapes, identifying the specific components causing slow leaks demands closer scrutiny of your valve stems and bead seals.
Begin your valve inspection by examining each stem for cracks, corrosion, or deterioration from chemical exposure and age. Twist the stem gently—air should not hiss. Replace compromised stems immediately; they cannot be repaired.
Proceed to bead cleaning next. Remove the tire and scrub the rim thoroughly, eliminating all dirt and corrosion that break the tire-rim seal. Inspect the wheel itself for damage or bending that creates escape gaps. Apply bead sealer to the clean rim surface before remounting. This restores proper sealing without professional intervention.
Conduct these inspections regularly. You prevent slow air loss, maintain peak tire performance, and retain control over your 4Runner’s reliability. Methodical attention to these components liberates you from recurring pressure problems and unexpected failures.
Fix Bead and Valve Leaks: DIY Sealants vs. Shop Repair
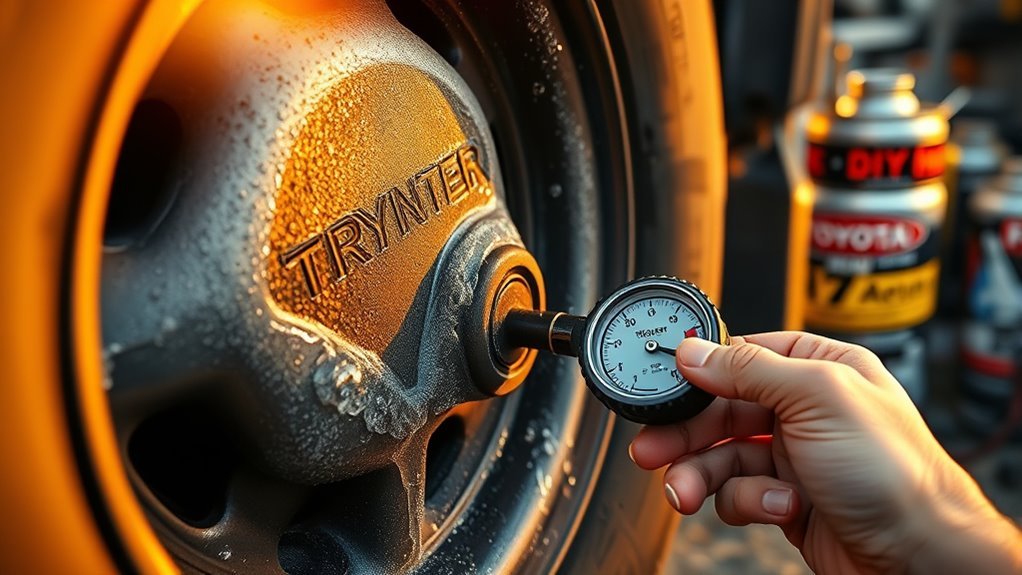
Once you’ve pinpointed your leak’s origin at the valve stem or bead, you’re faced with a decision: tackle the repair yourself or hand it off to a shop.
DIY sealant effectiveness varies. Propylene glycol-based formulas work for minor bead and valve leaks, but they’re temporary fixes—useless against sidewall damage. Replace a cracked valve stem yourself; it’s straightforward and cheap. Soapy water tests guide your sealant application, revealing bubble patterns at the tire-rim interface.
Professional repair benefits outweigh DIY for lasting results. Shops clean rims thoroughly and apply bead sealers, ensuring permanent solutions. Regular inspections catch leaks early, preventing extensive repairs.
| Factor | DIY Approach | Professional Repair |
|---|---|---|
| Cost | Low | Moderate |
| Longevity | Temporary | Permanent |
| Best For | Valve stems, minor leaks | Bead issues, rim damage |
Choose based on leak severity, your skill level, and desired permanence.
Rule Out Temperature: Why Tires Lose Air Without Leaks
Since you’ve already hunted for valve and bead leaks without success, temperature-related pressure loss demands your attention next—it’s the most common culprit behind “mystery” deflation that leaves no trace.
Temperature effects hit hard: every 10°F drop steals roughly 2% of your pressure. Park your 4Runner overnight in freezing conditions, and you’ll wake to noticeably softer tires—no puncture required. Factor in daily temperature fluctuations, and you’re chasing ghosts if you don’t account for this physics.
Air permeability compounds the problem. Your tires naturally bleed 1-3 psi monthly through osmosis as molecules escape through sidewall rubber. Even fresh rubber can’t seal perfectly against this slow, invisible migration.
Check pressure when tires are cold—before driving, before sun exposure. Record readings across varying temperatures to establish your baseline. You’re not diagnosing failure; you’re recognizing normal behavior. Master this, and you’ll stop wasting time on phantom leaks that temperature explains completely.
Frequently Asked Questions
How Often Should I Check My Tire Pressure?
Check your tire pressure monthly and before long trips. Seasonal changes cause fluctuations, so you’ll monitor more frequently during temperature shifts. This methodical approach prevents underinflation and guarantees peak performance, giving you control over your vehicle’s reliability.
Can I Drive With a Slow Tire Leak?
You can drive briefly, but don’t push your luck. Monitor slow leak symptoms daily and follow tire maintenance tips to stay safe. A small problem becomes a big headache when ignored.
Does Tire Sealant Damage TPMS Sensors?
Yes, tire sealant types can damage TPMS sensors. Liquid sealants corrode sensor components, so practice TPMS sensor care: avoid sealants, use plug patches instead, and replace sensors immediately if sealant contact occurs.
What’s the Cost of Professional Tire Repair?
You’ll pay $20-$40 for standard tire repair costs, but here’s the catch—professional services reveal hidden damage you can’t see, liberating you from roadside failures before they strand you in the wild.
How Long Do Patched Tires Last?
A properly patched tire lasts 7-10 years or the tire’s remaining tread life. You’ll maximize patch longevity factors through proper tire maintenance tips: regular pressure checks, rotation schedules, and avoiding overloaded conditions that stress repair integrity.
Conclusion
You’ve now got a complete diagnostic toolkit for your 4Runner’s slow leak. Here’s something striking: tires naturally lose 1-3 PSI monthly even without punctures—yet 85% of slow leaks stem from repairable valve or bead issues you’ve just learned to identify. Don’t ignore that gradual pressure drop; it degrades handling and fuel economy. Apply these methodical checks systematically, and you’ll pinpoint the culprit before resorting to replacement. Your diligence preserves both safety and tread life.
Related Articles

4Runner Pulls to One Side: Is It a Tire or Alignment Issue
Which culprit—tire defect or caster angle—is secretly sabotaging your 4Runner's straight-line stability?
Read More
Biggest Tire That Fits a Stock 4Runner Without a Lift
Curious about the largest tire you can fit on a stock 4Runner without a lift? Discover essential tips for the perfect fit!
Read More
4Runner Vibration After New Tires: Troubleshooting Steps
One critical step most 4Runner owners skip could reveal why your new tires still shake—discover it before your next highway trip.
Read More