
How to Balance Tires at Home: A Beginner DIY Guide
Balancing tires at home can help reduce vibration, smooth out low-speed driving, and catch obvious wheel-and-tire problems before they become expensive. The safe DIY method is static balancing with a bubble balancer. It can be useful for basic maintenance, but it does not replace professional dynamic or road-force balancing for persistent highway vibration.
Quick Answer
To balance tires at home, remove the wheel safely, clean it, inflate the tire to the vehicle’s cold pressure specification, place it on a bubble balancer, and add small wheel weights to the light side until the bubble centers. Reinstall the wheel with a torque wrench and get professional balancing if vibration remains.
Key Takeaways
- Home tire balancing is usually static balancing, which is less precise than shop dynamic balancing.
- Always set tire pressure cold using the vehicle placard or owner’s manual, not the tire sidewall maximum.
- Use wheel chocks, approved lift points, jack stands, and a torque wrench whenever removing a wheel.
- If vibration continues at highway speed, ask a tire shop for dynamic or road-force balancing.
At a Glance
| Time Required | 30–60 minutes for one wheel after setup |
| Difficulty | Moderate; requires safe wheel removal and careful weight placement |
| Tools Needed | Bubble balancer, wheel weights, lug wrench, torque wrench, jack, jack stands, wheel chocks, tire pressure gauge, chalk or marker, cleaner |
| Cost | Usually low if you already own lifting tools; expect to buy weights and a bubble balancer |
Why Tire Balancing Is Essential for Your Vehicle
Tire balancing corrects uneven weight distribution in a tire-and-wheel assembly. When the assembly rotates smoothly, the vehicle is less likely to shake, the ride feels calmer, and the tire can maintain better contact with the road.
Balancing is not the same as wheel alignment. Michelin explains that alignment and balancing are separate services that work together to affect tire wear, handling, ride comfort, and efficiency. AAA also notes that tires need correct air pressure, tread depth, balance, and proper wheel alignment for optimum performance.
For normal passenger vehicles, balance should be checked when tires are installed, rotated, repaired, or when you notice vibration. Goodyear recommends balancing every 3,000–6,000 miles as a general guideline, but your owner’s manual and tire shop advice should take priority.
Common Signs That Your Tires Need Balancing
The most common sign of tire imbalance is vibration that changes with speed. You may feel it in the steering wheel, seat, or floor. The exact symptom can vary depending on whether the front or rear wheel is affected.
| Sign | What It May Mean | What To Do |
|---|---|---|
| Steering wheel vibration | Often points to front wheel imbalance, especially at certain speeds. | Inspect the tires and rebalance the affected wheels. |
| Seat or floor vibration | May point to rear wheel imbalance. | Check rear tires, wheels, and missing weights. |
| Uneven or cupped tread wear | Could come from imbalance, worn suspension, or alignment issues. | Have the tire and suspension inspected if wear is severe. |
| New humming or droning noise | May come from uneven tread contact, but can also be a wheel bearing or tire defect. | Do not assume balance is the only cause; inspect the wheel assembly. |
| Vehicle pulling to one side | More often caused by pressure mismatch, alignment, tire conicity, or brake drag. | Check tire pressure first, then have alignment and tires checked. |
Note: If vibration starts right after hitting a pothole, curb, or road debris, the issue may be a bent wheel, damaged tire, broken belt, or lost wheel weight. Do not rely on balancing alone until the tire and rim are inspected.
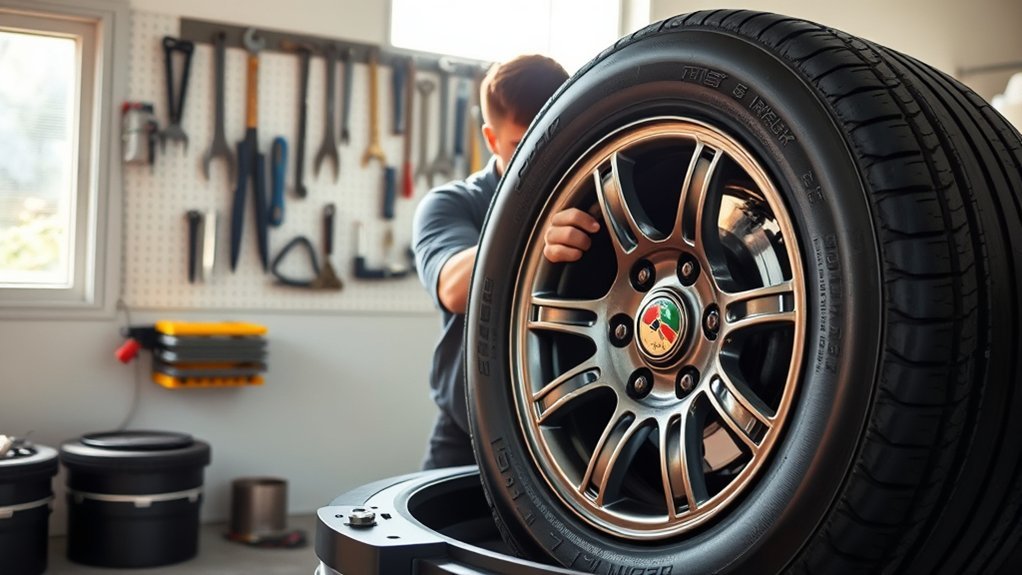
Essential Tools for DIY Tire Balancing
Before you start, gather every tool you need. Stopping halfway through with a vehicle raised is unsafe and frustrating.
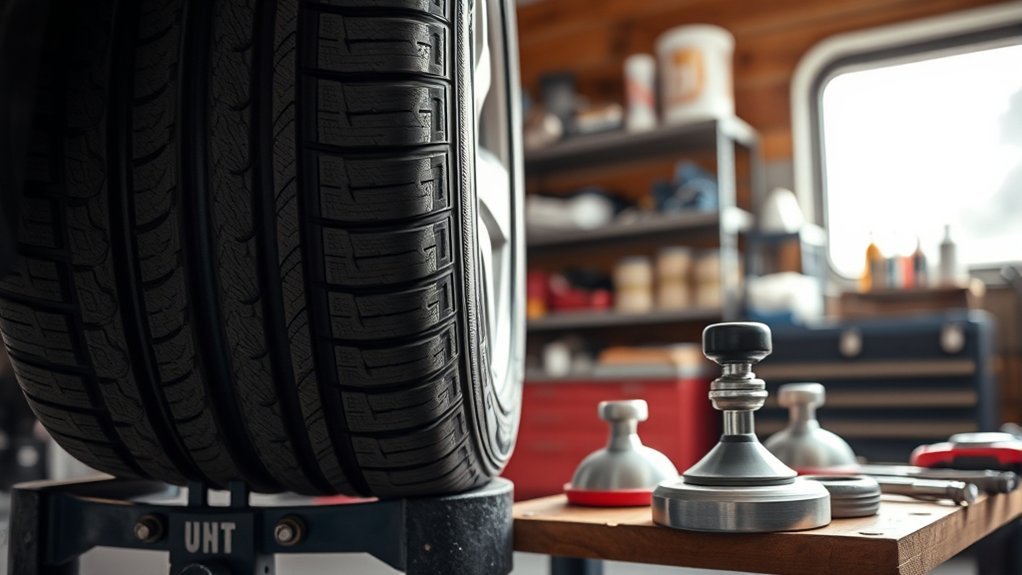
- Bubble balancer: Used for static balancing at home.
- Wheel weights: Use the correct clip-on or adhesive weights for your wheel type.
- Jack and jack stands: Use the owner’s manual lift points and support the vehicle securely.
- Wheel chocks: Prevent the vehicle from rolling while lifted.
- Lug wrench or breaker bar: Loosens the lug nuts before lifting.
- Torque wrench: Tightens lug nuts to the correct specification during reinstallation.
- Tire pressure gauge: Confirms cold tire pressure before balancing.
- Chalk or marker: Marks weight positions and reference points.
- Cleaner and rag: Removes mud, brake dust, old adhesive, and debris from the wheel.
Warning: Never crawl under a vehicle or work on a wheel while the vehicle is supported only by a jack. Park on level ground, set the parking brake, chock the opposite wheels, and use jack stands on approved support points.
Before You Start: Check Pressure and Inspect the Wheel
A balance reading is only useful if the tire and wheel are clean, inflated correctly, and safe to use. Start with these checks:
- Check cold tire pressure. Use the pressure listed on the vehicle tire placard or in the owner’s manual. NHTSA recommends checking pressure when tires are cold or adjusting carefully if the tire is warm.
- Clean the wheel. Remove mud, stones, old adhesive, and loose debris from the rim and tread.
- Look for obvious damage. Do not balance a tire with sidewall bubbles, exposed cords, severe cracking, a bent rim, or tread separation symptoms.
- Remove loose old weights. If adhesive weights are falling off or clip-on weights are loose, replace them instead of reusing them.
- Confirm the wheel fits the balancer. The wheel must sit centered and level on the bubble balancer.
Step-by-Step Guide to Balancing Tires at Home
Follow these steps for a basic static balance. Work slowly and recheck your result after every adjustment.
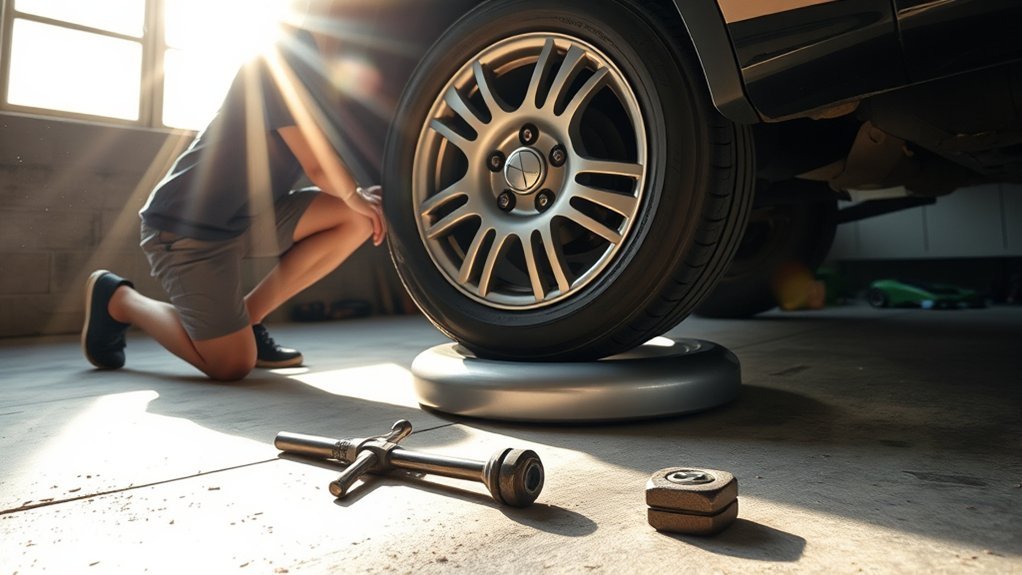
- Park safely. Park on a flat, solid surface. Set the parking brake and chock the wheels that stay on the ground.
- Loosen the lug nuts slightly. Break them loose before lifting the vehicle. Do not remove them yet.
- Lift and support the vehicle. Use the owner’s manual jacking point, then place a jack stand under an approved support point.
- Remove the wheel. Finish removing the lug nuts and lift the wheel straight off the hub.
- Clean the wheel and tire. Dirt, stones, and old adhesive can throw off the reading.
- Set the tire pressure cold. Use the vehicle placard or owner’s manual pressure, following guidance from USTMA’s Tire Care and Safety Guide.
- Place the wheel on the bubble balancer. Make sure it is centered, level, and fully seated on the balancer cone or plate.
- Let the bubble settle. Do not touch the wheel while reading the bubble.
- Add small amounts of weight. Follow your balancer’s instructions. On most bubble balancers, the correction weight is added to the light side indicated by the bubble. Add weight in small increments instead of guessing large amounts.
- Recheck the bubble. Keep adjusting until the bubble centers. Rotate the wheel on the balancer and confirm the reading repeats.
- Secure the weights. Clip-on weights must seat firmly. Adhesive weights need a clean, dry surface so they stay attached.
- Reinstall the wheel. Hand-start the lug nuts, snug them in a star pattern, lower the vehicle, and tighten with a torque wrench to the manufacturer’s specification.
- Road test carefully. Drive at low speed first, then gradually test at the speed where vibration used to occur.
Pro Tip: If one wheel needs a large amount of weight, stop and inspect the tire and rim again. Excessive weight can point to a poorly seated tire, bent wheel, internal tire problem, or a tire that should be rotated on the rim by a shop.
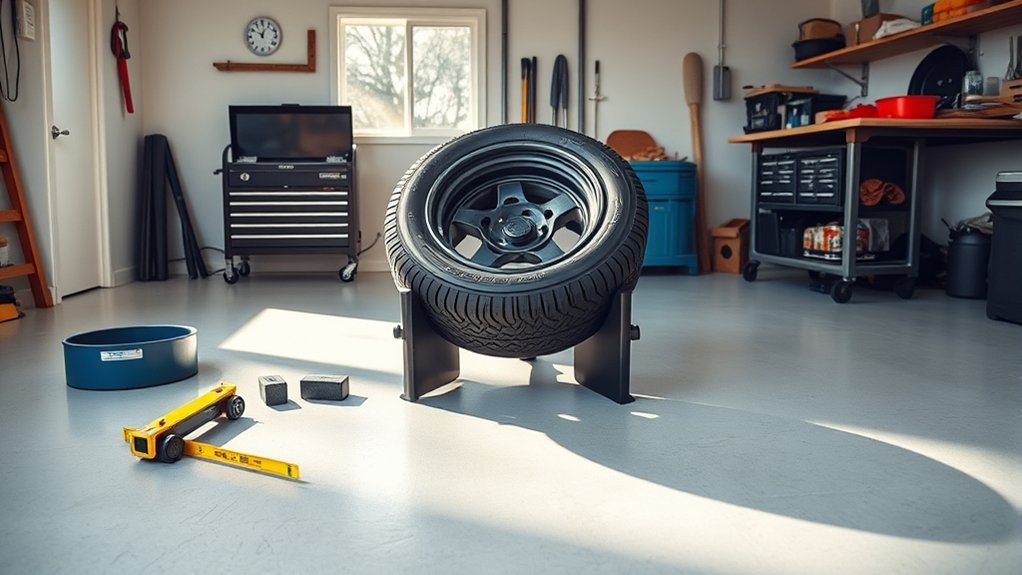
How to Use a Bubble Balancer Effectively
A bubble balancer uses gravity to show static imbalance. It is simple, affordable, and useful for basic work, but accuracy depends on setup.
Place the balancer on a level surface and confirm the bubble is centered before adding the wheel. After the wheel is mounted, wait for the bubble to settle. If the bubble moves off center, the wheel assembly has a light and heavy side. Add small weights to the correction area recommended by the balancer instructions, then recheck.
Do not rush the process. A wheel that looks close may still vibrate at speed. If the bubble centers only in one wheel position but changes when you rotate the wheel on the balancer, clean the mounting surface and confirm the wheel is centered.
Balancing Tires Without a Machine
You can balance tires at home without an electronic shop machine, but you should understand what you are and are not correcting. A bubble balancer corrects static imbalance. A tire shop’s spin balancer can perform dynamic balancing, which measures imbalance across more than one plane while the assembly rotates.
Common DIY Techniques
| Technique | Best For | Limit |
|---|---|---|
| Bubble balancing | Basic static correction at home | Does not fully duplicate shop dynamic balancing |
| Visual inspection and cleaning | Mud, stones, missing weights, obvious damage | Will not correct internal tire or rim problems |
| Trial road test after balancing | Confirming whether vibration improved | Persistent vibration still needs professional diagnosis |
Limitations of Home Balancing
Home balancing is not the right fix for every vibration. If the vehicle shakes at highway speed, if the steering wheel still vibrates after a careful balance, or if the tread wear looks uneven, a tire shop should inspect the wheel assembly. Les Schwab explains that rebalancing in a tire shop uses a balancing machine to measure lighter and heavier areas before adjustments are made.
DIY balancing also cannot fix wheel alignment, worn shocks or struts, bad wheel bearings, brake rotor issues, or internal tire damage. If the vibration feels severe or appears suddenly, stop driving and have the vehicle checked.
Static vs. Dynamic Tire Balancing: What You Need to Know
Choosing the right balancing method depends on the vehicle, tire size, speed, and symptoms. For most modern passenger vehicles, professional dynamic balancing is the better choice when you need a smooth highway ride.
Static Balancing Explained
Static balancing corrects a single-plane imbalance. It is the type of balance you can usually do at home with a bubble balancer. It can help when a tire has a heavy spot that causes hop or shake, especially at lower speeds.
Static balancing is most useful for basic maintenance, narrow wheels, trailers, lawn equipment, and situations where professional equipment is not available. For daily-driven cars and trucks, it is better viewed as a temporary or basic correction rather than a full professional balance.
Dynamic Balancing Benefits
Dynamic balancing is performed on a spin balancer. The machine rotates the wheel-and-tire assembly and identifies where weight is needed on the inner and outer planes of the wheel. This is why dynamic balancing is usually preferred for wider wheels and vehicles driven at highway speeds.
Professional balancing can reduce vibration, improve ride comfort, and help prevent irregular wear caused by imbalance. If you recently bought new tires, repaired a flat, hit a pothole, or lost a wheel weight, dynamic balancing is the safer choice.
Road-Force Balancing
Road-force balancing goes beyond standard balancing by applying pressure to the tire while it spins, simulating load against the road. Hunter Engineering describes road-force measurement as part of its Road Force balancing equipment, and Les Schwab also references road-force balancing for reducing vibration from wheel-and-tire inconsistencies.
Ask for road-force balancing if normal balancing does not fix highway vibration, especially on low-profile tires, larger wheels, performance vehicles, or vehicles sensitive to ride quality.
Choosing the Right Method
| Method | Best Use | Choose It When |
|---|---|---|
| Static bubble balancing | Basic DIY correction | You need a low-cost check and symptoms are mild. |
| Dynamic balancing | Most passenger vehicles | You want the smoothest normal road result. |
| Road-force balancing | Persistent vibration diagnosis | Normal balancing does not solve the vibration. |
Recheck Your Tire Balance: Essential Steps
After adding weights, always recheck before putting the wheel back on the vehicle. A small change in weight placement can make a noticeable difference.
- Spin or reposition the wheel on the balancer. Confirm the bubble still centers after the wheel is moved and settled again.
- Check that weights are secure. Clip-on weights should be tight, and adhesive weights should be pressed onto a clean, dry surface.
- Inspect for interference. Make sure weights will not hit brake calipers, suspension parts, or wheel covers.
- Reinstall with the correct torque. Use a star pattern and the manufacturer’s torque specification.
- Road test safely. If the vibration is worse, stop and recheck the wheel before driving farther.
A centered bubble is a good sign, but the real test is whether the vehicle drives smoothly without vibration at the speeds where the problem used to appear.
When DIY Balancing Isn’t Enough: Know When to Go Professional
DIY balancing can help with basic imbalance, but it should not be used to ignore serious symptoms. Get professional help if:
- The steering wheel shakes strongly at highway speed.
- The vibration continues after careful home balancing.
- The tire has a sidewall bubble, exposed cords, severe cracking, or tread separation signs.
- The wheel looks bent or cracked.
- The vehicle pulls to one side even after tire pressure is corrected.
- You recently hit a pothole, curb, or road debris.
- One tire needs much more weight than the others.
- The vehicle has low-profile tires, large wheels, or performance tires that are sensitive to imbalance.
The NTSB advises drivers to rotate, balance, and align tires according to the owner’s manual and to slow down and have tires checked if they hear unusual tire sounds.
Signs Of Imbalance
The clearest signs of imbalance are speed-related vibration, uneven tread wear, missing wheel weights, or a wobble that changes as speed increases. If these symptoms appear after a tire repair or rotation, the wheel may need to be rebalanced.
Importance Of Precision
Precision matters because a small imbalance becomes more noticeable as wheel speed increases. A bubble balancer may improve a mild issue, but a shop balancer can measure the rotating assembly more accurately and tell the technician exactly where weight is needed.
Troubleshooting After DIY Balancing
| Problem After Balancing | Likely Cause | Next Step |
|---|---|---|
| Vibration improved but did not disappear | Static balance helped, but dynamic imbalance remains. | Get dynamic balancing at a tire shop. |
| Vibration got worse | Weight was added in the wrong spot or the wheel was not centered on the balancer. | Remove the added weight and repeat the balance carefully. |
| Vehicle pulls to one side | Pressure mismatch, alignment issue, tire defect, or brake drag. | Check pressure first, then schedule inspection. |
| Weight falls off | Dirty rim, wrong weight type, weak adhesive, or poor installation. | Clean the wheel and install the correct new weight. |
| One wheel needs excessive weight | Bent rim, tire not seated evenly, or internal tire variation. | Have a shop inspect and possibly road-force balance it. |
Common Mistakes to Avoid
- Balancing a dirty wheel: Mud and old adhesive can create a false reading.
- Skipping cold tire pressure: Pressure changes can affect tire shape and ride feel.
- Using the wrong weight type: Clip-on and adhesive weights are not interchangeable for every wheel.
- Guessing with large weights: Add weight in small increments and recheck each time.
- Ignoring torque specs: Uneven or incorrect lug torque can create safety problems and vibration.
- Assuming balance fixes everything: Alignment, suspension, wheel bearings, brake issues, and tire defects can all cause similar symptoms.
Frequently Asked Questions
How often should I balance my tires?
Balance tires when they are installed, rotated, repaired, or when you notice vibration. As a general guideline, some tire service providers recommend balancing around normal rotation intervals, but your vehicle owner’s manual and tire shop advice should come first.
Can I reuse old wheel weights?
It is better to use new weights. Old clip-on weights may not grip tightly, and old adhesive weights often lose sticking power once removed. Reusing weak weights can cause the tire to go out of balance again.
What if vibrations persist after balancing?
Persistent vibration can mean the wheel needs dynamic balancing, road-force balancing, or inspection for a bent rim, tire defect, worn suspension part, brake issue, or wheel bearing problem. Do not keep adding weight without diagnosing the cause.
Does Les Schwab balance tires?
Yes. Les Schwab offers wheel and tire balancing services. Pricing and availability can vary by location, so check with your local store or schedule online.
What can throw tires out of balance?
Common causes include lost wheel weights, pothole impacts, curb strikes, tire repairs, uneven wear, mud or debris stuck to the wheel, flat spots from storage, manufacturing variation, and bent rims.
Is balancing the same as alignment?
No. Balancing corrects uneven weight in the tire-and-wheel assembly. Alignment adjusts wheel angles so the tires meet the road correctly. A vehicle can need one service, both services, or another repair entirely.
Can tire balancing fix a vehicle that pulls to one side?
Usually no. Pulling is more often caused by incorrect tire pressure, alignment problems, tire conicity, brake drag, or suspension issues. Start by checking tire pressure, then have the vehicle inspected if the pull remains.
Conclusion
Balancing tires at home is possible when you use a bubble balancer, clean wheel surfaces, correct cold tire pressure, and careful weight placement. It can improve a mild vibration and help you maintain your tires between shop visits. Still, it is only a static balance. For highway vibration, new tires, repaired tires, large wheels, or persistent shaking, professional dynamic or road-force balancing is the better and safer solution.
Sources
- NHTSA TireWise — cold tire pressure and vehicle placard guidance.
- USTMA Tire Care and Safety Guide — tire inflation and owner’s manual/placard guidance.
- Michelin Wheel Alignment & Balancing — difference between alignment and balancing and their effects on tire performance.
- Goodyear Wheel Balancing Service — general balancing interval and professional balancing overview.
- Les Schwab Wheel & Tire Balancing — balancing service availability.
- Hunter Engineering Road Force Balancing — road-force balancing equipment and measurement concept.
Related Articles

Can You Drive on a Plugged Tire Long Term Safely
Never trust a plugged tire forever—here's the hidden danger that could blow out without warning.
Read More
How to Plug a Tire on a 4Runner in an Emergency
Learn the essential steps to plug a tire on your 4Runner in an emergency and discover tips that could save you in unexpected situations.
Read More
How Long Does a Tire Patch Last on a 4Runner Tire
Just how long can a vulcanized patch survive on your 4Runner's tire before hidden dangers emerge?
Read More