
Hyundai Sonata Spare Tire Change Guide: 2026 Steps
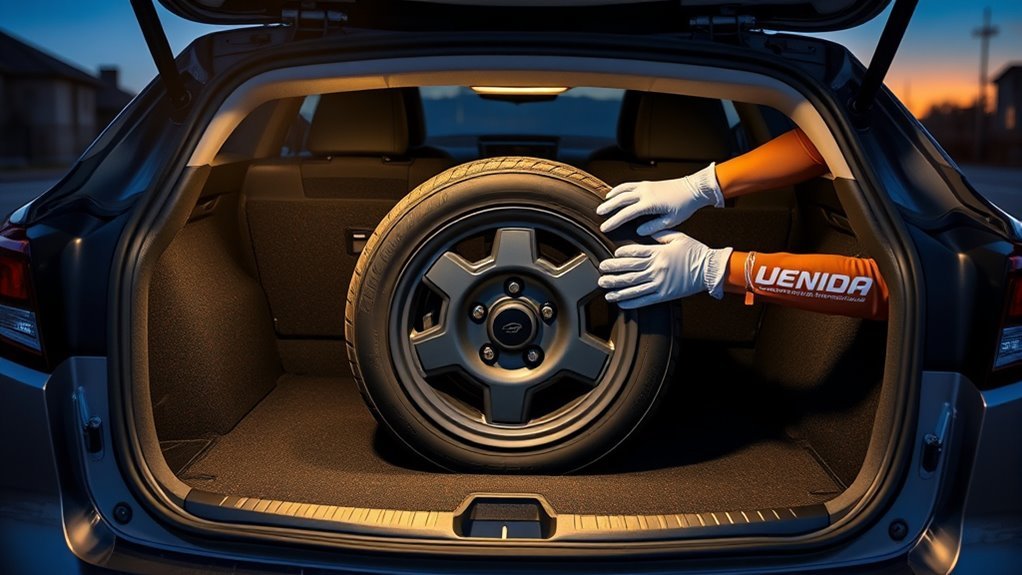
A flat tire can turn a simple drive into a stressful stop, especially if you’re not sure where the spare and jack are stored. On a Hyundai Sonata, the spare tire and tool kit usually sit under the trunk liner in the spare well. This guide walks you through the safe way to find the tools, lift the car, install the spare, and get back on the road with caution.
Quick Answer
Open the trunk, lift the trunk liner, and remove the jack, lug wrench, hook, and spare tire from the spare well. Park on firm, level ground, set the parking brake, chock a wheel, loosen the lug nuts slightly, lift the car at the correct jack point, swap the tire, and tighten the lug nuts in a crisscross pattern.
Key Takeaways
- Find the Sonata spare tire and tool kit under the trunk liner before you start.
- Park on firm, level ground and chock a wheel before lifting the vehicle.
- Loosen lug nuts while the tire still touches the ground so the wheel won’t spin.
- Use the correct jack point and never place any part of your body under the car.
- Drive slowly on a temporary spare and repair or replace the flat tire as soon as you can.
Quick Steps: Change a Spare Tire (What to Expect)
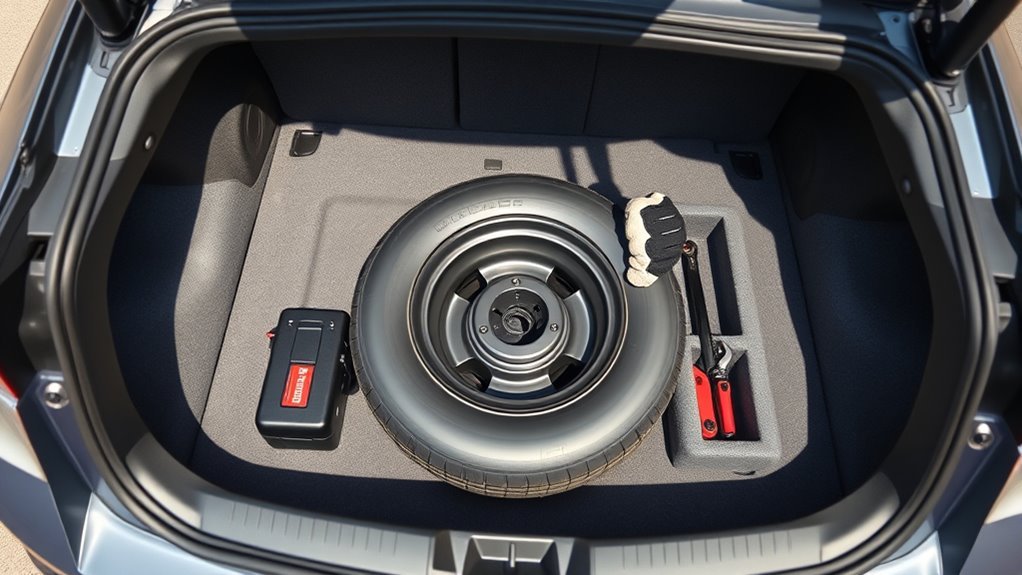
Start by opening the trunk and lifting the trunk liner to reach the spare and tool kit. You’ll use the hook and wrench tools to turn the retaining bolt left and remove the spare. Before you jack up the car, secure it with a wheel chock, a rock, or a stone so it can’t roll.
Place the jack at the designated jack point shown in your owner’s manual. Loosen and remove the lug nuts, then lift the car until the flat tire clears the ground. Fit the spare, hand-tighten the lug nuts in a crisscross pattern, lower the car, and finish tightening the nuts in the same pattern.
Check tire pressure before you drive away. If you feel unsure, lack the right tools, or can’t park in a safe spot, call roadside assistance.
[Products Worth Considering]

Universal magnetic jack pad with aluminum grooved design to protect vehicle pinch welds during lifting. Durable nylon pad inserts are upgraded and secured with screws to resist damage and keep in place. Designed to fit most single vehicle pinpoint welds for safer, stable jacking when changing tires, repairs, or performing oil changes.

Camco’s RV wheel chocks with an attached rope help keep your travel trailer securely in place for safer unhitching or parking. This 2-pack is compatible with wheels up to 26-inch diameter and features durable UV-resistant construction for reliable outdoor performance. The rope enables quick, safe removal so you can prepare for your next trip with less hassle.

Secure your trailer or RV tires with a scissor-style wheel chock stabilizer that applies opposing force to help prevent wheel shift. It fits tight wheel gaps from 3.5 inches up to 12 inches and works for travel trailers, campers, fifth wheels, toy haulers, and heavy-duty trucks. The surface uses new electrophoretic technology to help prevent rust for reliable travel use.
Before You Begin: Tools and Safety Checks
Plan for about 20 to 30 minutes if you already have the spare, jack, and lug wrench. You’ll need the spare tire, jack, lug wrench, hook tool, wheel chock or sturdy rock, and a tire pressure gauge if you have one.
Turn on your hazard lights, move away from traffic when possible, and set the parking brake. Never try to change a tire on soft ground, a narrow shoulder, or a steep slope.
Warning: If the jack shifts, the car leans, or traffic feels too close, stop and call for help.
Locate the Sonata Spare and Tool Kit
Open the trunk and lift the liner to expose the spare tire well. Check the well for the tool kit, which usually includes a hook, lug wrench, and jack. Unscrew the retaining bolt counterclockwise, lower the jack if needed, and lift the spare and tools out.
Trunk Liner Removal
Lift the trunk lid and pull back the trunk liner that covers the spare tire well. Detach any clips or fasteners that hold it in place so you can reach the spare and tool kit.
Check the liner for stuck clips before you pull hard. Work around the edge, set the clips aside, and fold the liner back neatly so you can reinstall it later.
Tool Kit Location
With the liner folded back, look inside the spare well for the tool kit and spare tire. Confirm that you have the hook tool, lug wrench, and jack before you start the tire change.
Find the retaining bolt that holds the spare in place. Turn it left to free the wheel, then place the bolt where you won’t lose it.
Unpack Tools: Hook, Lug Wrench, and Jack
Before you begin, pull up the trunk liner to expose the spare and tool kit beneath it. Turn the retaining bolt left to free the kit and spare.
Lift the kit out and place it beside the spare tire. Gloves can help you grip the tools and protect your hands from sharp edges.
- Remove the hook tool first.
- Take out the lug wrench.
- Lift out the jack.
- Check that the lug wrench fits your wheel nuts.
- Turn the jack screw to make sure it moves smoothly.
Lower the jack height slightly before you place it under the vehicle. That small adjustment gives you more room and helps you seat the jack correctly.
Secure Vehicle and Choose a Safe Spot
Park on a flat, hard, level surface and set the parking brake before you start. Place a wheel chock, rock, or stone against the opposite wheel to help stop movement.
Identify the correct jack point for the tire you’re changing. Keep your hands, legs, and body away from the underside of the car while it rests on the jack.
Choose a Level Surface
Choose a level surface before you touch the trunk. Pavement, concrete, or compact gravel give the jack better support than soil, grass, or loose ground.
Clear debris around the tire so you have safe footing and enough space for the tools. If the car sits on a slope, move it to a safer place when you can do so safely.
Secure Vehicle Movement
Set the parking brake and chock the wheels before you loosen the lug nuts. Place the chock behind a rear wheel when you change a front tire, or in front of a front wheel when you change a rear tire.
Confirm that the vehicle feels stable before you lift it. If it rolls, rocks, or shifts, stop and reset the position before you continue.
Use Sonata Jack Points and Lift the Car
Use the Sonata’s designated jack points, which sit along the reinforced pinch weld area under the side of the car. Your owner’s manual shows the exact lift points for your model year and trim.
Position the jack so its saddle seats squarely under the marked point. Turn the jack handle slowly and watch the saddle as it makes firm contact with the vehicle.
Lift only high enough for the flat tire to clear the ground. Extra height makes the car less stable and adds risk.
Note: Never rely on the jack for work under the vehicle, because it supports the car only during the tire change.
[Products Worth Considering]

Secure your parked vehicle quickly with AFA Tooling 4T rubber wheel chocks in a 4-pack for two dual-wheel sets. The ribbed design and textured base grip fast without pounding, so you can chock tires on trailers, RVs, ATVs, and work vehicles with confidence. EZ rustproof handles with rope ties keep the pair together for easy placement and removal, while nylon-reinforced rubber stands up to dirt, ice, salt, and harsh weather.

This car emergency kit keeps essential roadside tools organized in a durable, portable bag so you can respond quickly during common driving emergencies. It includes battery jumper cables, a bright LED headlight, first aid supplies, a tire pressure gauge, and safety essentials like gloves and an emergency poncho. Designed for trunk or storage use, it helps you be prepared for dead batteries, minor malfunctions, and unexpected roadside issues.
Loosen Lug Nuts and Remove the Flat Wheel
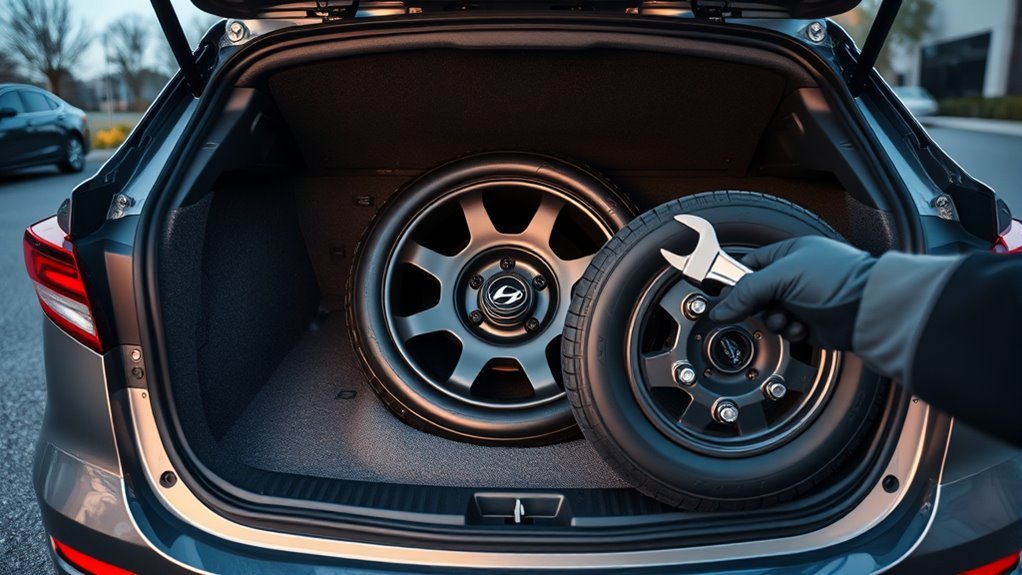
Use the lug wrench from the trunk kit to break each lug nut loose. Turn each nut about half a turn while the tire still touches the ground so the wheel won’t spin.
After you lift the car at the correct jack point, remove the loosened lug nuts. Keep one nut threaded lightly until you’re ready to pull the wheel off, because it helps prevent the wheel from dropping.
| Action | Purpose | Safety Check |
|---|---|---|
| Break loose ½ turn | Prevent wheel spin | Keep tire on ground |
| Lift the vehicle | Clear the flat tire | Watch jack stability |
| Leave one nut | Prevent wheel drop | Use both hands |
Once the wheel rocks freely, remove the final nut and lift the flat tire off the hub with both hands. Place the removed wheel flat in the trunk so it won’t roll or damage other items.
Install the Spare and Tighten Lug Nuts in a Crisscross Pattern
Lift the spare onto the hub, align the bolt holes, and thread each lug nut by hand. Hand-starting the nuts helps you avoid cross-threading and keeps the wheel seated straight.
Use the wrench to snug the lug nuts in a crisscross pattern. This pattern spreads pressure evenly across the wheel.
- Lift the spare tire onto the wheel hub.
- Align the bolt holes with the wheel studs.
- Thread each lug nut by hand until it seats.
- Snug the lug nuts with the wrench in a crisscross pattern.
- Lower the vehicle until the spare touches the ground.
- Remove the jack and tighten the lug nuts again in the same crisscross pattern.
The spare is a temporary fix, not a long-term tire. Plan a repair or replacement before you return to normal driving.
Post-Change Checks: Pressure, Speed Limit, and Stowage
After the change, check the spare’s pressure right away. Many temporary spares require higher pressure than regular tires, so follow the pressure listed on the tire sidewall or in your owner’s manual.
Drive at or below the speed limit printed on the spare, often 50 mph for a compact temporary spare. Avoid sharp turns, hard braking, and long highway trips when you can.
Stow the flat tire and tools in the trunk’s designated compartments. Secure the jack, wrench, clips, and trunk liner so nothing shifts while you drive.
Common Mistakes to Avoid When Changing a Spare
Don’t loosen lug nuts after the tire leaves the ground, because the wheel may spin. Break them loose first while the tire still has contact with the road.
Don’t place the jack under plastic trim, suspension parts, or a random metal edge. Use the designated jack point so the car lifts safely.
Don’t drive on a temporary spare like it’s a regular tire. Keep your speed low, limit distance, and schedule tire service as soon as possible.
Frequently Asked Questions
Where Is the Tire Pressure Gauge Located for the Spare?
The spare tire does not have a built-in tire pressure gauge. Use your vehicle’s gauge or a portable gauge to check the pressure before you drive.
Can I Drive on the Spare in Rainy Conditions?
You can drive on a spare in rainy conditions, but you need to slow down and leave more space. Avoid standing water, sudden turns, and hard braking until you replace the spare with a full tire.
Will My Vehicle Alarm Activate When Trunk Is Opened?
The alarm may activate if the vehicle stays armed and a sensor detects the trunk opening. Unlock the vehicle before you open the trunk to reduce the chance of an alarm.
Are There Weight Limits for the Space-Saver Spare?
Yes, a space-saver spare has load and speed limits. Follow the markings on the spare tire and the guidance in your owner’s manual.
How Long Can I Store the Spare Tire Unused?
A spare tire can age even when you don’t use it. Inspect it often for cracks, bulges, low pressure, or dry rubber, and replace it if it shows damage or exceeds the age guidance in your owner’s manual.
Conclusion
A safe spare tire change starts with the right setup: firm ground, a secure vehicle, and the correct jack point. Tighten the lug nuts in a crisscross pattern, lower the car, and recheck each nut before you drive. Stow the flat tire, tools, jack, and trunk liner so they stay secure. Check the spare tire pressure, drive cautiously, and visit a tire shop for a permanent repair.

Related Articles

Danger of Using Summer Tires in Winter on a Hyundai Sonata
Potentially perilous, using summer tires in winter on your Hyundai Sonata can compromise safety—discover the hidden dangers that await you on icy roads.
Read More
Can You Mix Nitrogen and Air in Hyundai Sonata Tires? Answered
Discover the implications of mixing nitrogen and air in your Hyundai Sonata tires—are the benefits worth the risks? Explore the answer inside!
Read More
How to Tell If Hyundai Sonata Tires Are Too Old to Use Safely
Understand how to assess the age of your Hyundai Sonata tires and discover crucial signs of deterioration that could compromise your safety on the road.
Read More