
How to Reseal a Tire: Step-by-Step Guide for Bead & Sidewall Sealing
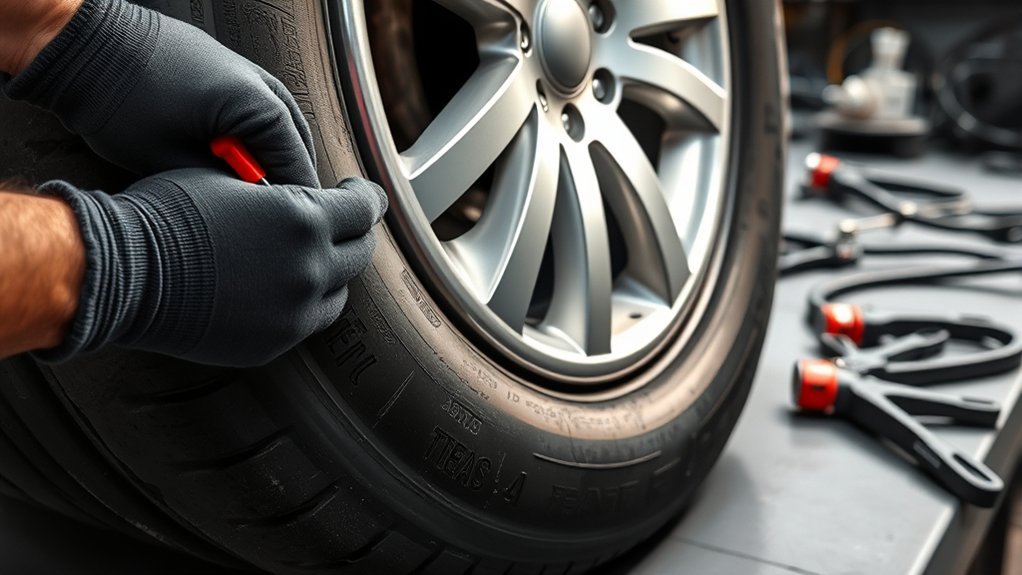
First, find the leak by spraying soapy water on the bead, sidewall, valve stem, and tread. Clean the rim and tire bead until they’re dry, rust-free, and debris-free. Apply a thin, continuous layer of bead sealer to the rim edge, then lubricate the bead and reinflate the tire to seat it evenly. Check for bubbles and hold pressure before driving. If you keep going, you’ll see how to make the seal last longer.
Key Takeaways
- Clean the rim and tire bead thoroughly, removing dirt, rust, and moisture before applying any sealant.
- Inflate the tire and use soapy water to locate leaks at the bead, sidewall, tread, and valve stem.
- Apply a thin, continuous layer of tire bead sealer to the rim edge and let it cure as directed.
- Reseat the bead with lubricant and compressed air, then check for uniform seating and no bubbling.
- Retest with soapy water, reinstall the valve core, and ensure the tire holds pressure before driving.
How to Reseal a Tire Bead Leak
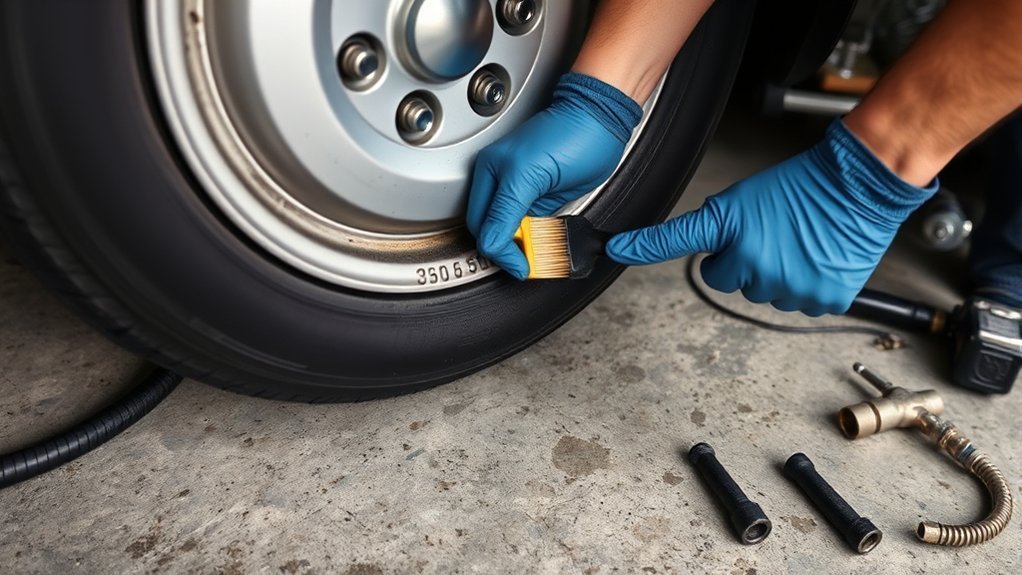
Start by cleaning the rim and tire bead area thoroughly so dirt and debris don’t block the seal. You need a clean, dry surface so the tire bead can seat without interference. Apply a dedicated tire bead sealer along the bead line, or use hair spray if you don’t have the proper product. Work it in evenly, then mount and inflate the tire to the recommended pressure so the bead locks against the rim. Watch the bead area with soapy water; bubbles show an active leak or poor seating. If the tire still won’t inflate or the bead won’t pop into place, use a bead blaster to force air in and reseat it. After it seals, recheck pressure and inspect for any new bubbles. This process helps you restore a secure seal, keep air where it belongs, and take control of the repair without wasting time or money. Additionally, maintaining proper tire pressure is crucial for optimal performance and safety.
Find Where the Tire Is Leaking
If the bead still isn’t holding air, pinpoint the leak before you try another repair. Inflate the tire, then spray soapy water on likely failure points and watch for bubbles. That simple test shows you where pressure is escaping, so you can stop guessing and take control.
- Inspect the tread and sidewall for punctures, cuts, or embedded debris.
- Spray the valve stem and watch for steady bubbling around the base or core.
- Check the bead where the tire meets the rim for leaks along the full circumference.
- Look for rim corrosion or damage that can break the seal and vent air.
Mark each leak site clearly. A fast bubble trail means an active leak; slow fizzing can point to a smaller breach. If you find more than one problem, fix every source before reseating the tire. This saves time, reduces repeat failures, and lets you move forward with a tighter, safer seal. Additionally, understanding the foam-filled tire benefits can help you choose the best repair approach for your situation.
Clean the Tire Bead and Rim
Clean the tire bead and rim with a wire brush or sandpaper to remove dirt, rust, and corrosion so you’ve got a smooth sealing surface. Check the rim for damage, since dents or pitting can keep the bead from sealing properly and cause leaks. Use soapy water to spot leaks and tire lube to help the bead seat fully during inflation. Additionally, ensure that the surfaces are free from any treadwear ratings that might affect the sealing process.
Bead Surface Cleaning
Scrub the tire bead and rim with a wire brush or sandpaper to remove dirt, debris, and corrosion, and make sure the rim is free of rust so the tire can seal properly. You’re clearing the bead seat so the seal can lock in without leaks. Work methodically, then wipe the surfaces clean and dry. Moisture can weaken adhesion and trap air.
- Remove loose contamination from the bead.
- Strip rust from the rim edge.
- Dry both surfaces completely.
- Apply bead sealer or a thin lubricant film.
Use soapy water to spot lingering leaks after cleaning, then repeat only where bubbles appear. Clean metal and clean rubber give you control, reduce failure, and help you reclaim reliable air retention.
Rim Prep Checks
Before you reseal the tire, check the rim for dents, cracks, and corrosion, then brush or sand the bead seat until it’s smooth and free of debris. Wipe away dust, rust, and old sealant so the tire bead can contact clean metal. If you find damage, repair or replace the rim; a compromised surface won’t hold pressure. Keep the bead area dry, because moisture weakens adhesion and can invite leaks. Apply a thin film of tire lubricant only where needed to help the bead seat evenly during inflation. Don’t overdo it; excess can mask defects. When you prep the rim this way, you set up a tight seal and keep your wheel ready for reliable, independent movement on the road.
Apply Bead Sealer to the Rim Edge
Apply a dedicated tire bead sealer around the entire rim edge where the tire bead seats, making sure the surface is free of dirt, rust, and debris so the sealer can bond properly. Use a thin, continuous bead sealer layer and keep it even; gaps invite leaks and weaken your seal. If you don’t have the product, a temporary substitute like hair spray can help, but dedicated sealer gives better control and durability.
- Clean the rim until it feels smooth.
- Trace the full circumference without breaks.
- Spread the bead sealer evenly, not heavily.
- Follow curing time before you add pressure.
Let the sealer set exactly as the label directs before moving on. Afterward, you can verify your work with soapy water at the bead area; bubbling means air’s still escaping. This step puts you back in command of the tire’s seal and helps you reclaim reliable, leak-resistant performance. Additionally, ensure you have a suitable tire plug kit for addressing any unexpected punctures that may occur.
Reseat the Tire Bead and Inflate
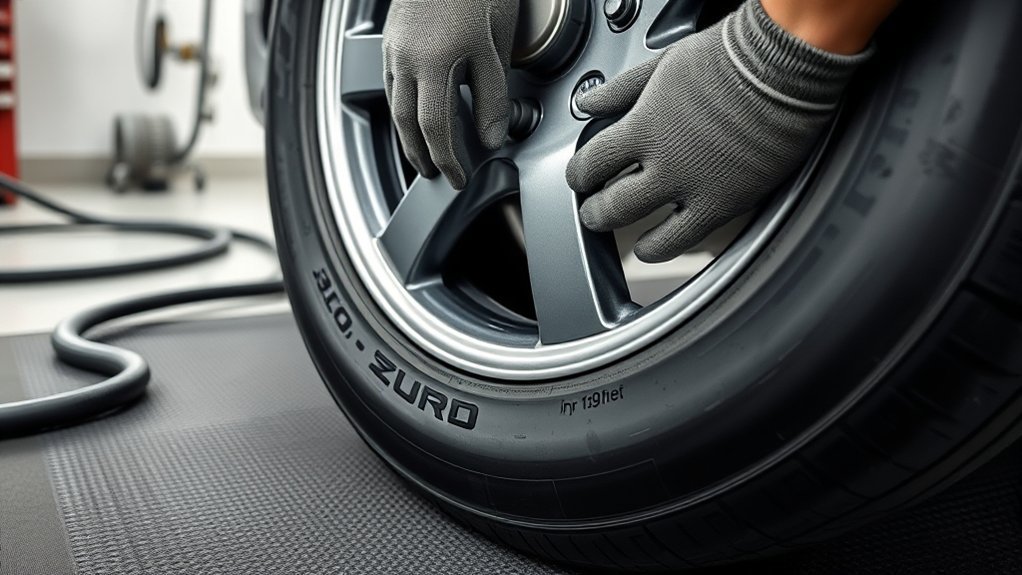
Clean the rim and bead thoroughly, then apply tire lubricant or soapy water so the bead can slide into place and seal correctly. Inflate the tire with a bead blaster or compressor, keeping the tank near 80–90 PSI if you use a bead blaster, and watch the gauge closely as pressure builds. Once the bead seats, check for uniform contact and verify the tire holds the recommended pressure without loss. It’s also important to ensure that the spare tire type, such as a full-size spare tire, is compatible with your vehicle for optimal performance.
Bead Seating Prep
Once the rim and bead area are clean, coat the tire bead with tire lubricant or soapy water to help it slide into place and seal during inflation. This bead seating prep reduces drag and helps the bead snap into the rim’s edge with less force.
- Check the bead for dirt, cuts, and dry spots.
- Spread tire lubricant evenly around both bead lips.
- Use soapy water if you don’t have dedicated lubricant.
- Watch the gauge and the bead line as air enters.
If you use a compressor, you can remove the valve core for faster filling, then reinstall it before final pressure. Keep your eyes on leaks or uneven seating. You’re not begging the tire to comply; you’re giving it the conditions to lock in cleanly and hold.
Safe Inflation Methods
With the valve core removed, you can fill the tire fast enough to help the bead snap into place, but keep a close eye on the pressure gauge so you don’t exceed the tire’s rated inflation pressure. Use tire lube, not water, to improve sealing and cut leak risk. For stubborn beads, a bead blaster gives a fast air burst that can seat the tire cleanly. If you use an alternative propellant, stay under 300 PSI and keep your setup controlled.
| Method | Use | Limit |
|---|---|---|
| Tire lube | Better bead seal | Don’t use water |
| Bead blaster | Quick seating burst | Controlled release |
| Propellant | Emergency assist | Under 300 PSI |
Reinstall the valve core after inflation, then verify the tire holds steady.
Seal Check Steps
Check the rim and bead for dirt or debris before you inflate, since a clean contact surface helps the tire reseal properly. Apply tire lubricant or soapy water around the bead to cut friction and let the bead slide into place. Inflate slowly, watching the pressure gauge and staying within the manufacturer’s limit. If the bead won’t seat, use a bead blaster for a brief air burst to force it home. Then verify the seal with soapy water.
- Inspect the bead line for uniform seating.
- Watch for bubbles at the tire valve and bead.
- Reinflate only as needed.
- Correct leaks before driving.
This method gives you control, protects the tire, and helps you reclaim reliable, self-directed mobility.
Check for Leaks Before Reinstalling
Before you reinstall the tire, spray soapy water over the tread, valve stem, and bead area to find any leaks; bubbles will appear where air is escaping. Watch the valve closely, because it’s often the first place air slips out. If you don’t see bubbles on the tread, move to the bead where the tire meets the rim and inspect every inch. Check for corrosion, nicks, debris, or warped surfaces that could block a clean seal. A compromised rim or damaged bead can keep you trapped in repeat failures, so confirm both are sound before reseating. Wipe away residue, then reinflate slightly and recheck. If bubbles form, mark the spot and fix it before proceeding. Don’t reinstall until the seal holds steady. This quick test protects your work, saves time, and keeps you in control of the repair. For optimal performance, consider tires with strong wet-road traction to ensure safety during rainy conditions.
Frequently Asked Questions
How Do You Reseal a Tire Bead?
You reseal a tire bead by cleaning the rim and bead thoroughly, drying both, then applying tire bead sealer evenly around the bead. Seat the tire and inflate it to the recommended pressure so the sealant can lock in airtight contact. Check for leaks with soapy water. If it won’t seat, use tire lubricant or a bead blaster. This Tire Maintenance step restores control and keeps you moving.
How to Apply Tire Bead Sealant?
Brush the sealant like a black ring of armor around the clean, dry bead, then let it flow into every gap. You’ll want to coat the full circumference evenly, since Sealant Benefits come from airtight coverage and faster seating. If you don’t have bead sealer, a light hair-spray mist can help. Inflate to spec, then check for leaks and reapply if needed for lasting freedom.
Can You Use WD-40 to Seal a Tire Bead?
No, you shouldn’t use WD-40 to seal a tire bead. It doesn’t create the adhesion you need, and it can harm rubber over time. You’ll get better results with Sealant Alternatives like dedicated tire bead sealer or, in a pinch, hair spray. Those products help you seat the bead and hold pressure more reliably. Use tools made for the job, and you keep your ride safe, efficient, and free.
How to Make Tire Bead Sealer?
You can make tire bead sealer by mixing equal parts water and dish soap into a thin soapy solution for Tire Maintenance. You’ll apply it to the bead and rim to reduce friction and help the tire seat. Clean and dry both surfaces first. For a stronger seal, you can use a commercial bead sealer or a light mist of hair spray, but follow the product’s instructions and drying times.
Conclusion
When you reseal a tire bead leak, you’re restoring the quiet seal between tire and rim—the handshake that keeps air in. If you clean the surfaces, apply bead sealer, and seat the bead correctly, you give the tire a fresh line of defense against leaks. Before you bolt everything back on, always check for escaping air. A proper seal isn’t just maintenance; it’s the foundation that keeps your ride steady, safe, and ready for the road.

Related Articles
How to Remove Tire Shine From Tires: Easy Cleaning Methods
Banish greasy tire shine fast with simple cleaning methods, but discover the stubborn tricks that keep it from coming back.
Read More
How to Remove Tire Shine: Fastest Methods for Clean Tires
Wondering how to remove tire shine fast and get a clean matte finish?
Read More
How to Remove Tar From a Tire: Safe & Effective Cleaning Methods
Carefully remove stubborn tar from your tire with safe, effective methods that protect rubber—discover the easiest cleaning steps and prevention tips.
Read More