
Pinch Flat (Snakebite): How to Fix and Prevent It
A pinch flat (snakebite) happens when your tire hits an obstacle and the tube gets crushed between the rim and the edge, leaving two close “fang” holes. It’s usually caused by low pressure, narrow tires, or a hard impact. On trail, remove the wheel, deflate, lever one bead, find and patch the paired holes, then reseat and inflate. Keep proper pressures, wider tires, or tubeless setups to reduce risk.
Quick Answer
A pinch flat leaves two small side-by-side holes in your tube after hitting a rock, curb, or pothole. To fix one mid-ride, pull the wheel, pry off one tire bead, patch both holes, reseat the tire, and inflate. To prevent them, check tire pressure before every ride, use wider tires with more air volume, and consider going tubeless.
What Is a Pinch Flat (Snakebite) and How to Spot One
When your tire slams into a rock, curb, or pothole, the tube gets crushed between the rim and the obstacle. That’s a pinch flat, also called a snakebite. It leaves two small, closely spaced punctures that look like fang marks.
You’ll spot one by removing the wheel and checking the tube for paired holes on the side that was touching the rim. Pinch flats happen when tires are under-inflated or too narrow for the terrain, so tire maintenance matters. Keep pressures within the manufacturer’s recommended range and check them regularly. For road bikes, a common starting range is 80–130 psi, depending on tire width and rider weight.
Preventive measures include using wider tires with thicker sidewalls and adjusting your riding to avoid hard impacts and distribute weight over obstacles.
Fix a Pinch Flat: Quick On-Trail Repair (Step-by-Step)
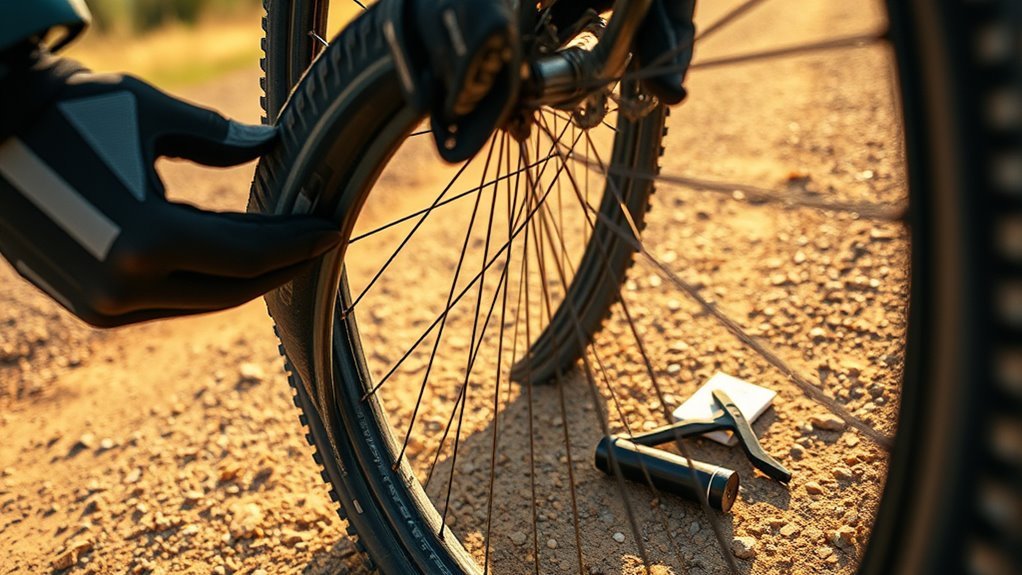
Once you can recognize a snakebite, you’ll want a fast, reliable way to fix it on the trail. Remove the wheel, deflate fully, then pry one bead off with tire levers to get at the tube.
Inflate the tube slightly to expose the two fang-like punctures. Mark them with chalk or a pen, and dry the area. Sand or roughen the surface around each hole, then apply vulcanizing glue if you’re using a patch kit. Place your patch carefully over each puncture, press firmly, and hold per the kit’s instructions. If you prefer sealant, inject it instead.
Re-seat the tube and tire, inflate to the recommended pressure, and check for leaks. Remount the wheel and do a quick test ride before heading out again.
[Products Worth Considering]

The 2000A Jump Starter delivers a powerful 2000A peak current to start 12V vehicles up to 8.0L gasoline or 6.0L diesel, even in extreme temperatures. Its high-density lithium battery provides long-lasting power, while the integrated air compressor inflates tires quickly with a 2.6‑inch display and automatic shut‑off. Safety is ensured by a 10‑point BMS and aerospace‑grade construction, and the unit also functions as a power bank and LED flashlight for emergencies.

The CO2 Inflator Kit provides rapid tire inflation for road and mountain bikes, delivering up to 100 psi in seconds with threaded 16 g cartridges. Its compact design fits easily in a saddle bag, and the included insulated sleeve protects hands from the cold discharge. Compatible with both Presta and Schrader valves, it offers a lightweight alternative to hand pumps for quick repairs on the trail.

The AIRSURE cordless tire inflator offers fast, precise inflation for car, motorcycle, and e‑bike tires with a built‑in 4000mAh rechargeable battery. Its digital display lets you set a target pressure and automatically shuts off to prevent over‑inflation, while the lightweight 460 g design and included accessories make it ideal for on‑the‑go emergencies. Enjoy reliable, portable power for all your inflation needs.
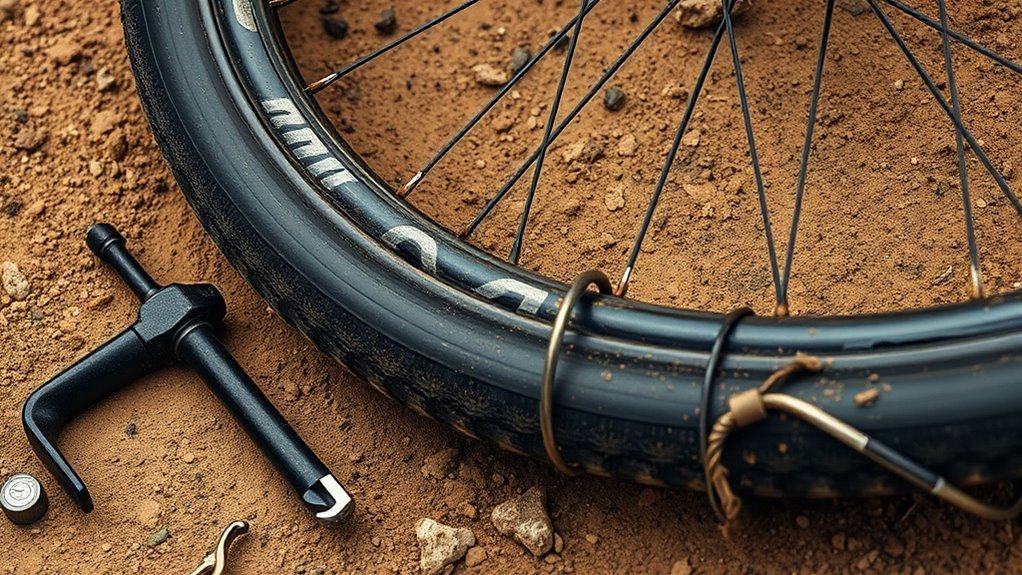
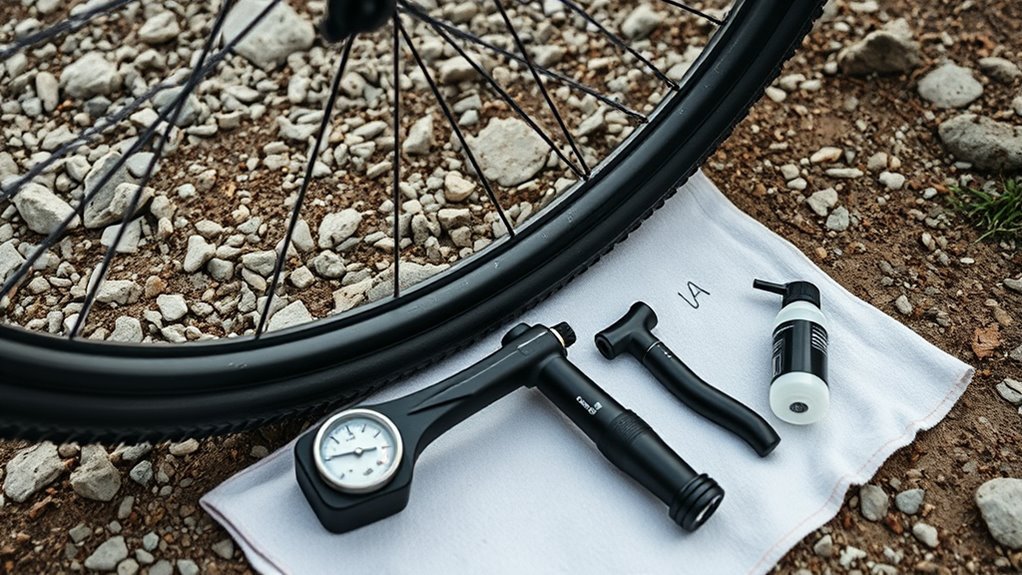
What Tools You Need for a Trailside Pinch Flat Repair
Carry a compact repair kit so a pinch flat doesn’t end your ride. You’ll need tire levers (two is ideal), a patch kit with vulcanizing glue and sandpaper, a spare inner tube as backup, and a portable pump or CO2 inflator. A piece of chalk or a pen helps you mark puncture locations on the tube.
If you ride tubeless, pack a tire plug kit and a small bottle of sealant for larger cuts. A multi-tool with a chain breaker is also worth having, since you’ll already have the wheel off and can address other issues while you’re stopped.
[Products Worth Considering]

The AZUNO digital tire inflator gauge offers precise pressure readings for both Presta and Schrader bike valves, eliminating the need for separate adapters. Its bright LCD backlight and automatic shut‑off conserve battery life, while the included 18‑inch hose and accessories make setup quick and hassle‑free. Built with durable steel and brass components, it provides reliable performance for bicycles, motorcycles, and other vehicles.

The AstroAI MC3 offers versatile, high‑pressure and high‑volume inflation with dual metal motors and OmniVent heat dissipation, delivering up to 160 PSI and 350 L/min. It runs on 110 V AC, 12 V DC, or a built‑in rechargeable battery, providing up to 20 minutes of continuous use. Integrated storage and a digital HD screen make it convenient for car, bike, and outdoor inflation needs.
Why Pinch Flats Happen: Tires, Pressure, Rims, and Riding
A pinch flat happens when the tube gets squeezed between tire and rim. Your choices in tire width, pressure, rim design, and riding technique all determine how likely it is to occur.
Snakebites result from insufficient inflation or low-volume tires that let impacts compress the tire enough to trap the tube against the rim. This produces those telltale dual punctures. Narrow tires have less air volume and less shock absorption. Wider sizes (like 700x25C to 28C on road bikes) increase impact resistance.
Recommended pressures vary with rider weight and terrain. Too-low pressure is the primary culprit. Rim profile and bead seating also affect how the tire deforms on impact. Your tire selection and riding technique, including standing, shifting your weight, and anticipating obstacles, can lower your risk significantly.
Prevent Pinch Flats: Quick Checklist (Tires, Pressures, Setup)
You can cut the risk of pinch flats with a few targeted setup steps that focus on tires, pressures, and protection. Start with tire maintenance: inspect for cuts, embedded debris, and tread wear. Remove sharp objects and replace worn-out tires. Use wider tires (700x25C to 28C) to increase air volume and cushioning.
- Set pressures within the manufacturer’s range and monitor them regularly. As a general starting point for road bikes, aim for roughly 90–100 psi rear and 80–90 psi front on smooth roads, then adjust based on tire width and body weight.
- Fit compatible tubeless-ready tires if you want fewer pinch flats. Use sealant per the manufacturer’s specs.
- Consider protective options like foam inserts or thicker-casing tires for rougher routes. These add some weight but improve puncture resistance.
Check pressures before every ride and make tire inspection part of your routine.
Long-Term Pinch-Flat Solutions: Tubeless, Inserts, Tape, Tradeoffs
If you want to stop worrying about pinch flats for good, think about a system-level approach. Tubeless setups with proper rim tape and the right dose of sealant eliminate most pinch flats. Foam or engineered inserts add a protective layer that lets you run lower pressures for comfort and traction.
Convert your rims to tubeless, install correct rim tape, and check it regularly to maintain an airtight seal. Sealant handles small punctures on its own but needs topping up as part of routine tire maintenance.
Choose inserts if you need repeatable protection and lower psi. Expect roughly 150 to 300 g per wheel depending on the product, plus slightly firmer damping. Wider rims and tires also reduce pinch risk and boost ride comfort. Balance weight, maintenance complexity, and performance when picking your solution.
Frequently Asked Questions
Can Pinch Flats Damage Rims or Just Inner Tubes?
Yes. Pinch flats can harm both the tube and the rim. You’ll often tear or puncture the tube. Severe impacts, low pressures, or sharp rim edges can also dent, crack, or scrape the rim. Always inspect your rim after a hard hit.
Can Sealant Fix a Pinch Flat Without Tube Replacement?
Sometimes. Sealant can fix a pinch flat if the damage is minor, like a small slit or slow leak, and the tube still holds its shape. Larger tears or burst tubes usually need a full tube replacement even with sealant.
Do Pinch Flats Occur on Road Bikes or Only Mountain Bikes?
Pinch flats happen on both road bikes and mountain bikes. Any time low pressure meets a sharp impact, a snakebite is possible. You can prevent them by raising pressure, improving technique, and using tougher tires or inserts.
How Does Tire Wear Affect Pinch Flat Likelihood?
Worn tires increase pinch flat risk because thinner casings compress more on impact. Run the correct tire pressure, refine your riding technique to avoid hard hits, and replace worn or aged tires promptly.
Can Tire Liners Prevent Pinch Flats Completely?
No. Tire liners reduce punctures from sharp objects, but they won’t fully prevent pinch flats. You still need proper tire pressure and smart riding technique to avoid hard impacts, especially on rough terrain or with worn tires.
Conclusion
You now have the tools to spot, fix, and prevent pinch flats, so a snakebite won’t cut your ride short. Keep your pressures dialed in, choose tires and rims that match your riding, and carry a plug kit or spare tube for quick on-trail repairs. Tubeless setups and inserts work like armor, adding some weight but a lot of protection. Practice repairs at home so they’re second nature when you actually need them.
Related Articles
Easy Tire Levers Guide: Avoid Pinching Tubes
Gentle leverage, valve alignment, and a second lever keep your tube safe—learn the simple tricks to avoid pinches and what to do if it won’t budge.
Read More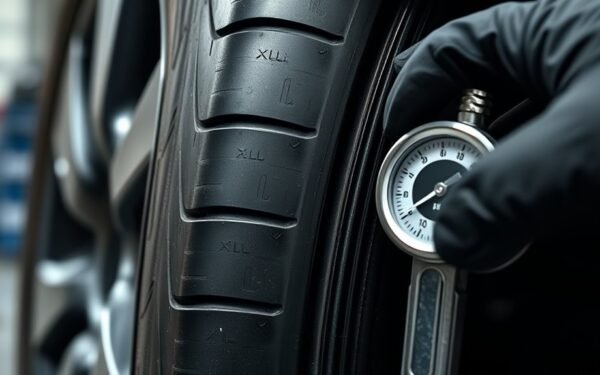
XL Tire Meaning Explained: Extra Load Guide
Curious what XL means on a tire and how Extra Load affects pressure, capacity, and safety—discover why proper inflation matters and what to check next.
Read More
Tire Load Range Explained: B-F Letters Guide
Just what do tire load range letters B through F mean for your vehicle’s payload and towing—discover how to choose the right tire for your needs.
Read More