
Stuck Bicycle Tube: Free It Safely in 20 Minutes
How to Free a Bicycle Tube Stuck to a Tire
A bicycle tube that sticks to the tire can turn a simple flat fix into a frustrating job. The wrong move can tear the tube, nick the tire, or leave hidden debris in place. This guide shows you how to free the tube, check for damage, reinstall it safely, and prevent sticking next time.
Quick Answer
Fully deflate the tube, push the tire bead into the rim center, and loosen one side of the tire with two tire levers. Start at the valve hole, then gently twist and pull the tube free. Use a little soapy water only if the tube will not release, then inspect the tube, tire, rim, and rim strip before reinstalling.
Key Takeaways
- Deflate the tube fully before you try to loosen the tire bead.
- Use tire levers carefully, and avoid screwdrivers or sharp tools.
- Start tube removal at the valve hole so you can reduce strain.
- Inspect the tire, tube, rim, and rim strip before you reinstall anything.
- Use a light dusting of talc during installation to reduce future sticking.
Quick Fix: Free a Tube Stuck to a Tire
Start by fully deflating the tube so it loses pressure and pulls away from the tire. Push both tire beads toward the center channel of the rim to create slack. Then work one bead off the rim with two tire levers, using slow, even pressure.
Once the bead lifts, pull the tube out from the valve hole first. If the tube sticks, twist it gently with your fingers rather than yanking it. A small amount of soapy water can help release stubborn rubber, but use it sparingly and clean both surfaces afterward.
Warning: Don’t use screwdrivers, knives, or metal picks because they can cut the tube or damage the tire bead.
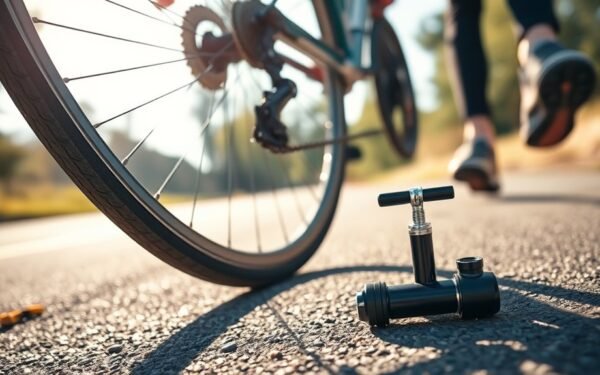
Before You Begin: Tools and Time Needed
Most stuck bicycle tubes come free with basic repair tools and a calm approach. Set the wheel on a clean surface so grit does not enter the tire while you work.
- Estimated time: 10 to 20 minutes for most wheels.
- Tools: two plastic tire levers and a pump.
- Helpful supplies: clean cloth, talc or French chalk, and a small amount of soapy water.
- Safety check: replace the tube if you find tears, cracks, or stretched rubber around the valve.
[Products Worth Considering]

The GERCHWAY Presta Valve Adaptor Pump offers a versatile dual‑head chuck that fits both Presta and Schrader valves, eliminating the need for extra adapters. Its precision gauge accurately reads 5–100 PSI with ±2 PSI tolerance, ensuring safe and optimal tire inflation for bikes, motorcycles, SUVs, and cars. The 18‑inch hose provides flexible reach, while the 3‑in‑1 design lets you check pressure, release air, or inflate directly from an air compressor.

The AZUNO digital tire inflator gauge offers precise pressure readings for both Presta and Schrader bike valves, eliminating the need for separate adapters. Its bright LCD backlight and automatic shut‑off conserve battery life, while the included 18‑inch hose and accessories make setup quick and hassle‑free. Built with durable steel and brass components, it provides reliable performance for bicycles, motorcycles, and other vehicles.

The CO2 Inflator Kit provides rapid tire inflation for road and mountain bikes, delivering up to 100 psi in seconds with threaded 16 g cartridges. Its compact design fits easily in a saddle bag, and the included insulated sleeve protects hands from the cold discharge. Compatible with both Presta and Schrader valves, it offers a lightweight alternative to hand pumps for quick repairs on the trail.
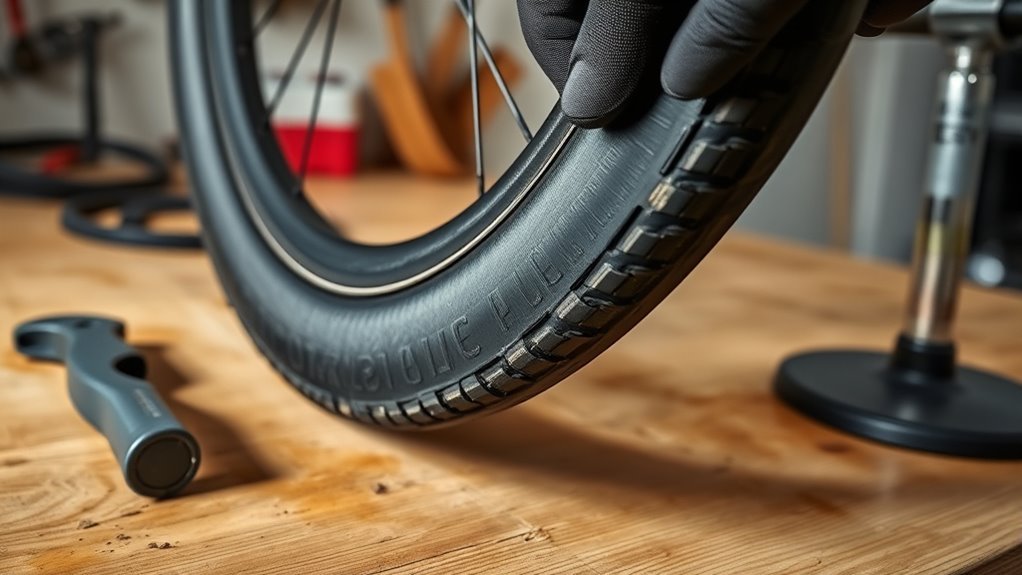
Step-by-Step: Pry the Bead and Separate the Tube
Follow the steps in order so you avoid pinching the tube or bending the tire bead. Work slowly, especially if heat, age, or residue has bonded the tube to the tire.
- Deflate the tube completely. Press the valve until no air remains, then squeeze the tire to confirm it feels soft.
- Push the bead inward. Move both tire beads toward the center of the rim to create slack.
- Lift one bead with tire levers. Place the first lever under the bead, then place the second lever a few inches away.
- Work around the rim. Slide or reposition the levers until one side of the tire sits outside the rim.
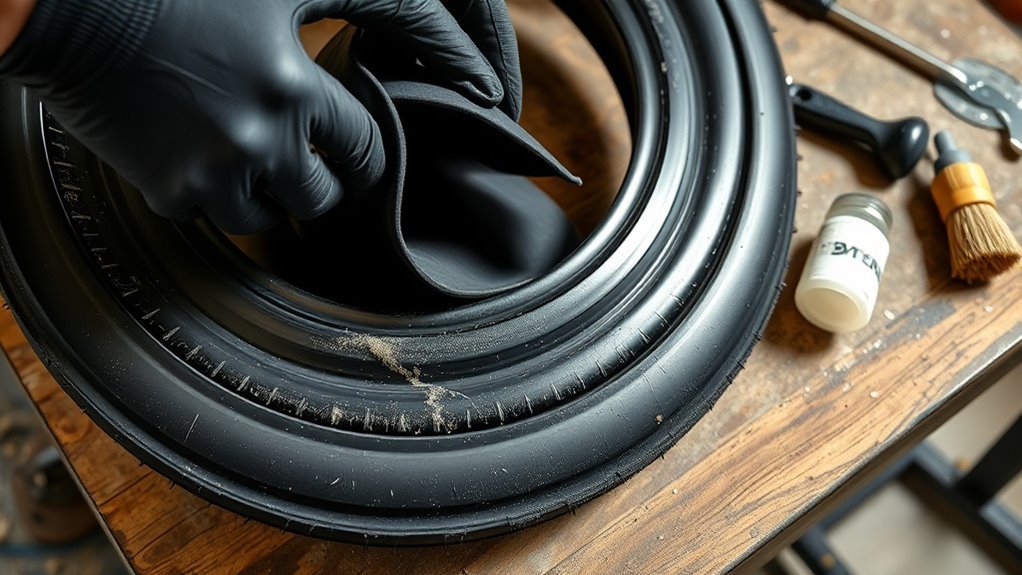
- Remove the valve first. Push the valve stem up through the rim, then ease the tube out from that point.
- Twist the stuck areas loose. Use your fingers to peel the tube away from the tire wall without stretching it hard.
- Inspect every surface. Check the tube, tire, rim, and rim strip before you reinstall or replace the tube.
[Products Worth Considering]

The CO2 Bike Tire Inflator provides fast, precise inflation for road and mountain bikes with a CNC‑machined aluminum body and brass internals. Its control lever lets you regulate gas flow, preventing freezing and ensuring safe, leak‑free connections to both Presta and Schrader valves. Compact and lightweight, it’s ideal for race, group rides, and timed events, delivering reliable performance with premium threaded CO2 cartridges.

The EVC31 PRO is a compact, rechargeable tire inflator that delivers up to 150 PSI using dual power sources, including lithium‑ion batteries and a 12V car outlet. Its automatic shut‑off ensures precise inflation without over‑inflation, while the 30‑inch hose and LED gauge make roadside assistance quick and easy. Ideal for cars, trucks, SUVs, motorcycles and e‑bikes, it fits comfortably in a glove box or emergency kit.
Deflate and Loosen the Bead
Deflate the tire completely, then push the bead toward the rim’s center channel. This step creates slack and makes prying much easier. It also reduces the risk of pinching the tube with a tire lever.
- Remove all air before you start prying.
- Push the bead into the deepest part of the rim.
- Pry the bead gradually instead of forcing one tight spot.
- Keep the tube away from the lever tip as you work.
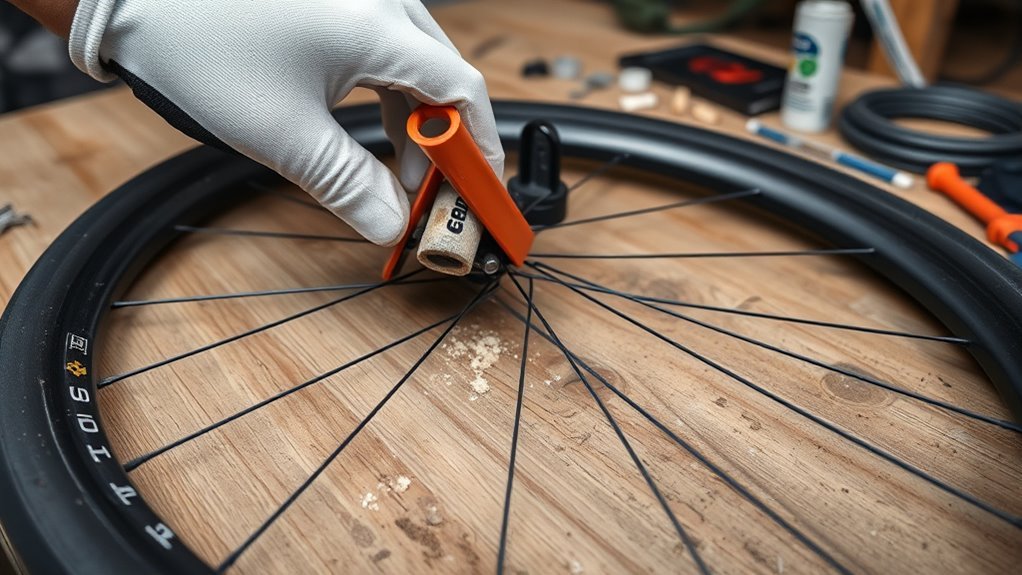
Use Tire Levers the Safe Way
Use two plastic tire levers, and start near the valve area. Slip the first lever under the bead, hook it on the rim, then place the second lever a few inches away. Move around the rim in small steps until the bead clears the edge.
Keep each lever steady and avoid levering against spokes. If the bead feels too tight, push more of the tire into the rim center before you try again. This method spreads force and helps protect both the tube and tire.
Inspect and Remove the Tube
With one bead loosened, remove the valve stem and pull the tube out by hand. If a section sticks, check for residue, heat damage, or rubber that has softened against the tire. Twist and peel the tube free instead of pulling straight out.
- Pull the tube out with your fingers where possible.
- Check the tube for cuts, cracks, worn spots, and valve damage.
- Check the tire for glass, thorns, wire, or rough inner patches.
- Replace parts that show tears, deep cracks, or unsafe wear.
Check the Tube, Tire, and Rim for Damage
After the tube comes out, inspect the full wheel system before you reinstall anything. A missed thorn, sharp rim edge, or shifted rim strip can cause another flat right away.
Inspect the Tube for Punctures
Inflate the tube slightly until it holds its round shape, then listen and feel for escaping air. You can also place the tube near your cheek to detect small leaks. Mark each leak before you deflate the tube again.
- Look for hissing, bubbles, or soft spots.
- Check the valve base for cracks or loose rubber.
- Match the tube puncture location to the tire and rim.
- Replace the tube if damage looks large or the rubber feels weak.
Examine the Tire and Rim
Run your fingers carefully along the inside of the tire. Remove glass, nails, thorns, wire, or dried sealant that could damage the next tube. Then inspect the bead and sidewall for cuts that could prevent safe seating.
Check the rim strip next. It should cover every spoke hole and sit flat in the rim bed. Replace it if it has shifted, cracked, or exposed sharp edges.
| Item inspected | Action required |
|---|---|
| Tire tread | Remove debris and check for rips |
| Sidewall | Inspect for cuts and verify bead seating |
| Rim strip | Replace it if damaged or shifted |
| Rim surface | Clean it and smooth sharp edges |
When to Use Powder and What to Avoid
Use a light dusting of talc or French chalk when you fit a tube. The powder helps the tube move inside the tire as it inflates, which can reduce friction and sticking. Apply only enough to leave a thin, dry coat.
- Talc: helps keep the tube dry and reduces rubber-to-rubber friction.
- French chalk: works well in repair kits and does not leave wet residue.
- Cornstarch: works in dry conditions but can clump when wet.
- Soap and cleaners: can leave residue, so use them only for removal and wipe surfaces clean afterward.
Pro tip: Put the tube and a small amount of powder in a clean bag, shake gently, then install the tube.
Replace a Ripped Tube: Fast Installation Tips
A ripped tube needs replacement, not patching, if the tear is long, jagged, or close to the valve. Start with the tire fully deflated and one bead lifted off the rim. Remove the damaged tube, then inspect the tire and rim before you fit the new one.
Inflate the replacement tube just enough to give it shape. Insert the valve straight through the rim, then tuck the tube evenly inside the tire. Work the bead back by hand where possible, and use a tire lever only if you can keep it away from the tube.
Rotate the wheel and check that the bead sits evenly on both sides. Inflate slowly, pausing to inspect for bulges, trapped tube sections, or uneven seating. Once the tire looks even, inflate it to the pressure range printed on the tire sidewall.
Preventing Adhesion: Installation and Maintenance Steps
You can prevent most tube sticking with clean parts, light powder, and correct inflation during installation. Heat, moisture, dirt, and pressure can make a tube cling to the tire over time.
- Dust the tire interior lightly with talc or French chalk before installation.
- Inflate the tube only enough to hold its shape while you fit it.
- Clean tire interiors with a dry cloth and remove grit before reinstalling.
- Store spare tubes and tires in a cool, dry place away from direct sun.
- Check tire pressure often so the tube does not shift, fold, or rub.
Common Mistakes That Damage the Tube
Many tube failures happen during removal or installation. Rushing the job can pinch the tube, stretch the valve, or leave the original puncture cause inside the tire.
- Using sharp tools instead of plastic tire levers.
- Pulling the valve stem sideways while removing the tube.
- Skipping the tire and rim inspection after a puncture.
- Installing a dry, twisted, or overinflated tube.
- Inflating fully before confirming the bead sits evenly.
Frequently Asked Questions
How do you get the inner tube out of a tire?
Deflate the tube completely, push the bead toward the rim center, and lift one tire bead with two tire levers. Start at the valve stem, then pull the tube free by hand. If it sticks, twist and peel it loose instead of pulling hard.
Why does a bicycle tube stick to the tire?
A tube can stick because of heat, moisture, dirt, old rubber, or residue inside the tire. Long storage under pressure can also press the tube against the tire wall. A light coat of talc during installation helps reduce this friction.
Can you reuse a tube after it sticks to the tire?
You can reuse it if it has no punctures, cracks, thin spots, or valve damage. Inflate it lightly and inspect the full tube before reinstalling. Replace it if the rubber looks torn, stretched, or brittle.
Should you use soapy water to remove a stuck tube?
You can use a small amount of soapy water to loosen a stubborn stuck spot. Wipe and dry the tire and tube afterward so residue does not remain. Do not rely on soap as a routine installation aid.
Conclusion
A stuck bicycle tube comes free most safely when you deflate it fully, loosen the bead, and work from the valve with steady pressure. Inspect the tube, tire, rim, and rim strip before you put the wheel back together. Use a light dusting of talc during installation and keep your tire interior clean. With careful habits, you’ll fix flats faster and avoid repeat tube damage on the road.
Related Articles
How to Change a Bike Tire: Quick Step-by-Step Flat Fix Guide
Fix a bike flat fast with this step-by-step guide, and discover the simple tire-changing tricks that save time on the road.
Read More
Sand Driving Tire Pressure: Best PSI Guide
Discover how to safely lower tire pressure for sand driving—12–18 PSI guidance, tools, and step-by-step tips await to keep you rolling.
Read More
Tire Rotation Patterns: Best Guide for Every Drivetrain
Gentlemen and drivers alike will discover which rotation pattern suits your vehicle—front-to-back, forward cross, rearward cross, or X—so keep reading to learn why.
Read More