
How Much Torque for Tire Lug Nuts? Exact Specs by Vehicle
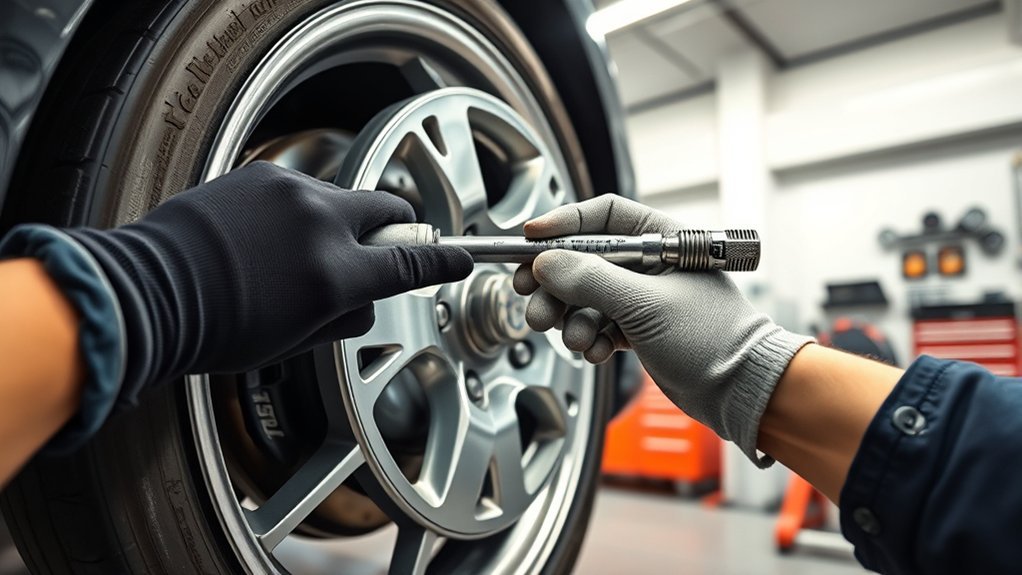
You should torque tire lug nuts to your vehicle’s exact factory spec, which usually ranges from about 80 to 140 ft-lbs for most passenger cars and light trucks, but can differ by make, model, year, wheel type, and lug thread size. Check your owner’s manual, door jamb label, or wheel manufacturer’s data for the correct value. Use a calibrated torque wrench, tighten in a star pattern, and retorque after 50 to 100 miles for best results.
Key Takeaways
- The exact lug nut torque spec depends on the vehicle’s make, model, year, and wheel type.
- Check the owner’s manual, driver’s door jamb label, or verified forums for the correct torque value.
- Most passenger vehicles use a 1/2-inch drive torque wrench set to the manufacturer’s specified ft-lbs.
- Tighten lug nuts in a star pattern in stages, starting by hand to avoid cross-threading and uneven clamping.
- Recheck torque after 50 to 100 miles, and never rely on an impact gun for final tightening.
How to Find Your Lug Nut Torque Spec
To find your lug nut torque spec, start with your owner’s manual, since it’s the most reliable source for your vehicle’s exact requirement, usually listed in foot-pounds (ft-lbs). You’ll get the primary torque specifications there, presented for your exact make, model, and wheel setup. If you don’t have the manual handy, check the driver’s door jamb; many vehicles place a tire and torque label there with inflation data. For older or uncommon models, verified vehicle-specific forums and reputable online resources can fill gaps when factory literature is missing. If you’ve installed aftermarket wheels, use the wheel manufacturer’s documentation instead of guessing, because those parts can require different specs. You can also use a compiled chart of common makes and models as a fast reference, then confirm the value against the owner’s manual or another primary source before tightening. That’s how you lock in accuracy and keep your wheels secure. Additionally, ensuring your tire choice matches your driving style and location can enhance performance and safety.
What Affects Wheel Torque Requirements?
Wheel torque requirements vary by make, model, and year, since manufacturers set specific values to match each vehicle’s load path, wheel design, and braking demands. You need to treat torque specs as engineering data, not guesses. Factory wheels and aftermarket wheels can demand different clamping forces because materials, thickness, and offset change how load transfers through the hub. Lug nut size and thread pitch also matter; larger or finer threads can change the proper torque needed to achieve the same preload. Vehicle mass and load distribution raise the stakes too, especially on heavier platforms that see higher shear and vibration. Temperature swings and rough roads can relax clamping force over time, so you should verify settings regularly. When you follow the correct values, you protect wheel retention, preserve hardware life, and keep your vehicle moving with precision and autonomy. Additionally, tire performance can be significantly influenced by proper torque settings, ensuring optimal handling and safety.
Torque Lug Nuts in the Right Pattern
You should tighten lug nuts in a star or criss-cross pattern so clamping force distributes evenly across the wheel. Start each nut by hand, then seat them in stages—50%, 75%, and 100% of spec—to reduce cross-threading risk and improve final torque accuracy. This pattern helps maintain even lug distribution, minimizes warping, and supports proper wheel retention. Additionally, ensuring accurate measurement is crucial for optimal safety and performance.
Star Pattern Tightening
Tighten lug nuts in a star pattern to distribute clamping force evenly across the wheel, minimize distortion, and keep the wheel seated squarely against the hub. You start at one nut, move diagonally, and keep cycling until each fastener reaches proper torque. This method reduces warping, preserves alignment, and lowers the chance of loosening under load. Apply torque in stages—50%, 75%, then 100%—so you don’t overstress studs or deform the wheel.
- Even load paths protect the rim.
- Diagonal sequencing improves hub contact.
- Staged torque controls fastener stress.
- Manufacturer specs define safe final torque.
Cross-Pattern Seating
A star or cross-pattern seating sequence helps the lug nuts pull the wheel hub into uniform contact, reducing the risk of warping, misalignment, and uneven clamp load. You should hand-tighten each nut first so you don’t cross-thread the studs and lose alignment. Then use a torque wrench and proper tighten in stages: 50%, 75%, and 100% of spec, following the same cross-pattern each time. This controlled sequence keeps the wheel centered and lets the clamp force rise evenly across all fasteners. If you skip the pattern, you can create uneven torque, which may cause vibration, reduced stability, or gradual loosening over time. When you torque in the right order, you keep the wheel secure and free from avoidable mechanical drag.
Even Lug Distribution
Even lug distribution depends on torquing the wheel in a star pattern so clamping force is applied uniformly across the hub, which helps keep the wheel centered and reduces the risk of warping or vibration. You should hand-tighten each fastener first to avoid cross-threading, then use a torque wrench for proper lug nut torque.
- Tighten lug nuts to 50% of spec.
- Increase to 75% for equal seating.
- Finish at 100% to lock load.
- Recheck after 50-100 miles.
This staged process spreads stress evenly, protects studs, and keeps the wheel aligned under load. When you tighten lug nuts in the correct order, you gain measurable stability and longer service life without surrendering control.
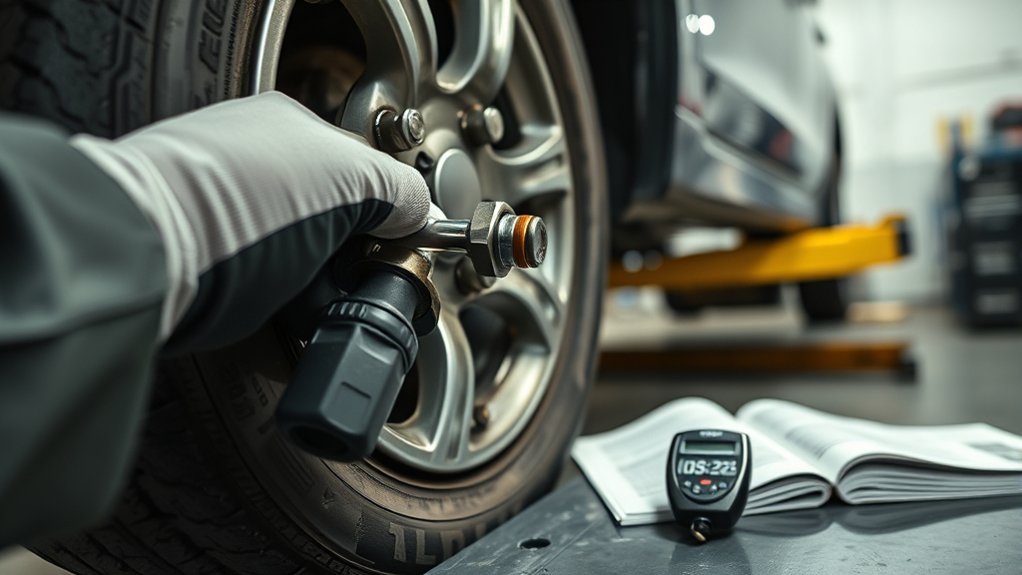
Use the Right Torque Wrench
Choose a 1/2-inch drive click-type torque wrench for most passenger vehicles, and step up to a higher-capacity wrench if your truck needs more than 200 ft-lbs. Before you tighten anything, verify calibration so your readings stay accurate and your lug nuts land in the specified range. Then set the final torque to the manufacturer’s value, typically 80 to 120 ft-lbs, using the correct socket size for the lug nuts. Regularly checking tire pressure can also help in maintaining overall vehicle safety and performance.
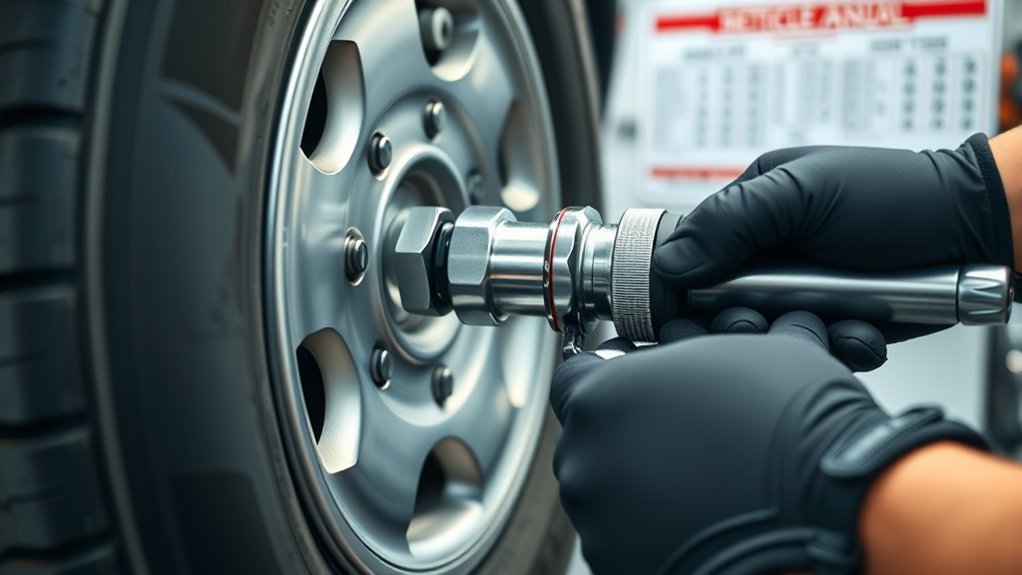
Choose Proper Drive Size
The right drive size on your torque wrench matters because it has to match both the socket and the torque range you’re targeting. For most passenger vehicles, a 1/2-inch drive gives you the leverage and control needed for torque specifications around 80–120 ft-lbs. Heavy-duty trucks often need a 3/4-inch drive for loads above 200 ft-lbs.
- Match the drive size to the socket, usually 17mm–21mm.
- Use a 1/2-inch drive for standard wheel service.
- Step up to 3/4-inch when the torque demand climbs.
- Avoid mismatch, because it can over-tighten, strip threads, and damage wheel studs.
When you choose the correct drive size, you protect the hardware, keep the wheel secure, and stay in command of the job.
Calibrate Before Use
Before you torque a lug nut, calibrate your wrench so the reading matches the actual clamp load; even a small error can leave a wheel under-tightened or over-tightened. You should verify calibration against the maker’s spec, because vehicles demand different settings. A calibrated torque torque wrench helps you apply repeatable force and protects wheel retention. For most passenger cars, use a 1/2-inch drive; heavier vehicles may need a wrench rated above 200 ft-lbs. Inspect the tool often, since wear drifts accuracy over time.
| Check | Target | Result |
|---|---|---|
| Calibration | Per manual | Pass/Fail |
| Drive size | 1/2-inch | Match |
| Capacity | >200 ft-lbs | If needed |
| Condition | No wear | Inspect |
| Accuracy | Calibrated torque | Verified |
Set Final Torque
Dial in the final lug-nut torque with a calibrated torque wrench set to the vehicle’s specified value, typically 80 to 120 ft-lbs, and tighten in a star or criss-cross pattern so the wheel seats evenly on the hub. You control torque, not guesswork, and that precision protects lug nuts from distortion and wheel from uneven load.
- Set 50% first, then 75%, then 100% of spec.
- Verify the exact figure in your owner’s manual.
- Recheck after 50 to 100 miles of driving.
- Use a wrench that clicks or reads accurately.
When you follow the data, you free yourself from over-tightening, thread damage, and brake-vibration risk.
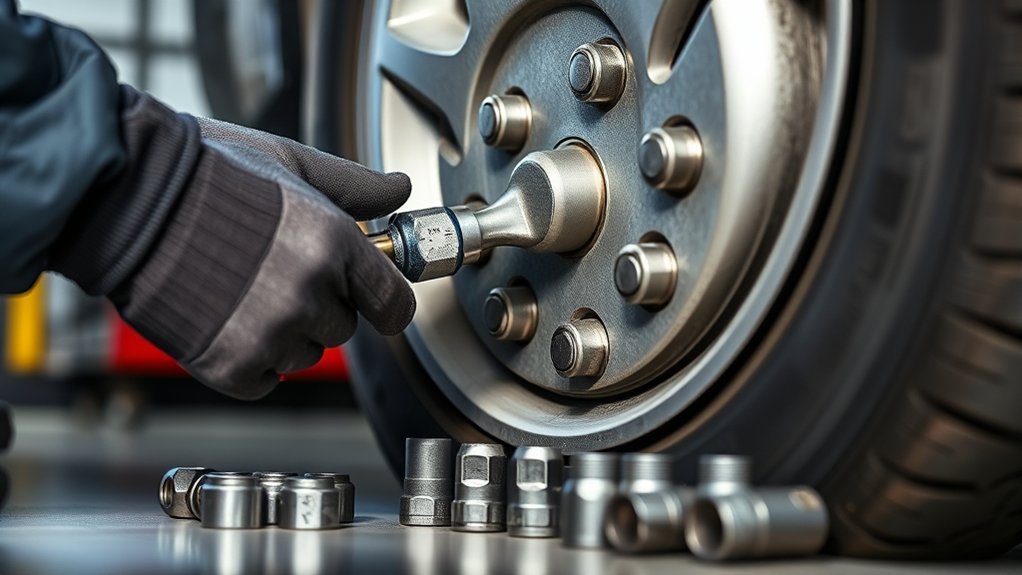
How Wheel Type and Thread Size Affect Torque
Wheel type and thread size directly affect the torque you should apply, because alloy and steel wheels differ in material strength and heat dissipation, and larger wheel studs or bolts can tolerate higher loads. When you match wheel type to the fastener, you protect the clamping force that keeps the wheel seated and stable. Alloy wheels often need tighter control than steel wheels, since they deform differently under load. Thread size matters just as much: 12mm, 13mm, and 14mm fasteners each carry distinct torque ranges, and bigger diameters usually accept more torque. You shouldn’t guess, because an incorrect setting can over-stress the threads or let the wheel loosen. If you run aftermarket wheels, check the maker’s specifications instead of relying on OEM numbers. Using the correct torque for your wheel type and thread size gives you a secure, repeatable fit and keeps your vehicle moving on your terms. Additionally, the choice of Michelin tires can influence overall vehicle performance, including how torque is distributed during driving.
When Should You Retorque Lug Nuts?
After you’ve matched torque to the correct wheel type and thread size, check the lug nuts again after 50 to 100 miles of driving following a tire installation or rotation. Use a torque wrench to verify each fastener against the vehicle manufacturer’s spec, because settling, heat cycles, and road loads can reduce clamping force. You should retorque whenever you notice steering-wheel vibration, uneven tread wear, or visible looseness at the wheel.
- Measure after 50 to 100 miles, not later.
- Compare every lug nut to the published torque value.
- Inspect again after temperature swings or rough roads.
- Recheck immediately if symptoms appear.
This routine protects you from wheel loss, improves safety margin, and keeps your vehicle aligned with evidence-based maintenance. A precise retorque gives you control over the system, reduces risk, and supports long-term performance without surrendering mobility to preventable failure. Regular inspections, especially after tire rotations, are crucial for maintaining optimal safety and performance.
Common Lug Nut Torque Mistakes to Avoid
A few common lug nut torque mistakes can compromise clamping force and wheel safety. You shouldn’t use an impact gun for final lug nut tightening, because it delivers inconsistent output and can strip threads. Don’t guess by feel; calibrated torque wrenches give you repeatable, data-backed readings that keep each fastener within spec. Avoid oil or grease on threads unless the manufacturer explicitly calls for it, since lubrication skews torque values and can over-stress wheel studs. Tighten nuts in a star or criss-cross sequence, not a circular pattern, so you distribute load evenly and reduce distortion. After installation, re-torque after 50-100 miles; skipping that check lets clamping force relax and raises detachment risk. If you want safer, more autonomous maintenance, use the right tools, measure precisely, and verify every wheel. Additionally, remember that improper torque can lead to reduced road safety and increased wear on tire components.
Find Torque Specs by Make and Model
Where do you find the correct lug nut torque for your vehicle? You start with your owner’s manual, then verify the driver’s door jamb sticker and the manufacturer’s website. Torque specs usually fall between 80 and 120 ft-lbs for most passenger cars, but your make and model can shift that range sharply. You need vehicle-specific data, not guesses, because freedom on the road comes from precision.
- Check the manual for factory torque specs by make and model.
- Read the door jamb sticker for OEM references and load data.
- Search the manufacturer’s website for updated charts and bulletins.
- Use forums and compiled charts to confirm older or rare models.
If you run aftermarket wheels, follow the wheel maker’s documentation, since those torque specs can differ from stock values. By cross-checking these sources, you lock in the correct setting fast and with confidence. Additionally, ensure you consider tire longevity and maintenance to maximize your vehicle’s performance.
When to Get Your Lug Nut Torque Checked
Check your lug nut torque after any tire service, including rotations or replacements, because even small changes in seating or clamping force can affect safety. Then recheck it every 50 to 100 miles, since heat cycles, settling, and road vibration can relax clamp load. If you feel steering-wheel vibration, see uneven tire wear, or recently changed a flat, inspect torque immediately. Heavy loads also justify a check, because added stress can shift fastener preload. Use a torque wrench set that matches your vehicle’s specification, and properly torque your lug nuts in a star pattern to maintain even wheel seating. Your owner’s manual gives the exact value and interval, so don’t guess. A quick re-torque protects wheel retention, reduces the risk of detachment, and keeps you moving with confidence and autonomy. Additionally, consider the treadwear warranty provided by tire manufacturers, as it can help gauge when to check torque based on tire wear patterns.
Frequently Asked Questions
What Size Lug Nut for Nissan Rogue?
You’ll typically use a 12 mm x 1.25 lug nut on a Nissan Rogue, so verify the lug nut dimensions before you buy replacements. For precise rogue maintenance, match the seat type and thread pitch to your wheel design. Torque the nuts to 80–100 ft-lbs, using a star pattern for even clamp load. Then recheck them after 50–100 miles. Your owner’s manual should confirm the exact model-year specification.
Is 100 Ft-Lbs Too Much for Lug Nuts?
Yes, 100 ft-lbs can be too much for your lug nuts if your vehicle’s torque specifications call for less. You need to match the manufacturer’s number to protect lug nut safety, avoid thread damage, and keep clamp load even across the wheel. Check your owner’s manual, then use a calibrated torque wrench. After 50–100 miles, you should retorque. Precision lets you wrench with confidence, not guesswork, on your own terms.
Is 450 Ft/Lbs Enough Torque for Lug Nuts?
No, 450 ft/lbs isn’t the right target for most lug nuts—why risk it? You should follow the vehicle’s torque specifications, because most passenger cars need far less, usually 80–120 ft-lbs. At 450 ft-lbs, you can damage studs, distort rotors, and compromise lug nut safety. Use a calibrated torque wrench, tighten in a star pattern, and verify the manufacturer’s exact value before you hit the road.
What Is the Torque on the Wheels of a Kia Sorento?
Your Kia Sorento’s wheel lug nuts usually torque to 80–100 ft-lbs, depending on model year and trim. You should verify the exact spec in your owner’s manual or driver’s door jamb sticker before you tighten anything. Use a calibrated torque wrench, apply torque in a star pattern, and recheck after 50–100 miles. That wheel maintenance routine helps you keep control, reduce risk, and stay safely independent on the road.
Conclusion
So, how much torque should you use for tire lug nuts? The answer isn’t a guess—it depends on your vehicle’s exact specs, wheel design, and thread size. If you torque too little, the wheel can loosen; too much, and you risk stretched studs or warped rotors. Check your owner’s manual, use a calibrated torque wrench, and follow the proper star pattern. When you’re unsure, verify the spec and retorque after driving.
Related Articles
Can You Drive With a Screw in Your Tire? What Experts Recommend
A screw in your tire may seem minor, but experts warn the right move depends on where it is, how much air remains, and what happens next.
Read More
Why Does My Tire Pressure Keep Going Down? Causes & Fixes
Hunting down why your tire pressure keeps dropping? Discover the hidden causes and fixes before the problem leaves you stranded.
Read More
What Is NOT Proper Tire Maintenance? Common Mistakes to Avoid
Lack of proper tire care can quietly wreck safety and performance, but are you making these common mistakes without realizing it?
Read More