
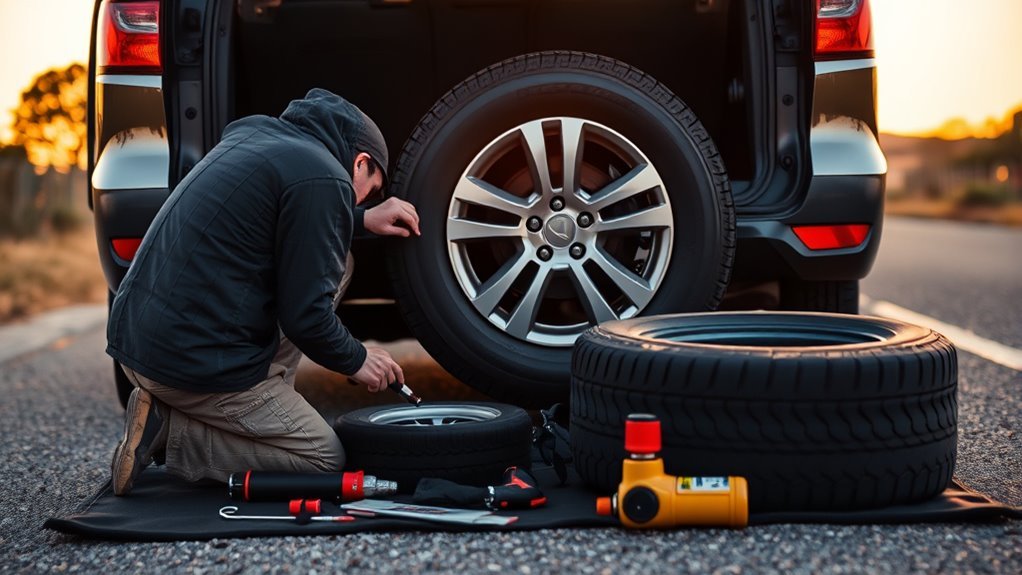
Before a road trip, your tires deserve the same attention as your route, fuel stops, and luggage. A few minutes with a tire pressure gauge, a tread gauge or penny, and a quick look at the sidewalls can prevent many common roadside problems. Use this checklist before every long drive, and do not rely on the tire pressure monitoring light as your only warning.
Quick Answer
Before a road trip, check all four tires and the spare for correct cold PSI, safe tread depth, uneven wear, sidewall cracks, bulges, punctures, and age. Inflate to the vehicle placard pressure, replace unsafe tires before leaving, and pack the tools needed to handle a flat safely.
Key Takeaways
- Use the tire pressure listed on the driver’s door placard or owner’s manual, not the maximum PSI printed on the tire sidewall.
- Measure tire pressure when tires are cold, ideally before the vehicle has been driven or after it has been parked for at least three hours.
- Treat 2/32 inch as the minimum legal tread threshold in many U.S. inspections, but plan replacement earlier for heavy rain, winter travel, or long highway trips.
- Replace any tire with a bulge, exposed cords, severe cracking, sidewall damage, or a puncture that cannot be properly repaired.
- Inspect the spare, jack, lug wrench, locking-lug key, inflator, sealant, and roadside visibility gear before you need them.
At a Glance
| Time Required | 5–15 minutes |
| Difficulty | Easy |
| Tools Needed | Tire pressure gauge, tread depth gauge or penny/quarter, flashlight, gloves, owner’s manual |
| Cost | Usually $0–$20 unless a tire, valve stem, repair, alignment, or tool needs replacement |
5-Minute Pre-Trip Tire Walkaround
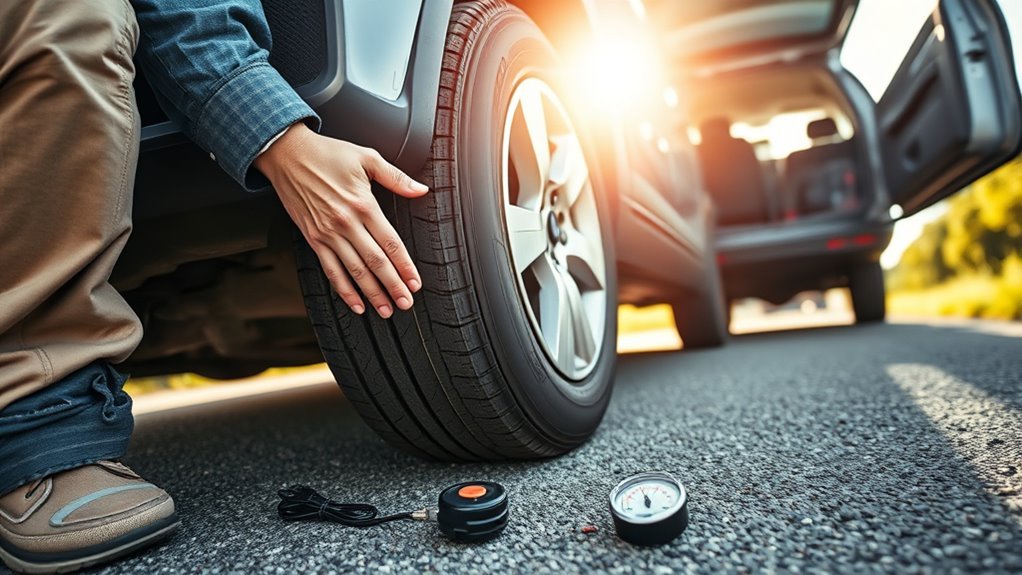
Start with a slow walkaround while the vehicle is parked on level ground. Look at each tire from the front, side, and rear. You are checking for cuts, cracks, bulges, nails, screws, glass, missing valve caps, uneven wear, and anything that looks different from the other tires.
Run this quick sequence on all four tires:
- Look at the sidewalls: Replace or professionally inspect tires with bulges, deep cuts, exposed cords, or severe cracking.
- Check the tread: Look for bald areas, scalloping, one-sided wear, or stones and debris trapped in the grooves.
- Compare the tires: One tire that looks flatter, more worn, or more cracked than the others needs attention before the trip.
- Check valve stems: Cracked, loose, or leaking valve stems can cause slow pressure loss.
- Inspect the spare: A spare tire is only useful if it has air, usable tread, and no age-related damage.
Warning: Do not start a long highway trip on a tire with a sidewall bulge, exposed cord, deep cracking, or a visible separation in the tread. Those are failure signs, not maintenance reminders.
Check Tire Pressure: How to Find the Correct PSI
Correct tire pressure is one of the most important road-trip checks. The National Highway Traffic Safety Administration says the correct pressure is the vehicle manufacturer’s recommended cold inflation pressure found on the tire information placard, certification label, or owner’s manual. Do not use the “maximum pressure” number molded into the tire sidewall as your normal target.
Check Pressure When Tires Are Cold
Measure tire pressure before driving or after the vehicle has been parked for at least three hours. Driving heats the tires and raises the reading, which can make a low tire look acceptable.
- Find the recommended PSI on the driver’s doorjamb placard, fuel filler door, glove box, trunk lid, or owner’s manual.
- Remove the valve cap and press a reliable gauge firmly onto the valve stem.
- Record the reading for each tire, including the spare.
- Add air if the reading is low, or release air slowly if it is high.
- Recheck each tire after adjustment and reinstall the valve caps.
If your vehicle lists different pressures for front and rear tires, follow those separate values. Some vehicles also list a higher pressure for heavy loads or full passenger/cargo capacity.
Do Not Rely Only on TPMS
Tire pressure monitoring systems are helpful, but they are not a replacement for a gauge. Federal TPMS requirements focus on warning drivers when a tire is significantly underinflated, not on keeping each tire perfectly matched to the placard pressure. That means a tire may be below ideal pressure before the dashboard light turns on.
Pro Tip: Keep a pencil-style or digital pressure gauge in the glove box and check pressure monthly, before long trips, and after major temperature swings.
Temperature, Load, and Fuel Economy
Air pressure changes with temperature, so a cold morning can trigger a low-pressure light even if the tires looked fine the day before. Check and adjust pressure cold instead of bleeding air from hot tires after a highway run. Proper inflation also helps fuel economy: FuelEconomy.gov notes that keeping tires properly inflated can improve gas mileage and that underinflated tires can reduce mileage by about 0.2% for every 1 PSI drop in the average pressure of all tires.
Test Tread Depth and Spot Uneven Wear
Tread depth affects braking, wet traction, and hydroplaning resistance. A tire can hold air and still be unsafe for a road trip if the tread is too shallow or worn unevenly.
Measure Tread Depth
The most accurate method is a tread depth gauge. Check several grooves across each tire and measure at multiple points around the tire. A tire that is legal in one groove may be unsafe if another section is bald.
You can also use a penny for a quick check:
- Insert a penny into the tread with Lincoln’s head pointing down.
- If you can see the top of Lincoln’s head, the tread is at or below about 2/32 inch and the tire should be replaced.
- If you are driving in heavy rain, consider replacing tires before they get that low; many drivers use 4/32 inch as a safer wet-weather planning point.
- For snow or winter mountain travel, deeper tread is usually needed for reliable traction.
Federal inspection rules in 49 CFR § 570.62 specify minimum tread depths for certain vehicle inspections and also call out tire defects such as bumps, knots, bulges, and exposed cord damage.
Check for Uneven Wear
Uneven wear often points to a correctable vehicle issue. Do not just replace a tire and ignore the cause, or the new tire may wear the same way.
| Wear Pattern | Possible Cause | What to Do Before a Trip |
|---|---|---|
| Both shoulders worn | Underinflation or repeated low-pressure driving | Set PSI cold, inspect for damage, replace if tread is low |
| Center worn | Overinflation or load/pressure mismatch | Reset to placard PSI and measure tread depth |
| One edge worn | Alignment, camber, or suspension issue | Schedule alignment or suspension inspection |
| Cupped or scalloped tread | Worn shocks/struts, imbalance, or suspension wear | Have the tire and suspension inspected |
| Patchy bald spots | Lockup, imbalance, or internal tire problem | Get a professional tire inspection before highway driving |
Inspect for Embedded Debris
Wear gloves and look closely for nails, screws, staples, glass, or metal fragments in the tread. Do not pull out a deeply embedded object if the tire is still holding air and you need to drive to a repair shop; removing it may turn a slow leak into a flat. Mark the location and have the tire inspected from the inside.
Note: A plug-only repair is not considered a proper permanent repair. The U.S. Tire Manufacturers Association recommends removing the tire for inspection and using a proper repair that fills the injury and seals the inner liner.
Inspect Sidewalls and Read Tire Age Codes
Sidewalls flex constantly, carry load, and protect the tire’s internal structure. Look for cracks, cuts, bubbles, knots, scrapes, exposed fabric or steel, and discoloration. A small surface scuff from a curb is usually less serious than a bulge, but any damage that exposes cords or changes the tire’s shape needs immediate professional attention.
Next, read the DOT tire identification number on the sidewall. The full code may be on only one side of the tire, so you may need to look at the inner sidewall. The last four digits show the week and year of manufacture. For example, 2619 means the tire was made in the 26th week of 2019.
Tire age guidance varies by vehicle and tire manufacturer. A practical road-trip rule is to inspect tires more carefully once they are five years old, follow the most conservative age limit in your owner’s manual or tire manufacturer guidance, and replace tires that reach 10 years old even if the tread looks usable. Replace sooner if you see cracking, dry rot, impact damage, repeated air loss, or other signs of deterioration.
Good tread does not cancel out age damage. Rubber can harden, crack, or separate over time even when a tire has plenty of tread left.
Check Your Spare, Jack, and Mobility Kit
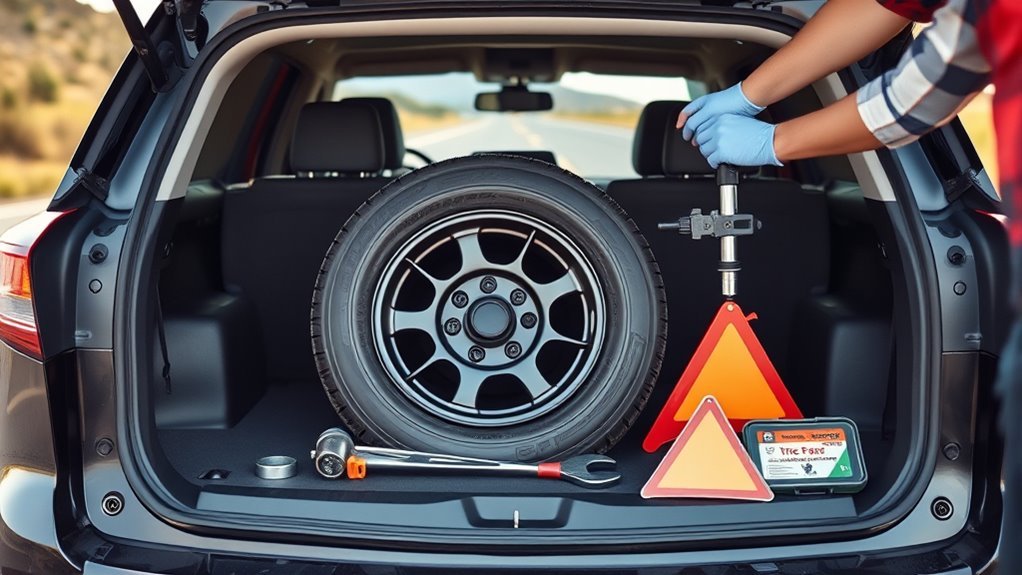
Many roadside delays happen because the spare is flat, the jack is missing, or the lug wrench does not fit. Check these items at home where you have light, time, and a safe place to work.
- Spare tire: Check pressure, tread depth, sidewall condition, DOT age code, and whether it is a full-size or temporary spare.
- Jack: Confirm it is present, clean, and able to move through its range. Know the correct jacking points for your vehicle.
- Lug wrench: Test the fit on your lug nuts before the trip. If you have locking lugs, confirm the key is in the vehicle.
- Inflator/sealant kit: Check the expiration date and read the instructions. Sealant is temporary and may not work for large punctures, sidewall damage, or bead leaks.
- Run-flat tires: Confirm the speed and distance limits in your owner’s manual, and plan repair options because not all shops repair run-flats.
Warning: A temporary spare is not a normal tire. Follow the speed, distance, pressure, and load limits printed on the spare or listed in your owner’s manual.
[Products Worth Considering]

Keep your tires properly inflated with this analog VONDIOR tire pressure gauge, designed for fast, easy readings without batteries. The swiveling, two-axis hose and large glow dial help you measure at any tire angle with instant visibility. Built with a protective rubber shield, it supports durable, low-maintenance use for cars and trucks.

The Airmoto portable tire inflator quickly and accurately fills car, truck, SUV, motorcycle, and bicycle tires up to 120 PSI with auto shut-off when your target pressure is reached. Its large LCD, multi-unit pressure display, and digital gauge make it easy to dial in settings and verify readings, while the built-in LED flashlight helps in low light. The included polyurethane hard carrying case and storage mesh pocket keep the inflator and accessories protected and organized.

The TYAMATE TM8 solar-powered wireless TPMS delivers real-time tire pressure and temperature monitoring with six alarm modes for safer driving. A vibrant color LCD display shows readings clearly while windshield mounting keeps it hands-free and easy to read. With a wide 0–87 PSI range, strong 433.92 MHz signal transmission, and quick sensor pairing, it’s ideal for RV, sedan, SUV, MPV, and truck use.
Pack a Roadside Kit: Tire Tools and Seasonal Extras
A compact roadside kit can make the difference between a controlled stop and a stressful emergency. Pack the tools in a weatherproof bag and keep them accessible, not buried under luggage.
- Tire pressure gauge
- Portable tire inflator
- Work gloves
- Flashlight or headlamp with spare batteries
- Reflective triangles or LED road flares
- High-visibility vest
- Wood board to stabilize the jack on soft ground
- Lug wrench or breaker bar that fits your vehicle
- Wheel chocks
- Owner’s manual
- Roadside assistance contact information
Adjust the kit for the season and route. For winter trips, add an ice scraper, warm blanket, hand warmers, and tire chains or traction devices if they are legal and appropriate for your route. For hot-weather trips, add drinking water, a sunshade, and extra caution about hot pavement and tire pressure changes.
[Products Worth Considering]

Monitor tire tread wear with a smart, color-coded depth gauge that shows clear condition ranges at a glance. The bar is range marked for fast, easy readings, helping you maintain safer traction and performance. Each gauge is portable with a pocket clip, and the set includes 20 units for daily use and sharing.
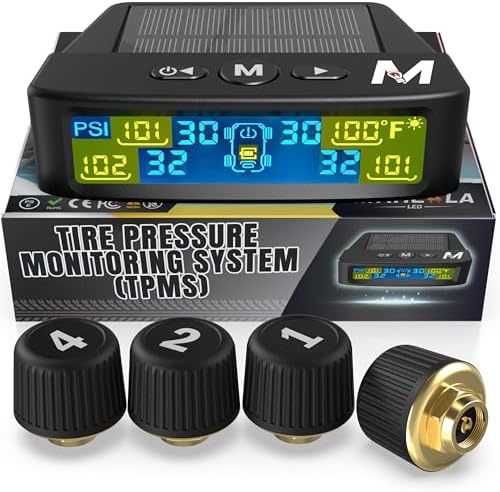
Marcala’s TPMS set of four sensors helps you monitor tire pressure and temperature in real time while driving, with updates every second. The bright color LCD uses auto-dimming for easy viewing, powered by dual solar and USB charging, and offers six alarm modes. Built for trailers, RVs, campers, trucks, and towing setups, the sensors support monitoring 1-4 wheels up to 98 PSI with IP67 waterproof protection.

The SAFELIFE dial tire tread depth gauge measures tread depth in 1/32 inch increments with clear, easy-to-read 2-inch dial face. Color zones using a traffic light system help you quickly judge whether tread is low, marginal, or ample for safer driving. Built with a durable zinc cast body and a metal detect probe for precise, comfortable use across cars, motorcycles, trucks, and buses.
When to Replace Tires and How to Choose Replacements
Some tire problems can be repaired; others require replacement. For a road trip, replace or professionally inspect any tire with unsafe tread, bulges, deep cracking, exposed cords, sidewall damage, repeated pressure loss, or vibration that has not been diagnosed.
Use these replacement triggers:
- At or below 2/32 inch tread: Replace the tire. The Bridgestone tire replacement guide explains that the penny test is a quick way to identify the 2/32 inch threshold.
- Around 4/32 inch for wet travel: Start planning replacement if you expect heavy rain or long high-speed highway driving.
- Visible sidewall bulge or separation: Replace immediately; do not attempt a long drive.
- Sidewall puncture or shoulder damage: Replace; those areas are generally not repairable.
- Old tire with cracking or dry rot: Replace even if tread remains.
- Ten years old: Replace unless your vehicle or tire manufacturer requires earlier removal.
[Products Worth Considering]
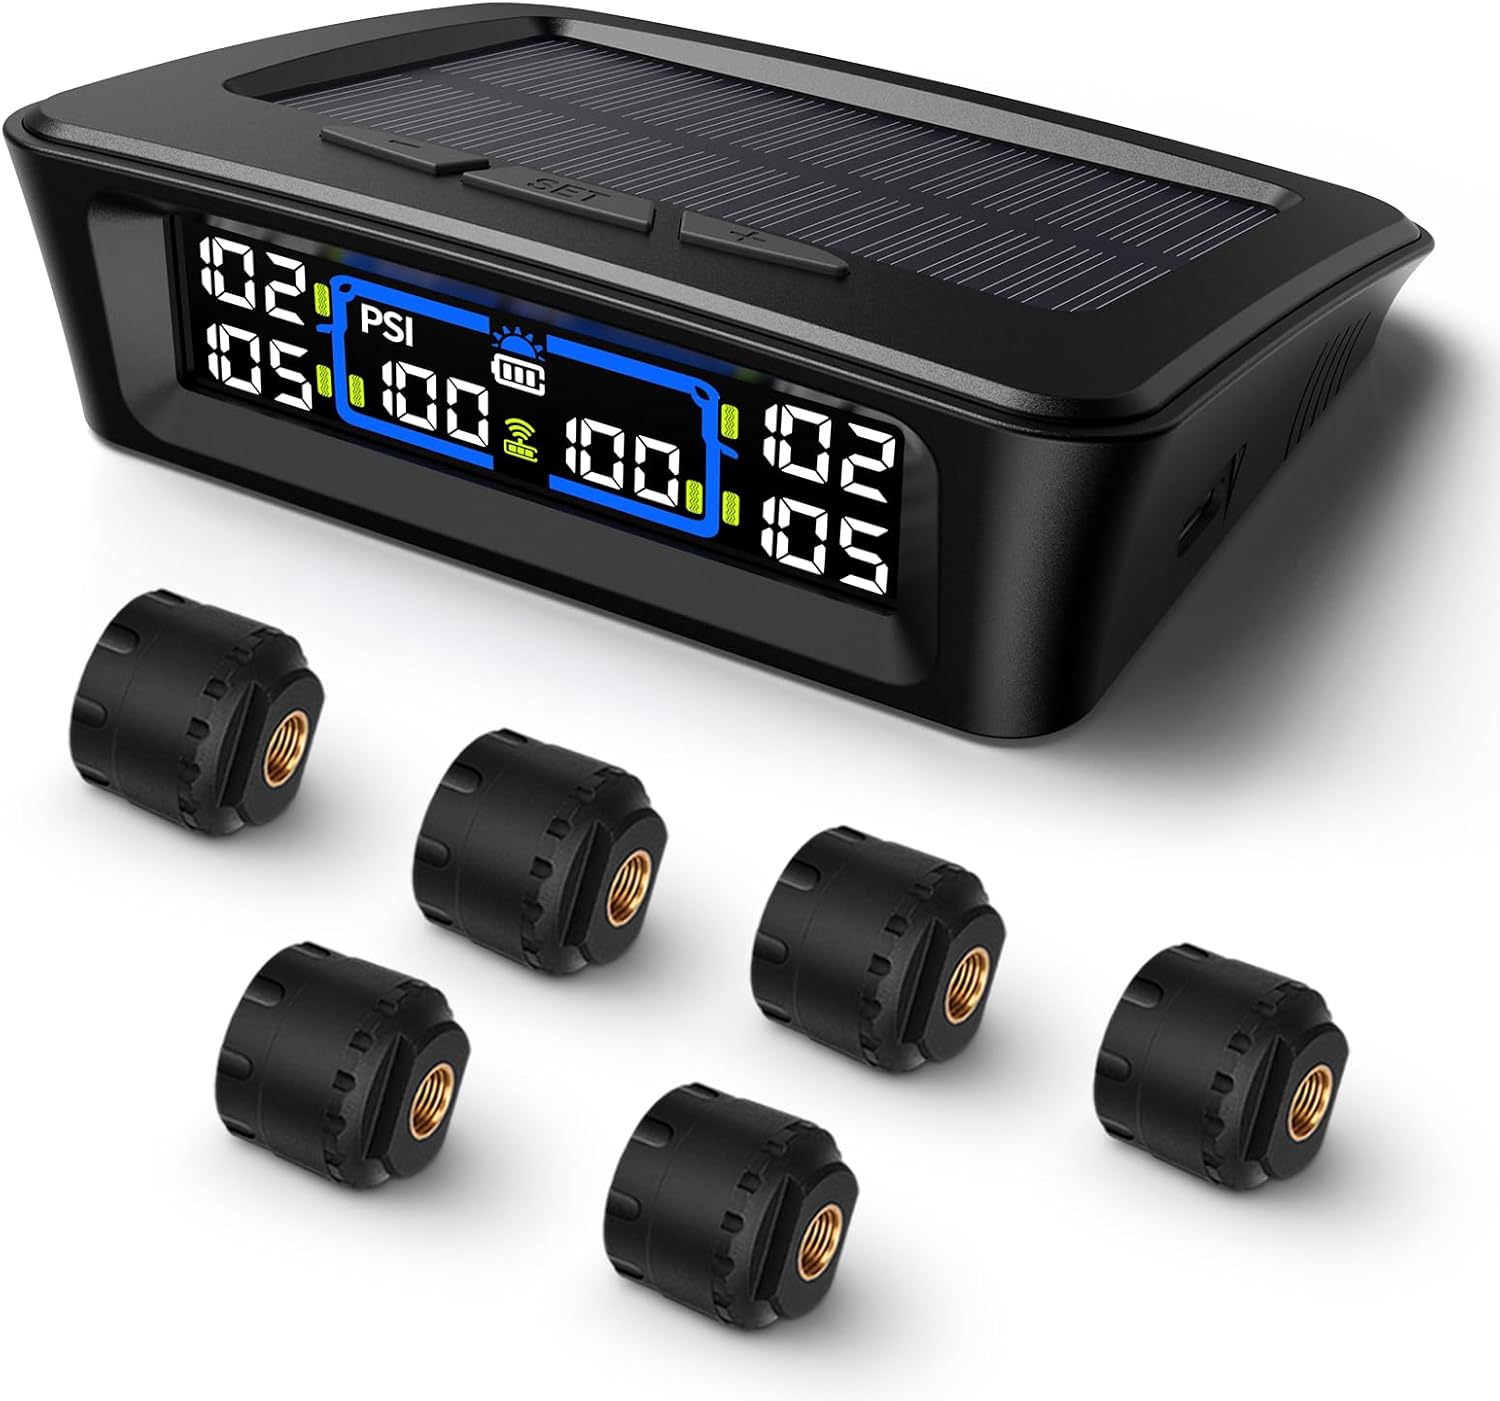
The Tymate TM12 RV TPMS delivers real-time tire pressure and temperature monitoring with a stable 433Hz display for safer long-distance driving. It supports simultaneous monitoring across vehicle and trailer zones, includes six alarm modes for pressure, temperature, leakage, battery, and signal loss, and features easy DIY installation with auto calibration. Power is supplied via USB-C charging or solar recharging, with a wide 0–144 PSI range and up to 50 ft signal coverage for RVs and towable trailers.

Measure tire tread depth quickly and accurately with this LUMITECO dial gauge that reads in 1/32" increments up to 14/32". The color-coded green/yellow/red zones make it easy to judge tire wear and know when replacement is needed. A rugged, compact design with a protective pouch helps keep the gauge ready for use on cars, trucks, motorcycles, and more.

Milton S-921 pencil tire pressure gauge helps you maintain optimal tire pressure for passenger cars with accurate readings in PSI and kPa. It features a built-in deflator valve for convenient pressure adjustments, plus a single chuck head and nylon indicator bar for easy use on the go. Built from durable plated brass and designed for reliable performance, it’s a practical road trip and cold-weather maintenance tool.
Choose the Right Replacement Tire
Choose replacement tires that match the size, load index, speed rating, and type recommended by your vehicle manufacturer. You can find this information on the tire placard, owner’s manual, and existing tire sidewall. Tires on the same axle should match in size, construction, and type; mismatched tires can affect handling, braking, and stability systems.
Also consider the driving conditions on your trip:
- Touring or all-season tires: Good for many daily driving and highway conditions.
- All-weather tires: Useful where mild snow is common and you want year-round convenience.
- Winter tires: Best for cold, snow, and ice, but they wear faster in warm weather.
- Highway or light-truck tires: Better suited for towing, hauling, or heavier loads when matched to the vehicle’s requirements.
- Low-rolling-resistance tires: May help fuel economy, but compare traction, load rating, and wear ratings before choosing.
Quick Troubleshooting: Common Tire Problems and Fixes
If something feels wrong on the road, slow down smoothly and find a safe place to stop. Avoid hard braking or sharp steering, especially if you suspect a tire failure.
| Problem | Likely Cause | Immediate Fix |
|---|---|---|
| Low pressure | Temperature drop, slow leak, valve leak, puncture | Inflate to placard PSI cold and check for leaks |
| Flat in tread area | Nail, screw, or road debris | Install spare or inflate temporarily, then get a proper internal inspection and repair |
| Flat with sidewall damage | Cut, impact, curb strike, or bulge | Replace the tire; do not patch the sidewall |
| Steering vibration | Imbalance, bent wheel, tire damage, uneven wear | Reduce speed and schedule tire/wheel inspection |
| Vehicle pulls to one side | Uneven pressure, alignment issue, brake drag, tire defect | Check pressure first, then inspect alignment and brakes |
| Thumping sound | Separated belt, flat spot, embedded object, loose tread | Stop safely and inspect before continuing |
| TPMS light on | One or more tires significantly underinflated or sensor issue | Check all tires with a gauge, including the spare if monitored |
What to Do During a Blowout
If a tire blows out, keep both hands on the wheel, look where you want the vehicle to go, and avoid slamming on the brakes. Ease off the accelerator gradually, let the vehicle stabilize, and move to a safe shoulder or exit when you can. Turn on hazard lights and set reflective triangles only if it is safe to exit the vehicle.
Frequently Asked Questions
Can tire type affect fuel efficiency on long trips?
Yes. Tire construction, tread pattern, weight, and rolling resistance can affect fuel use. Low-rolling-resistance tires may improve efficiency, but you should still prioritize the correct size, load rating, traction needs, and driving conditions for your vehicle.
How do tire warranties handle roadside damage?
Standard tire warranties often cover workmanship, materials, or treadwear under specific conditions, but road hazards such as nails, potholes, curb damage, and sidewall cuts may be excluded unless you bought separate road-hazard coverage. Read the warranty terms and document damage quickly.
Can underinflation cause uneven wear even if PSI looks normal now?
Yes. A tire can show shoulder wear from earlier low-pressure driving even if the pressure is correct today. Repeated underinflation, heavy loads, temperature swings, and slow leaks can all leave wear patterns behind.
Are run-flat tires safe for cross-country travel?
Run-flat tires can be safe for long trips when they are in good condition, properly inflated, and matched to the vehicle. Their advantage is temporary mobility after pressure loss, but you must follow the speed and distance limits in the owner’s manual and plan repair options.
Does tire pressure change significantly with altitude?
Altitude can slightly affect gauge readings because outside air pressure changes, but temperature usually matters more for everyday tire pressure. Check tires cold, follow the vehicle placard, and do not bleed air from hot tires after climbing a mountain pass.
Should I replace tires at 4/32 inch or 2/32 inch?
At 2/32 inch, the tire is at the common minimum replacement threshold and should be replaced. At 4/32 inch, replacement is strongly worth considering before heavy rain, high-speed highway travel, or a long road trip.
Can I patch a tire before a road trip?
A small puncture in the repairable tread area may be repairable, but the tire should be removed from the wheel and inspected from the inside. Sidewall, shoulder, large, angled, or repeated punctures usually require replacement.
Should I replace all four tires at once?
Replacing all four is often best for balanced handling, especially on all-wheel-drive vehicles. If you replace only two, follow your vehicle manufacturer’s guidance and ask the tire shop about axle placement, tread depth differences, and drivetrain limits.
Conclusion
Before you head out, check tires the same way you would check fuel, maps, and luggage. Confirm cold PSI from the vehicle placard, measure tread depth, inspect sidewalls, read tire age codes, and make sure the spare, jack, lug wrench, inflator, and visibility gear are ready. Replace questionable tires before the trip, not after the first warning sign on the highway. A short tire check at home is faster, safer, and cheaper than solving the same problem on the shoulder of the road.
Sources
- NHTSA TireWise — tire pressure, tire placard guidance, TPMS, tire size, and blowout safety.
- NHTSA Tire Safety Brochure — cold inflation pressure, checking pressure monthly, and vehicle placard guidance.
- 49 CFR § 570.62 Tires — tread depth inspection, matched tires, and unsafe tire conditions.
- 49 CFR § 571.138 TPMS — tire pressure monitoring system requirements and low-pressure warning thresholds.
- U.S. Tire Manufacturers Association Tire Repair Basics — proper puncture repair and why plug-only repairs are not permanent repairs.
- FuelEconomy.gov Gas Mileage Tips — fuel economy benefits of proper tire inflation.

