
Bicycle Flat Tire Prevention: Tips That Actually Work
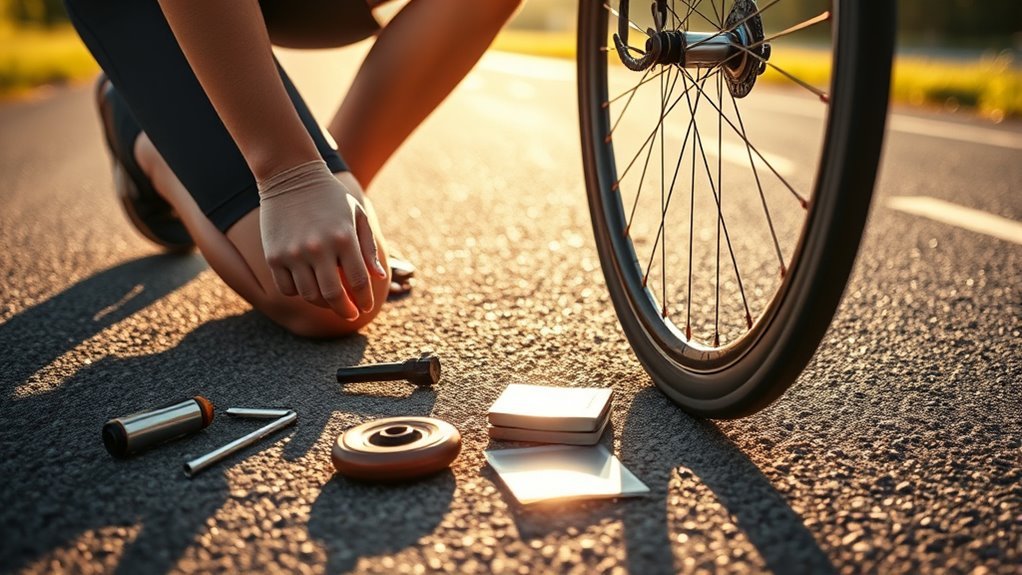
Flat tires are not random bad luck most of the time. They usually come from low pressure, worn tread, damaged rim tape, sharp debris, poor tube installation, or a tubeless setup that has dried out. A simple pre-ride routine, the right tire pressure for your weight and tire size, and a few smart equipment choices can prevent many bicycle flats before they interrupt your ride.
Quick Answer
To prevent bike tires from going flat, inspect the tread and sidewalls before each ride, inflate to the tire and rim maker’s recommended range, remove embedded debris, maintain tubeless sealant, and replace worn tires early. Carry a spare tube, tire levers, pump, and plug or patch kit so one puncture does not end the ride.
Key Takeaways
- Do not use “100 PSI” as a universal target. Correct bike tire pressure depends on rider weight, tire width, rim type, road surface, tubes versus tubeless, and the pressure limits printed on the tire and rim.
- Pinch flats usually come from under-inflation, square-edge impacts, or a tube trapped under the tire bead during installation.
- Tubeless sealant can seal many small punctures, but it must be checked and refreshed because it dries out over time.
- Repeated flats from the same wheel often point to a hidden cause: damaged rim tape, a sharp spoke hole, a cut tire casing, a loose valve core, or debris still stuck in the tire.
At a Glance
| Time Required | 2–5 minutes before each ride; 10–20 minutes for a deeper tire and rim check |
| Difficulty | Easy for routine checks; moderate for tubeless setup or rim tape replacement |
| Tools Needed | Accurate pressure gauge, floor pump, tire levers, spare tube, patch kit or tubeless plugs, valve core tool, small pliers or tweezers, clean rag or glove |
| Cost | Usually low: basic tools and spares; higher if upgrading to puncture-resistant tires or tubeless-compatible parts |
Quick Checklist: Prevent Flat Tires Before Your Ride
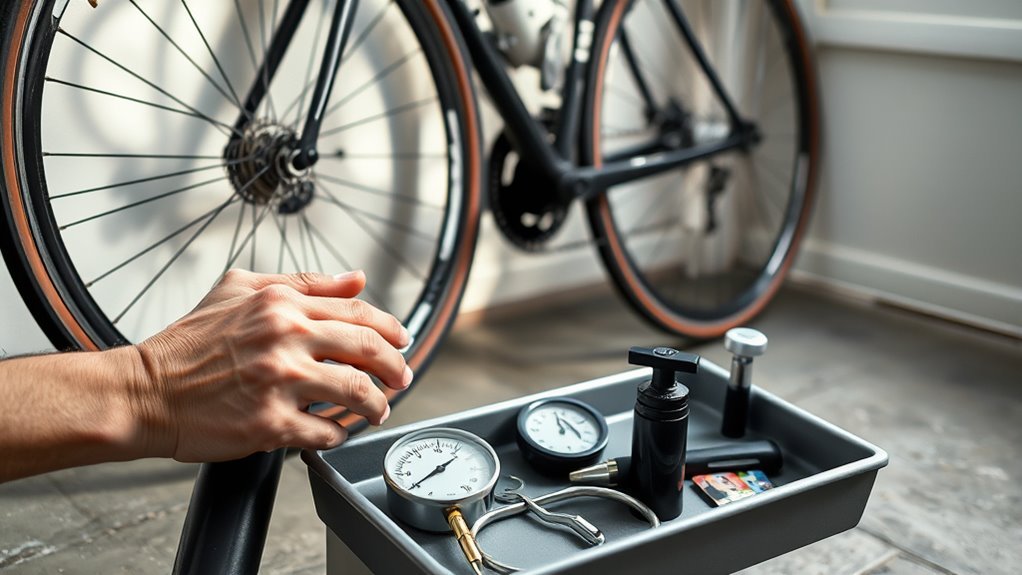
Start with a quick visual and hands-on tire inspection. Look for cuts, cracks, bulges, exposed casing, glass, wire, thorns, metal shards, or tiny stones stuck in the tread. Run a gloved hand along the tread and sidewalls, then spin each wheel slowly to spot wobbles, bulges, or uneven wear.
Next, check air pressure with a gauge instead of squeezing the tire by hand. The correct pressure is not one fixed number; it depends on tire size, rider and cargo weight, road surface, tube or tubeless setup, and the pressure limits printed on the tire and rim. Schwalbe notes that correct inflation pressure depends mainly on the load on the tire, and pressure should be checked regularly because bicycle tires lose air over time. You can also use a calculator such as the SILCA Professional Tire Pressure Calculator as a starting point, then fine-tune for comfort, grip, and flat prevention.
Before you roll out, also check the valve. Make sure the valve stem is straight, the valve nut is not crushing the tube or rim tape, and the valve core is snug. A loose valve core can mimic a slow puncture and leave you chasing the wrong problem.
Pro Tip: Keep a tiny “flat kit” on every ride: one spare tube that fits your wheel, two tire levers, a mini pump or CO2 inflator, a patch kit, a tire boot, and a tubeless plug tool if you ride tubeless. The best flat prevention plan still needs a backup.
[Products Worth Considering]

Convert Presta bicycle valves to accept standard Schrader pump nozzles for fast, hassle-free inflation. This kit includes durable brass adapters with leak-resistant connections, plus sports inflation needles and protective valve caps for convenient use on bikes and ball sports equipment.

This PXZBLG bike repair kit helps you tackle common tire and on-the-ride issues with a compact, ride-ready tool collection. It includes a mini tire pump supporting both Presta and Schrader valves, a 16-in-1 bike multitool, tire levers, glueless patches with a plastic box, plus 4mm and 5mm Allen wrenches. A convenient bike bag stores everything so you can mount it on your road bike or mountain bike for lightweight, portable preparedness.

This compact capsule-style tire repair kit helps you quickly fix punctures and plug flats with minimal effort. The rugged stainless steel shell protects the contents for reliable roadside use, while the simple plug assembly makes repairs fast and tool-free. Suitable for motorcycles, cars, ATVs, UTVs, and even mountain bikes.
Set Tire Pressure to Avoid Pinch Flats and Punctures
Correct tire pressure is one of the easiest ways to prevent flats. Too little pressure lets the rim strike the tube or tire casing when you hit a pothole, curb edge, rock, or rail crossing. That can create a “snake bite” pinch flat with two small holes in the tube. Too much pressure can make the ride harsh, reduce grip, and increase impact stress on the tire and rim.
Use the pressure range printed on the tire sidewall as a limit, not as a universal target. If your rim also has a maximum pressure printed or etched on it, stay within the lower of the tire and rim limits. This matters even more with modern tubeless and hookless rims. Zipp, for example, tells riders to use its pressure guide and not exceed the maximum pressure rating marked on the wheel.
Warning: Never inflate a tubeless or hookless setup above the maximum pressure allowed by the tire and rim manufacturer. Over-inflation can cause tire blow-off, sudden air loss, rim damage, or injury.
For everyday riding, adjust pressure using these factors:
- Rider and cargo weight: Heavier loads need more support, especially in the rear tire.
- Tire width: Wider tires usually need lower pressure than narrow tires because they hold more air volume.
- Road surface: Smooth pavement can use higher pressure than broken pavement, gravel, or chipseal.
- Tube versus tubeless: Tubeless systems often allow lower pressure without pinch flats, but they must stay within tire and rim limits.
- Front versus rear: The rear tire often carries more weight, so it may need slightly more pressure than the front.
Check pressure before each important ride, after long storage, and when the weather changes. Temperature swings can change pressure, and all bicycle tires lose air gradually.
Choose Puncture-Resistant, Tubeless, or Insert Options
Good tire choice prevents flats before they happen. The best option depends on where you ride, how much weight you carry, and whether you value speed, comfort, low maintenance, or maximum puncture protection.
| Option | Best For | Protection | Trade-off |
|---|---|---|---|
| Puncture-resistant tire | Commuting, winter roads, debris-heavy routes | Extra belt or thicker tread helps block glass, wire, and thorns | Can add weight and rolling resistance |
| Tubeless setup | Road, gravel, mountain, and mixed-surface riding with compatible rims and tires | Removes tube pinch flats; liquid sealant can seal many small punctures | Requires compatible parts, careful setup, and sealant maintenance |
| Tire inserts | Mountain biking, gravel racing, loaded touring, rough roads | Adds impact protection between rim and tire casing | Adds weight and can make tire installation harder |
| Tire liner | Tube-type commuter and utility bikes | Adds a protective strip between tube and tread | Can shift or cause rubbing if installed poorly |
| Thicker tube | City bikes, cargo bikes, e-bikes, and riders who want simple maintenance | More rubber can resist small punctures better than ultralight tubes | Heavier and less supple |
If you get frequent flats on the same route, puncture-resistant tires are often the simplest upgrade. If you ride gravel, mountain trails, or rough pavement and your wheels are compatible, tubeless can reduce pinch flats and seal small punctures automatically when maintained correctly.
Install Tubes, Tires, and Rim Tape Correctly
Many repeat flats are caused by installation problems, not road debris. Before installing a new tube or tire, inspect the rim bed. Rim tape should cover spoke holes fully, sit flat, and have no tears, wrinkles, sharp edges, or dried sealant lumps. If a spoke hole or burr touches the tube, you can get flat after flat even on a clean road.
When installing a tube, add just enough air to give it shape. Place it inside the tire evenly, then push both tire beads into the center channel of the rim as you work around the wheel. Before final inflation, inspect both sides of the tire to confirm the tube is not trapped under the bead. Park Tool’s tire and tube installation guidance emphasizes matching the tire bead and rim correctly and seating the tire securely before inflation.
Note: If a new tube goes flat immediately after installation, remove it and inspect the hole pattern. A hole near the valve may mean the tire shifted or the valve was pulled crooked. Two side-by-side slits usually point to a pinch flat. A single hole on the rim side often points to rim tape or a spoke-hole problem.
Maintain Tubeless Sealant to Stop Slow Leaks
Tubeless sealant is not a one-time install. It dries out, gets used up sealing small punctures, and can form clumps inside the tire. Stan’s NoTubes says sealant life averages about 2–6 months depending on heat, humidity, storage, riding frequency, tire casing, and punctures already sealed, and it recommends checking or refreshing sealant about quarterly for many riders.
To keep tubeless tires working:
- Shake the wheel: Listen for liquid sealant sloshing. No sound can mean the tire is dry.
- Check through the valve: Remove the valve core and use a dipstick, injector, or sealant tool if your setup allows it.
- Refresh on schedule: Top up according to the sealant maker’s recommendation, especially in hot or dry climates.
- Inspect rim tape: Replace tape if air leaks through spoke holes, sealant appears at nipples, or tape lifts at the edges.
- Carry plugs: Sealant handles many small holes, but larger cuts may need a tubeless plug, tire boot, or spare tube.
A tubeless tire with dried-out sealant is no longer a real puncture-protection system. Check sealant before long rides, races, tours, and hot-weather blocks.
Ride Smart: Where to Ride and What to Do When You Hit Debris
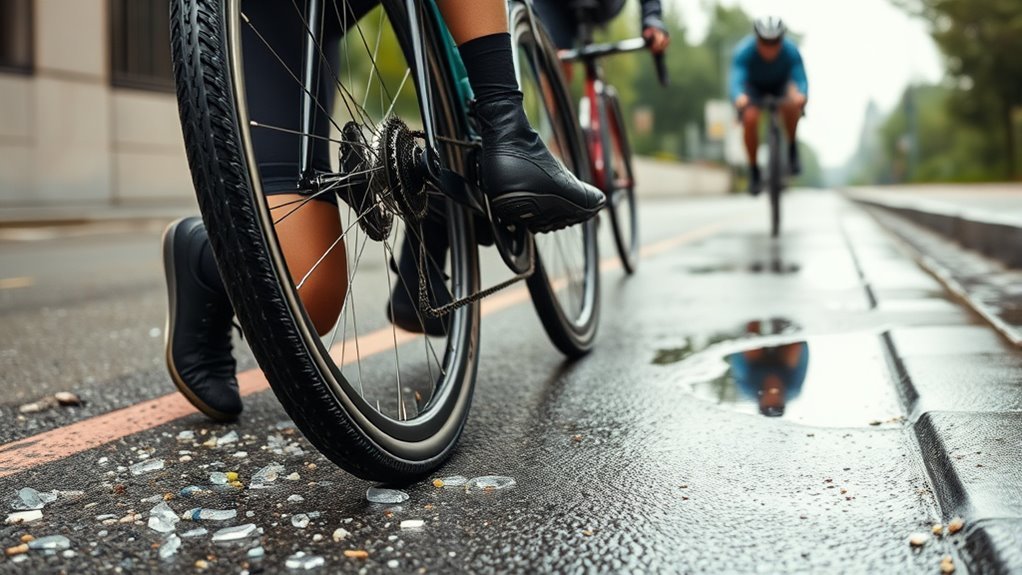
Road position matters. Gutters, shoulders, and road edges often collect glass, gravel, nails, thorns, and metal scraps. When it is legal and safe, choose a clean line with good visibility instead of riding through debris. The League of American Bicyclists explains that if a lane is not wide enough to share safely, cyclists may need to ride in the middle of the lane; always follow local traffic laws and ride predictably.
Scan ahead for hazards such as broken glass, potholes, drain grates, construction debris, railroad tracks, metal plates, and sharp gravel. If you ride in a group, point out hazards and call them early. Move smoothly rather than swerving at the last second.
If you hit debris, stop in a safe place and inspect the tire before the object works deeper into the casing. Remove glass, wire, thorns, or metal with small pliers or tweezers. If you see a cut that reaches the casing, add a tire boot before installing a tube. If the tire bulges, the bead will not seat, or casing threads are exposed, do not keep riding at full speed on that tire.
[Products Worth Considering]

Wykodra tire plugs provide quick vulcanizing repairs for tubeless tires, helping you seal punctures and get back on the road. The industrial-strength rubber creates a long-lasting, leak-resistant bond and is designed for emergency fixes without removing the tire. Choose between two standard plug sizes with color-matched options for small to larger damage across many vehicles and off-road uses.
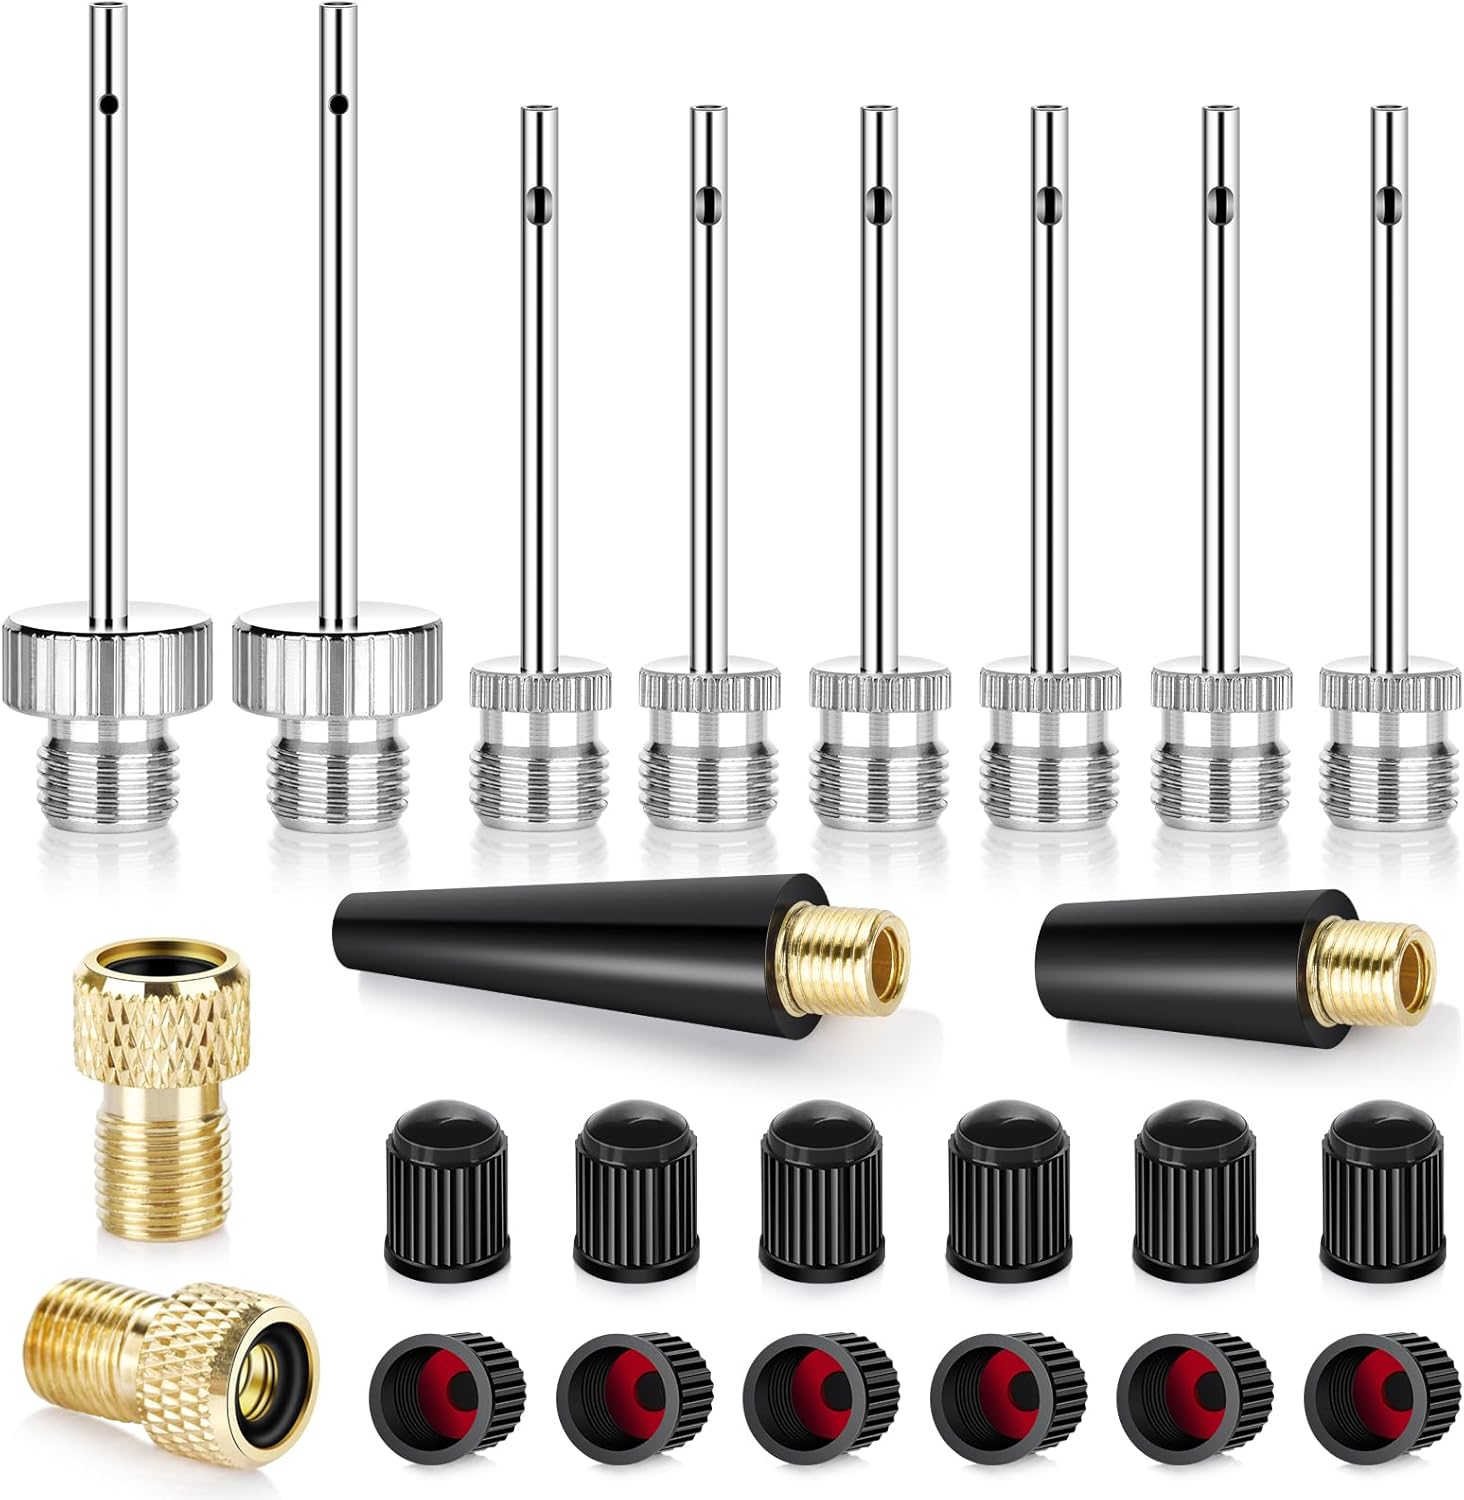
This ball pump needles kit includes brass ball needles for inflating footballs, soccer balls, basketballs, and volleyballs, plus conical nozzles for air mattresses, exercise balls, balloons, and swim rings. It also offers Presta to Schrader valve adapters for easy use with compatible bikes and rideables. The set includes sealed valve caps and a storage case, helping keep your equipment organized and ready to inflate quickly.
Daily Checks, Sealant Use, and Cleaning Routines to Stop Flats
Routine checks and simple maintenance reduce flats with very little effort. Before each ride, inspect the tires, confirm pressure, check the valves, and look for cuts or embedded debris. After rough or wet rides, wipe the tread with a rag or glove so you can find hidden damage and remove grit before it works into the casing.
- Inspect: Look and feel for cuts, bulges, cracks, exposed casing, embedded glass, and sidewall damage.
- Pressurize: Inflate within the tire and rim maker’s safe range, adjusted for rider weight, tire width, road surface, and load.
- Sealant: For tubeless systems, check and refresh sealant before it dries out.
- Clean: Wipe tread and sidewalls after dirty rides so small problems are easier to spot.
- Log repeat flats: Note which wheel, where the tube was punctured, and what caused it. Patterns reveal hidden rim tape, tire, or valve issues.
When to Replace Bike Tires Before They Cause Flats
Old or damaged tires flat more often because the casing is easier to cut and the tread no longer protects the tube or air chamber. Replace the tire if you see:
- Visible casing threads or cords through the tread
- Sidewall cuts, bubbles, bulges, or soft spots
- Deep cuts that reopen after inflation
- Dry cracking from age, UV exposure, or storage
- A squared-off center tread with frequent punctures
- Repeated flats from small debris that the tire used to resist
- A tire bead that will not seat evenly or pops off the rim
Do not try to “get one more ride” from a tire with a bulging sidewall or damaged bead. That is a safety issue, not just a flat-tire risk.
Troubleshooting: Why Your Bike Tire Keeps Going Flat
If a tire keeps losing air, diagnose the cause before replacing random parts. Remove the tube, inflate it slightly, and find the hole. Match the hole location to the tire and rim so you can identify the real problem.
| Symptom | Likely Cause | Fix |
|---|---|---|
| Two small parallel cuts in the tube | Pinch flat from low pressure or impact | Increase pressure within safe limits, avoid square-edge hits, consider wider tires |
| Single hole on tread side | Glass, thorn, wire, or metal still in tire | Inspect inside and outside tire carefully; remove debris before reinstalling |
| Hole on rim side | Damaged rim tape, sharp spoke hole, burr, or exposed nipple | Replace rim tape and smooth sharp edges |
| Leak at valve | Loose valve core, torn tube near valve, damaged tubeless valve seal | Tighten or replace valve core; check valve hole and tubeless valve gasket |
| Tubeless tire slowly loses air overnight | Dry sealant, leaking rim tape, porous sidewall, or unseated bead | Refresh sealant, shake and rotate wheel, inspect tape and bead seat |
| Flat immediately after installing a new tube | Tube pinched under bead or tire lever damage | Reinstall carefully with tube slightly inflated; check bead before full inflation |
Frequently Asked Questions
What can I put in bicycle tires to keep them from going flat?
You can use tubeless sealant in compatible tubeless tires, tube sealant in compatible inner tubes, puncture-resistant tires, tire liners, inserts, or thicker tubes. Sealant helps with many small punctures, but it will not fix every sidewall cut, bead problem, rim tape leak, or large tear.
What do you put in bike tyres to stop punctures?
For tubeless tyres, use a tubeless sealant made for bicycles and follow the dosage and refresh schedule from the sealant maker. For tyres with tubes, you can use puncture-resistant tyres, liners, thicker tubes, or tube-compatible sealant. The most reliable setup depends on your wheel type, tyre clearance, and riding surface.
How do I keep bike tires from deflating between rides?
Some air loss is normal, especially with high-pressure road tires and lightweight tubes. To reduce unwanted deflation, tighten the valve core, check rim tape, inspect for slow punctures, refresh tubeless sealant, and store the bike away from extreme heat. Check pressure with a gauge before important rides.
Is 100 PSI the right pressure for road bike tires?
Not always. Older narrow road tires were often run near 100 PSI or higher, but many modern road tires are wider and work better at lower pressure. Use the tire and rim pressure limits, rider weight, tire width, surface, and a reliable pressure calculator to choose a safe starting point.
Why do I keep getting flats on the same wheel?
Repeated flats on one wheel usually mean something is still wrong inside that wheel system. Check for glass or wire in the tire, torn rim tape, exposed spoke holes, a sharp burr, a loose valve core, a damaged tire casing, or a tube pinched under the bead.
Conclusion
Preventing bicycle flats comes down to a repeatable system: inspect the tires, set pressure with a real gauge, remove debris early, keep valves and rim tape in good condition, maintain tubeless sealant if you use it, and replace worn tires before the casing fails. Add smart road positioning and a small flat kit, and you will spend less time on the roadside and more time riding with confidence.
Sources
- Schwalbe Tire Pressure FAQ — supports the guidance that correct bicycle tire pressure depends on load and that tires lose pressure over time.
- SILCA Professional Tire Pressure Calculator — supports using rider weight, tire size, surface, and setup details to estimate pressure instead of relying on one universal PSI number.
- Zipp Tire Pressure Recommendations — supports following wheel-specific pressure limits and using manufacturer pressure guidance for modern rims.
- Stan’s Sealant Support — supports tubeless sealant maintenance intervals and the need to refresh sealant as it dries out.
- Park Tool Tire and Tube Removal and Installation — supports proper tire and tube installation practices that help prevent installation-related flats.
- League of American Bicyclists Traffic Laws — supports safe lane-positioning guidance, including taking the lane when a lane is too narrow to share safely.

Related Articles
Are Premium Tires Worth the Extra Money?
Worth the extra money? Premium tires promise more grip, comfort, and longevity—but the real tradeoff may surprise you.
Read More
What Are OE Tires? Original Equipment Explained
Discover what OE tires really mean and why choosing the right replacement could change everything for your car’s ride, handling, and safety.
Read More
305 Tire Size Explained: How Big Is It?
I explain how big a 305 tire really is—and why the exact fit can surprise you.
Read More