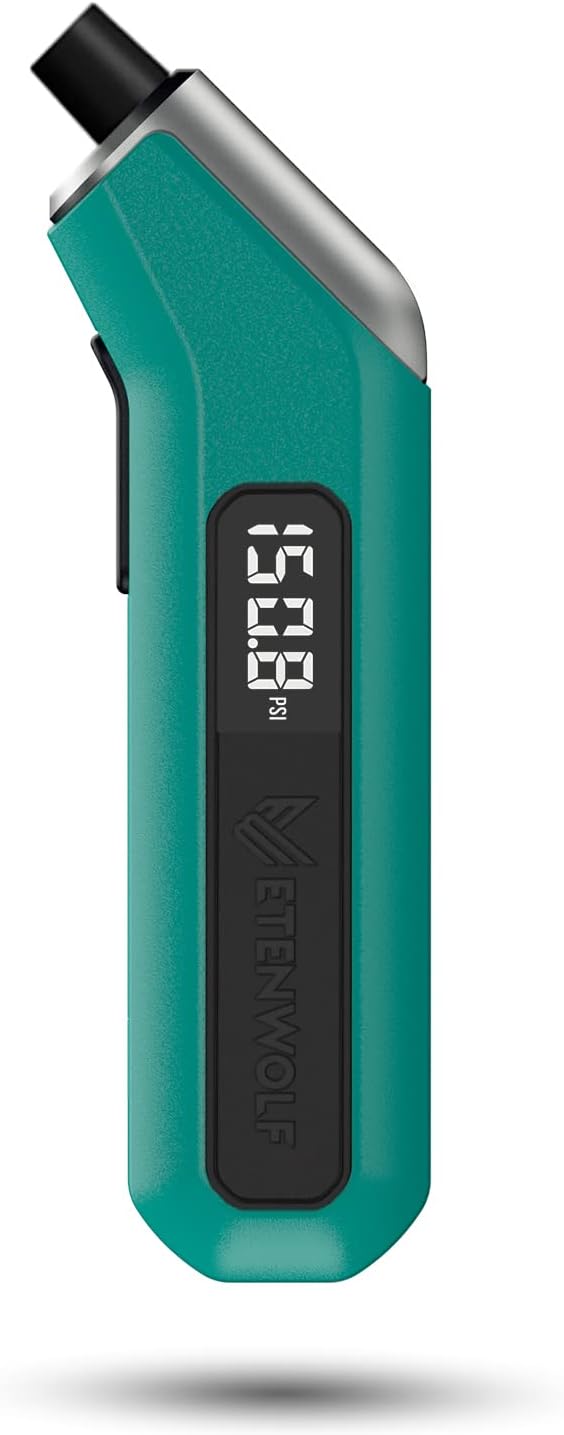
A quick tire inspection before you drive can catch low pressure, worn tread, impact damage, leaks, loose wheel hardware, and spare-tire problems before they become roadside emergencies. Check the tires when they are cold, use the vehicle manufacturer’s pressure specification, and treat bulges, exposed cords, severe cuts, or rapid air loss as reasons to stop and get professional help.
Quick Answer
Before driving, check all tires for correct cold pressure, adequate tread, cuts, cracks, bulges, embedded objects, uneven wear, leaking valve stems, and abnormal wheel hardware. Inspect the spare and emergency tools too. Do not drive on a tire with a bulge, exposed cords, severe damage, or rapid pressure loss.
Key Takeaways
- Check tire pressure when the tires are cold and use the pressure on the vehicle’s tire-information placard or in the owner’s manual—not the maximum pressure molded onto the tire sidewall.
- NHTSA says tires should be replaced when tread reaches 2/32 inch; consider wet-weather performance before waiting until tread is that low.
- Do not drive on tires with sidewall bulges, exposed cords, severe cuts, or obvious structural damage.
- A TPMS warning light does not replace a monthly pressure check with a gauge.
- Use the exact manufacturer-specified lug-nut torque for your vehicle and wheels rather than a generic torque number.
- Check the spare tire’s condition, age, inflation, access, and any temporary-spare operating restrictions.
At a Glance
| Time Required | About 5–10 minutes for a routine check |
| Difficulty | Easy visual and pressure inspection |
| Tools Needed | Tire-pressure gauge, tread-depth gauge or penny, and a flashlight |
| Cost | No service cost if you already have the basic tools |
Before You Start the Tire Inspection
Park on a safe, level surface with enough light to see the tread and both visible sidewalls. For the most accurate pressure reading, inspect the tires when they are cold. The National Highway Traffic Safety Administration defines cold tires as tires on a vehicle that has not been driven for at least three hours.
Keep a tire-pressure gauge nearby. A tread-depth gauge is more precise than a coin test, although the penny test remains a useful quick screen.
Warning: Do not continue driving on a tire with a sidewall bulge, exposed cords, severe structural damage, or rapid air loss. If the vehicle cannot be moved safely, use roadside assistance or have the tire professionally evaluated.
Check Tire Pressure First
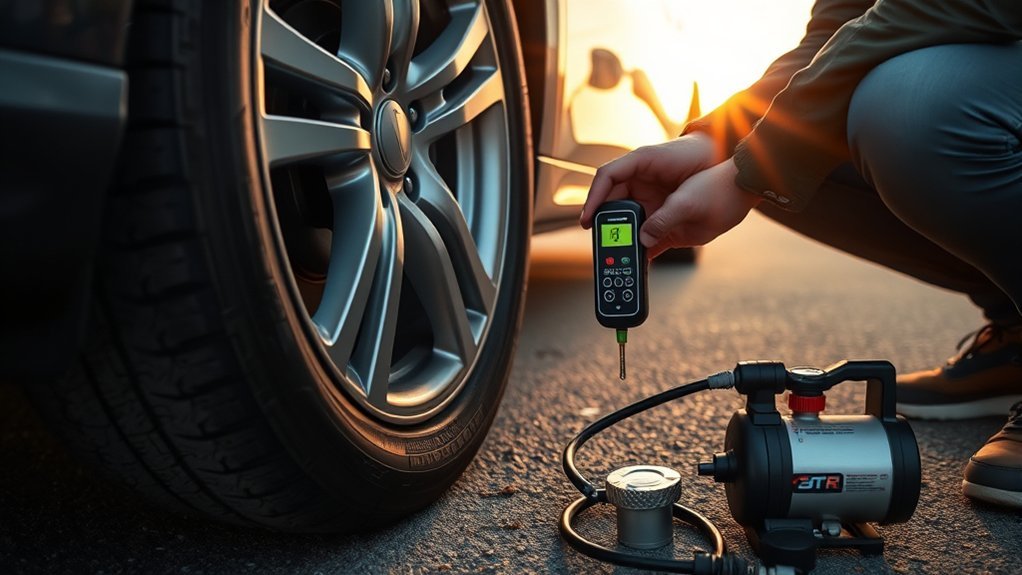
Start by checking tire pressure when the tires are cold. Driving warms the tires and normally raises pressure, so a hot reading should not be treated the same as the manufacturer’s cold-pressure specification.
Measure every tire individually with a gauge. Compare each reading with the recommended cold PSI shown on the vehicle’s Tire and Loading Information label, usually on the driver’s door edge or doorjamb, or in the owner’s manual.
If pressure is low, add air and recheck. If a cold tire is above the specified pressure, release a small amount and measure again.
Note: Do not use the maximum pressure molded on the tire sidewall as the normal inflation target for your vehicle. Use the vehicle manufacturer’s cold-pressure specification.
NHTSA recommends checking the pressure of all tires, including the spare when applicable, at least once a month and before long trips. Proper inflation supports predictable handling, tire durability, and fuel efficiency.
[Products Worth Considering]

Upgrade your wheels with MIKKUPPA closed-end lug nuts designed for reliable fit and corrosion resistance. The one-piece, cold-forged and heat-treated steel construction helps resist rust and stripping, while the integrated finish delivers a durable black appearance. Built to OEM standards with a conical 60-degree seat, these nuts provide a secure solution for compatible Ford, Honda, Jeep, and Chevrolet models.

Monitor tire tread wear with a smart, color-coded depth gauge that shows clear condition ranges at a glance. The bar is range marked for fast, easy readings, helping you maintain safer traction and performance. Each gauge is portable with a pocket clip, and the set includes 20 units for daily use and sharing.

Steelman white tire marking crayons provide high-contrast, semi-permanent marks for repairing and inspecting tires and equipment. They write on wet or dry, smooth or coarse surfaces including rubber, metal, glass, and wood, making them ideal for puncture location and damage outlining. The lead- and zinc-free crayons resist weather and fading yet wipe away when you no longer need the marks.
Do Not Rely Only on TPMS
If your vehicle has a Tire Pressure Monitoring System, pay attention to its warning light, but do not use TPMS as a substitute for regular gauge checks. NHTSA notes that the system may not warn you until a tire is already significantly underinflated.
If the TPMS light comes on, check the pressure as soon as it is safe to do so. Repeated pressure loss needs investigation even if you can temporarily restore the tire to its specified PSI.
Inspect Tread Depth With a Penny Test
A quick tread check shows how much usable tread remains. For the penny test, place a penny into a tread groove with Lincoln’s head pointing down. If you can see the top of Lincoln’s head, the tread has reached approximately 2/32 inch and replacement is due under NHTSA safety guidance.
For a more precise measurement, use an inexpensive tread-depth gauge and check several grooves around each tire rather than measuring in only one location.
NHTSA says tires should be replaced when tread reaches 2/32 inch. Local inspection or legal requirements can vary, so do not describe 2/32 inch as a universal legal rule everywhere.
You may also want to plan replacement before reaching 2/32 inch if you frequently drive in rain. In AAA testing, all-season tires worn to 4/32 inch showed substantially poorer wet braking and handling than new tires. AAA measured an average 87-foot increase in passenger-car stopping distance and a 33% reduction in passenger-car handling capability under its wet-test conditions.
Tread can still be above 2/32 inch while wet-road braking and handling have already declined significantly.
Repeat the measurement at the inner, center, and outer portions of the tread. A low reading in one area can point to an inflation, alignment, suspension, or other wear problem that deserves attention.
[Products Worth Considering]

These M14x1.5 closed-end chrome lug nuts are a one-piece replacement designed for secure fitment on compatible GM, Ford, and select Chrysler/Dodge models. Featuring a 60-degree conical seat and anti-rust chrome plating, they help resist corrosion and maintain a bright look for everyday driving. Built for long-term durability, they include OEM-style part references and are backed by 12 months of support.

This Dr.Roc tire valve stem puller tools set helps install or remove snap-in tubeless valve stems safely and efficiently. It includes ozone-resistant EPDM snap-in valve stems, a valve stem installer, and a valve core remover for quick core removal or installation during tire service. Designed for reliable tubeless tire repair on motorcycles, ATVs, lawn equipment, cars, and trucks.

Upgrade your wheels with MIKKUPPA M12x1.5 mag seat lug nuts built for secure, corrosion-resistant performance. These closed-end chrome lug nuts are a direct replacement for select Toyota models, including Camry, Corolla, RAV4, Sienna, Avalon, Highlander, Matrix, Venza, and Prius. Triple-chromium plating and cold-forged, heat-treated steel help deliver strength for daily driving and replacement needs.
Look for Cuts, Cracks, and Bulges
After checking tread depth, inspect each tire for cuts, cracks, punctures, exposed cords, bubbles, and bulges. Rotate your viewing angle and use a flashlight when necessary so you can examine as much of the tread and sidewall as possible.
A sidewall bulge can indicate damaged internal tire structure after a pothole, curb strike, or other impact. Do not treat a bulge as cosmetic damage or attempt a roadside repair.
- Scan the visible tread and sidewall in good light.
- Look for cuts deep enough to expose reinforcement material.
- Check for bubbles, bulges, or obvious deformation.
- Look for nails, screws, glass, or other embedded debris.
- Get professional help before driving farther if you see structural damage.
If a nail or screw is still embedded and the tire is holding pressure, do not automatically pull it out at the roadside. Removing the object can turn a slow leak into rapid air loss. Have the tire inspected so a technician can determine whether it qualifies for a proper repair.
[Products Worth Considering]

The Trivd Frol 1/2" air impact wrench delivers high performance torque up to 1500 ft-lbs with a twin hammer impact mechanism for strong, balanced blows. It features an ergonomic grip, compact lightweight design, and quick-stop control with 3 forward speeds up to 8000 RPM plus a reverse speed. Built for demanding automotive repair and tire shop work, the rear exhaust helps keep debris away from the surface.

This spare tire tool kit is designed for the 2004 to 2018 Ford F-150 to help you loosen and tighten wheel lug nuts and manage the spare tire and provided jack functions from underneath the vehicle. It includes the lug nut wrench and extension pieces plus a convenient storage carrying case for organized transport. The jack itself is not included.

Measure tire tread depth quickly and accurately with this LUMITECO dial gauge that reads in 1/32" increments up to 14/32". The color-coded green/yellow/red zones make it easy to judge tire wear and know when replacement is needed. A rugged, compact design with a protective pouch helps keep the gauge ready for use on cars, trucks, motorcycles, and more.
Check for Uneven Tire Wear
Uneven tire wear can point to alignment, inflation, wheel, or suspension problems. Compare the inner, center, and outer tread on every tire and look for bald spots, feathering, cupping, or much greater wear on one edge.
Check pressure before assuming alignment is the only cause. Chronic underinflation or overinflation can also create abnormal wear patterns.
If you see significant irregular wear, vibration, or a vehicle that pulls to one side on a level road, schedule a tire, wheel, alignment, and suspension inspection.
Tire rotation can help distribute wear, but there is no single interval or pattern for every vehicle. NHTSA advises checking the owner’s manual and notes that, when recommended by the manufacturer, a common interval is roughly 5,000 to 8,000 miles.
Some vehicles use different front and rear tire sizes or other fitments that limit normal rotation. Always follow the vehicle and tire manufacturer’s pattern rather than moving tires blindly.
Check the Tire’s Age
Tread depth is not the only factor that determines whether a tire remains serviceable. Rubber and internal tire components age over time, including on tires that are driven very little.
For tires produced since 2000, the last four digits of the DOT Tire Identification Number show the manufacturing week and year. For example, a code ending in 3924 means the tire was manufactured during the 39th week of 2024.
NHTSA says some vehicle and tire manufacturers recommend replacement when tires reach roughly six to ten years of age regardless of tread depth, so check the recommendations for your specific vehicle and tires.
Age policies differ by manufacturer. For example, Michelin’s current guidance recommends having its tires thoroughly inspected by a trained tire professional at least annually after five years of service and replacing them by ten years from manufacture as a precaution.
Pro Tip: Check the DOT date code on the spare too. A spare can look nearly new because it has little tread wear while still being many years old.
Inspect the Spare Tire
Inspect your spare tire for cuts, cracks, bulges, aging, punctures, and usable tread. Check its pressure using the specification supplied by the vehicle manufacturer for that spare.
Do not assume a spare holds pressure indefinitely. Tires can gradually lose air while stored, so include the spare in your regular pressure checks.
Verify that the spare, jack, lug wrench, wheel-lock key if applicable, and any other required equipment are accessible and in usable condition.
Spare Tire Condition
Your spare tire is an emergency backup, so inspect it before you need it. Check the tread, sidewalls, inflation, DOT age code, and mounting or storage hardware.
- Look for cracking, cuts, bulges, or other physical damage.
- Measure the tread rather than judging it only by appearance.
- Check the tire’s age as well as its wear.
- Confirm the wheel and tire are securely stored.
- Make sure the required changing tools are present.
If your vehicle has a matching full-size spare, only include it in normal tire rotation if the vehicle or tire manufacturer provides a rotation pattern that calls for it. Rotation helps manage tread wear; it does not stop age-related rubber degradation.
Spare Tire Pressure
Check spare-tire pressure with a gauge and compare it with the pressure specified for that spare in the owner’s manual, tire-information labeling, or other manufacturer instructions.
Temporary compact spares often use a different pressure from the four regular tires. Never assume the regular-tire PSI also applies to the spare.
Check the spare periodically and before a long trip so it is ready when needed.
Spare Tire Access
Make sure the spare tire is easy to reach and is not buried beneath cargo that would be difficult to move safely at the roadside.
- Confirm where the spare or temporary mobility system is stored.
- Make sure the jack and lug wrench are present.
- Locate any wheel-lock key before an emergency occurs.
- Know the vehicle’s approved jacking points.
If your vehicle uses a temporary spare, read its operating restrictions before a trip. Compact spares can have specific speed, distance, and handling limitations. Follow the label on the spare and the owner’s manual exactly.
Test Valve Stems for Leaks
Inspect each valve stem for cracking, cuts, deformation, or obvious leakage. Make sure the valve cap is installed and undamaged.
If you suspect a slow leak, a small amount of soapy water around the valve area can help reveal escaping air because a leak can create growing bubbles. A leaking stem, valve core, wheel seal, or tire should be serviced rather than repeatedly topped up without diagnosis.
| Check | What You Want to See |
|---|---|
| Valve-stem surface | No cracking, cuts, or deformation |
| Leak check | No continuing bubble formation |
| Valve cap | Present and secure |
| Pressure history | No unexplained repeated pressure loss |
| Service | Professional diagnosis if a leak is confirmed |
Confirm Lug Nuts Are Tight
Visually inspect each wheel and confirm that every required lug nut or wheel bolt is present, seated normally, and free of obvious damage.
You do not need to apply a torque wrench to every wheel before every routine drive. Torque verification is especially relevant after wheel removal, tire installation or rotation, or when you have a reason to suspect a fastener problem.
Check Lug Nut Torque
If torque needs to be checked, use a calibrated torque wrench and the exact specification supplied by the vehicle or wheel manufacturer. Do not rely on a generic 80–100 ft-lb range because torque requirements vary by vehicle and wheel application.
Use the specified tightening sequence—commonly a crisscross or star-style pattern where applicable—to seat the wheel evenly.
Never guess at tightness or intentionally over-tighten wheel fasteners. If aftermarket wheels are installed, make sure their hardware, seats, torque requirements, and installation instructions are compatible with the vehicle.
Inspect For Missing Nuts
Walk around the vehicle and confirm that every required lug nut or wheel bolt is present. Look for a fastener that appears backed out, crooked, damaged, badly corroded, or different from the others.
If a wheel fastener is missing or visibly loose, do not simply continue driving and assume the remaining fasteners will compensate. Have the wheel and its studs or bolts inspected and tightened to the correct specification.
Recheck After Short Drive
After wheel or tire service, follow any re-torque instructions supplied by the vehicle manufacturer, wheel manufacturer, or installer. Do not substitute an arbitrary mileage interval when a specific service procedure is provided.
If you hear clicking or knocking from a wheel, develop new vibration, or notice a wheel fastener that appears loose after service, stop in a safe location and have the assembly checked before continuing.
- Park on a flat, secure surface.
- Inspect the wheel and fasteners visually.
- Use the exact torque specification if verification is required.
- Seek professional service if a fastener will not hold torque or appears damaged.
Check Tire Sidewalls for Damage
Inspect your tire sidewalls for cuts, cracks, punctures, scrapes, bulges, bubbles, exposed reinforcement material, and deformation. Pay particular attention after hitting a pothole or curb.
Minor superficial scuffing is not automatically the same as structural damage, but a bulge, exposed cord, deep cut, or significant deformation needs immediate attention from a tire professional.
Sidewall and shoulder punctures should not be treated under the same 1/4-inch rule used for qualifying tread punctures. USTMA tire-repair guidance limits standard puncture repairs to an approved area of the tread and requires removal of the tire from the wheel for internal inspection.
For eligible passenger- and light-truck tread punctures, USTMA’s industry procedure limits repairable injury size to 1/4 inch (6 mm) and requires a proper combination of filling the injury and sealing the inner liner. A plug-only roadside repair is not the industry’s recommended permanent repair.
Replace Tires With Unsafe Wear
Replace a tire when its tread reaches 2/32 inch under NHTSA safety guidance or sooner when its condition, performance, manufacturer instructions, or local requirements call for replacement.
Replacement is also appropriate when a tire has nonrepairable structural damage such as a sidewall bulge, exposed cords, serious cracking, or a puncture outside the approved repair area.
- Measure tread in several locations.
- Inspect treadwear indicators and wear patterns.
- Check pressure and repeated air loss.
- Inspect physical damage and repair history.
- Check the DOT age code and manufacturer age recommendations.
Do not assume a tire is safe solely because it still has visible tread. Age, impact damage, repeated pressure loss, and internal damage can matter even when tread remains.
Know When to Get a Tire Inspection
NHTSA recommends checking tire pressure, tread, and general condition at least monthly. You should also inspect the tires before long trips and after a significant pothole or curb impact.
Get a professional tire inspection sooner if you notice:
- repeated pressure loss;
- a TPMS light that keeps returning;
- new vibration or thumping;
- the vehicle pulling to one side;
- irregular or rapidly developing tread wear;
- a nail, screw, or other puncturing object;
- a cut, bulge, bubble, or exposed cords;
- damage after a pothole or curb impact; or
- uncertainty about the tire’s age or repair history.
A tire can have hidden internal damage that is not visible while mounted on the vehicle. When repairability is uncertain, have a trained tire professional remove and inspect it rather than relying only on an exterior check.
Pre-Driving Tire Inspection Order
- Start with cold tires: park safely and locate the vehicle’s recommended PSI.
- Measure pressure: check all road tires and the spare.
- Measure tread: inspect several grooves and areas of each tire.
- Inspect tread and sidewalls: look for cuts, bulges, cracks, punctures, exposed cords, and embedded objects.
- Compare wear patterns: look for abnormal inner, center, or outer wear.
- Inspect valve stems: look for damage or air leakage.
- Check tire age: read the DOT date code and follow manufacturer age guidance.
- Inspect the wheels: confirm required wheel fasteners are present and appear properly seated.
- Check the spare and tools: verify pressure, condition, access, jack, wrench, and any wheel-lock key.
Frequently Asked Questions
What Are the 6 Steps for Pre-Driving Checks?
For a tire-focused pre-drive check, six core steps are: check cold tire pressure, measure tread depth, inspect tread and sidewalls for damage, compare wear patterns, inspect valve stems and wheel fasteners, and check the spare tire and emergency tools. Also consider tire age and any TPMS warning.
What Does a Tire Inspection Consist Of?
A tire inspection includes pressure, tread depth, treadwear pattern, sidewall condition, punctures or embedded objects, valve stems, tire age, and signs of repeated air loss. You should also inspect the spare and look for missing or abnormal wheel fasteners.
What Are 6 Things You Should Check Before Driving?
Check tire pressure, tread depth, visible tire damage, uneven wear, valve stems, and the spare tire or mobility kit. A complete vehicle pre-trip check should also include items outside the tires, such as lights, mirrors, fluid warnings, and brakes.
What Are the 7 Steps for a Pre-Trip Inspection?
A general passenger-vehicle pre-trip routine can include checking tires, lights, fluid levels or warning indicators, brakes, mirrors and visibility, emergency equipment, and your fuel or charging range. Exact checks vary by vehicle, so follow the owner’s manual for vehicle-specific requirements.
Can You Drive With a Bulge in a Tire Sidewall?
A sidewall bulge can indicate damaged internal structure and possible tire failure. Do not treat it as a cosmetic defect. Avoid continuing normal driving and arrange professional tire service or roadside assistance.
How Often Should You Check Tire Pressure?
NHTSA recommends checking all tires, including the spare when applicable, at least once a month when the tires are cold. Check again before long trips and whenever you suspect pressure loss.
Conclusion
A consistent tire inspection checklist can catch many problems before you drive. Check cold pressure, tread depth, sidewall and tread condition, uneven wear, valve stems, tire age, wheel hardware, and the spare using the same routine each time.
Do not wait for tread to disappear before thinking about wet-road performance. AAA’s testing found substantially poorer wet braking and handling in tires worn to 4/32 inch compared with new tires, while NHTSA says replacement is due when tread reaches 2/32 inch.
If you find a bulge, exposed cords, major cut, repeated pressure loss, or damage outside the repairable tread area, stop treating it as routine maintenance and get a professional tire inspection. The safest pre-drive check is the one that identifies a questionable tire before highway speed, heat, and load turn a small problem into a failure.
Sources
- National Highway Traffic Safety Administration — TireWise — cold tire pressure, monthly inspection, tread depth, TPMS, rotation, tire age, and DOT date-code guidance.
- National Highway Traffic Safety Administration — Summer Driving Tips — pre-trip pressure, tread, damage, spare-tire, and cold-pressure guidance.
- U.S. Tire Manufacturers Association — Tire Repair Basics — approved puncture repair area and professional repair procedure.
- Michelin — When to Replace Tires — tire-age inspection and replacement guidance.
- AAA — Worn Tires Put Drivers at Risk — wet braking and handling testing at 4/32-inch tread depth.