
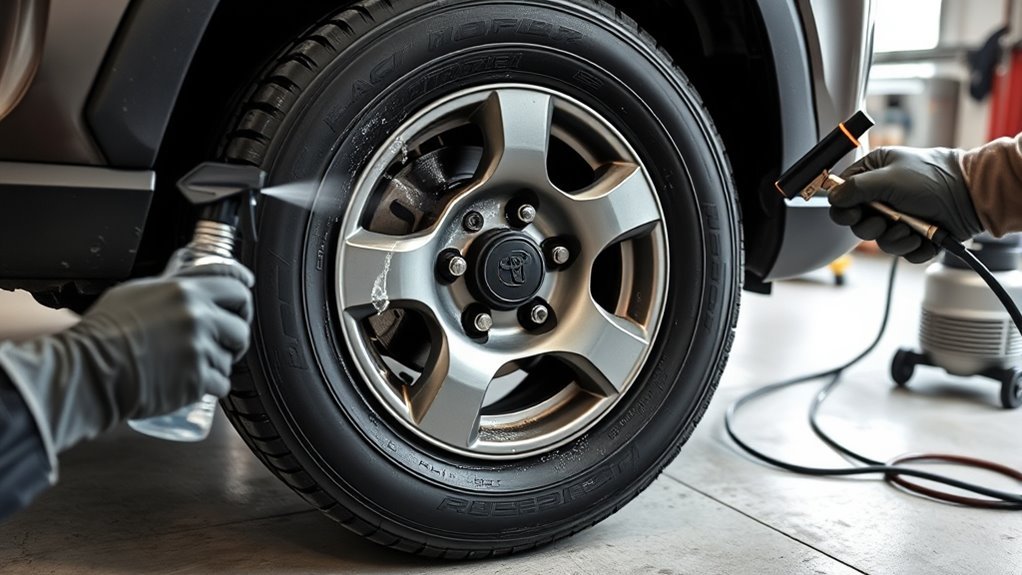
If your RAV4 tire keeps losing air but you cannot find a nail in the tread, the leak may be coming from the tire bead—the sealing area where the tire sits against the wheel rim. A bead leak is usually slow, but it should not be ignored because underinflation can increase heat, cause uneven wear, and affect handling.
Quick Answer
A RAV4 tire bead leak usually shows up as slow, repeat air loss from the edge of the tire where it meets the rim. Inflate the tire to the cold pressure listed on the driver-door placard, spray soapy water around the bead, valve stem, and tread, then watch for steady bubbles at the rim edge.
Key Takeaways
- A bead leak happens where the tire bead and wheel rim fail to hold an airtight seal.
- Common causes include rim corrosion, dirt at the bead seat, tire mounting damage, a bent wheel, or an aging valve stem that mimics a bead leak.
- Do not rely only on the TPMS light; check pressure with a gauge when the tires are cold.
- A soapy-water test can help you locate the leak, but demounting, cleaning, reseating, and final leak testing should be handled by a tire professional if the leak is confirmed.
At a Glance
| Time Required | 10–20 minutes for a basic at-home leak check; 30–60 minutes for a typical shop inspection and reseal if the tire and wheel are serviceable. |
| Difficulty | Easy to diagnose; moderate to professional for safe bead cleaning, reseating, and wheel inspection. |
| Tools Needed | Tire pressure gauge, spray bottle, water with a few drops of dish soap, flashlight, chalk or tape to mark the leak, and access to an air source. |
| Cost | A simple bead clean and reseal is usually a low-cost tire-shop service, often in the $20–$100 range. Wheel repair, TPMS service, or tire replacement can cost more. |
What Is a Tire Bead Leak on a RAV4?
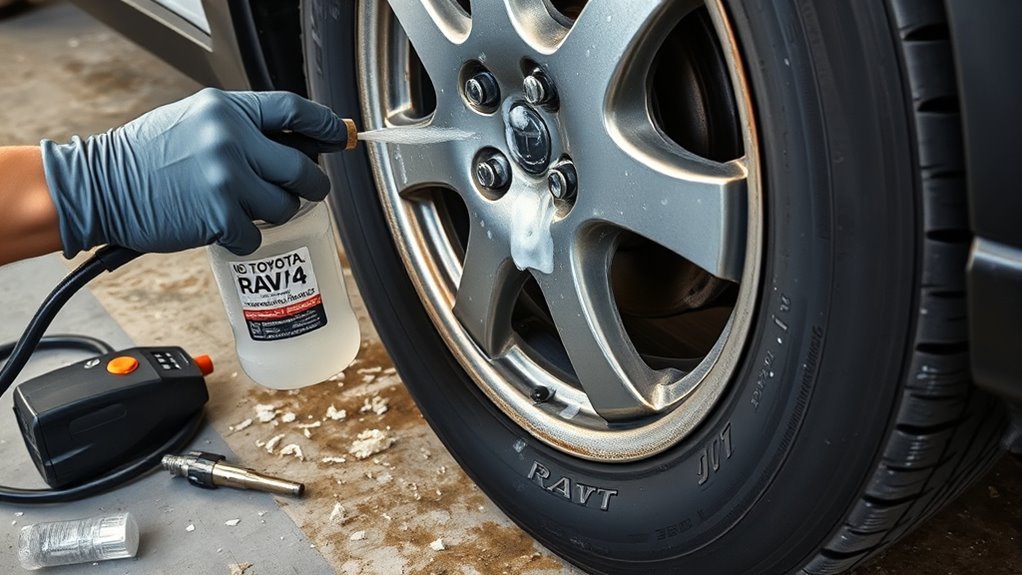
A tire bead leak happens at the junction where the tire bead seals against the wheel rim. That seal can fail when the wheel bead seat is dirty, corroded, bent, scratched, or not cleaned properly during tire installation. The tire may look normal from the outside while still losing a few pounds of air over several days or weeks.
On a RAV4, the first sign is usually one tire that repeatedly needs air. The tire pressure warning light may also come on, but a TPMS light is only a warning for significant underinflation; it is not a precise leak finder. The safest first step is to check the tire with a gauge when it is cold and compare it with the pressure listed on your driver-side door placard or in your Toyota owner’s manual.
Common Causes of Tire Bead Leaks
Several issues can break the seal between the RAV4 tire and wheel:
- Rim corrosion: Moisture, road salt, and age can roughen the bead seat, especially on alloy wheels.
- Dirt or old sealant: Debris trapped between the tire bead and rim creates tiny air channels.
- Improper mounting: A bead that was not seated evenly can leak after tire installation or rotation service.
- Wheel damage: A pothole, curb strike, or bent rim can prevent the bead from sealing evenly.
- Bead damage: A torn or stretched tire bead may not be safely repairable.
- Valve stem or TPMS seal leak: This can look like a bead leak until you test the valve area separately.
Note: A slow leak is not always a bead leak. Check the tread, sidewall, valve stem, and rim before assuming the bead is the source.
Key Symptoms of a Tire Bead Leak on Your RAV4
Look for these signs when one RAV4 tire keeps losing pressure:
- Gradual air loss: The tire loses pressure again after you refill it, often over days or weeks.
- Repeat TPMS alerts: The warning light comes back after the tire has been inflated correctly.
- Uneven shoulder wear: A chronically underinflated tire may wear faster on the outer edges.
- Bubbles at the rim edge: Soapy water forms steady bubbles where the tire meets the wheel.
- Visible rim corrosion or damage: Flaking, pitting, bends, or curb damage near the bead seat can point to a sealing problem.
A faint hissing sound can happen with a faster leak, but many bead leaks are too slow to hear. Do not rule out a bead leak just because the tire is quiet.
Before You Diagnose: Check Tire Pressure Correctly
Before testing for a leak, set a baseline pressure reading. Use the cold tire pressure listed on your RAV4’s tire and loading label, usually on the driver-side door jamb. Do not use the maximum pressure molded on the tire sidewall as your target. The National Highway Traffic Safety Administration explains that the vehicle manufacturer’s recommended cold inflation pressure is the correct pressure for the vehicle.
- Park the RAV4 for at least three hours so the tires are cold.
- Check all four tires with a reliable gauge.
- Inflate the suspect tire to the recommended cold pressure.
- Write down the reading and recheck it the next day.
- If the same tire drops again, inspect it for a leak.
Warning: Do not keep driving on a visibly low tire. Underinflation builds heat inside the tire and can lead to internal damage or tire failure. Install the spare, use roadside assistance, or drive only as far as necessary to reach safe service if the tire is losing air quickly.
How to Diagnose a RAV4 Tire Bead Leak Yourself
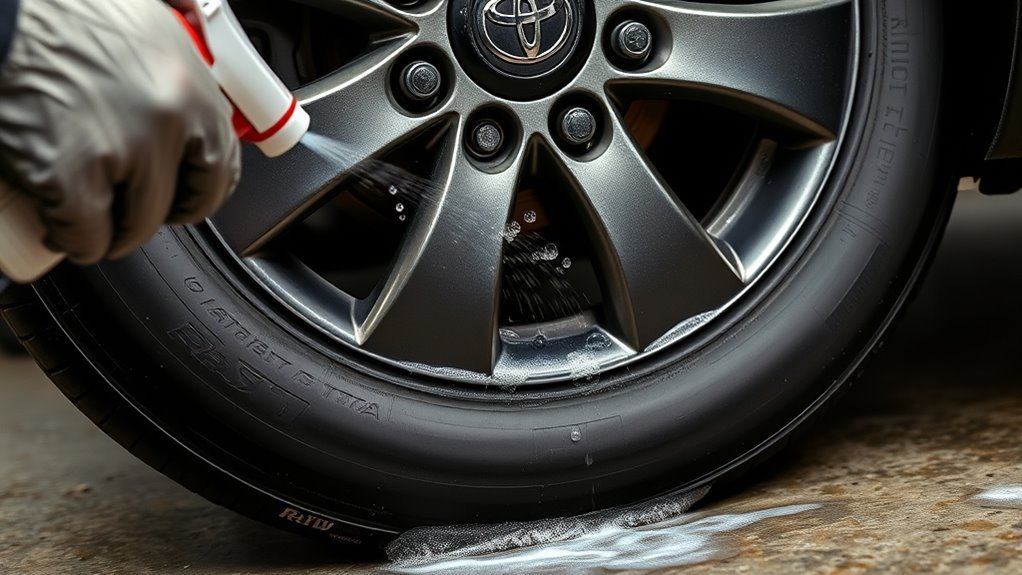
You can often confirm the leak location before visiting a tire shop. Work on a parked, stable vehicle and never place your body under the vehicle unless it is properly supported with approved jack stands.
1. Inspect the Tire and Wheel
Look closely at the tread, sidewall, valve stem, and rim edge. Remove small stones from the tread grooves, but do not pull out a nail or screw unless you are ready for the tire to lose air. Check the rim for curb rash, cracks, bends, corrosion, or flaking clear coat near the bead area.
2. Use the Soapy-Water Test
Mix water with a few drops of dish soap in a spray bottle. Inflate the tire to the correct cold pressure, then spray the solution around these areas:
- the full circumference where the tire meets the rim on both sides, if accessible;
- the valve stem and valve core;
- the tread surface, especially around nails, screws, or cuts;
- any damaged section of the wheel lip.
Watch for steady, repeating bubbles. Bubbles at the rim edge point toward a bead leak. Bubbles at the valve stem point toward a valve or TPMS seal problem. Bubbles from the tread point toward a puncture.
3. Mark the Leak Location
If bubbles appear, mark the area with chalk or a small piece of tape. This helps the tire technician inspect the exact area instead of starting from scratch.
Pro Tip: If you cannot find bubbles but the tire still loses air, test again after the tire has cooled overnight. Some bead leaks show up more clearly when temperature changes slightly alter tire pressure and the wheel-to-tire seal.
How to Identify the Leak Source
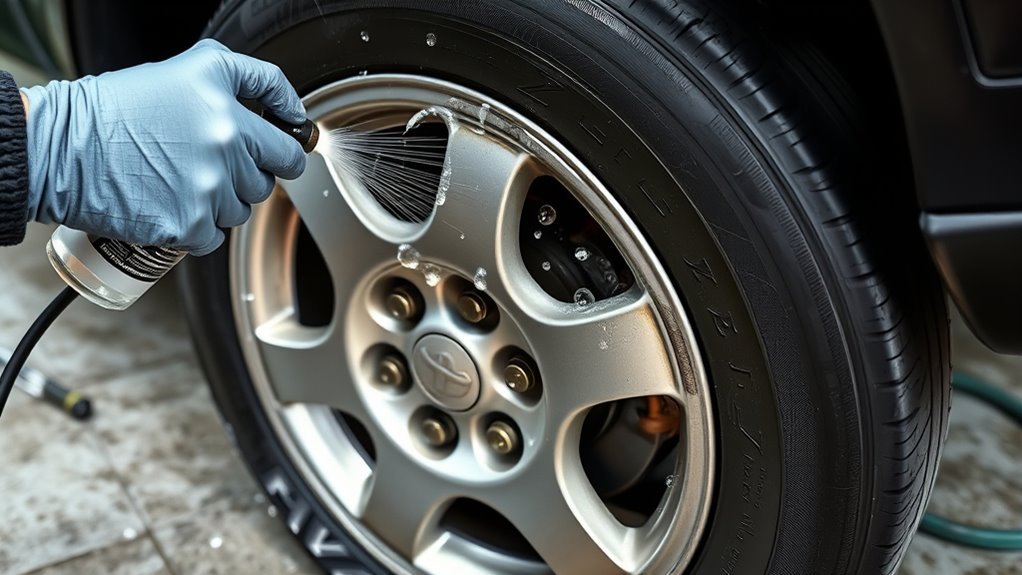
Use this table to separate a bead leak from other common slow-leak causes.
| Where Bubbles Appear | Likely Cause | Best Next Step |
|---|---|---|
| Along the rim edge where the tire meets the wheel | Bead leak from corrosion, debris, bead damage, or poor seating | Have a tire shop demount, inspect, clean, reseat, and leak-test the assembly. |
| Around the valve stem or valve core | Valve stem, valve core, or TPMS seal leak | Replace the faulty valve component or TPMS service kit. |
| From a nail, screw, or small tread puncture | Repairable puncture if it is within the approved tread repair area | Ask for a proper internal patch-plug repair after the tire is removed and inspected. |
| From the sidewall, shoulder, crack, or bulge | Unsafe tire damage | Do not repair; replace the tire. |
| From a cracked or bent wheel | Wheel damage | Have the wheel inspected for repair or replacement before reusing it. |
What to Do If You Suspect a Tire Leak
If you suspect a bead leak, start with a careful visual inspection and a pressure reading. If the tire is very low, damaged, bulging, or losing air quickly, do not continue driving normally. Use the spare tire if your RAV4 is equipped with one, call roadside assistance, or go directly to a tire shop at low speed only if it is safe and the tire can hold enough air.
If the soapy-water test points to the bead, avoid pouring emergency tire sealant into the tire as a permanent fix. Sealant can make later inspection harder and may not solve corrosion, bead damage, or a bent wheel. A shop needs to inspect the bead seat directly.
[Products Worth Considering]

Vigorder rubber cement glue delivers superior adhesion and cures quickly within about 30 seconds for seamless rubber bonding. Once cured, it helps provide a strong, durable, waterproof seal that holds up to vehicle weight, pressure, and heat. Suitable for cars, motorcycles, trucks, bicycles, and off-road tires, it’s designed for emergency patch and maintenance repairs.

TireJect Off-Road Tire Sealant Kit provides 5-in-1 sealing to help fix tread punctures up to 3/8", sidewall punctures up to 3/8", bead leaks, slow leaks, and minor dry rot on low-speed tires. It permanently seals with liquid rubber, recycled tire particles, and Aramid fibers, making it ideal for flats caused by thorns, nails, and screws. The included dispensing cap attaches to the valve stem for a no-mess installation, along with a metal valve core remover tool and valve stem cap. This kit is for off-road use only.

Malco tire mounting and demounting lubricant is a ready-to-use tire lube formulated to reduce friction during tire installation for passenger cars, light trucks, farm tires, and heavy-duty equipment. It provides rust-inhibiting protection to help reduce corrosion on rims and wheels, and helps support proper tire bead seating during inflation to reduce air leakage. The silicone-free, soap-free formula is whitewall safe to help prevent discoloration on whitewall tires and sensitive sidewall markings.
What to Expect From Professional Tire Bead Repairs
A proper bead-leak service usually includes more than simply adding air. A tire technician may:
- Remove the wheel and demount the tire so the inside of the tire and the wheel bead seat can be inspected.
- Check the tire bead for tears, stretching, cuts, or mounting damage.
- Clean the bead seat to remove corrosion, old rubber, debris, or flaking finish.
- Inspect the wheel for cracks, bends, porosity, or severe corrosion.
- Replace valve or TPMS seals if they are leaking or aged.
- Apply professional bead sealer when appropriate after the sealing surface is cleaned.
- Reseat, inflate, balance if needed, and leak-test the tire before reinstalling it.
The U.S. Tire Manufacturers Association and the Tire Industry Association both emphasize that proper tire repair requires removing the tire from the wheel so it can be inspected internally. That matters because exterior leaks can hide internal damage.
[Products Worth Considering]
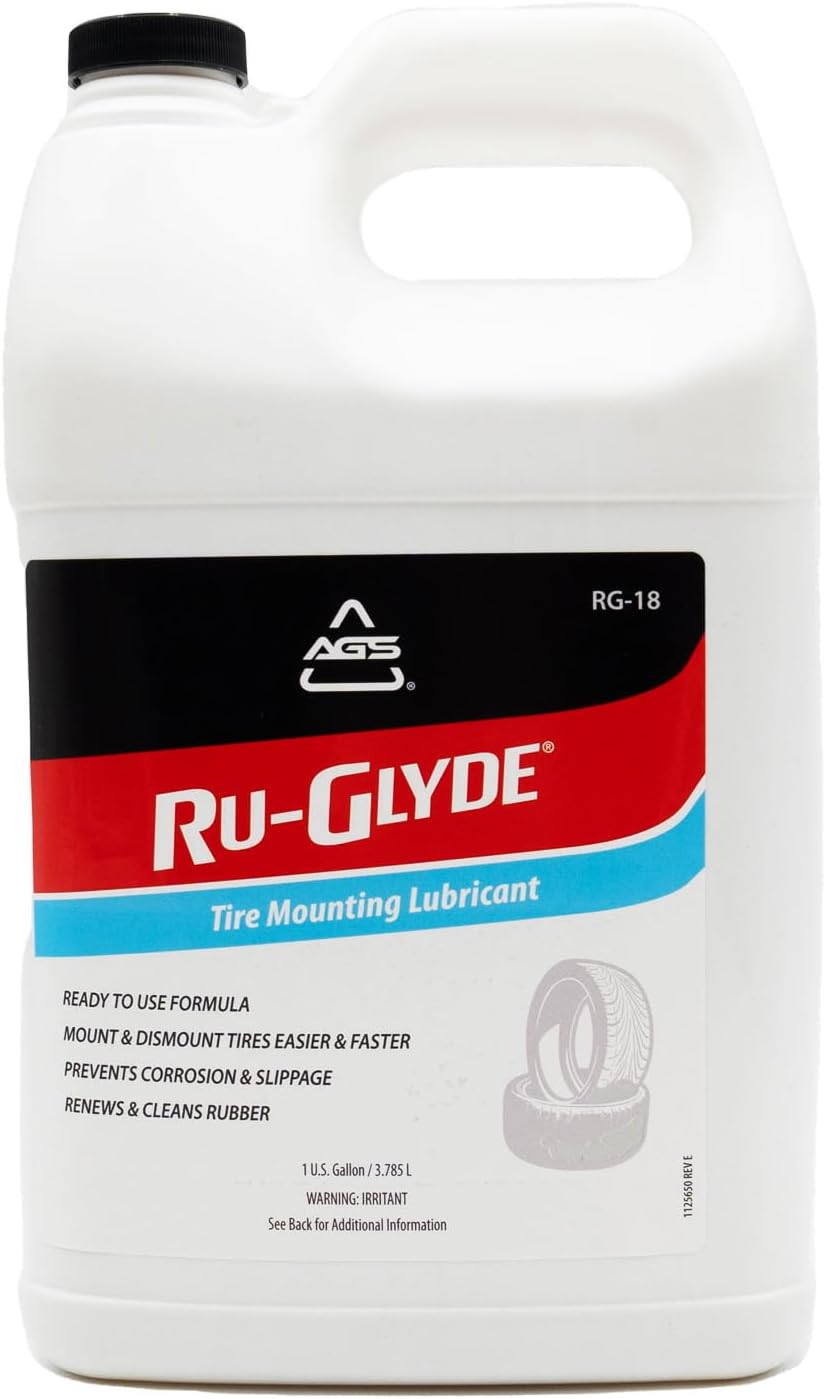
Ru-Glyde tire mounting lubricant from AGS seats tire beads smoothly on the first try with a thick, stay-put formula. It is ready to use with no mixing or dilution, helps prevent rim rust, and dries completely without causing bead slip residue. The water-based formula also conditions aged rubber, making it useful for sidewalls, gaskets, and door seals while remaining safe for tire, wheel, and technicians.

This VEVOR tire bead breaker uses a slide-hammer impact and wedge tip to separate tire beads from rims quickly and efficiently without damaging hub surfaces. The long handle and sturdy steel construction help reduce user strain while providing reliable, portable tire changing for cars, trucks, and more. Ideal for home mechanics and repair shops handling multiple vehicle tire sizes.

This Dr.Roc tire valve stem puller tools set helps install or remove snap-in tubeless valve stems safely and efficiently. It includes ozone-resistant EPDM snap-in valve stems, a valve stem installer, and a valve core remover for quick core removal or installation during tire service. Designed for reliable tubeless tire repair on motorcycles, ATVs, lawn equipment, cars, and trucks.
Can You Fix a Tire Bead Leak Yourself?
You can safely perform basic diagnosis, inflate the tire to the correct pressure, and mark the leak location. However, breaking the bead, cleaning corrosion, reseating the tire, and checking for internal tire damage require the right equipment and training.
Warning: Do not use fire, flammable sprays, ratchet straps, or explosive seating tricks to seat a tire bead. These methods can cause serious injury and damage the tire, wheel, TPMS sensor, or vehicle.
DIY repair is not recommended if you see any of the following:
- a torn tire bead;
- a sidewall cut, bulge, or exposed cord;
- a cracked or bent wheel;
- heavy corrosion around the bead seat;
- repeated air loss after a previous reseal;
- a tire that has been driven while very low or flat.
[Products Worth Considering]
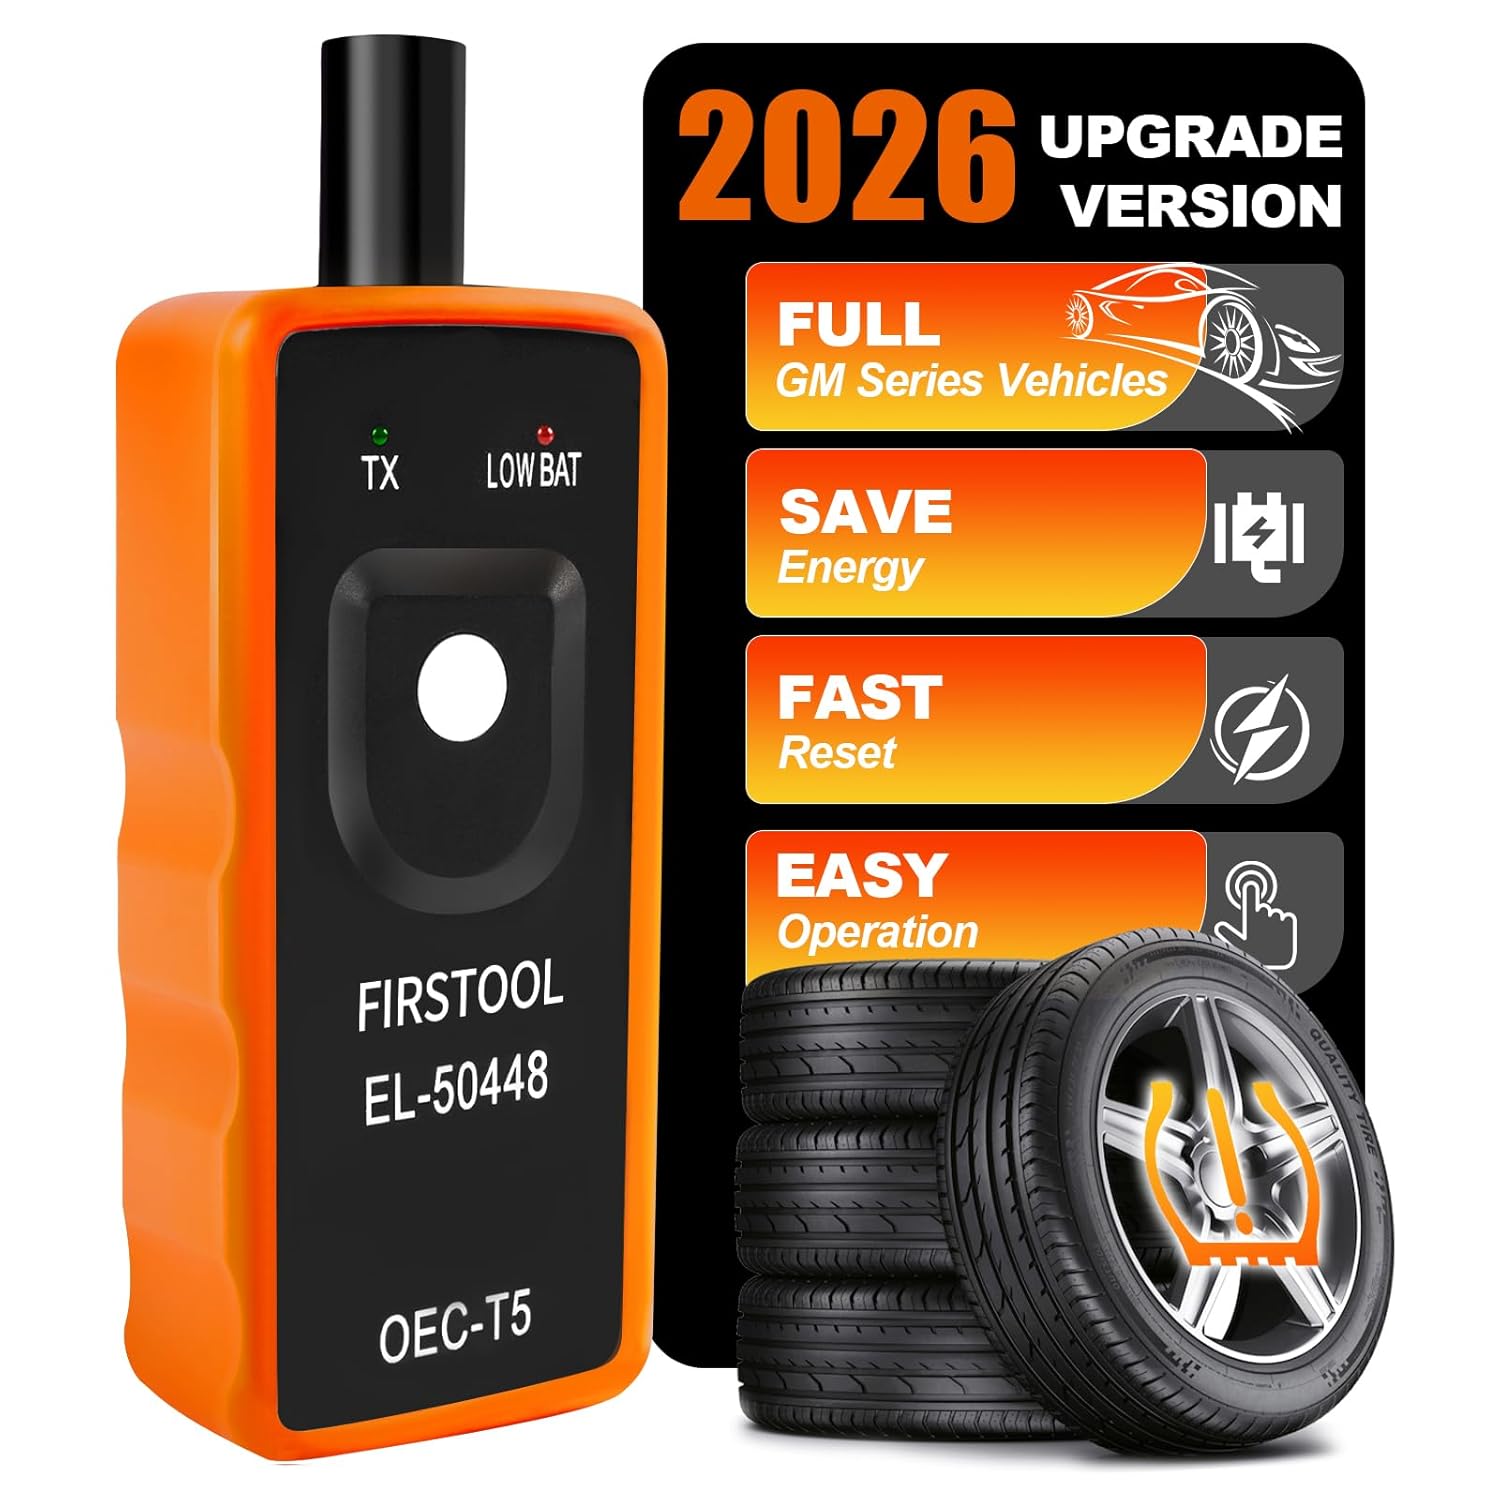
This TPMS relearn tool helps you quickly activate, match, and reset GM tire pressure sensors to keep the vehicle monitoring system working properly. It clears tire pressure alarms and dashboard warning lights after sensor replacement or tire rotation, and supports learning for common 315/433 MHz TPMS sensors. Designed for simple one-button operation, it can help you avoid unnecessary trips to repair shops.

The VEHLIVE SU-50448 II TPMS relearn tool provides a fast activation reset to restore accurate tire pressure monitoring after sensor replacement or tire rotation. It supports 315 MHz and 433 MHz GM series sensors and helps clear dashboard pressure warnings. With simple two-button operation and horn-confirmed relearning order, you can reprogram sensors conveniently at home.

Mosconly tire repair glue and nail kit delivers an elastic, waterproof bond for quick sidewall puncture repairs. The adhesive cures securely to help prevent peeling, flaking, and tearing, while the included nails support a strong, seamless repair. Designed for easy roadside use, it works on car, motorcycle, bike, and other tire types, with full curing within 24 hours.
Preventive Measures to Avoid Tire Bead Leaks
You cannot prevent every bead leak, but these habits reduce the risk:
- Check pressure monthly: USTMA recommends monthly tire-pressure checks and checks before long trips.
- Use the correct cold pressure: Follow your RAV4’s door placard or owner’s manual, not the tire sidewall maximum.
- Do not ignore repeat air loss: A tire that continually needs air should be inspected by a tire professional.
- Avoid curb and pothole impacts: Wheel lip damage can break the bead seal.
- Replace valve stems or TPMS service kits during tire service: Aging seals can leak and mimic bead problems.
- Ask the shop to clean bead seats during tire installation: Clean wheel surfaces help the tire bead seal evenly.
- Rotate tires on schedule: Follow your Toyota maintenance guide. If no interval is specified, USTMA recommends rotation every 5,000 to 8,000 miles.
When to Seek Expert Help for Tire Maintenance
Get professional help when the tire loses pressure repeatedly, bubbles appear at the bead, the rim is corroded or bent, or the sidewall shows damage. You should also visit a shop if the TPMS warning returns after you have adjusted the tire to the correct cold pressure.
Professional inspection is especially important before a long trip, after a pothole hit, after curb damage, or when the tire has been driven while low. Continuous reinflation is a sign that the tire, valve, rim, or bead seal needs service rather than more air.
Frequently Asked Questions
How much does it cost to fix a tire bead leak on a RAV4?
A simple bead cleaning and reseal is often a low-cost tire-shop service, commonly in the $20–$100 range depending on local labor rates and the shop. The price can increase if the wheel is bent, badly corroded, cracked, needs refinishing, or if the tire or TPMS valve parts must be replaced.
How do I tell if a tire bead is leaking?
Inflate the tire to the correct cold pressure, spray soapy water around the rim edge where the tire meets the wheel, and watch for steady bubbles. Bubbles at the bead area suggest a bead leak. Also test the valve stem, tread, and sidewall so you do not mistake another leak for a bead problem.
Can I drive with a tire bead leak?
Only if the tire can hold the correct pressure and the leak is very slow while you drive directly to a repair shop. Do not drive normally on a visibly low tire, a tire that loses air quickly, or any tire with sidewall damage, a bulge, exposed cord, or a cracked wheel.
How does a shop fix a leaking tire bead?
The shop usually removes the tire from the wheel, inspects the tire bead and inner liner, cleans corrosion or debris from the bead seat, checks the wheel and valve/TPMS seal, applies professional bead sealer if appropriate, reseats the tire, inflates it, and leak-tests it.
Will tire sealant fix a bead leak?
Emergency tire sealant may slow some leaks temporarily, but it is not a proper permanent bead-leak repair. A real repair requires finding the leak, inspecting the tire and wheel, cleaning the bead seat, and reseating or replacing parts as needed.
Can a bead leak come back after repair?
Yes. A bead leak can return if corrosion remains, the wheel is bent, the tire bead is damaged, the wrong sealant was used, or the valve/TPMS seal is also leaking. If the same tire repeatedly loses air after resealing, have the wheel and tire inspected again.
Conclusion
A RAV4 tire bead leak is usually a slow leak at the tire-to-wheel sealing surface, but it can become a safety issue if it causes repeated underinflation. Start with a cold tire-pressure check, use soapy water to locate bubbles, and compare the bead area with the valve stem, tread, sidewall, and rim. If bubbles appear at the rim edge or the tire keeps needing air, have a tire professional demount, inspect, clean, reseat, and leak-test the tire. Acting early is safer and usually less expensive than driving until the tire or wheel is damaged.
Sources
- NHTSA TireWise tire safety guidance — supports cold tire pressure checks, placard pressure guidance, and TPMS context.
- USTMA Tire Care Essentials — supports monthly pressure checks, TPMS limitations, tread checks, and tire rotation guidance.
- USTMA Tire Repair Basics — supports demounting and internal inspection for proper tire repair.
- Tire Industry Association tire repair guidance — supports safe tire repair limits and cautions against improper repairs.
- 49 CFR § 571.138 TPMS standard — supports federal TPMS significant-underinflation warning context.
- Toyota Owners Manuals and Warranties — supports checking the correct RAV4 model-year owner’s manual for tire pressure and TPMS instructions.

