
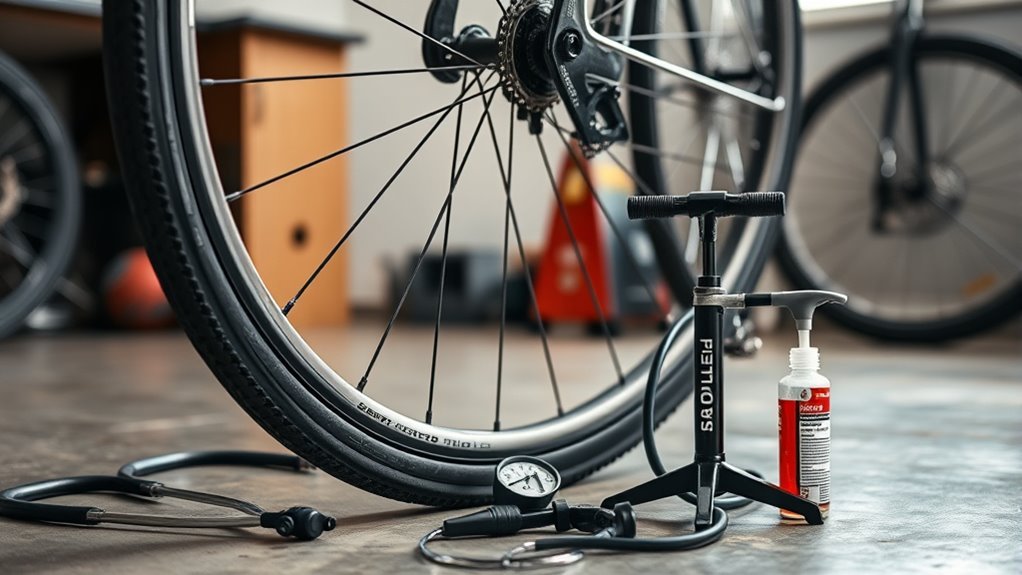
Good bike tire maintenance is simple: keep the pressure in range, inspect the rubber before rides, clean out sharp debris, refresh tubeless sealant on schedule, and replace tires before worn tread or damaged sidewalls turn into a flat or blowout. The goal is not to baby your bike; it is to spot the small stuff before it strands you.
Quick Answer
Check bike tires before every ride for proper pressure, cuts, embedded glass, bulges, and obvious tread wear. Wash and inspect them monthly, top up tubeless sealant every few months, and replace any tire with exposed casing, cracked sidewalls, repeated flats, or tread wear indicators that have disappeared.
Key Takeaways
- Use a reliable gauge; the correct tire pressure depends on tire size, rider weight, load, terrain, and the pressure range printed on the sidewall.
- Remove glass, thorns, wire, and sharp stones before they work deeper into the casing.
- Replace tires with exposed casing, casing bulges, cracked sidewalls, major cuts, missing tread wear indicators, or frequent unexplained flats.
- Tubeless tires still need service: check sealant level, clean dried clumps, inspect rim tape and valves, and refill with the volume recommended by the sealant maker.
- Carry a spare tube, tire levers, pump or CO2, patch kit, and tire boot so one small cut does not end the ride.
At a Glance
| Time Required | 2–3 minutes before a ride; 15–30 minutes for a full wash and inspection; 20–45 minutes for tubeless sealant service |
| Difficulty | Easy for pressure checks and cleaning; moderate for tubeless reseating |
| Tools Needed | Pressure gauge or pump with gauge, tire levers, mild soap, sponge, rag, valve-core tool, sealant injector, spare tube, patches, tire boot, and multi-tool |
| Cost | Usually $0–$15 for routine upkeep; more if sealant, tubes, plugs, or replacement tires are needed |
Quick Pre-Ride Tire Checks: Pressure, Cuts, and Foreign Objects
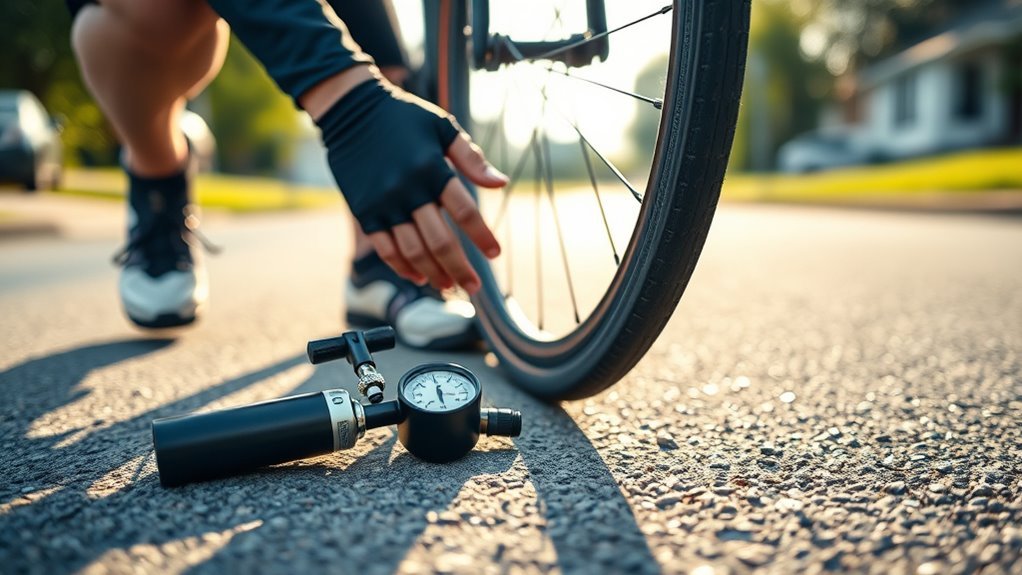
Before you roll out, give each tire a quick once-over. Start with tire pressure. Use a gauge or a pump with a gauge, then inflate within the pressure range printed on the tire sidewall. Do not treat the maximum PSI as the automatic target. According to Schwalbe’s inflation pressure guidance, the right pressure depends mainly on load, tire size, riding style, and comfort preference.
A good starting point is the middle of the tire’s printed range, adjusted for your setup. Heavier riders, cargo bikes, e-bikes, and loaded touring bikes usually need more pressure. Wider tires, rough roads, gravel, and wet streets often ride better with less pressure as long as you stay within the safe range for the tire and rim. Trek also notes that too little pressure can increase rolling resistance, pinch-flat risk, and tire wear, while too much pressure can make the ride harsh and reduce traction.
- Check pressure: use a gauge, not just a thumb squeeze, especially on high-pressure road tires.
- Squeeze the sidewalls: look for soft spots, bulges, or areas that feel weak compared with the rest of the tire.
- Scan the tread: remove glass, wire, thorns, flints, and sharp stones before they dig deeper.
- Inspect both sidewalls: cracks, cuts, scuffs, or exposed casing threads are warning signs.
- Spin the wheel: watch for wobble, a lifted bead, or a lump in the tire that could signal poor seating or casing damage.
Warning: Do not ride a tire with a bulging casing, bead damage, exposed cords, or a tube visibly pushing through a cut. A tire boot can get you home in some tubed setups, but it is a temporary emergency fix, not a permanent repair.
Temperature changes also matter. Cold weather can make pressure drop, and hot conditions can raise it. Check pressure when the tire is at outdoor riding temperature, not right after the bike has been sitting in a hot car or a cold garage. These quick checks keep the bike efficient, predictable, and much less dramatic.
How to Wash and Inspect Tires Step by Step
Those quick pre-ride checks are a good start, but a proper wash and close inspection catch damage a fast look can miss. You do not need harsh chemicals. Mild soap, water, a sponge, and a clean rag are enough for most bike tires.
- Remove loose debris first. Pick out stones, glass, wire, and thorns with care. Use tweezers or a small pick if needed, but do not gouge the rubber.
- Rinse the tire. Use water to loosen grit before scrubbing so you do not grind dirt into the tread or sidewall.
- Scrub the tread and sidewalls. Use mild bike wash or dish soap diluted in water. Avoid petroleum-based cleaners, solvents, and tire shine products, which can degrade rubber.
- Clean the bead area. Dirt near the bead can cause poor seating, slow leaks, or a rough feel when the tire is reinstalled.
- Dry the tire and rim. Wipe away water so you can see cracks, casing threads, and small cuts clearly.
- Inspect with your fingers and eyes. Run your fingers along the tread and sidewalls. Feel for raised glass, soft spots, flat sections, and hidden slices.
Look closely at the rear tire. It usually wears faster than the front because it carries more rider weight and drive force. Continental’s bike tire maintenance guidance says a flat spot or bare canvas in the center tread is a clear sign the tire needs replacement.
Pro Tip: After cleaning, mark small cuts with a tiny chalk dot or take a phone photo. If the cut grows, starts weeping sealant, or exposes casing threads, replace the tire instead of guessing.
Servicing Tubeless Tires: Cleaning and Replacing Sealant
Tubeless tires reduce many small puncture problems, but they are not fit-and-forget. Sealant dries out over time, especially in hot and dry climates, and a tire with dried sealant can lose its main flat-prevention advantage. Stan’s tubeless guide recommends topping off standard sealant every 2–7 months, with the exact timing depending on temperature, humidity, and sealant type.
For a quick top-off, many tubeless setups let you add sealant through a removable valve core. For a full service, remove the tire so you can clean dried sealant, inspect the casing, and check the rim tape.
- Deflate the tire fully. Press the valve until all air is released.
- Remove the valve core. Use a valve-core tool if your valve has a removable core.
- Break one bead loose. Keep the wheel over a tray or rag because old sealant can spill.
- Check the inside of the tire. Remove dried clumps, inspect for cuts, and wipe old residue from the bead seat.
- Inspect the rim tape and valve. Replace tape that is lifted, torn, wrinkled, or leaking around spoke holes.
- Add the correct sealant volume. Many road and gravel tires use about 1–3 oz, while mountain bike tires often need about 3–5 oz, but always follow the sealant maker’s chart for your tire size.
- Reseat the bead and inflate. Use a floor pump, compressor, or tubeless booster if needed. Keep fingers clear of the bead while inflating.
- Shake and rotate the wheel. Spread sealant across the inner casing, bead, and valve area.
- Check for leaks. Listen for hissing, look for bubbles, and recheck pressure after a short ride.
Note: CO2 can help seat a stubborn tubeless tire in the field, but some sealant makers recommend replacing CO2 with regular air afterward because prolonged exposure may shorten sealant life. Check your sealant manufacturer’s instructions.
Do not mix sealants unless both manufacturers say they are compatible. Different formulas can clump, separate, or reduce sealing performance. If you are switching brands, clean the tire and rim before refilling.
[Products Worth Considering]
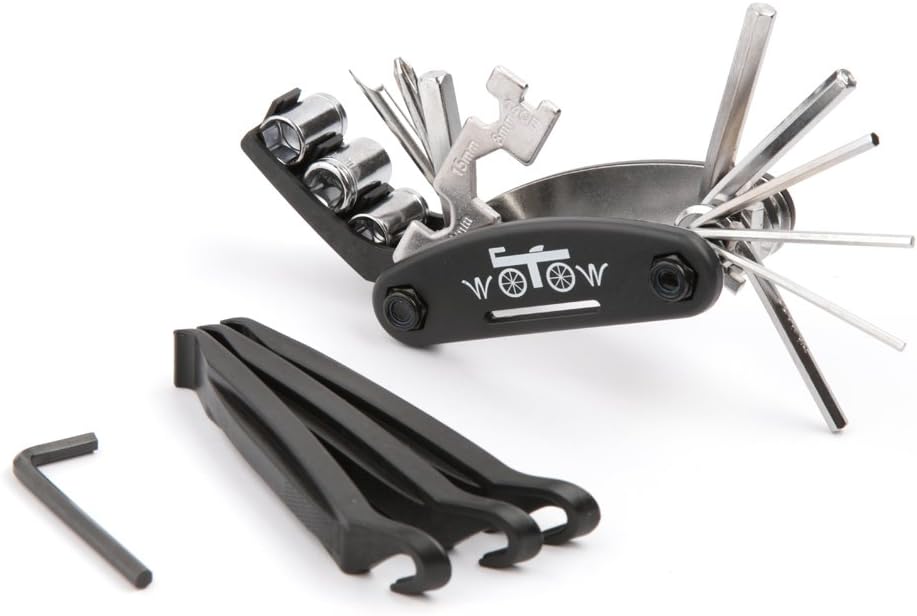
This WOTOW 16-in-1 bicycle multitool is built from corrosion-resistant chrome-vanadium steel for reliable, high-torque performance on the road or trail. It includes multiple hex sizes, a socket extension rod, flat wrench options, a spoke tool, a slot and cross screwdriver, plus three nylon tire levers to help you remove inner tubes and fix flats quickly. The compact folded design makes it easy to carry in a saddlebag or pocket, while an extra Allen wrench helps tighten or loosen stubborn hardware.
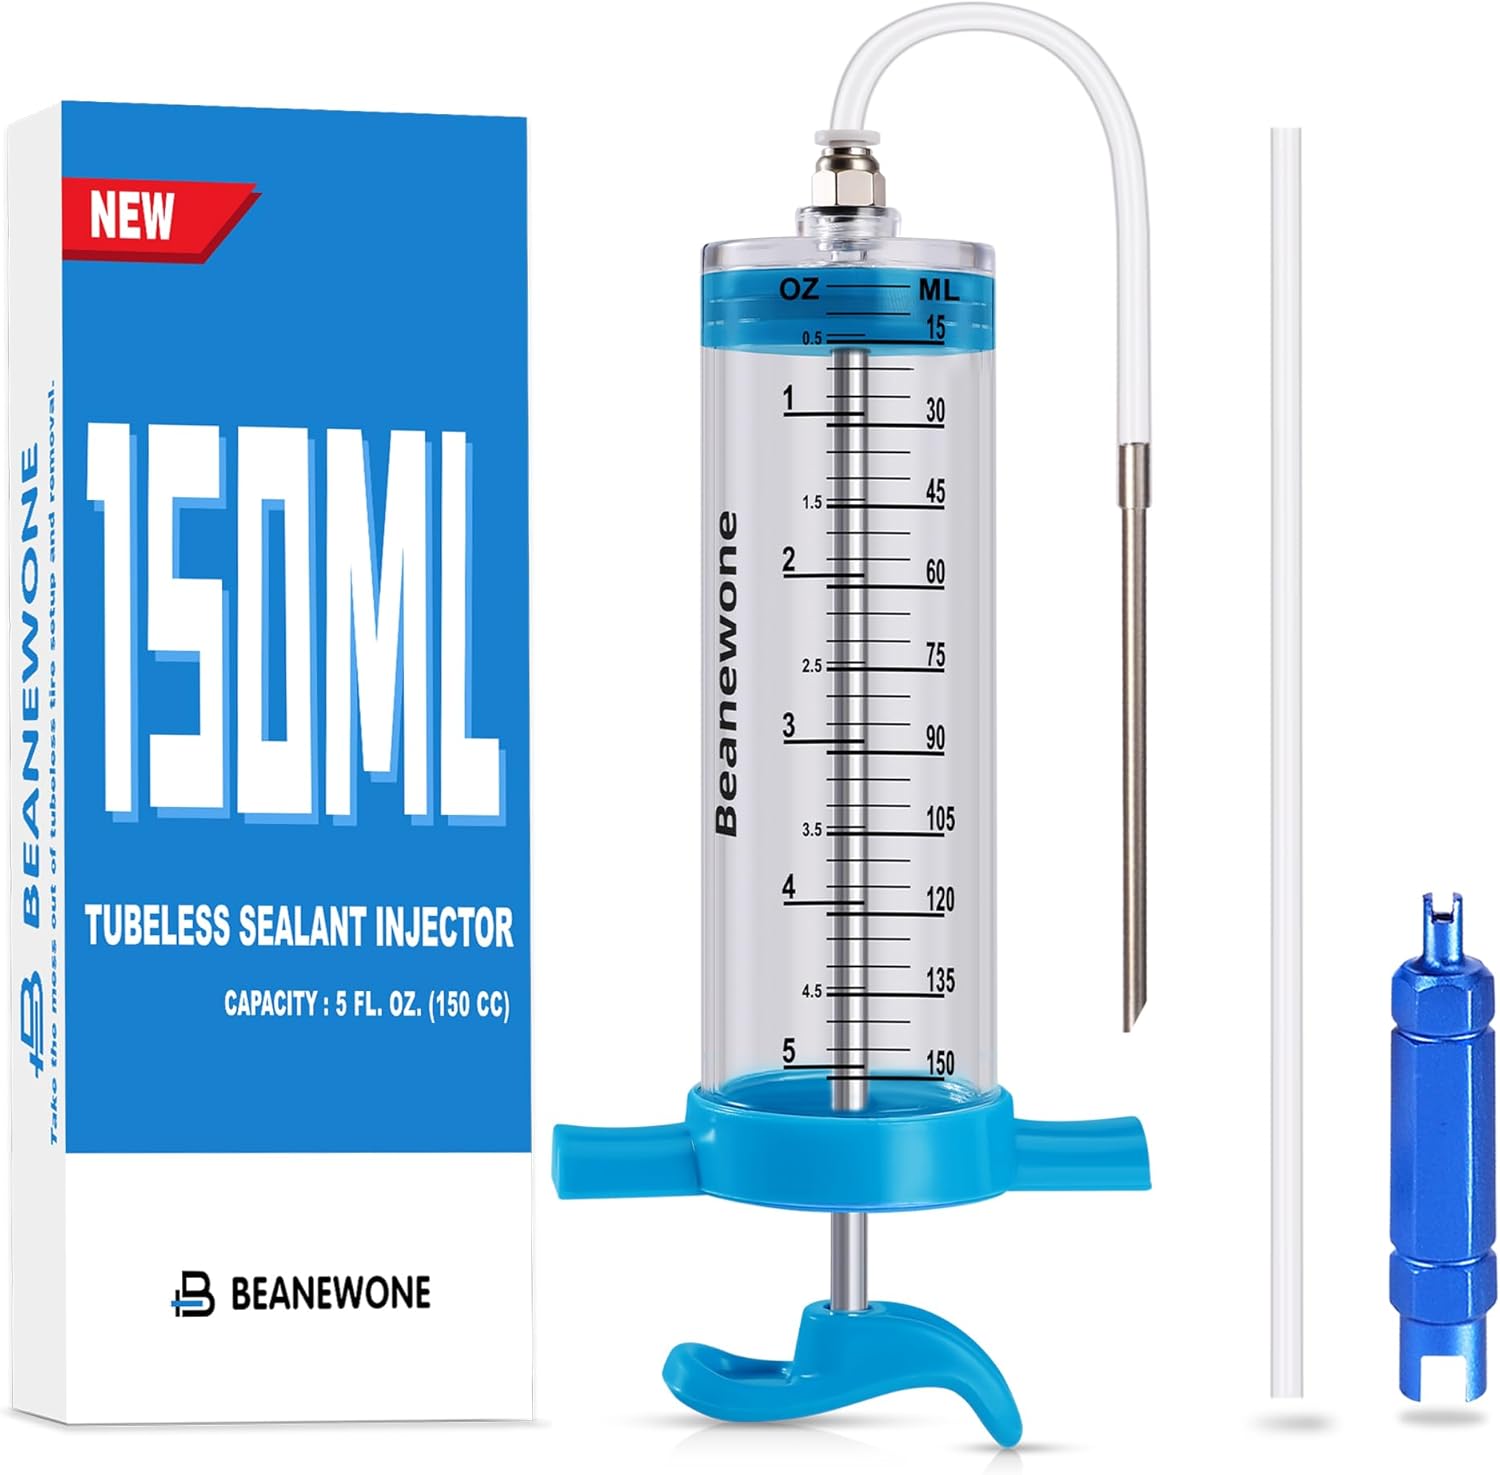
Make tubeless sealant installs faster and cleaner with this 150ml injector and clear measurement body. It connects and disconnects with a simple push-to-connector, then injects sealant directly into Schrader or Presta valve stems after removing the valve core. Includes a valve core remover tool to help you prepare and seal tires with less mess.

Orange Seal regular formula tubeless sealant quickly seals punctures and forms a durable bond inside your tire to help reduce flats. Made with natural latex, it adheres effectively to rubber and seals from the inside out, including the critical bead-to-rim interface for a reliable ride. It seals punctures up to 1/4 inch, slices up to 3/4 inch, and performs in temperatures as low as 11°F across MTB, road, cyclocross, gravel, and e-bike applications.
When to Replace Tires: Spotting Wear, Cuts, and Sidewall Damage
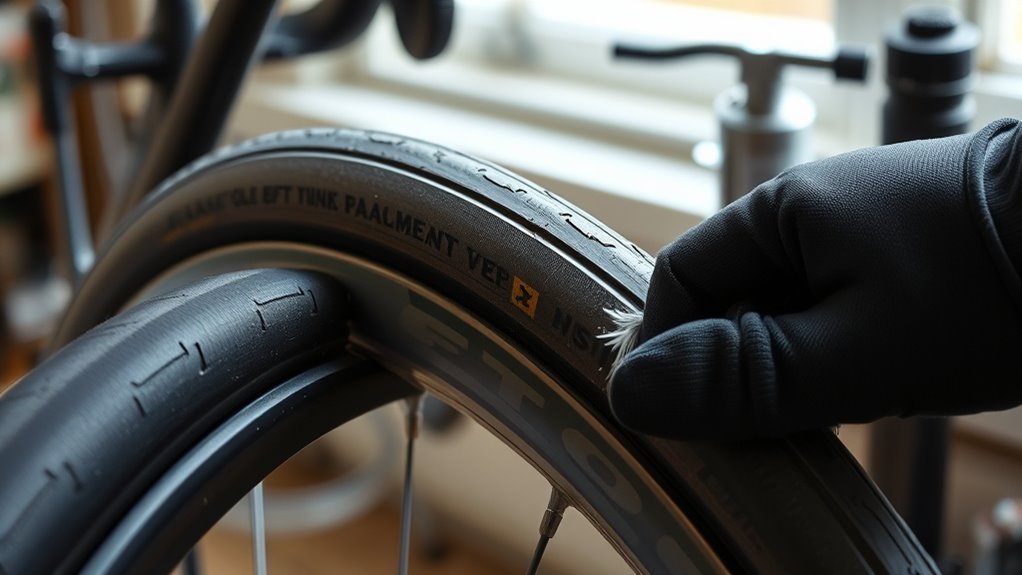
Replace bike tires before they fail, not after. There is no single tread-depth number that works for every bicycle tire because road slicks, commuter tires, gravel tires, and mountain bike tires wear differently. The safer rule is to follow the tire maker’s wear indicators and replace the tire when the casing, shape, or rubber tells you it is done.
Replace a tire if you see any of these signs:
- Exposed casing or threads: if the fabric layer is visible, the rubber is too worn.
- Tread wear indicators are gone: many road tires have small dimples or marks that disappear when the tire is worn out.
- Flat center profile: a squared-off road tire can corner poorly and puncture more easily.
- Large tread cuts: replace the tire if a cut reaches the casing, spreads, or lets the tube bulge.
- Sidewall cracks or dry rot: cracked rubber can signal age, UV damage, poor storage, or long use at low pressure.
- Bulges or soft spots: these usually mean casing damage and can lead to sudden failure.
- Repeated flats: if pressure, rim tape, and tubes are fine but flats keep happening, the tire may be too thin or damaged.
- Loose or damaged bead: a tire that will not seat evenly or blows off the rim should be replaced.
Age matters too, but it is not a fixed countdown. A tire stored in a cool, dry, dark room may last much longer than one kept in sun, heat, ozone, or damp conditions. Inspect older tires carefully for cracking, hard rubber, and sidewall weakness even if the tread still looks usable.
A tire with good tread but a damaged sidewall is not a good tire. Sidewall strength is part of what keeps the casing stable under load, cornering, and braking.
[Products Worth Considering]

A portable bicycle repair bag built for on-the-go maintenance, pairing a scalable mini tire pump with a multi-tool, crank and bone wrenches, tire levers, and self-adhesive glueless patches. The included patch set helps you quickly seal punctures using the integrated prep/rasp step, while the waterproof nylon bag keeps tools organized and easy to access. Ideal for road, mountain, and home bike emergencies, repairs, and routine adjustments.
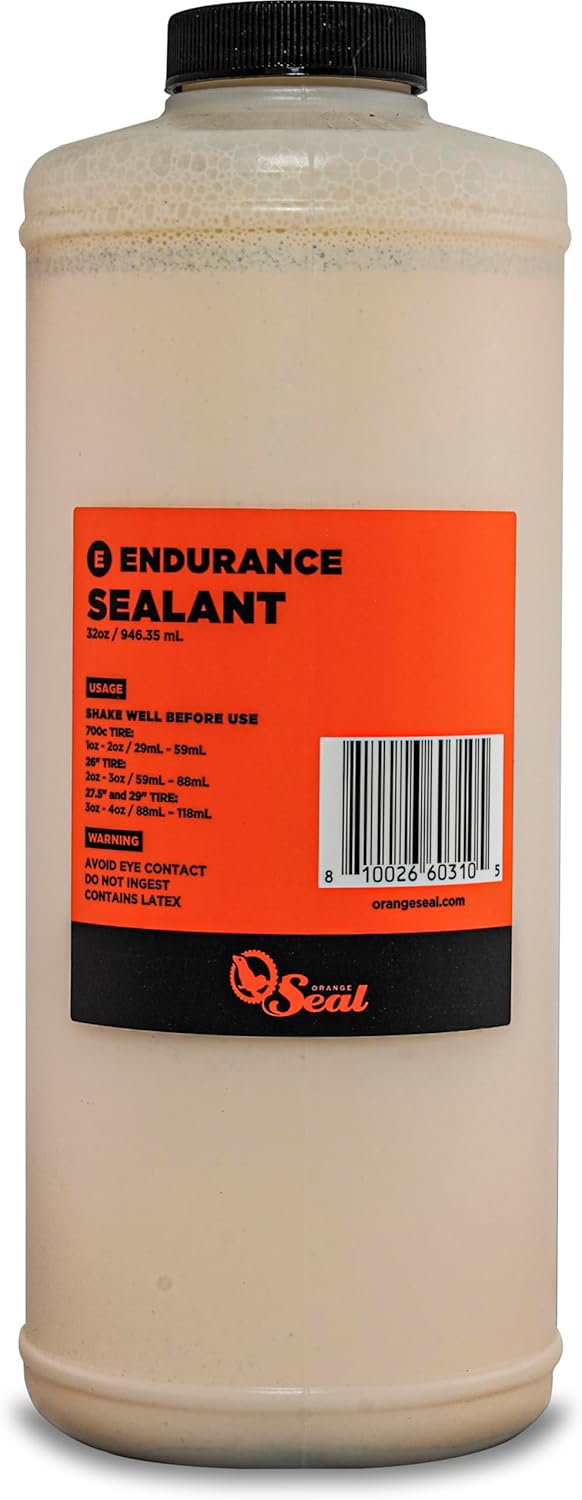
Orange Seal Endurance Formula delivers long-lasting latex protection with a durable sealant that can stay effective for 60–120 days between top-offs. It uses nanite particles to rapidly seal punctures up to 1/4" and slices up to 1/2", helping maintain reliable tubeless performance across MTB, road, CX, and gravel conditions. The biodegradable formula is engineered to work across major tubeless-ready and UST brands and a wide range of rubber compounds.

This Hycline 2-pack mountain bike tire set delivers durable, puncture-resistant performance with a high-grip, aggressive tread designed for traction on hard surfaces and confident handling through mud and soil. Includes matching inner tubes and tire levers for easier everyday maintenance and quicker installation after folding storage. Built for a range of riding conditions with reinforced rubber and nylon cord for wear-resistant reliability.
Tire Maintenance Tools, Schedule, and Field Troubleshooting
Now that you know what to inspect, make a simple upkeep plan and carry the right tools. Small tire problems are much easier to fix at home than on the shoulder of a road, in the rain, or halfway through a trail loop.
[Products Worth Considering]

Upgrade your ride with a 2-pack set of 26x1.95 folding mountain bike tires built for dependable traction on mud, rocks, and trail surfaces. A reinforced puncture-resistant layer helps protect against sharp debris, while included butyl inner tubes provide strong sealing and shock absorption. Ready for fast swaps with included tire levers and universal sizing for most bikes.

The TOOLITIN floor bike pump delivers high pressure performance with an easy-to-read gauge so you can dial in the right tire pressure for safer rides. It is compatible with both Presta and Schrader valves and features a stable, durable design for efficient pumping. Suitable for road, MTB, and hybrid tires as well as inflating sports balls and other inflatables, it also includes ball and bladder needles and convenient accessory storage.

This PXZBLG bike repair kit helps you tackle common tire and on-the-ride issues with a compact, ride-ready tool collection. It includes a mini tire pump supporting both Presta and Schrader valves, a 16-in-1 bike multitool, tire levers, glueless patches with a plastic box, plus 4mm and 5mm Allen wrenches. A convenient bike bag stores everything so you can mount it on your road bike or mountain bike for lightweight, portable preparedness.
Basic Bike Tire Tool Kit
- Floor pump with gauge: best for home pressure checks.
- Mini pump or CO2 inflator: useful for roadside inflation.
- Tire levers: choose sturdy levers that will not damage the rim.
- Spare tube: even tubeless riders should carry one for larger cuts.
- Patch kit: helpful when you get more than one flat.
- Tire boot: covers a casing cut long enough to ride home in many tubed setups.
- Tubeless plug tool: plugs punctures too large for sealant alone.
- Valve-core tool: needed for many tubeless top-offs and clogged valves.
- Multi-tool: helps remove wheels, adjust brakes, or fix small issues after a flat.
Simple Maintenance Schedule
| When | What to Do |
|---|---|
| Before every ride | Check pressure, spin wheels, inspect for cuts, and remove obvious debris. |
| Weekly | Look closely at tread, sidewalls, valve stems, and rim tape symptoms such as slow leaks. |
| Monthly | Wash tires, inspect the bead, check for cracking, and verify pressure with a reliable gauge. |
| Every 2–7 months for tubeless | Top off sealant based on climate, tire size, and the sealant maker’s instructions. |
| After any hard impact | Inspect the tire, rim, bead, and sidewall for cuts, dents, bulges, or sudden wobble. |
How to Handle a Flat in the Field
If you get a flat with a tubed tire, remove the wheel, take off one side of the tire bead, pull out the tube, and inspect the inside of the tire before installing a spare. Do not skip that inspection. The thorn or glass that caused the first flat can puncture the new tube immediately.
For tubeless tires, first rotate the puncture to the bottom and give the sealant a moment to work. If it keeps leaking, use a tubeless plug. If the cut is too large for a plug, install a spare tube and use a boot inside the tire if the casing is sliced. Ride gently home and replace the tire if the casing is compromised.
Warning: After any roadside repair, test the brakes before riding away. Removing and reinstalling a wheel can shift the axle position, rotor, or brake alignment.
Frequently Asked Questions
How do temperature changes affect bike tire pressure?
Cold conditions can lower tire pressure, and hot conditions can raise it. Check pressure with a gauge before the ride, especially when the bike has moved from a warm indoor room to cold outdoor air or from a cool garage into summer heat.
Can tire sealant cause skin irritation or allergic reactions?
Yes. Some tire sealants can irritate skin or trigger allergic reactions, especially formulas that contain latex or sensitizing ingredients. Wear gloves, avoid breathing spray or mist, wash exposed skin with soap and water, and review the product’s safety data sheet from the manufacturer.
Are there eco-friendly ways to dispose of old bike tires and tubes?
Yes. Ask local bike shops, municipal recycling programs, or tire collection sites whether they accept bicycle tires and tubes. Rules vary by location, and the U.S. EPA notes that used tires are mainly managed at the state level, so local guidance matters.
Does wheel alignment affect bicycle tire wear?
Bikes do not use car-style wheel alignment, but tire wear can still be affected by wheel dish, frame or fork damage, brake rub, loose hubs, poor installation, and riding with too little pressure. If wear is uneven or the bike pulls, wobbles, or tracks oddly, have the wheel and frame checked.
Can tire additives improve puncture resistance long-term?
Tubeless sealant and tube sealants can reduce flats from small punctures, but they do not make a worn or damaged tire safe. Keep sealant fresh, maintain proper pressure, remove embedded debris, and replace tires with casing damage, sidewall cracks, or worn-out tread.
Should I rotate bicycle tires?
Usually, no. The rear tire often wears faster, but moving a worn rear tire to the front can reduce front-end grip, where control matters most. If you want to reuse a partly worn front tire, a safer approach is to move the front tire to the rear and install a fresh tire on the front.
Conclusion
You think tires are just round rubber that magically holds you up? Think again. Keep checking pressure, pokes, glass, and sidewall damage before you ride. Wash the tires often enough to see what is happening, refresh tubeless sealant before it dries out, and do not baby a sliced sidewall or exposed casing. Carry basic tools, practice roadside fixes, and replace questionable tires early. Do that, and your rides will be smoother, safer, and far less dramatic.
Sources
- Trek Bikes: Bike Tire Setup, Maintenance & Repair Guide — supports tire pressure, comfort, traction, and flat-prevention guidance.
- Schwalbe: Inflation Pressure — supports pressure-range and load-based inflation recommendations.
- Continental: Bike Tire Maintenance — supports replacement signs such as tears, flat spots, and bare casing.
- Stan’s: Tubeless Guide — supports sealant top-off timing and tubeless setup care.
- Stan’s: Technical Documentation and Safety Data Sheets — supports sealant handling and safety-data-sheet guidance.
- U.S. EPA: Used Tires Quick Start Guide — supports the note that used tire disposal and recycling rules are managed largely at the state level.

