
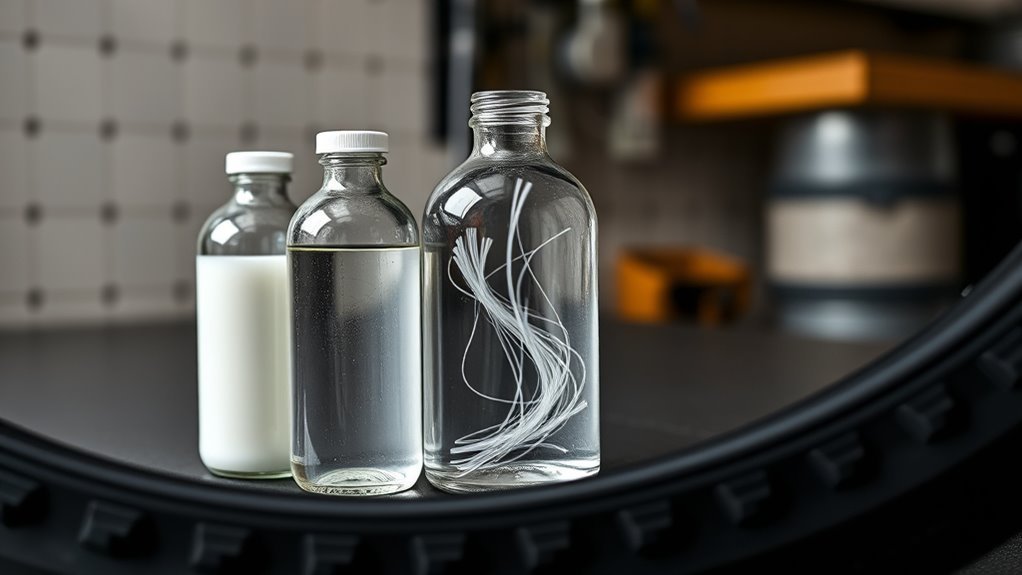
You’ll choose the right tubeless sealant by matching the formula to your tire size, riding style, climate, and maintenance habits. Standard latex sealants are light and fast for small punctures. Fiber- or carbon-reinforced latex formulas add more plugging power for rough terrain. Synthetic, ammonia-free, or plant-based options can be a better fit if you want lower odor, fewer compatibility worries, or a latex alternative.
Quick Answer
Choose standard latex sealant for fast, lightweight protection against small punctures. Choose a fiber- or carbon-reinforced sealant for gravel, MTB, racing, bikepacking, or bigger cuts. Choose a synthetic or ammonia-free option if you want lower odor, less mess, or better compatibility with sensitive rims and allergy concerns.
Key Takeaways
- No sealant is truly “set and forget.” Even long-life formulas should be checked because heat, dry air, punctures, and frequent pressure changes reduce usable liquid.
- Standard latex works well for common thorns and pinholes, but reinforced formulas usually perform better on larger cuts and rougher terrain.
- CO2 can save a ride, but many brands recommend replacing it with regular air and checking sealant afterward.
- Dosage depends on tire volume. Underfilling weakens sealing; overfilling adds weight and can clog valves.
At a Glance
| Time Required | 10–20 minutes to add or refresh sealant |
| Difficulty | Easy to moderate |
| Tools Needed | Valve core remover, sealant injector or measuring cup, floor pump or compressor, clean rag |
| Typical Cost | Varies by bottle size and formula; reinforced formulas usually cost more upfront |
Which Tubeless Sealant Should You Choose? Quick Recommendation
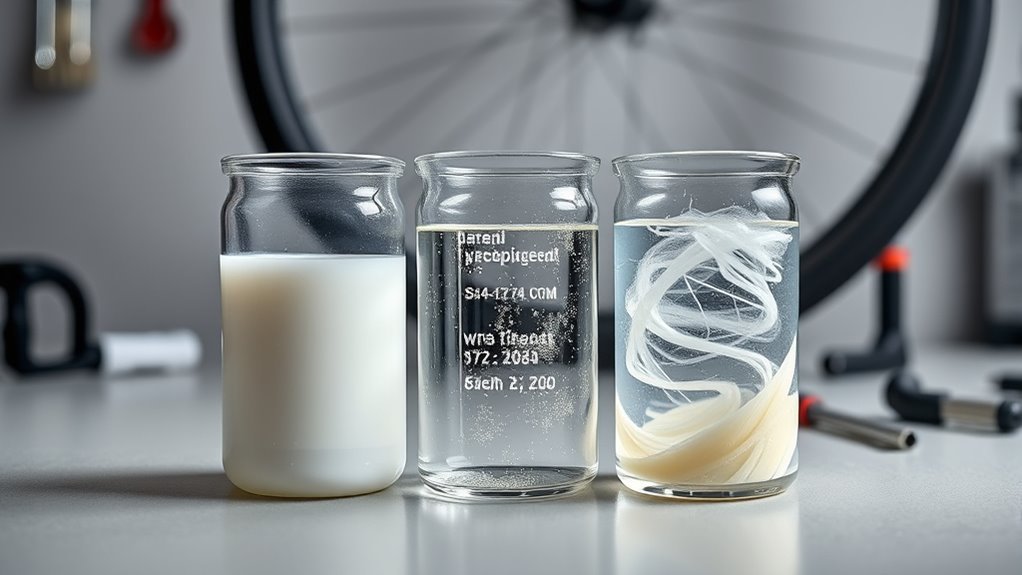
If you want the easiest choice, start with your riding conditions:
| Rider Type | Best Sealant Type | Why It Fits |
|---|---|---|
| Road rider chasing low weight | Standard latex | Fast response for pinholes and small cuts with minimal added mass. |
| Gravel rider | Reinforced latex or premium standard latex | Better support for casing seepage, thorns, and mixed-surface punctures. |
| Mountain biker | Fiber- or particle-reinforced formula | More material is available to bridge cuts from rocks, roots, and hard trail hits. |
| Bikepacker or low-maintenance rider | Long-life reinforced or synthetic formula | Longer refresh intervals reduce the chance of finding a dry tire mid-trip. |
| Rider with latex sensitivity concerns | Synthetic latex or latex-free formula | Some formulas avoid natural latex and ammonia; always check the label and safety sheet. |
For most riders, the best tubeless sealant is not the one with the boldest puncture claim. It is the one that stays liquid in your climate, works with your rim and tire, seals the punctures you actually get, and fits the maintenance schedule you’ll really follow.
Note: Many “fiber” sealants are still latex-based. The fibers, carbon strands, or particles reinforce the plug; they do not always mean the product is latex-free.
[Products Worth Considering]

Orange Seal regular formula tubeless sealant quickly seals punctures and forms a durable bond inside your tire to help reduce flats. Made with natural latex, it adheres effectively to rubber and seals from the inside out, including the critical bead-to-rim interface for a reliable ride. It seals punctures up to 1/4 inch, slices up to 3/4 inch, and performs in temperatures as low as 11°F across MTB, road, cyclocross, gravel, and e-bike applications.
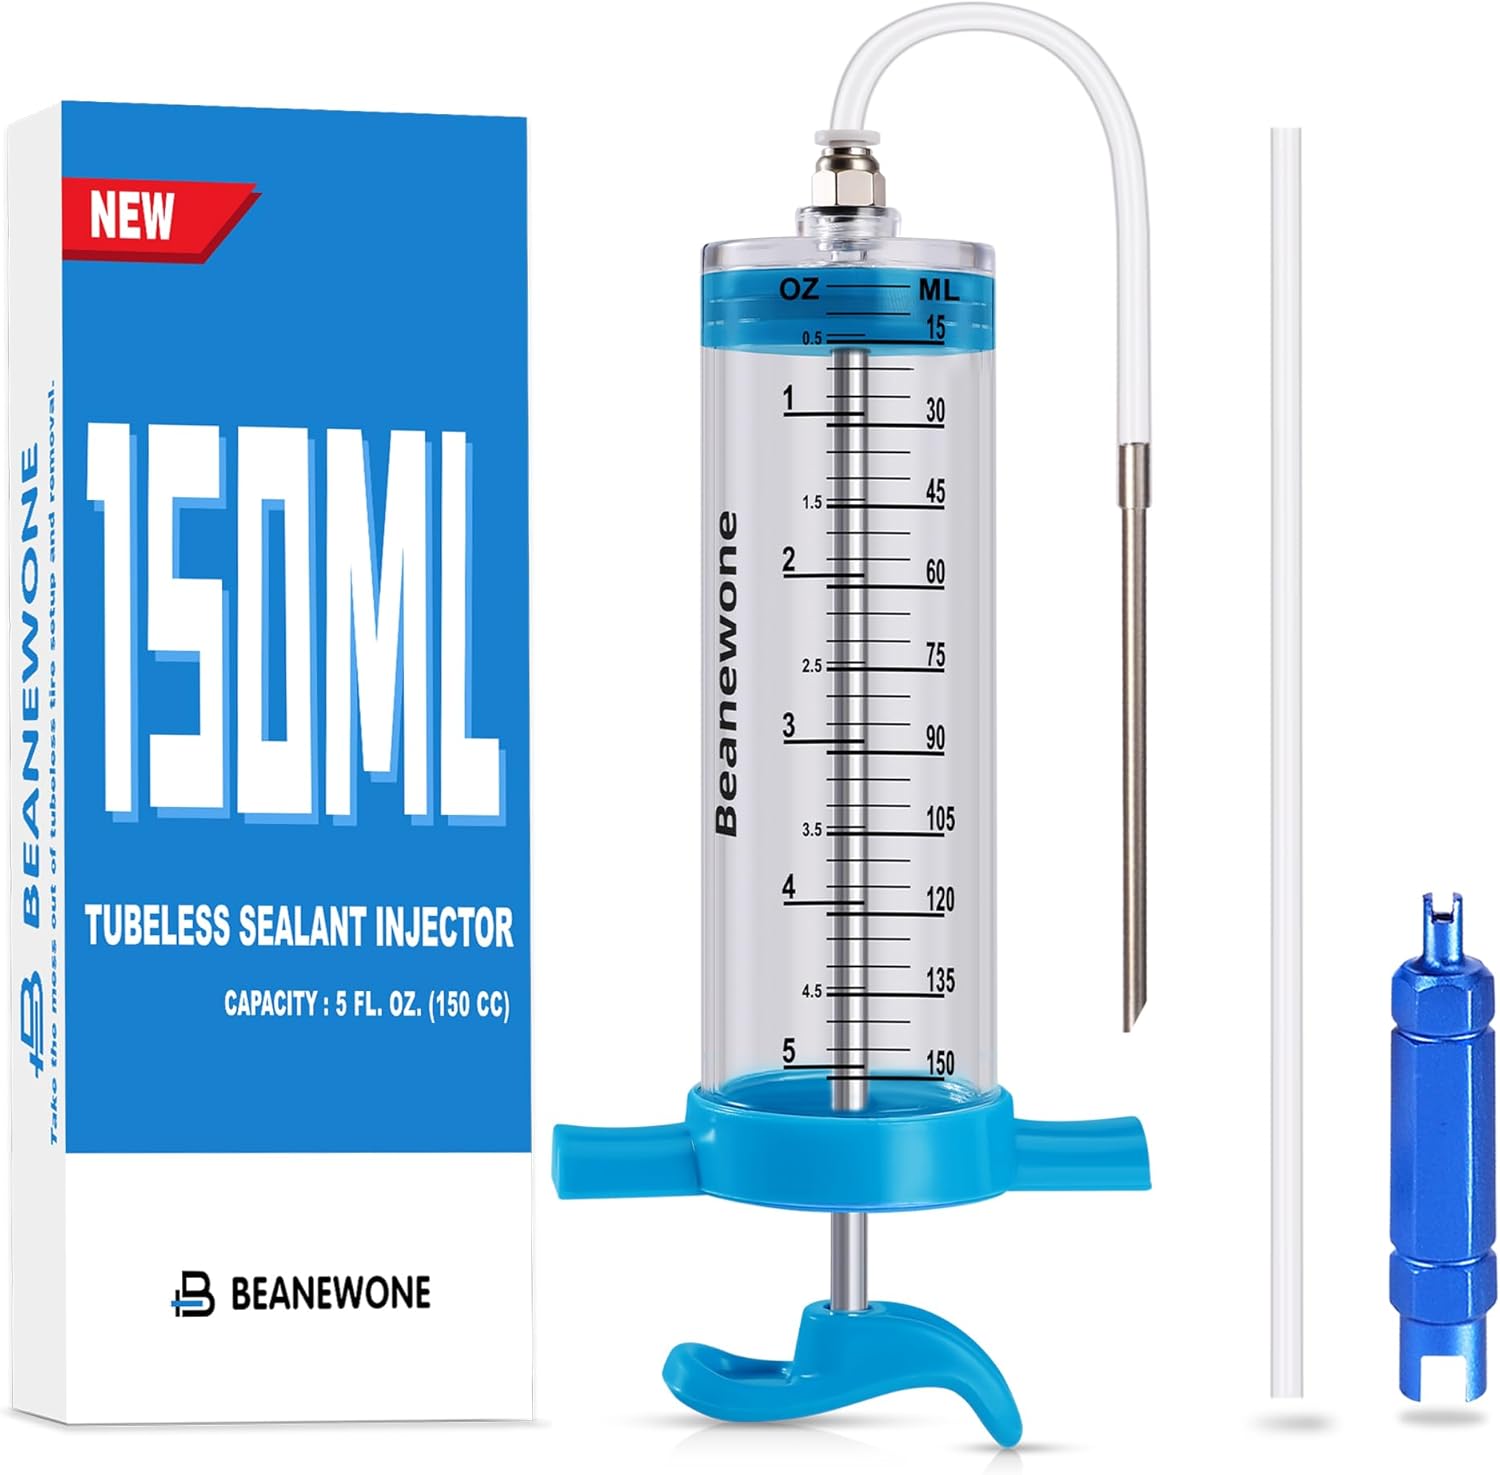
Make tubeless sealant installs faster and cleaner with this 150ml injector and clear measurement body. It connects and disconnects with a simple push-to-connector, then injects sealant directly into Schrader or Presta valve stems after removing the valve core. Includes a valve core remover tool to help you prepare and seal tires with less mess.
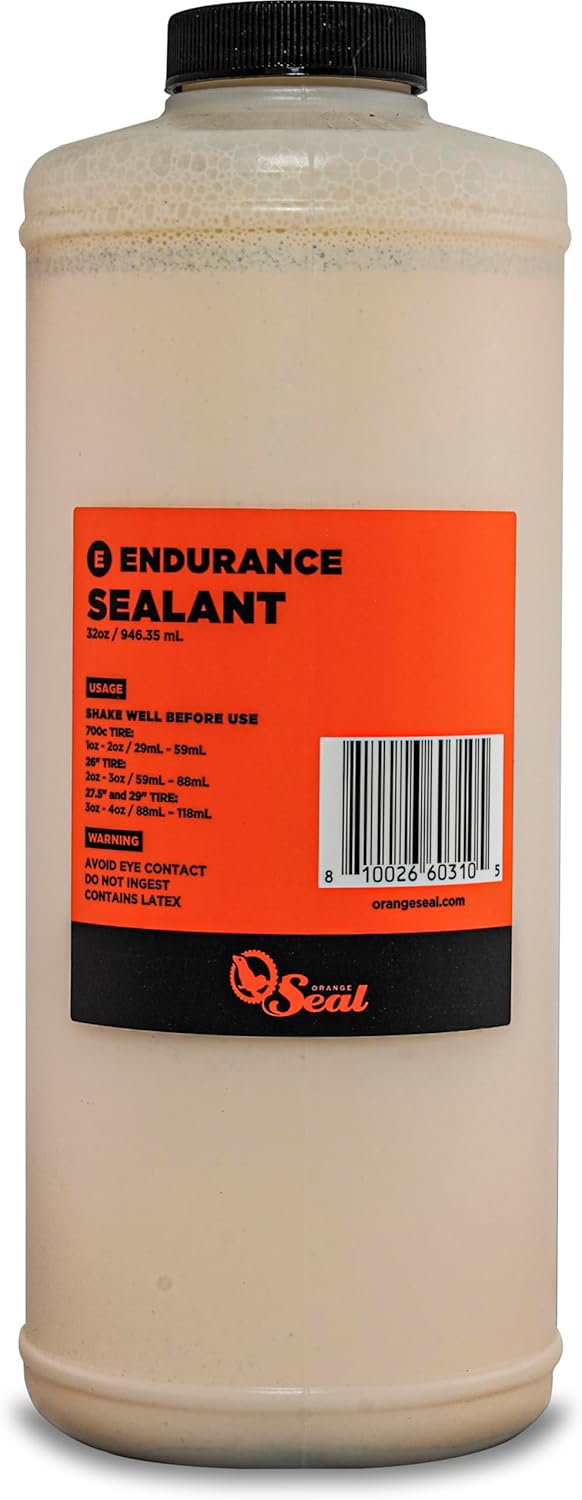
Orange Seal Endurance Formula delivers long-lasting latex protection with a durable sealant that can stay effective for 60–120 days between top-offs. It uses nanite particles to rapidly seal punctures up to 1/4" and slices up to 1/2", helping maintain reliable tubeless performance across MTB, road, CX, and gravel conditions. The biodegradable formula is engineered to work across major tubeless-ready and UST brands and a wide range of rubber compounds.
How to Compare Sealants: Hole Size, Sealing Speed, and Lifespan
Use measurable criteria instead of marketing language. A sealant that works beautifully in a low-pressure mountain tire may struggle in a narrow road tire at high pressure, and a sealant that seals a large hole in a test may still require more frequent top-ups in hot, dry weather.
The best tubeless sealant is the one that matches your tire pressure, puncture risk, climate, and maintenance habits—not simply the one with the largest claimed hole size.
| Comparison Point | What to Look For | Why It Matters |
|---|---|---|
| Maximum puncture size | Realistic claims around 3–6 mm for many bicycle formulas; some reinforced formulas claim 6 mm+ | Bigger claims are useful only if the sealant can hold pressure in your tire type. |
| Sealing speed | Fast coagulation for road; strong plug-building for gravel and MTB | The faster the seal forms, the less air you lose before continuing. |
| Lifespan inside tire | Manufacturer refresh interval, climate notes, and whether the formula dries quickly | Dry sealant cannot move to the puncture, so protection drops sharply. |
| Temperature range | Cold-weather rating and hot/dry maintenance advice | Cold can slow sealing; heat and dry air can shorten life. |
| Compatibility | Tubeless-ready tires, rim material, valve type, inserts, and CO2 guidance | A great sealant can still be a poor fit if it clogs your valve or conflicts with your setup. |
How Latex Tubeless Sealants Work: And When to Use Them
Latex tubeless sealants suspend rubber particles and other solids in a liquid base. When a puncture opens, air pressure pushes the liquid toward the hole. As air escapes, the latex coagulates and the particles help form a flexible plug.
This is why standard latex is popular for road, gravel, and mountain bikes. It reacts quickly to small holes, works well against thorns and pinpricks, and usually adds little weight. For example, Stan’s Original Tubeless Sealant lists compatibility with road, gravel, and mountain bike tires and notes a typical liquid life of 2–7 months, with more frequent checks in arid conditions.
Use latex sealant when you want:
- Fast sealing for small punctures and thorns
- A lightweight setup for road or performance gravel
- Easy valve injection with common tubeless tools
- A proven all-around option you are willing to check regularly
The trade-off is maintenance. Latex can dry into skin, clumps, or “sealant boogers,” especially in hot, dry conditions or tires that sit unused. Once it dries, it cannot flow to a new puncture.
Pro Tip: Shake the bottle hard before measuring. Sealant particles settle, and adding only the watery carrier fluid weakens puncture protection.
How Fiber-Reinforced Tubeless Sealants Work: And When They Outperform Standard Latex
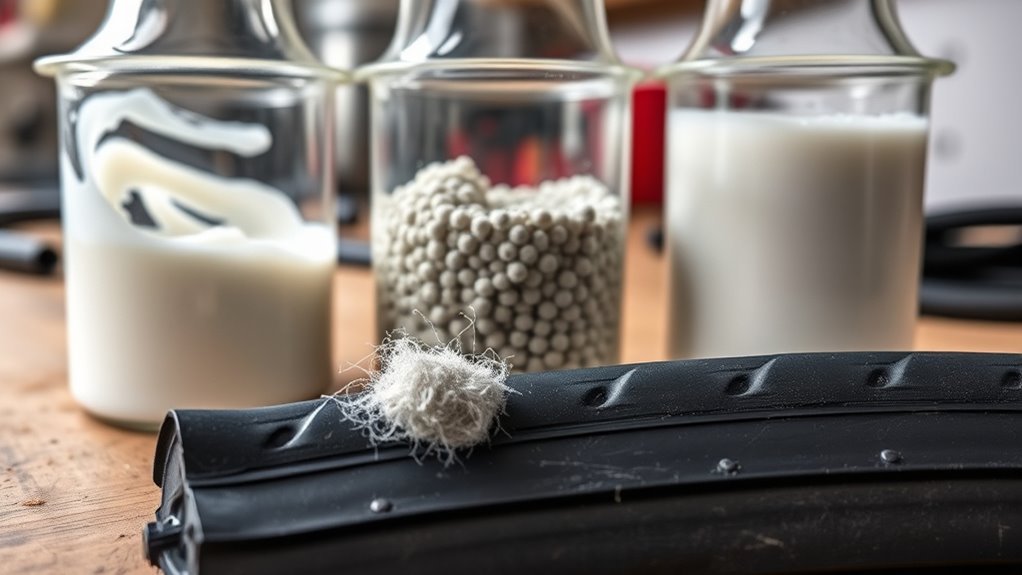
Fiber-reinforced sealants add structural material such as Kevlar fibers, carbon strands, or larger particles to help bridge a cut. The liquid carrier moves to the hole, the reinforcement catches at the puncture, and the latex or binder locks the plug in place.
Finish Line FiberLink, for example, uses Kevlar fibers with fast-acting natural latex and lists road, gravel, and mountain bike applications. SILCA Ultimate Tubeless Sealant uses optimized carbon fiber strands and lists 6 mm+ puncture sealing, 6+ months of life, ammonia-free chemistry, and cold testing down to -15°C / 5°F.
Choose a reinforced formula when you ride:
- Aggressive gravel with sharp rocks or debris
- Mountain bike trails with roots, square-edge hits, and casing cuts
- Bikepacking routes where a dry tire could ruin a remote day
- Road or gravel races where sealing speed and pressure retention matter
The downsides are cost, possible valve clogging, and compatibility. Some reinforced formulas are thicker or contain longer strands, so they may not inject cleanly through every valve or valve insert. Read the bottle before using an injector.
Are Hybrid Tubeless Sealants Worth It? Benefits and Trade-Offs
Hybrid sealants blend fast-sealing latex behavior with reinforcing particles, fibers, carbon strands, or synthetic additives. They are worth it if you want more puncture security than a basic latex formula but still want a liquid that moves quickly inside the tire.
[Products Worth Considering]

TireJect Off-Road Tire Sealant Kit provides 5-in-1 sealing to help fix tread punctures up to 3/8", sidewall punctures up to 3/8", bead leaks, slow leaks, and minor dry rot on low-speed tires. It permanently seals with liquid rubber, recycled tire particles, and Aramid fibers, making it ideal for flats caused by thorns, nails, and screws. The included dispensing cap attaches to the valve stem for a no-mess installation, along with a metal valve core remover tool and valve stem cap. This kit is for off-road use only.

Switch to tubeless with this Muc-Off rim tape designed to create an airtight seal for smooth-running setups. The pressure-sensitive adhesive offers the right stretch for strength and durability, while the semi-transparent material helps you locate the valve hole quickly. It includes four seal patches for a secure finishing seal after wrapping.

MetFun’s 40-piece tire repair screw plugs kit provides a fast DIY fix for tubeless punctures with two tubes of black tire sealant glue. The rubber repair screws are pre-coated and designed for a secure grip and double seal to help stop air leaks. With 2 screw sizes for small and larger punctures, it’s suitable for cars, motorcycles, trucks, tractors, lawnmowers, ATVs, and more—so you’re prepared for road trips and emergencies.
Performance Versus Longevity
Standard latex usually wins on simple, lightweight, fast action. Reinforced and hybrid formulas often win on bigger punctures, rough terrain, and longer service intervals. The right balance depends on how often you ride and how much maintenance you tolerate.
- For narrow road tires at higher pressure, prioritize fast sealing and pressure retention.
- For gravel tires, prioritize both sealing speed and enough solids to handle casing cuts.
- For MTB tires, prioritize larger-volume dosing, sidewall support, and stronger plug formation.
- For long trips, prioritize shelf stability, refresh interval, and field repair compatibility.
CO2 and Emergency Use
CO2 inflators are useful in emergencies, but they are not ideal for long-term sealant health. Stan’s support guidance says CO2 can be used if needed, but recommends letting it out after the ride or setup and replacing it with regular air because prolonged exposure can reduce sealant life or cause separation. Finish Line also says CO2 can be used with FiberLink in an emergency, but recommends refreshing soon after because CO2 reduces effectiveness.
Warning: Treat CO2 as a get-home tool, not a maintenance plan. After using CO2, deflate carefully, refill with regular air, spin the wheel, and check whether the tire still has enough liquid sealant.
Maintenance and Compatibility
Before buying, check four compatibility points: tubeless-ready tire, tubeless-ready rim, valve type, and manufacturer sealant guidance. Some tires and rims seal best with their own systems, while some premium formulas warn against specific valve designs or injection methods.
Also consider odor and rim care. Ammonia-free products can be easier to live with and may be preferred for some rim and workshop environments. Still, “ammonia-free” does not automatically mean maintenance-free. Any liquid sealant can dry, separate, or clog if neglected.
How to Add or Refresh Tubeless Sealant
Adding sealant is simple, but doing it cleanly prevents leaks, clogged valves, and underfilled tires.
- Check compatibility. Use tubeless-ready tires and rims, and follow the tire and rim maker’s pressure limits.
- Shake the sealant bottle. This redistributes fibers, particles, or latex solids.
- Remove the valve core. Use a valve core tool and keep the valve at about the 4 or 8 o’clock position so sealant does not immediately run back out.
- Measure the correct amount. Use the bottle guide, an injector, or a measuring cup.
- Inject or pour the sealant. Thin formulas usually inject well; thick reinforced formulas may be easier to pour into a partially mounted tire.
- Reinstall the valve core and inflate. Use a floor pump, booster, or compressor to seat the bead.
- Shake, rotate, and lay the wheel flat. Move sealant around both sidewalls and the bead seat.
- Recheck pressure after the first ride. New tubeless setups often need a short break-in period.
If the tire loses pressure overnight, do not automatically blame the sealant. Check the valve, rim tape, bead seating, sidewall seepage, and whether the casing needs more time for sealant to coat the inside.
CO2, Refreshing, and Rim Care: Compatibility and Maintenance
Good tubeless performance depends on more than sealant choice. Rim tape, valve sealing, bead seating, and cleaning all affect how well the system holds air.
Refresh sealant when the tire sounds dry, when air loss increases, after a major puncture, after heavy CO2 use, or at the interval printed on the bottle. Many riders check every 2–3 months, but hot, dry climates may require more frequent checks. Some long-life formulas can go longer, but the only reliable test is whether liquid is still inside the tire.
For rim care, remove old clumps before adding a different sealant, wipe the bead seat, and inspect tape for bubbles, tears, spoke-hole leaks, or sealant creeping under the tape. If sealant leaks through spoke holes, the problem is usually rim tape or the valve base—not the tire tread.
Note: Avoid mixing sealants unless both brands say it is acceptable. Different latex, synthetic, fiber, or particle systems can react poorly, clump, or reduce sealing performance.
Buying Guide for Tubeless Sealant: Dosage by Tire Type and Use Case
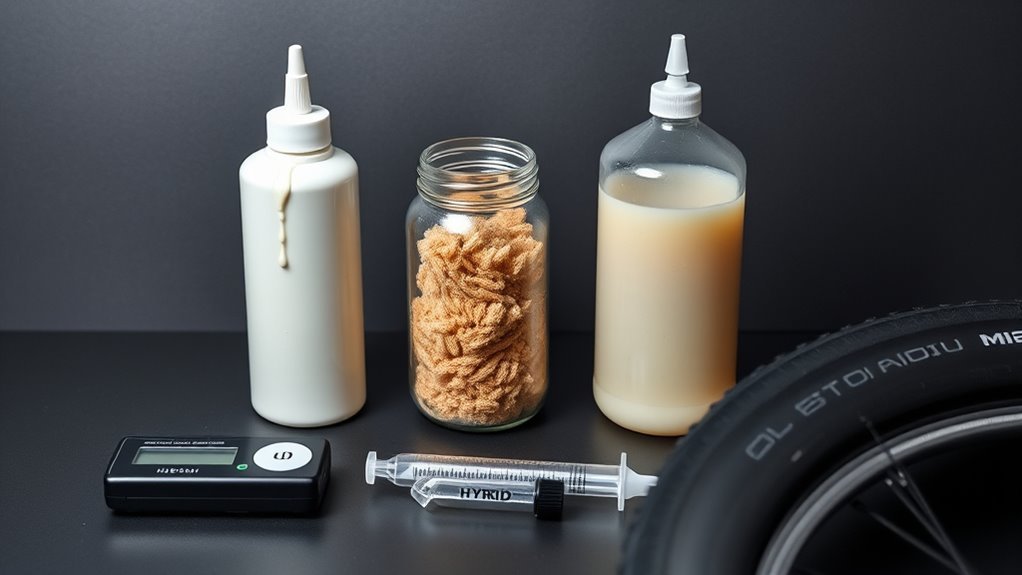
Sealant dosage should follow your product’s chart first. The ranges below are practical starting points based on common manufacturer guidance, including Finish Line’s FiberLink dosage guide and standard tubeless setup recommendations. Use the higher end for porous casings, inserts, rough terrain, or long rides.
[Products Worth Considering]

This Hycline 2-pack mountain bike tire set delivers durable, puncture-resistant performance with a high-grip, aggressive tread designed for traction on hard surfaces and confident handling through mud and soil. Includes matching inner tubes and tire levers for easier everyday maintenance and quicker installation after folding storage. Built for a range of riding conditions with reinforced rubber and nylon cord for wear-resistant reliability.

LiQuiTube Premium Heavy Duty Tire Sealant provides permanent flat tire protection to help maintain proper air pressure while sealing punctures and leaks. It seals bead, rim, and porosity weathering leaks and helps prevent flats in heavy ply industrial tires. Designed for versatile use on trailers and off-road equipment, it can be installed in tubeless tires and also inside tubes.

Upgrade your ride with a 2-pack set of 26x1.95 folding mountain bike tires built for dependable traction on mud, rocks, and trail surfaces. A reinforced puncture-resistant layer helps protect against sharp debris, while included butyl inner tubes provide strong sealing and shock absorption. Ready for fast swaps with included tire levers and universal sizing for most bikes.
Dosage by Tire Size
| Tire Type | Typical Sealant Amount Per Tire | Best Use |
|---|---|---|
| Road | 2–3 oz / 60–90 ml | High pressure, small punctures, low weight |
| Cyclocross, gravel, 26 in, 27.5 in | 3–4 oz / 90–120 ml | Mixed terrain and larger tire volume |
| 29 in MTB | 4–5 oz / 120–150 ml | Trail riding and bigger casing volume |
| 29+ tires | 5–6 oz / 150–180 ml | Plus-size tires and rough routes |
| Fat bike | 7–8 oz / 210–240 ml | Very large casing volume and low pressures |
Underfilling reduces protection because there may not be enough liquid to reach the puncture. Overfilling adds rotating weight, increases mess, and can make valves more likely to clog.
Dosage by Riding Style
For fast road riding, use the lower end of the recommended range to limit weight while keeping enough sealant for pinholes. For gravel and mixed terrain, use the middle or upper range because casing seepage and small cuts are more common. For aggressive trail, bikepacking, or remote riding, use the upper range and carry a plug kit.
Sealant is not a replacement for other repairs. A large sidewall slash, damaged bead, cracked rim, or torn tire casing may need a plug, boot, tube, or tire replacement.
Troubleshooting Common Tubeless Sealant Problems
| Problem | Likely Cause | Fix |
|---|---|---|
| Tire slowly deflates overnight | Dry sealant, porous casing, loose valve, or tape leak | Add sealant, shake wheel, tighten valve gently, and inspect rim tape. |
| Sealant sprays but won’t seal | Cut is too large, pressure is too high, or too little sealant remains | Rotate puncture downward, reduce pressure slightly, add a plug, or install a tube. |
| Valve clogs | Dried latex or large particles inside valve core | Remove and clean or replace the valve core; store valve at 4 or 8 o’clock when injecting. |
| Sealant forms clumps | Old sealant, heat, incompatible mixing, or long storage | Remove old clumps before refreshing; avoid mixing formulas unless approved. |
| Air leaks through spoke holes | Rim tape or valve-base leak | Retape the rim, use the correct tape width, and reseat the valve base carefully. |
Frequently Asked Questions
Can you put too much sealant in a tubeless tire?
Yes. Too much sealant adds rotating weight, creates more mess, and can increase valve clogging. A small amount over the recommended range is usually not disastrous, but doubling the dose is rarely helpful. Follow the bottle’s tire-size chart and adjust only for casing volume, riding style, and climate.
Is TireJect better than Slime?
It depends on the application. TireJect and Slime are often discussed for tubes, utility tires, automotive-style repairs, and off-road equipment. For bicycle tubeless road, gravel, and MTB setups, the safer choice is a sealant specifically approved for bicycle tubeless-ready tires and rims. Always follow your rim and tire manufacturer’s guidance.
Why does my tubeless tire keep deflating?
A tubeless tire may keep deflating because the sealant has dried, the tire is underfilled, the puncture is too large, the valve is leaking, the bead is not fully seated, or the rim tape is damaged. If air comes from spoke holes, inspect the tape and valve base before adding more sealant.
How often should you refresh tubeless sealant?
Check every 2–3 months for most riding, and more often in hot or dry climates. Some formulas list longer life, while others need more frequent top-ups. The best test is simple: remove the valve core or pop a small bead section and confirm that liquid sealant is still moving inside the tire.
Can you mix different tubeless sealants?
Avoid mixing unless both brands say their formulas are compatible. Different latex, synthetic, fiber, and particle systems can clump or separate. If you are switching sealants, remove old liquid and dried residue first, then refill with the new product.
Do you still need a plug kit with tubeless sealant?
Yes, especially for gravel, MTB, commuting, and bikepacking. Sealant handles many small punctures, but a plug kit can repair larger tread cuts that sealant alone cannot hold. For sidewall damage, also carry a tire boot or emergency tube.
Conclusion
Choose tubeless sealant by matching the formula to your real riding. Use standard latex for fast, lightweight protection against small punctures. Use fiber- or carbon-reinforced sealant for gravel, MTB, racing, and bigger cuts. Use synthetic, ammonia-free, or latex-alternative formulas when compatibility, odor, or allergy concerns matter most.
Measure carefully, refresh on schedule, keep rim tape clean, and treat CO2 as an emergency tool. With the right sealant and maintenance routine, your tubeless setup will seal faster, hold air longer, and keep you riding instead of fixing flats.
Sources
- Stan’s Original Tubeless Sealant — backs up latex sealant lifespan, compatibility, temperature range, and puncture-size claims.
- Stan’s Sealant Support — backs up CO2 use guidance and general sealant support recommendations.
- Stan’s Sealant Volume Guide — supports manufacturer-led dosage guidance by tire size.
- Finish Line FiberLink Tubeless Sealant — supports Kevlar fiber technology, dosage ranges, and CO2 refresh guidance.
- SILCA Ultimate Tubeless Sealant — supports carbon-fiber reinforcement, 6 mm+ puncture claim, 6+ month lifespan, ammonia-free formula, and cold testing.
- Schwalbe Sealants & Mounting Fluids — supports sealant quantity ranges, effective service life, and limits on coarse cuts or flats.
