
How To Prevent Tire Punctures Off Road on a Toyota Tacoma
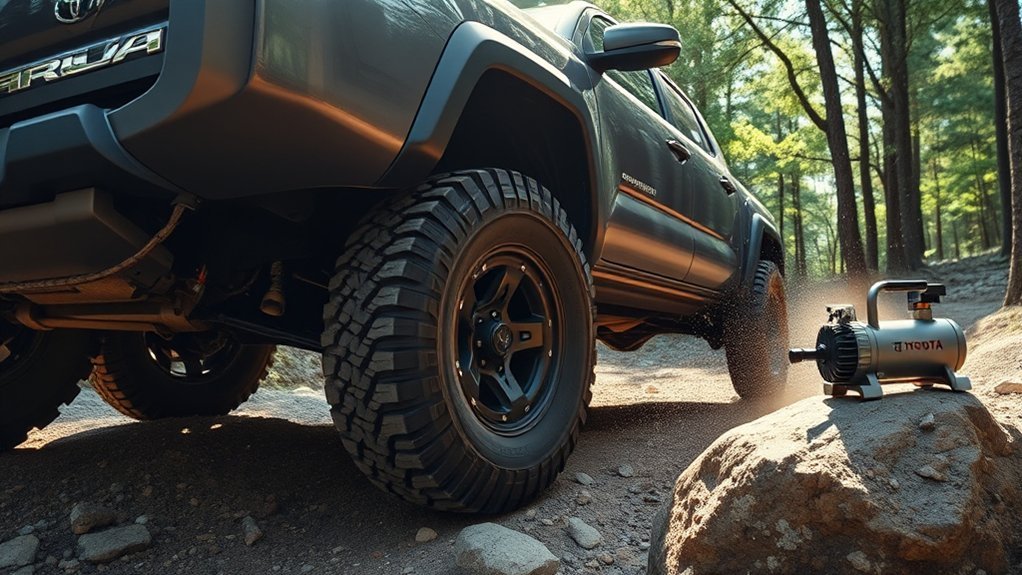
To prevent tire punctures off-road in your Toyota Tacoma, treat tire care as a full trail system, not just a pressure setting. Choose the right LT or all-terrain tires for your load, inspect them before every trip, air down only when the terrain calls for it, drive clean lines around sharp rocks, and carry the tools needed for a safe temporary repair.
Quick Answer
Prevent Tacoma tire punctures off-road by using properly sized LT or all-terrain tires, checking tread and sidewalls before each trail, adjusting PSI only for the terrain, avoiding sharp sidewall hits, and carrying a full-size spare, plug kit, tire gauge, deflator, and portable compressor.
Key Takeaways
- Use the tire size, load rating, and road PSI listed on your Tacoma door placard or owner’s manual, then adjust only for off-road conditions.
- Airing down can improve traction and cushioning, but you must reinflate before highway driving.
- Most trail flats come from sharp tread punctures, sidewall cuts, bead leaks, valve damage, or hidden damage from running too low.
- Trail plugs are temporary. A proper permanent repair requires a tire professional to inspect the tire and use an approved plug-and-patch method.
- A full-size spare, tire gauge, deflator, compressor, jack base, and plug kit can turn a long recovery into a short trail stop.
At a Glance
| Time Required | 10 to 15 minutes before the trail, plus 5 to 10 minutes to reinflate before pavement |
| Difficulty | Easy to moderate, depending on terrain and tire size |
| Tools Needed | Tire gauge, deflator, portable air compressor, plug kit, full-size spare, jack, lug wrench, gloves, and flashlight |
| Cost | Usually $40 to $200 for basic trail tire tools, not including tires or a spare |
What Makes Off-Roading Tires Vulnerable to Punctures?
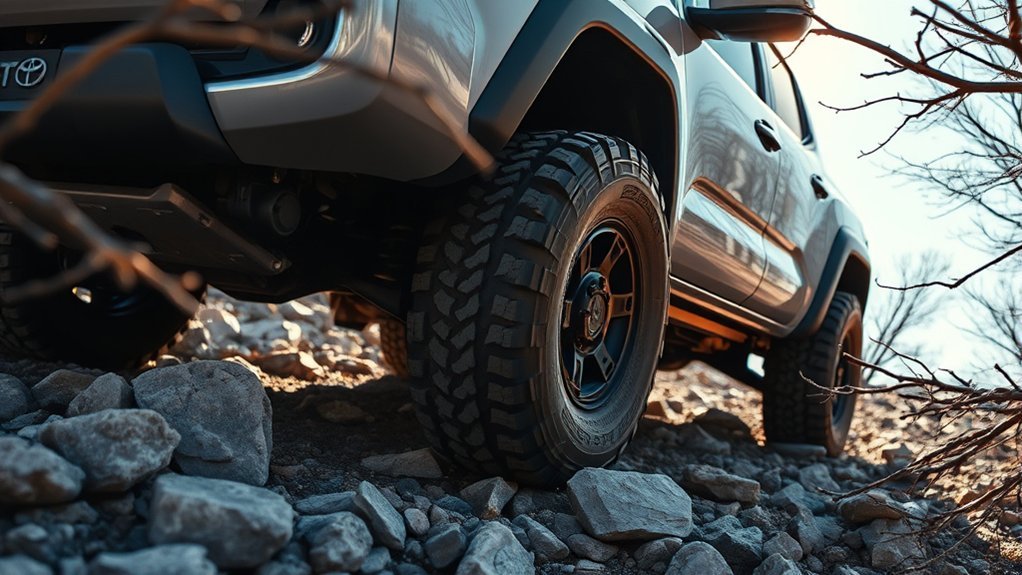
Off-road tires take hits that street tires rarely see. Sharp rocks, broken branches, roots, ruts, shale, and trail debris can cut the tread, slice the sidewall, damage valve stems, or break the bead seal between the tire and wheel.
Low pressure can help the tire flex over rocks instead of bouncing off them. That same lower pressure also increases the chance of bead leaks, sidewall pinches, and wheel damage if you drive too fast or hit a sharp edge too hard.
Worn tread makes the problem worse. Thin tread gives sharp objects less rubber to pass through before they reach the casing. Dry cracks, bulges, exposed cords, old puncture repairs, and sidewall scuffs also raise your risk on rough trails.
Warning: Never drive highway speeds while your Tacoma tires are aired down for trail use. Reinflate to the pressure listed on your door placard or owner’s manual before returning to pavement.
[Products Worth Considering]
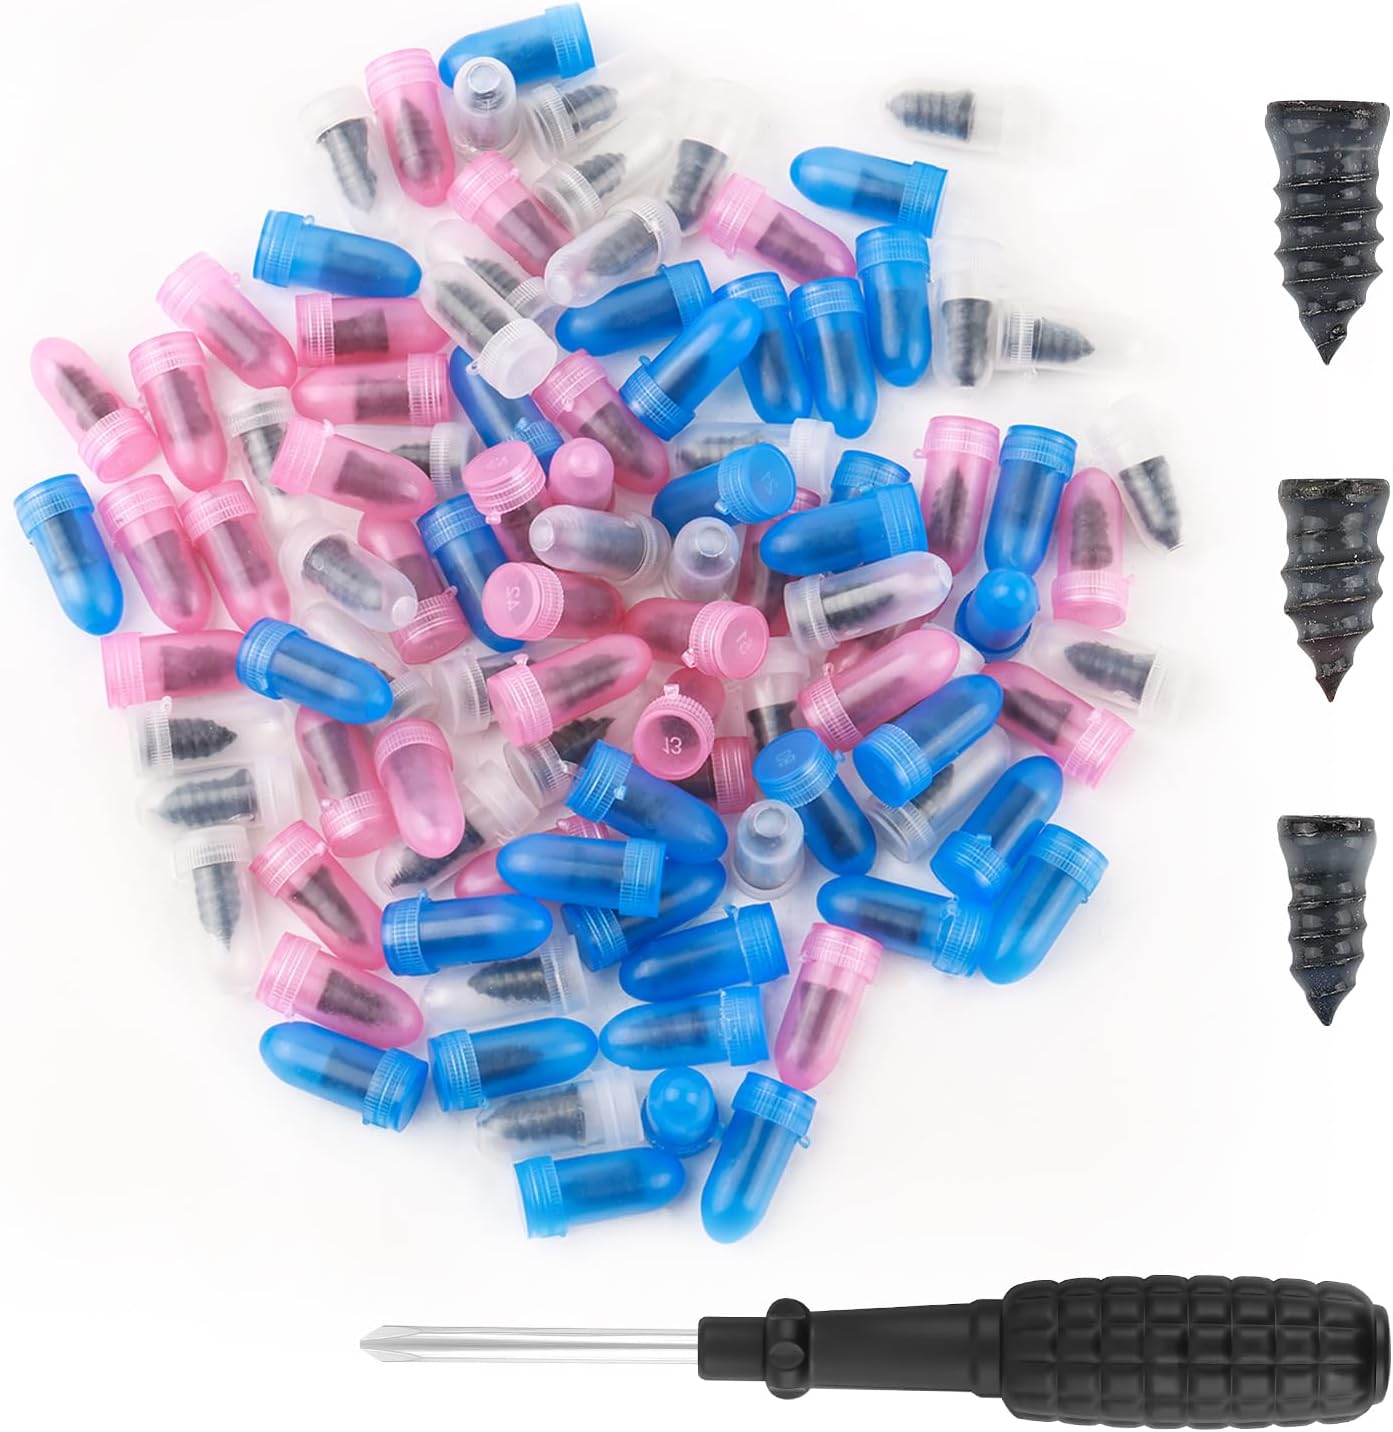
This 100-piece tire repair screw plug kit provides a fast, self-service solution for punctures on the road. Choose the correct plug size, insert it into the break, and screw it in to help seal the puncture and temporarily restore tire pressure. Thickened threads and rubber-wrapped plugs improve bite and sealing while remaining compact and easy to carry.

Wykodra tire plugs provide quick vulcanizing repairs for tubeless tires, helping you seal punctures and get back on the road. The industrial-strength rubber creates a long-lasting, leak-resistant bond and is designed for emergency fixes without removing the tire. Choose between two standard plug sizes with color-matched options for small to larger damage across many vehicles and off-road uses.

This portable cordless tire inflator delivers up to 160 PSI with fast 17 L/min airflow to help you quickly top up tires and get back on the road. It features dual power mode, running on a 21V rechargeable battery or a 12V DC adapter for convenient roadside use. An automatic shut-off with digital pressure gauge helps prevent overinflation, and a built-in LED light improves visibility in low-light conditions.
Choose the Right Tires for Your Tacoma
The best puncture prevention starts before the trail. Your Tacoma needs tires that match its wheel size, load, driving mix, and terrain. Use your Toyota owner’s manual and the Tire and Loading Information Label on the driver-side door area to confirm the correct tire size and road pressure for your exact model.
Tire Type Selection
For mild dirt roads, gravel, and weekend trails, a quality all-terrain tire gives you a good balance of road comfort, tread strength, and off-road bite. For rocky, muddy, or rutted routes, a mud-terrain or more aggressive all-terrain tire may offer stronger shoulders and better self-cleaning tread.
Choose Light Truck (LT) tires when your Tacoma carries heavy camping gear, armor, tools, or towing loads and when the tire manufacturer recommends that construction for your setup. LT tires often have stronger casings than passenger-rated options, but they still need the right pressure and careful driving to avoid cuts.
Ply Rating Importance
Do not choose a tire by “ply” wording alone. Modern tire load range does not always equal the actual number of physical plies. Instead, compare the tire’s size, load index, load range, speed rating, and manufacturer guidance.
A higher load range can help a loaded Tacoma carry weight safely, but it may ride firmer and still can puncture on sharp rock. Look for reinforced sidewalls, strong shoulder lugs, proven off-road construction, and the correct load capacity for your truck.
Keep Your Tires in Check: Regular Inspections and Maintenance
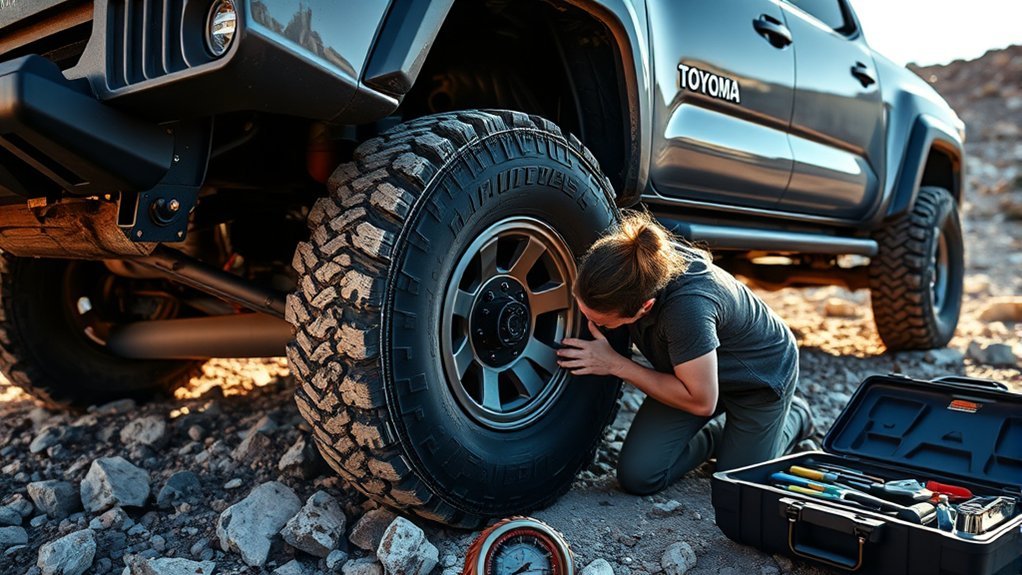
Regular inspections catch small problems before they become trail failures. The National Highway Traffic Safety Administration recommends checking tire pressure when tires are cold and using the vehicle placard or owner’s manual for the correct pressure.
Before each off-road trip, check all four tires and your spare. Look across the tread blocks, between lugs, around the bead area, and along both sidewalls. Remove small stones from the tread, but do not pull out a nail or screw unless you are ready to repair the tire immediately.
- Check cold PSI with a real tire gauge, not only the TPMS light.
- Measure tread depth with a gauge and look for uneven wear.
- Inspect sidewalls for cuts, bulges, cracks, and exposed cords.
- Check valve stems and valve caps for damage or leaks.
- Confirm your spare is inflated and matches your trail setup.
- Make sure your jack, lug wrench, and wheel lock key fit before you leave home.
Pro Tip: After a rocky trail, spray soapy water around valve stems, puncture repairs, and bead areas. Bubbles can reveal slow leaks before your next trip.
Find the Optimal PSI for Your Tires
Your Tacoma has two pressure conversations: safe road pressure and temporary trail pressure. For pavement, towing, heavy cargo, and daily driving, follow the pressure listed on the vehicle placard or in your owner’s manual. For off-road driving, adjust based on tire size, load, wheel width, speed, and terrain.
Many Tacoma drivers start around 18 to 22 PSI for slow trail driving on moderate dirt and rocks, then adjust from there. Sand and soft mud may call for lower pressure, while sharp rocks, heavy loads, or faster dirt roads may need more pressure to protect the sidewalls and wheels.
- Gravel and maintained dirt: stay closer to road pressure or make only a small reduction.
- General slow trails: many setups work well around 18 to 22 PSI.
- Rocky trails: avoid going too low unless your tires, wheels, load, and speed allow it.
- Sand: lower pressure can improve flotation, but only at low speed.
- Pavement: reinflate before road speed, heat buildup, or long distance driving.
The U.S. Tire Manufacturers Association notes that proper pressure, tread, rotation, and alignment are core tire-care essentials. It also warns that TPMS is not a replacement for checking pressure with a gauge.
Airing Down: Techniques to Prevent Punctures
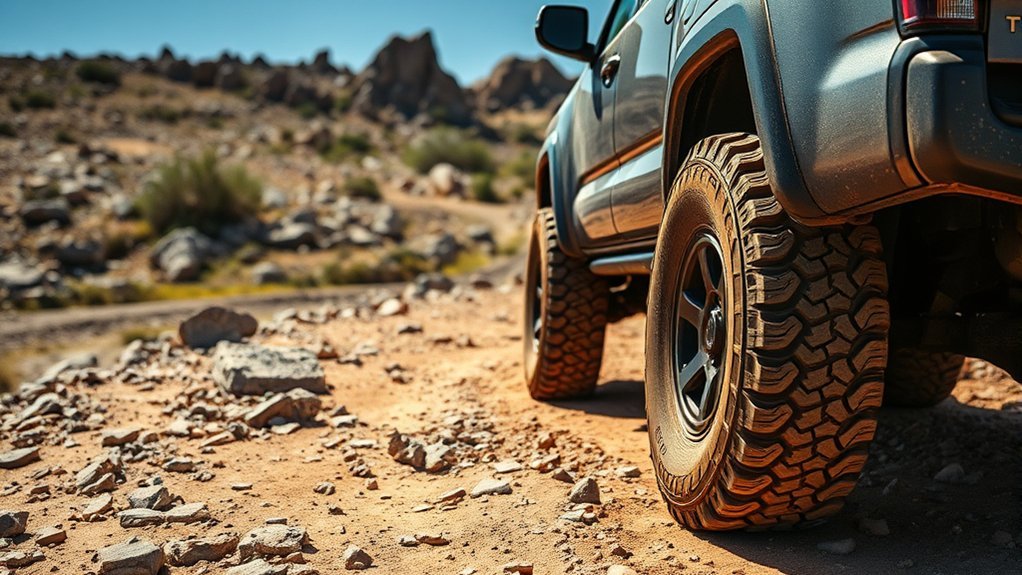
Airing down helps your tires conform to rocks, roots, washboards, and ruts. That larger footprint can improve traction and reduce harsh impacts. It can also reduce wheelspin, which lowers the chance of digging a sharp rock into the tread or sidewall.
Use a controlled method. Park safely, set your target PSI, air down all four tires evenly, and recheck with a gauge. Drive slowly at first and listen for tire squirm, bead leaks, or rim contact. If the tire feels unstable, add air.
Do not air down just because other drivers do. A heavily loaded Tacoma with camping gear, steel bumpers, skid plates, rooftop tent, and water storage needs more support than a lightly loaded truck. Lower pressure is a tool, not a rule.
Tools You Need to Prevent Tire Punctures and Make Repairs
The right tools help you prevent damage, find leaks, and make a safe temporary trail repair. Pack them where you can reach them without unloading your entire bed or drawer system.
- Accurate tire gauge: Use it before the trail, after airing down, and before returning to pavement.
- Tire deflator: Speeds up controlled airing down and helps keep all tires even.
- Portable air compressor: Reinflate before highway driving and after a repair.
- Tread plug kit: Useful for temporary trail repairs on small tread punctures.
- Needle-nose pliers: Pull nails, screws, or wire from the tread before plugging.
- Valve core tool and spare valve cores: Fix slow leaks caused by damaged valve cores.
- Full-size spare: Best option for sidewall cuts, large holes, bead damage, or unsafe repairs.
- Jack base board: Keeps the jack from sinking into sand, mud, or soft dirt.
- Gloves and flashlight: Make repairs safer in mud, cold weather, or low light.
Note: A rope plug can get you off the trail, but it is not the same as a permanent repair. The USTMA says a proper repair requires tire removal, internal inspection, and a plug plus patch when the damage is repairable.
[Products Worth Considering]
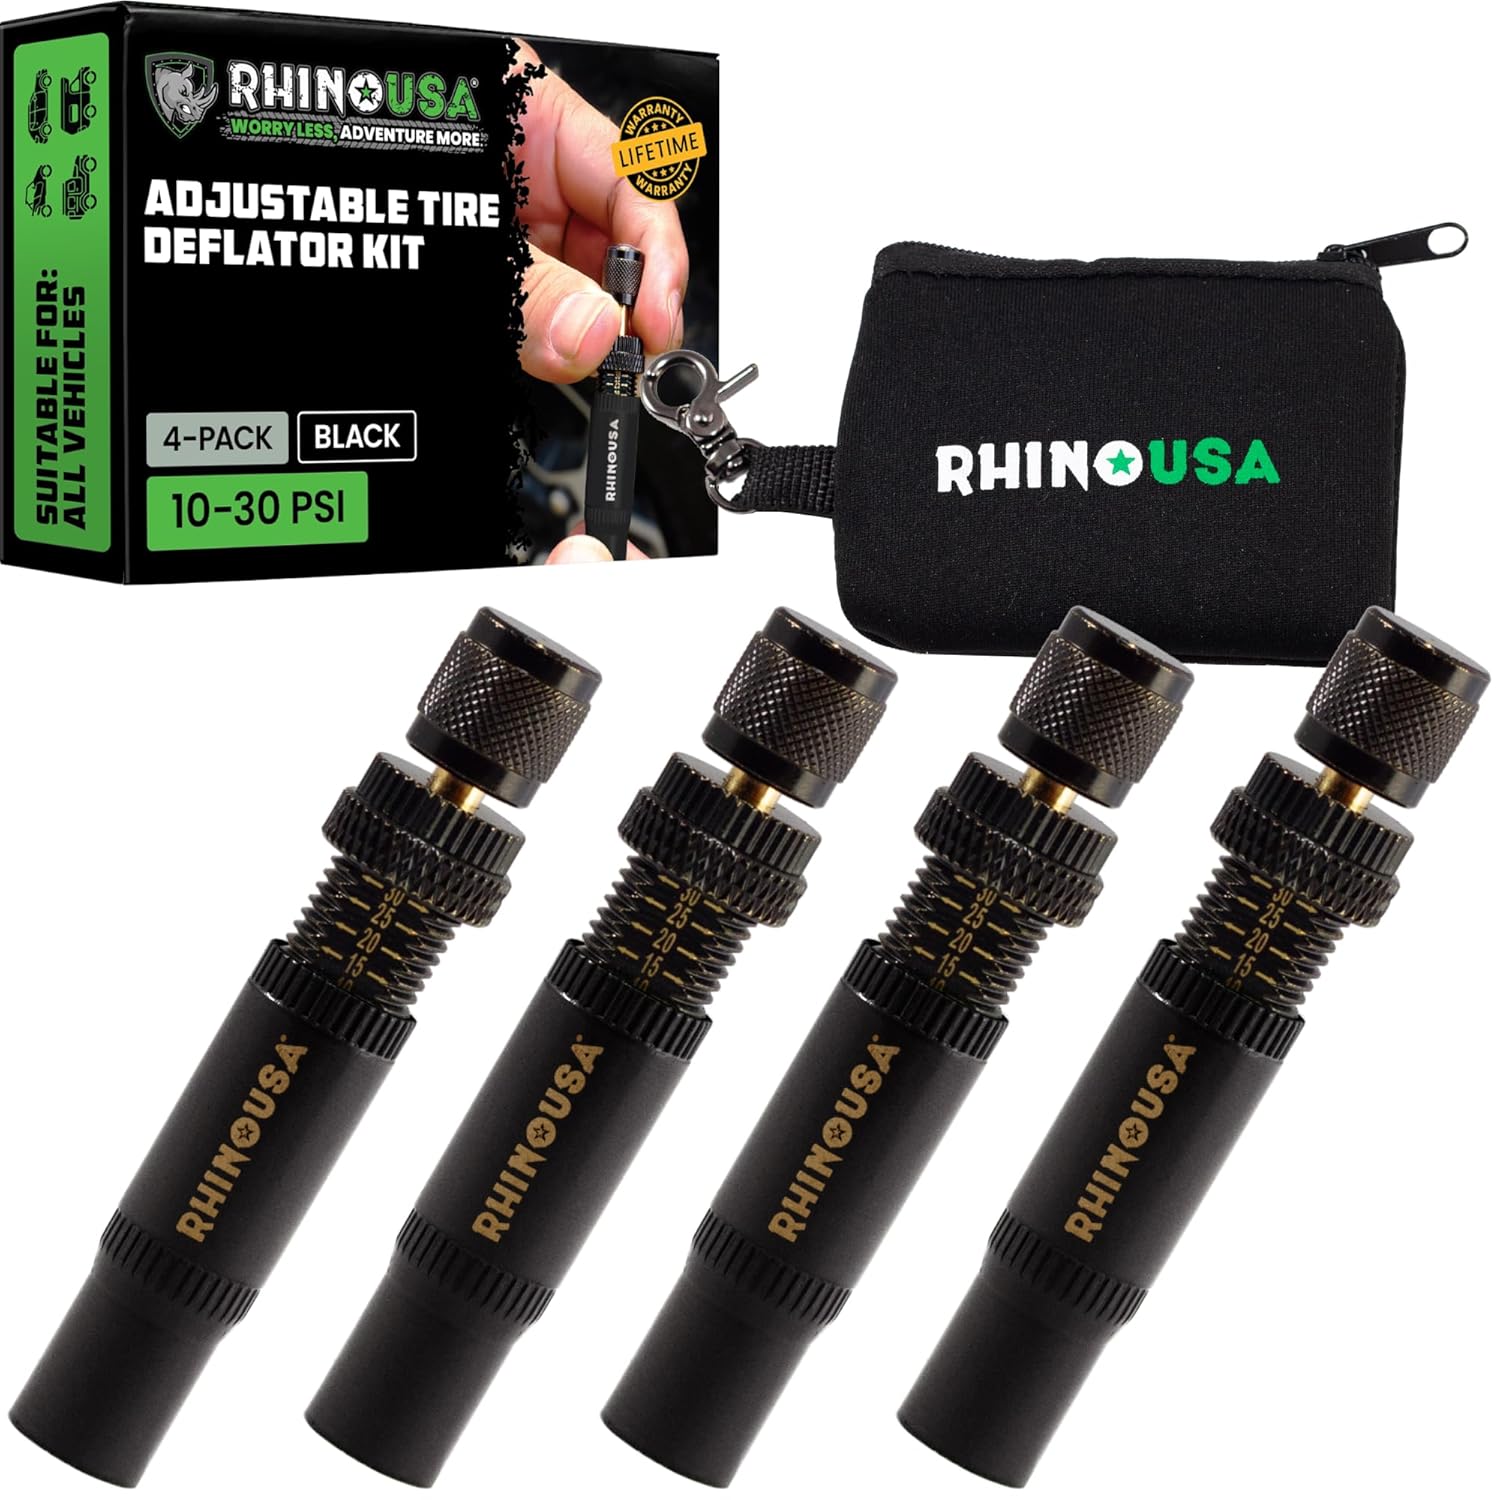
Use the Rhino USA adjustable tire deflators to air down all four tires at once by screwing one deflator onto each valve stem, letting you step away while the tires reach your preset pressure. Each deflator independently adjusts across a 10–30 PSI range with laser-etched indicators for quick setup and verification, making it ideal for beach, sand, and rocky off-road trails.

The JACO FlowPro Tire Inflator measures, inflates, and airs down tires up to 100 PSI with battery-free operation and ±2% accuracy after calibration. It features a glowing pressure dial for night visibility, a heavy-duty steel build with a hybrid hose, and a precision push-to-inflate thumb trigger. The patented Lightning Air Chuck locks on for a secure seal, and the kit includes quick-connect hardware for easy inline use with your air compressor.
Strategic Route Planning to Avoid Punctures
Good route planning saves tires. Check trail reports, recent weather, rock type, water crossings, and recovery difficulty before you go. A trail that feels easy when dry can hide sharp debris under mud after rain.
Drive with tire placement in mind. Slow down before jagged rocks, avoid rubbing sidewalls against ledges, and do not spin your tires against sharp edges. When safe, place the tread on smooth rock surfaces instead of letting the sidewall scrape along the side of a rut.
| Trail Type | Puncture Risk | Best Action |
|---|---|---|
| Maintained dirt road | Low | Use normal pressure or a small reduction if washboarded. |
| Loose gravel | Medium | Slow down, avoid sharp embedded stones, and check tread after the trail. |
| Rock gardens | High | Pick smooth tire lines, avoid sidewall scrapes, and keep enough PSI to protect the wheel. |
| Mud and ruts | Variable | Inspect hidden debris, avoid spinning, and clean bead areas after the trip. |
| Sand | Low to medium | Air down carefully for flotation, drive smoothly, and reinflate before pavement. |
What to Carry for Tire Emergencies
A tire emergency kit should help you do three things: diagnose the problem, make a safe temporary repair, and leave the trail without damaging the tire further. Build the kit before you need it.
Essential Tools Checklist
- Full-size spare tire: Match the diameter, load rating, and lug pattern of your trail setup whenever possible.
- Portable air compressor: Choose one that can handle truck tires without overheating quickly.
- Tire plug kit: Carry plugs, reamer, insertion tool, lubricant, and pliers.
- Pressure gauge and deflator: Keep pressure changes accurate instead of guessing by eye.
- Jack, base board, and lug wrench: Test them at home with your actual wheels.
- Valve parts: Pack valve cores, valve caps, and a valve core tool.
- Leak finder: A small bottle of soapy water helps locate slow leaks.
- Recovery and safety gear: Gloves, headlamp, wheel chock, reflective triangle, and basic first-aid kit.
Recommended Spare Options
A full-size matching spare is the best option for remote off-road travel. It keeps your Tacoma level, protects drivetrain components, and lets you replace a tire that should not be repaired on the trail.
Do not rely on sealant alone for serious trails. Sealant may help with tiny tread leaks, but it will not fix torn sidewalls, damaged beads, large punctures, or internal tire damage. It can also make later tire service messier, so use it only when it fits the situation.
How to Handle a Puncture on the Trail
If you notice a fast pressure drop, steering pull, thumping sound, or sudden vibration, slow down gently and stop in a safe, flat area. Avoid driving on a flat tire because the sidewall can overheat, fold, and suffer internal damage.
- Find the leak: Look for a nail, screw, cut, bead leak, valve leak, or damaged sidewall.
- Decide if it is repairable: Small tread punctures may be plugged temporarily. Sidewall, shoulder, bead, or large puncture damage usually needs the spare.
- Plug only a repairable tread puncture: Follow your kit instructions and do not use a plug on sidewall damage.
- Inflate and test: Air the tire up, apply soapy water, and check for bubbles.
- Drive conservatively: Treat the repair as temporary and get the tire inspected by a professional.
- Reinflate for pavement: Return all tires to proper road pressure before highway speed.
Frequently Asked Questions
How do I identify tire wear indicators on my Tacoma?
Look inside the tread grooves for raised wear bars. When the tread becomes level with those bars, the tire is worn out. You should also use a tread depth gauge and replace tires when they reach 2/32 inch, or sooner if off-road traction, cracking, or sidewall damage becomes a concern.
What are the benefits of sidewall guards for off-road tires?
Raised sidewall lugs and rim protectors can help reduce abrasion from rocks, ruts, and roots. They do not make a tire puncture-proof, so you still need careful tire placement, proper pressure, and regular sidewall inspections.
Can tire sealants help prevent punctures during off-roading?
Sealants may help slow or seal tiny tread punctures, but they are not a complete puncture-prevention plan. They cannot repair torn sidewalls, large holes, bead damage, or internal damage from running flat. Use sealant as an emergency aid, then have the tire inspected.
How often should I replace my off-road tires?
Replace off-road tires when tread reaches 2/32 inch, when traction is no longer safe for your terrain, or when you find cracks, bulges, exposed cords, sidewall cuts, repeated leaks, or age-related concerns. Check the DOT date code and follow the tire manufacturer’s service-life guidance.
What are the signs of a tire puncture while driving?
Watch for a sudden pressure drop, TPMS warning, steering pull, thumping sound, vibration, or the truck feeling loose in turns. Slow down gently, avoid hard braking, and stop somewhere safe before the tire overheats or the sidewall gets damaged.
Should I air down my Tacoma on rocky trails?
Often, yes, but only within a safe range for your tire, wheel, load, and speed. Airing down can help the tire flex and grip, but too little pressure can cause sidewall pinches, bead leaks, and wheel damage. Reinflate before pavement.
Can I drive home after plugging a tire on the trail?
A trail plug may let you leave the trail slowly, but treat it as temporary. If the puncture is in the sidewall, shoulder, bead area, larger than 1/4 inch, or leaking after inflation, install the spare instead and have the tire inspected.
Conclusion
Preventing off-road tire punctures in your Toyota Tacoma comes down to preparation, pressure control, and careful driving. Start with properly sized tires, inspect them before every trip, air down only for the trail, avoid sharp sidewall hits, and carry real repair gear.
Once you leave the dirt, reinflate your tires, check for slow leaks, and inspect the sidewalls again. A few minutes of tire care can protect your Tacoma, shorten recovery time, and keep your next trail day from ending with a preventable flat.
Sources
- National Highway Traffic Safety Administration: TireWise — tire pressure, tread depth, TPMS, tire aging, and tire safety guidance.
- U.S. Tire Manufacturers Association: Tire Care Essentials — pressure checks, tread inspection, rotation, alignment, and TPMS limitations.
- U.S. Tire Manufacturers Association: Tire Repair Basics — repairable tread punctures, 1/4-inch repair limit, plug-and-patch guidance, and sidewall/shoulder warnings.
- Toyota Owners: Manuals and Warranties — owner manual access for vehicle-specific tire size, loading, and maintenance information.
- Toyota Tire Center — tire safety, inflation, damage, and road hazard context for Toyota owners.

Related Articles
How Tire Weight Affects Toyota Tacoma Performance
How does tire weight influence your Toyota Tacoma's performance and efficiency? Discover the surprising effects that could change your driving experience.
Read More
Tire Noise Levels by Tire Type on a Toyota Tacoma
A comprehensive look at how tire types affect noise levels in your Toyota Tacoma reveals surprising insights that could enhance your driving experience.
Read More
How To Choose Tires for a Dual Use Toyota Tacoma
Unlock the secrets to selecting the perfect tires for your dual-use Toyota Tacoma, ensuring optimal performance and comfort on every adventure. Discover more inside!
Read More