
Clincher Tires Explained: Setup, Sizing, and Repair Tips
A clincher tire is the standard road and gravel tire. It uses a rigid bead that hooks into the rim and a separate inner tube to hold air. This gives you reliable, easy-to-repair performance and predictable pressures. You’ll find wire or folding beads, Presta or Schrader valves, and widths from narrow road (23–28 mm) to wider gravel sizes. Clinchers are the cheapest and simplest to fix compared with tubeless or tubular systems. Below, you’ll pick up practical setup, pressure, and repair tips.
Quick Answer: When to Choose Clincher Tires
Pick clinchers when you want an easy, cost-effective tire that’s simple to install and repair. They’re typically 20–30% cheaper than tubulars, fit a wide range of rims and valve types (Schrader or Presta), and often include puncture-resistant layers for fewer flats.
Clinchers make sense if you value straightforward maintenance, compatibility across wheelsets, and predictable pressure ranges (typically 80–120 PSI for road use) that favor rolling efficiency.
For daily riders and newcomers, clinchers cut downtime. Roadside repairs only need a standard inner tube and common tools. Built-in puncture resistance lowers flat rates without complex procedures, and proper inflation preserves tire life. Choose clinchers when you need practicality, cost savings, and reliable performance.
What a Clincher Tire Is and How the Bead-and-Tube System Works
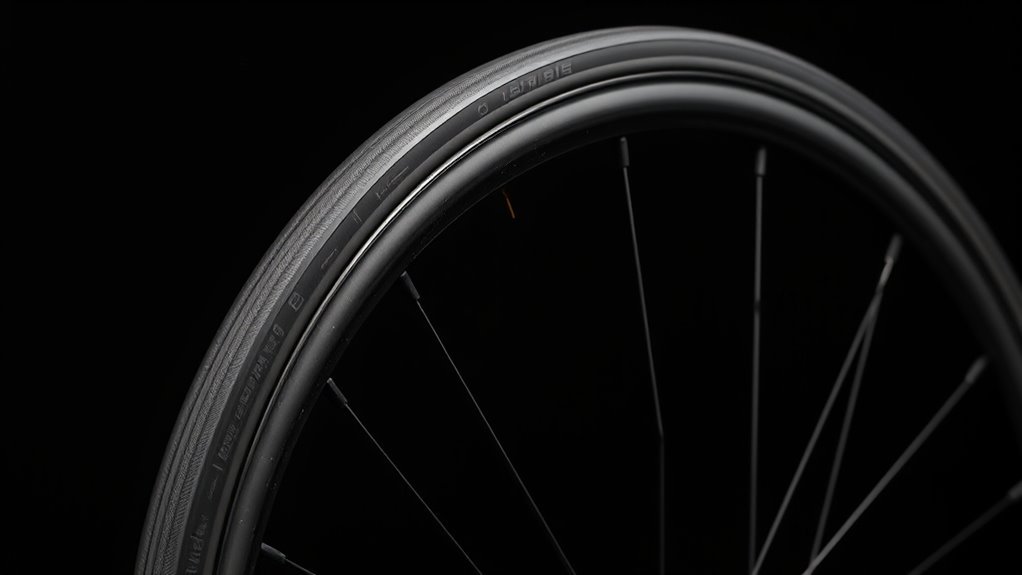
A clincher tire relies on a rigid bead that seats into the rim hook, creating a mechanical connection. A separate inner tube holds the air pressure. The tube presses the tire bead into the rim under inflation, forming the primary seal and transmitting hoop forces that keep the assembly secure. Proper inflation, bead seating, and tube integrity are all critical for maintaining seal mechanics and safe riding.
Bead And Rim Interface
Think of the clincher as a hooked interface. Its reinforced bead, made from steel wire or Kevlar, locks into the rim’s hook. With an inner tube seated beneath it, this holds pressure and secures the tire under load.
Focus on bead seating and rim compatibility when mounting. The bead must sit evenly in the rim bed so the tube can pressurize without pinching or leaking. Match bead diameter and profile to rim specifications to guarantee secure engagement and predictable tire behavior under cornering and braking. For more on matching beads and rims across different sizing systems, Sheldon Brown’s tire sizing guide is a thorough reference.
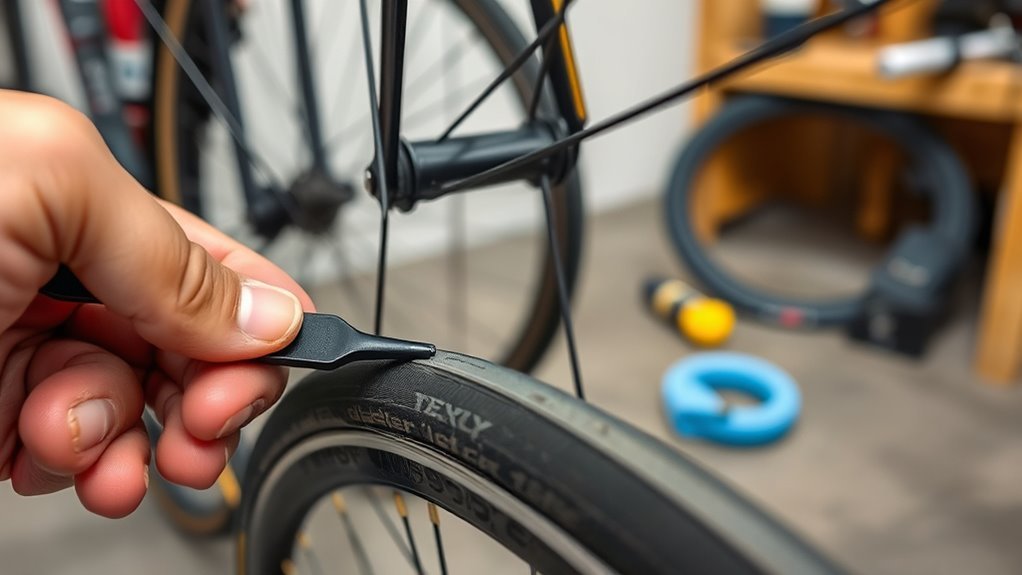
Installation is straightforward: seat one bead, insert the tube, partially inflate, then work the second bead onto the rim. Always verify uniform seating around the circumference. Proper engagement prevents air loss and reduces the risk of burping or blow-offs.
Inner Tube Functionality
The tire’s reinforced bead hooks into the rim’s bead seat while an inner tube sits between the tire casing and rim to contain pressurized air. This lets the tire support rider and bike loads.
Inner tubes are commonly made from rubber or synthetic blends chosen for puncture resistance and flexibility. These materials balance elasticity with durability. The tube is the primary air retention component, so valve compatibility (Presta or Schrader) and correct seating matter.
When a puncture happens, you replace or patch only the tube rather than the entire tire. This simplifies roadside repairs and lowers maintenance time while keeping the bead-and-rim interface intact.
Inflation And Seal Mechanics
Although the clincher relies on a separate inner tube to hold pressure, the bead-and-tube interaction is what actually creates the airtight seal between tire and rim. You inflate the tube using standard methods (pump, CO2, compressor), which expands the tube and presses the bead firmly into the rim flange. The bead, whether steel wire or Kevlar, locks into the rim profile. Proper seating and pressure deliver seal integrity and predictable handling.
- Confirm the inner tube size matches your rim width and tire diameter.
- Use tire levers only when necessary to avoid damaging the bead or tube.
- Inflate gradually, checking bead seating and sidewall alignment for a consistent seal.
Maintain pressure by checking seating, valve alignment, and avoiding over- or under-inflation.
Clincher Tire Types and Bead Options (Sizes, Wire vs. Folding)
Choose clincher sizes like 700c, 650b, 29″, 27.5″, or 26″ based on your frame and terrain. Road setups often use 23–28 mm while gravel favors 35–45 mm. You’ll also pick between wire beads, which are heavier and cheaper, and folding (Kevlar) beads, which save roughly 50–90 g and collapse for easier transport. That bead-and-width combination directly influences weight, ride suitability, and practicality for repairs and travel.
[Products Worth Considering]

The GERCHWAY Presta Valve Adaptor Pump offers a versatile dual‑head chuck that fits both Presta and Schrader valves, eliminating the need for extra adapters. Its precision gauge accurately reads 5–100 PSI with ±2 PSI tolerance, ensuring safe and optimal tire inflation for bikes, motorcycles, SUVs, and cars. The 18‑inch hose provides flexible reach, while the 3‑in‑1 design lets you check pressure, release air, or inflate directly from an air compressor.

The AZUNO digital tire inflator gauge offers precise pressure readings for both Presta and Schrader bike valves, eliminating the need for separate adapters. Its bright LCD backlight and automatic shut‑off conserve battery life, while the included 18‑inch hose and accessories make setup quick and hassle‑free. Built with durable steel and brass components, it provides reliable performance for bicycles, motorcycles, and other vehicles.

The GERCHWAY Digital Bike Tire Pressure Gauge offers precise ±1% accuracy across a 3–200 PSI range, fitting both Presta and Schrader valves without extra adapters. Its 16‑inch hose provides extra reach for easy inflation on bikes, motorcycles, SUVs, and cars, while the 1/4" NPT quick connector enables direct compressor attachment. Designed for quick checks, deflation, and inflation, it delivers reliable, leak‑free performance for all your tire needs.
Sizes And Applications
Tire selection depends on matching width and bead type to your rim and riding goals. Road clinchers commonly run 23–28 mm, gravel setups typically sit in the 35–45 mm range, and mountain clinchers span roughly 2.0–2.6+ inches. Prioritize tire compatibility and performance characteristics when choosing width and tread for the intended terrain. Clincher rims accept standard beads and inner tubes, which simplifies swaps across disciplines.
- Road: narrower widths optimize rolling resistance and precise handling for high-speed pavement work.
- Gravel: mid-range widths balance traction, comfort, and puncture resistance on mixed surfaces.
- Mountain: wide profiles deliver volume, impact absorption, and grip on technical trails.
Select based on rim clearance, intended pressure range, and the specific demands of your riding.
Wire Vs. Folding Beads
Once you’ve chosen the right width and bead compatibility for your rims, the next decision is wire versus folding bead clinchers. These two construction styles affect weight, packability, and installation.
Wire-bead tires use steel for maximum bead durability and lower cost. They’re heavier and less convenient to carry as spares. Folding beads use Kevlar strands, trimming about 50–90 g and improving transport and packing.
For racing or travel, folding beads win on weight and installation ease. For budget or spare-tire use, wire beads are the practical choice. Both come in common road widths (23–28 mm). Match bead type to your priorities: longevity and price versus reduced mass and portability.
| Attribute | Wire vs. Folding |
|---|---|
| Weight | Wire heavier; Folding 50–90 g lighter |
| Portability | Wire bulky; Folding packable |
Which Clincher Tire Fits Your Bike (Rim Size, Valve, Width)
Choosing the right clincher comes down to three precise specs: rim diameter, valve type, and tire width. Verify tire compatibility by matching the tire’s nominal size (650b, 700c, 26″, 27.5″, 29″) to your rim. For valve selection, choose Schrader for wider, lower-pressure setups or Presta for narrow high-pressure road rims.
- Rim diameter: confirm the stamped rim size or measure the bead seat diameter for an exact match.
- Valve type: check rim hole and pump compatibility. Presta needs a smaller hole and sometimes an adapter.
- Tire width: select a width that clears your frame and fork and matches the intended terrain (23–28 mm road, 35–45 mm gravel, 2.0–2.6+” MTB).
Also consider puncture resistance and durability for real-world use.
[Products Worth Considering]

This digital tire pressure gauge combines a sturdy pistol grip inflator with a backlit 0.1 PSI display for quick, accurate readings in any lighting condition. Its 360° swivel gauge and 20" rubber hose make it easy to use and store, while the integrated inflate/deflate trigger and ¼" NPT air inlet provide fast, reliable tire maintenance.

The WORKPRO digital tire pressure gauge with inflator offers precise 0.1 PSI resolution and ±1% accuracy for reliable tire inflation across vehicles and inflatables. Built with heavy‑duty aluminum alloy, brass, and rubber, it resists rust and drops while delivering deflation, inflation, and pressure checking functions. The kit includes valve caps, adapters, a twist‑on chuck, screwdriver, nozzles, needle, seal tape, and a storage bag with batteries, making it a versatile, portable solution for on‑the‑go tire maintenance.

PRESTA VALVE DESIGN - Equipped with a 42mm Presta valve, these inner tubes ensure reliable air retention and easy inflation, making your bicycle maintenance straightforward and efficient during road cycling adventures.
Tire Pressure and Setup Tips to Prevent Flats
Once you’ve matched rim diameter, valve type, and width, set up pressure and tube choices to minimize flats and preserve handling. For road clinchers, inflate to 80–120 PSI depending on tire width and rider weight. For gravel or MTB clinchers, aim for 30–50 PSI.
Use a reliable floor pump with an accurate gauge and perform pressure monitoring before every ride. Under-inflation raises rolling resistance and pinch-flat risk. Pair appropriate PSI with puncture-resistant inner tubes or tires that include protection layers to reduce punctures without hurting ride quality. For a detailed breakdown of pressure by rider weight and tire width, BikeRadar’s tire pressure guide is a helpful starting point.
Check pressures when tires are cold and re-check after a short ride if temperatures change. As practical tire maintenance tips, record your preferred pressures for your weight and terrain, and replace worn casings that negate protection layers.
How Long Do Clincher Tires Last?
Most road clincher tires last between 2,000 and 5,000 miles, depending on tire compound, riding conditions, rider weight, and inflation habits. Rear tires wear faster than fronts because they carry more load.
Replace your tires when the tread wears flat across the center, when you see exposed casing threads, or when you start getting frequent flats despite proper inflation. Small cuts in the tread are normal, but deep gashes that reach the casing mean it’s time for a new tire.
Storing tires away from direct sunlight and extreme heat also helps preserve the rubber compound and extend their usable life.
Clincher vs. Tubular vs. Tubeless: Weight, Repair, and Cost
Here’s how three common tire systems compare on weight, roadside repairability, and lifecycle cost.
Tubulars typically weigh the least and offer excellent rolling resistance for peak tire performance, but they cost 20–30% more than clinchers and demand workshop-level repair or full replacement after a puncture. Clinchers are heavier, cheapest, and simplest to fix roadside by swapping an inner tube. Tubeless sits between both in weight and price, often lighter than clinchers, with superior puncture resistance thanks to sealant. Road repairs can be fiddlier, though.
- Weight: tubular < tubeless ≲ clincher
- Repair: clincher (quick) > tubeless (moderate) > tubular (slow)
- Cost impact on cycling budget: clincher < tubeless < tubular
[Products Worth Considering]
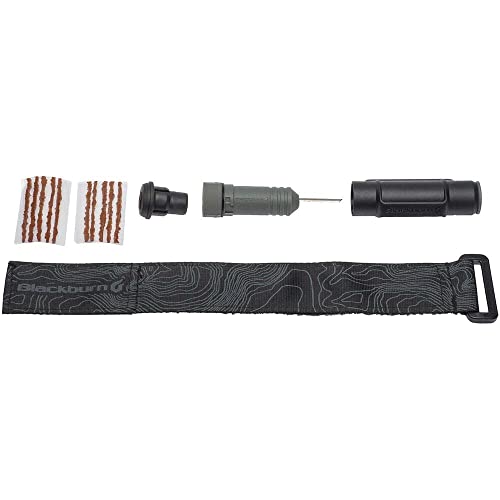
FLAT TIRE NINJA - A quarter turn is all that's needed to release the tool from its holster

GOING TUBELESS?: Muc-Off Ultimate Tubeless Setup Kit is a one-stop shop for everything you need to make the switch with your tubeless-ready wheelset. Whether you're a seasoned tinkerer or a complete newb, our nifty kits have got you covered!

EASY TO REPAIR:Our bike tire repair kit can be quickly installed to repair holes. Simply flatten the puncture, insert a bacon strip, pump in air or CO2, and you're back on the road in minutes
On-the-Road Clincher Fixes and Routine Maintenance
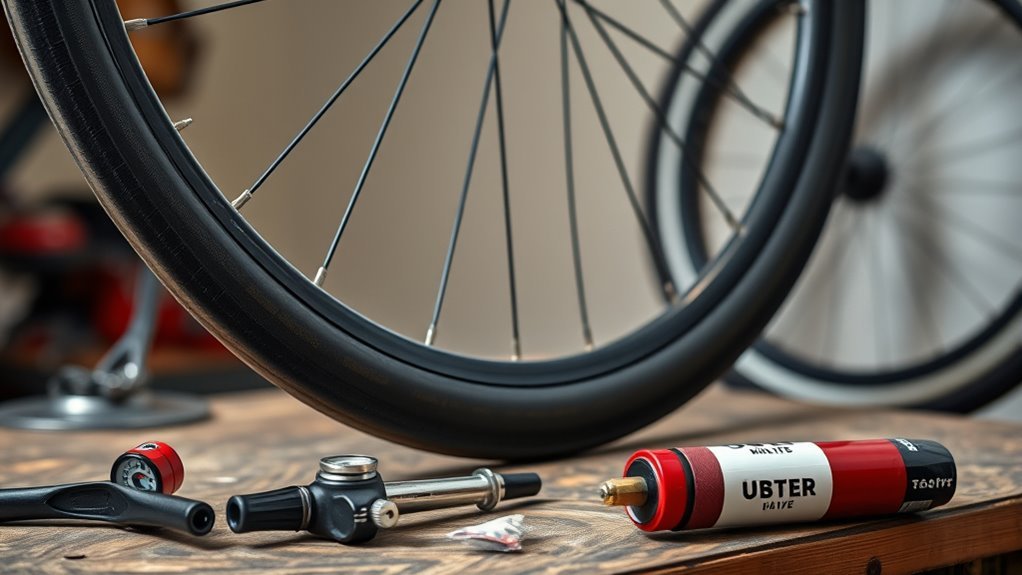
Since clinchers are built for roadside simplicity, a compact kit and a practiced routine will get you through most flats quickly. Carry a spare inner tube, tire levers, and a pump or CO2 inflator for efficient roadside repairs.
To fix a flat: remove the wheel, fully deflate, and use levers to unseat one bead. Inspect the tube, patch small holes, or swap in a fresh tube. Clean the rim and bead before reseating to guarantee a reliable seal.
For regular tire maintenance, check wear indicators and keep pressure at 80–120 PSI for road bikes. Inspect rims for sharp debris to prevent repeat punctures.
| Tool | Purpose |
|---|---|
| Spare tube | Immediate replacement |
| Tire levers | Bead removal |
| Pump/CO2 | Inflation |
| Patch kit | Minor repairs |
Frequently Asked Questions
What Is Better, a Clincher or a Tubular?
It depends on your priorities. Clinchers offer convenience, lower cost, and easy roadside repairs. Tubulars cost more and are harder to mount, but they deliver the lightest weight for racing. Pick tubulars only if you prioritize ultimate race performance and can handle the extra maintenance.
Can You Put a Clincher Tire on a Tubeless Rim?
Yes. You can fit a clincher tire on a tubeless rim if the rim is tubeless-compatible and the tire bead matches the rim specifications. Check tire compatibility and the manufacturer’s rim specs. It won’t gain tubeless benefits and still needs a tube.
Is Tubeless Better Than Clincher?
In many cases, yes. Tubeless often delivers lower rolling resistance and better puncture resistance. However, clinchers win on simplicity, cost, and easier roadside repairs. The best choice depends on your priorities and terrain.
What Are the Benefits of Clincher Tires?
You get reliable performance, easy roadside repairs, lower cost, diverse size options, and puncture protection. To get the most out of them, maintain proper pressure, replace tubes when needed, check tread regularly, and remove embedded debris.
Conclusion
Clinchers use a bead-and-tube system that’s simple, reliable, and easy to service. Pick the right bead type, rim width, and pressure for your bike to avoid pinch flats and improve rolling efficiency. Keep beads clean, check seating and pressure before each ride, and carry a spare tube and proper pump.
Related Articles

What Does THE P Stand For on a Tire? Full Meaning Explained
I’ll explain what the “P” on a tire really means and why it could change how you choose your next set.
Read More
How to Use a Tubeless Tire Repair Kit: Complete Field Guide
Learn how to fix tubeless tire punctures fast with the right kit, because one small mistake can leave you stranded on the trail.
Read More
How to Tell a Tire’s Diameter: Easy Guide to Reading Tire Size
Want to decode tire sidewall numbers and find the right diameter, but wonder what those hidden digits really mean?
Read More