
Tire Repair Kits: What’s Inside and How to Use One
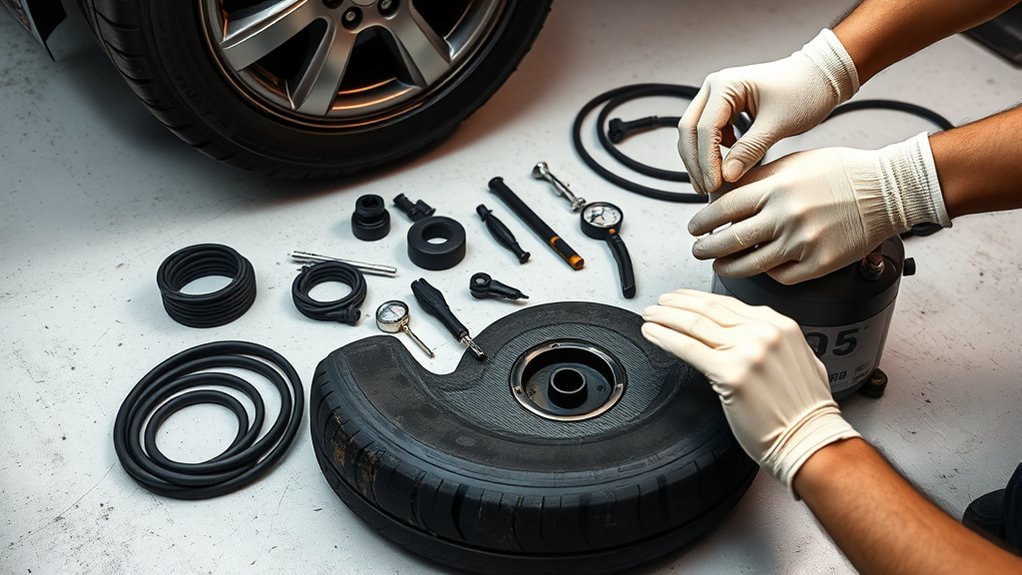
A tire repair kit usually includes a T-handle reamer, plug insertion tool, rubber plugs, rubber cement, pliers, and lubricant. First, you check that the puncture is in the tread, not the sidewall, and that it’s under ¼ inch. Then you pull the nail, ream the hole, and insert a plug with cement. Inflate the tire in short steps, then use soapy water to confirm no leaks; the next steps get more specific.
Key Takeaways
- A tire repair kit usually includes a T-handle reamer, insertion tool, rubber plugs, rubber cement, pliers, and lubricant.
- Only repair punctures in the tread; avoid sidewall or shoulder damage, and never fix holes larger than ¼ inch.
- Remove the object with pliers, then use the reamer to clean and slightly widen the puncture.
- Thread a plug through the insertion tool, push it into the hole, and trim the excess flush with the tread.
- Inflate the tire to the recommended pressure and check for leaks with soapy water before driving.
[Products Worth Considering]

This screw-in tire plug kit seals punctures fast using the included screwdriver, letting you repair tread damage without removing the tire or using messy glue. It includes two plug sizes for different puncture types and uses high-density rubber for an airtight, heat-resistant temporary seal that helps you reach a tire shop safely. Compact and universal, it works on tubeless tires across cars, trucks, motorcycles, tractors, and more.

This ETENWOLF tire plug repair kit helps you quickly fix punctures for reliable rides. It includes two plug sizes to match different damage widths, plus essential tools and lubricant for a smoother repair process. Designed for tubeless tires, it’s a convenient on-the-go solution for cars, motorcycles, ATVs, trucks, jeeps, and tractors.

AUTOWN’s 68-piece tire repair kit helps you fix punctures and plug flats quickly and effectively. It includes a T-handle and spiral probe tool for easy insertion, while the steel patch and plug materials are designed for strong adhesion and long-lasting airtight performance. The compact case makes it convenient for roadside repairs across a wide range of vehicles.
What’s Inside a Tire Repair Kit?

A typical tire repair kit includes a T-handle reamer to clean and prepare the puncture, an insertion tool to install the plug, and rubber-like tire plugs designed to seal small holes, usually under ¼ inch in diameter.
You’ll also find rubber cement, which you apply to the tire plug so it bonds more securely inside the hole. Most kits add pliers for removing the puncturing object and lubricant to help the insertion tool slide the plug in more smoothly.
Each component works together: you clean the puncture, coat the plug, and drive it into place with the insertion tool. Look for a kit that includes enough plugs for repeat repairs and clear instructions for each step.
Plug-style kits usually cost $8 to $20, and you can buy them at most auto parts stores. Choose a kit with durable tools and fresh rubber cement for reliable use.
Check That the Tire Is Safe to Repair
Before you use those tools and plugs, make sure the tire can actually be repaired. Pull over to a stable, flat surface away from traffic, then inspect the tire safely.
Check that the puncture hole is in the tire tread, not in the shoulder or any area with sidewall damage. A puncture in the sidewall can’t be repaired safely, and you shouldn’t try.
Measure the puncture hole; if it’s larger than ¼ inch, or 6 mm, a plug may not seal properly. Look for cuts, bulges, exposed cords, or other wear that suggest internal damage. If you see any of these signs, replace the tire instead of repairing it.
Make sure no foreign object remains lodged in the tire, because leftover debris can worsen the damage. If the tire passes these checks, you can proceed with the repair kit confidently and reduce the risk of a failed seal or unsafe driving condition.
Remove the Nail and Ream the Hole
Grip the exposed nail or object firmly with pliers and pull it straight out to minimize additional tire damage.
Once you remove the nail, inspect the puncture in the tread area; if it’s larger than 1/4 inch (6 mm) or on the sidewall, stop, because you can’t repair it safely.
Next, insert the T-handle reamer into the hole. Use steady pressure and twist it clockwise and counterclockwise several times to ream the hole, clean out debris, and slightly enlarge it for a proper tire plug fit.
Keep the tool aligned with the puncture so you don’t tear the internal cords or worsen the damage. You don’t need excessive force; controlled motion works best.
When the opening is clean, uniform, and ready, withdraw the reamer and confirm the puncture is prepared before you move on. A properly reamed hole helps the tire plug seat correctly and seal the repair effectively.
[Products Worth Considering]

This chemical vulcanizing cement cures rubber at room temperature, creating a strong bond for reliable tire patch and plug repairs. The fast-drying formula helps reduce vulcanization time, while the built-in brush makes application quick and even. Suitable for car, motorcycle, and bicycle tires, it supports repairs for tubeless tires, outer tires, and inner tubes.

ATQYZLM’s screw-in tire plug kit provides quick self-service emergency puncture repair for tubeless tires without removing the tire. Choose a suitable plug nail, align it to the puncture, and tighten with the included screwdriver for minute-level roadside use. The rubber and metal plugs help form a durable airtight seal to reduce air loss and water seepage for reliable short-term travel.
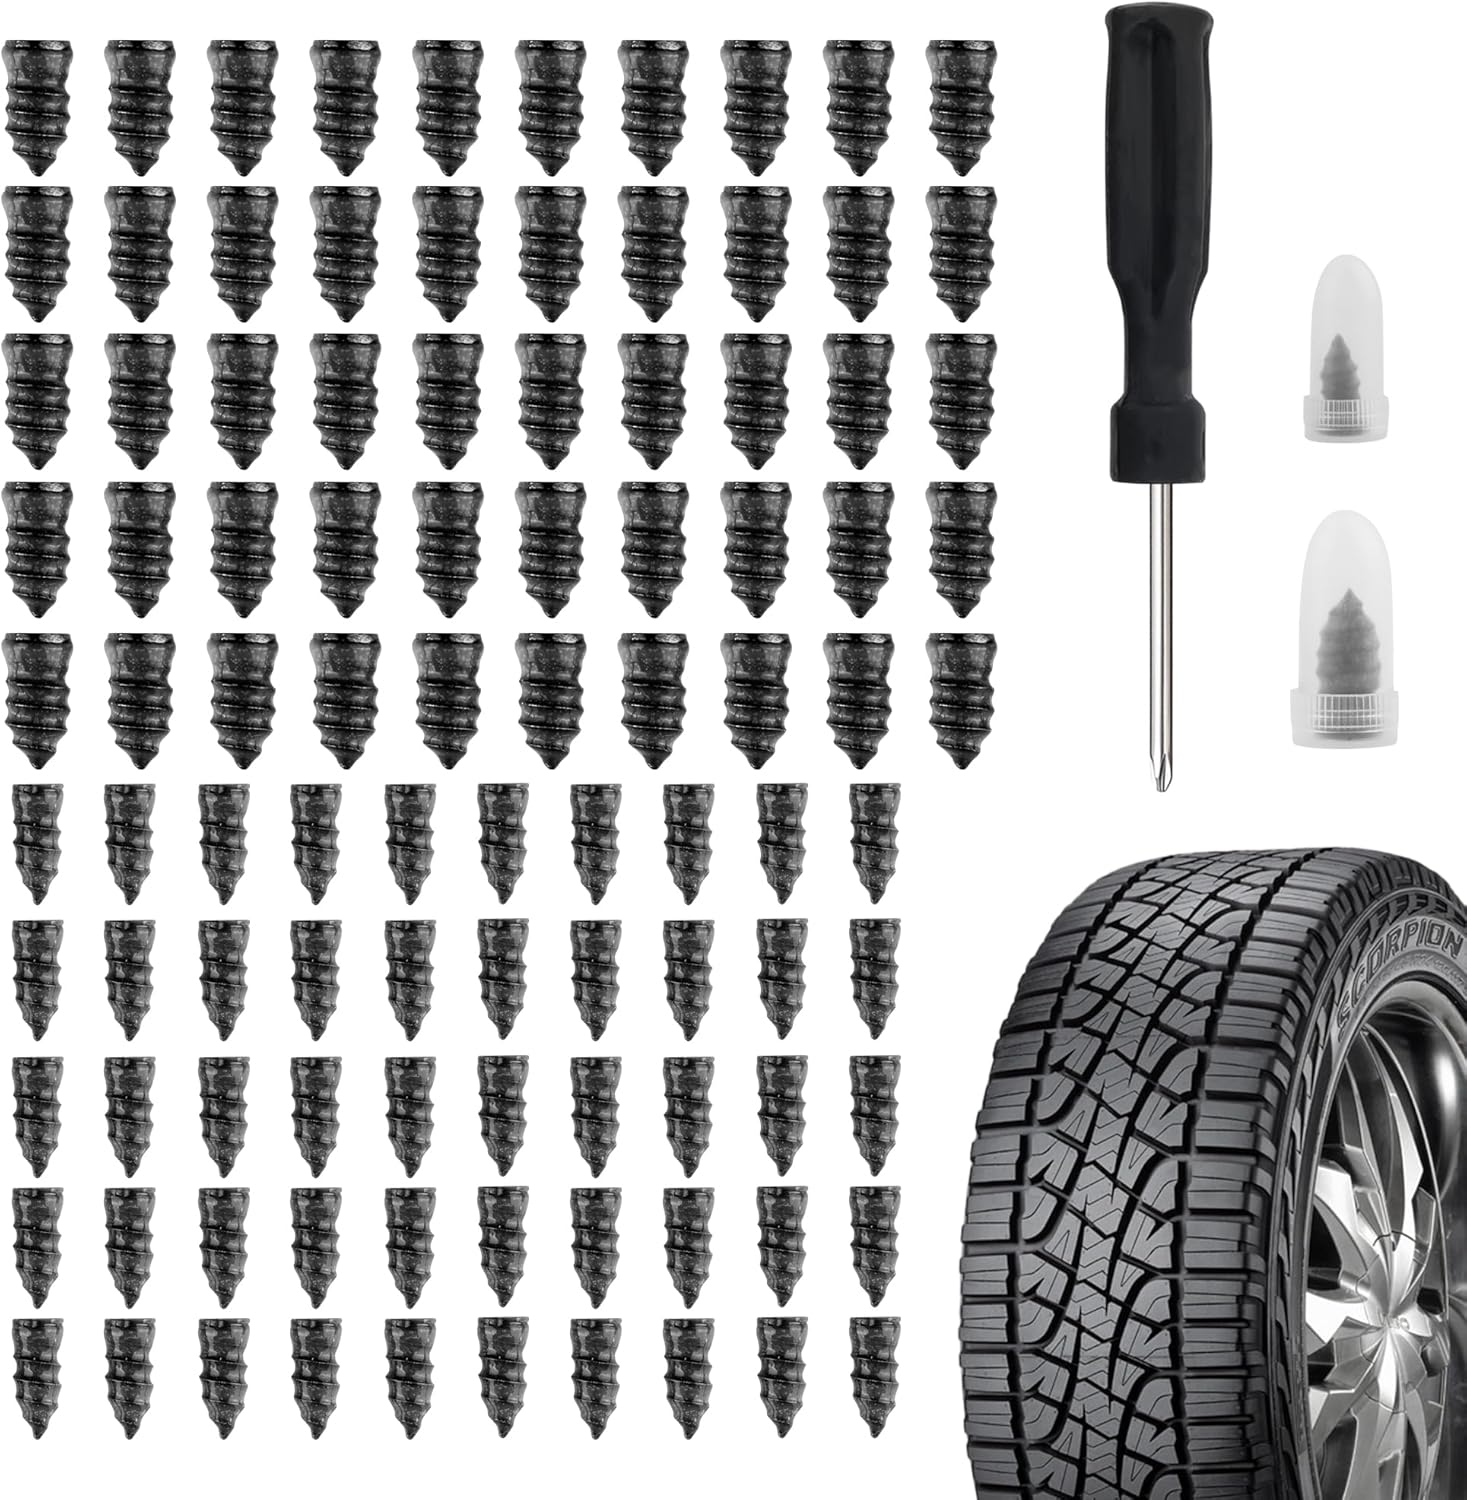
Salior’s tire plug kit provides a fast, reliable self-service fix for punctured or leaking tires without the need for flaring tools. Choose the correct plug size, then screw the nail into the puncture using the included screwdriver for an enhanced seal. The set is durable and convenient for on-the-go maintenance across multiple vehicle types.
Insert the Plug and Seal the Puncture
Thread the tire plug through the eye of the insertion tool, leaving a small amount exposed so you can guide it into the puncture. You’re now ready to insert the plug and seal the puncture with controlled pressure and a clean pull. Work deliberately so the repair seats fully in the tread channel.
- Align the tool with the puncture and push it straight in.
- Twist the handle slightly as you advance to help the plug follow the hole.
- Continue until about two-thirds of the plug is inside the tire, then pull the tool out quickly.
- Trim the excess plug flush with the tread, and, if needed, apply rubber cement around the entry point to improve sealing.
The plug should remain firmly anchored without visible gaps.
Use a sharp knife or scissors to trim the excess plug for a smooth finish.
Don’t overwork the area; the goal is a tight, stable seal that prepares the tire for the next step.
Inflate the Tire and Check for Leaks
Remove the valve stem cap and securely attach the inflator nozzle before switching on the inflator. To inflate the tire, start the inflator and watch the tire pressure gauge continuously.
Add air in short increments, then pause to confirm you’re approaching the recommended tire pressure listed on the sidewall. Stop as soon as you reach that value; overinflation can weaken the repair and affect handling. Disconnect the nozzle promptly and replace the valve stem cap immediately to reduce air loss.
Next, check for leaks at the repaired area. Mix soap and water, then apply the solution directly over the plug and surrounding rubber.
Inspect closely for bubbles, since rising bubbles show escaping air and a compromised seal. If you see any bubbles, repeat the repair process with care or get professional help. Persistent leakage usually means the puncture needs expert evaluation, not another quick adjustment.
Frequently Asked Questions
How to Use Inside Tire Patch?
You remove the tire, inspect the puncture, and use reaming, cement, and the patching techniques on clean repair materials. Press it firmly, trim excess, reinflate to spec, and verify tire safety with a soap test.
Is a Tire Repair Kit One Time Use?
No, not always—you can often reuse it, but sealant kits’re usually one-time, while plug kits may handle multiple punctures. You should follow DIY maintenance tips, tire safety precautions, and focus on choosing quality tools.
What Is the Correct Order for Using a Tire Repair Kit?
You pull over, activate hazards, remove the object, ream the puncture, insert the plug, inflate to spec, then test for leaks. These tire maintenance tips improve emergency preparedness and may reduce roadside assistance needs.
What Comes in a Tire Repair Kit?
You’ll usually get a T-handle reamer, insertion tool, rubber cement, plugs, pliers, and a trimmer. Tire damage types matter when choosing the right kit. Follow kit maintenance tips, and you’ll stay prepared.
Conclusion
When you use a tire repair kit, you’re giving a wounded tire a quick lifeline, not a permanent cure. By checking the damage, reaming the puncture, seating the plug, and inflating to spec, you restore pressure and get back on the road with confidence. Think of the kit as a roadside scalpel: used correctly, it seals the leak cleanly and keeps a small hole from becoming a flat, costly problem.
[Products Worth Considering]

This flat tire repair kit lets you handle punctures quickly with two plug sizes for different damage, helping restore drivability on the spot. It includes T-handle insertion and spiral probe tools plus lubricant and a utility knife, all packed in a compact bag for easy carry. Universal compatibility makes it suitable for tubeless tires across cars, motorcycles, ATVs, trucks, jeeps, and more.

Wykodra tire plugs provide quick vulcanizing repairs for tubeless tires, helping you seal punctures and get back on the road. The industrial-strength rubber creates a long-lasting, leak-resistant bond and is designed for emergency fixes without removing the tire. Choose between two standard plug sizes with color-matched options for small to larger damage across many vehicles and off-road uses.

This AUTOWN flat tire repair kit is designed for quick, reliable puncture repairs using a plug kit and spiral probe tool to simplify installation. Built for durability and safe handling, it offers strong adhesion and flexibility to help maintain tire air tightness. With a portable storage case and a multi-vehicle approach, it’s suitable for cars, motorcycles, ATVs, tractors, lawn mowers, RVs, jeeps, and trucks.

Related Articles

Tire Balancing Weights: Types, Cost, and Why You Need Them
Precisely chosen tire balancing weights reduce vibration and wear, but which type fits your wheels and what it really costs may surprise you.
Read More
How to Get More Miles Out of Your Tires: 10 Proven Tips
Maximize tire life with 10 proven tips that save money and boost safety—discover the simple habits that can add many more miles.
Read More
Tire Squeal When Turning: Causes, Fixes, and Prevention
Lingering tire squeal while turning can signal pressure, wear, alignment, or brake issues—discover the simple fixes before costly damage gets worse.
Read More