
Tire Repair Kit for Toyota RAV4: Safe Use Guide
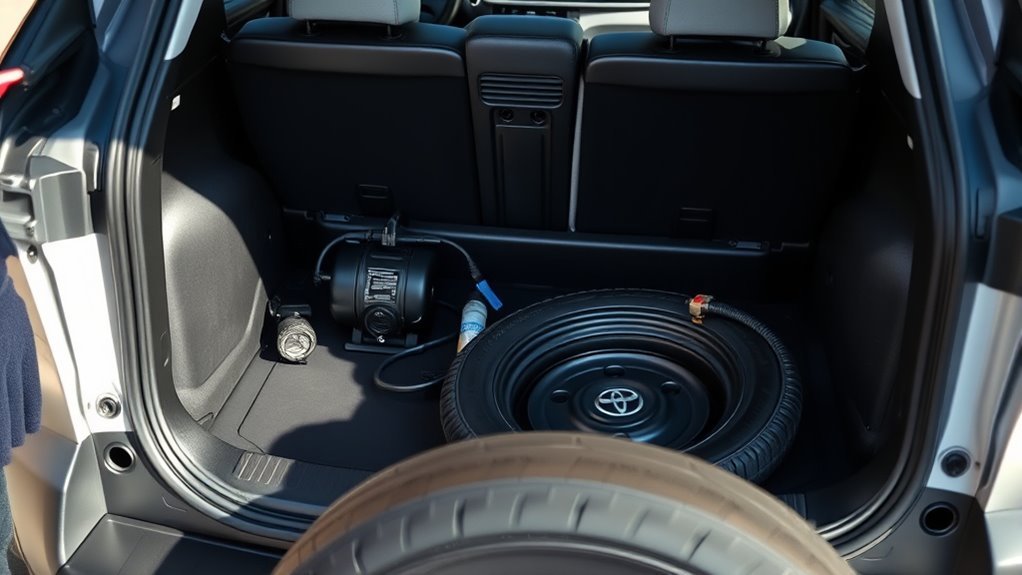
A flat tire can turn a normal drive into a stressful roadside stop, especially if your Toyota RAV4 uses a tire repair kit instead of a spare. A repair kit can help with small tread punctures, but it won’t fix every type of tire damage. This guide shows you how to use the kit safely, when to stop, and why you should still get the tire checked by a professional.
Quick Answer
To use a tire repair kit in your Toyota RAV4, park in a safe spot, inspect the tire, and confirm the puncture sits in the tread. If the damage looks small and repairable, remove the object, clean the hole, insert the plug, inflate the tire, and check for leaks. Treat the repair as temporary until a tire professional inspects it.
Key Takeaways
- Park on a flat, stable surface and use hazard lights before you start.
- Repair only small punctures in the tread area, not sidewall damage.
- Use the reamer, insertion tool, plug, and inflator in the correct order.
- Check the repair with soapy water before you drive.
- Schedule a professional tire inspection after any roadside repair.
Ensure Your Safety First

Before you start any tire repair, put your safety first. Pull over to a stable, flat surface away from traffic. Turn on your hazard lights and set the parking brake so other drivers can see you.
Clear the area around your vehicle before you work. Keep reflective triangles or a high-visibility vest in your RAV4 for low-light stops. These simple tools make you easier to see on the roadside.
Warning: Do not attempt a roadside tire repair if traffic, weather, or the vehicle’s position puts you at risk.
[Products Worth Considering]

This tire repair kit provides fast emergency puncture repair without removing the tire from the rim, helping you get back on the road quickly. Its screw plug system is designed for punctures in both tread and sidewall and includes a complete patch plug tool set with essential accessories. A portable storage bag makes it easy to carry for cars, trucks, SUVs, motorcycles, and heavy-duty applications.

This tire repair patch tool kit helps you quickly seal small punctures using upgraded mushroom plugs and a built-in roller system that presses for even penetration. The tungsten buffing wheel and HSS twist drill bits prepare the damaged surface for stronger adhesion, while the crown-angle friendly plugs are designed to keep water and debris out. Ideal for puncture repairs on many vehicle types, from cars and trucks to bikes and scooters.

This compact capsule-style tire repair kit helps you quickly fix punctures and plug flats with minimal effort. The rugged stainless steel shell protects the contents for reliable roadside use, while the simple plug assembly makes repairs fast and tool-free. Suitable for motorcycles, cars, ATVs, UTVs, and even mountain bikes.
Assess the Tire Damage Properly
Before you use the kit, inspect the tire and decide whether the damage looks repairable. Most plug-style repairs work only on small punctures in the tread. Sidewall damage, large holes, bulges, or visible tire separation need professional service.
Identify the Puncture Source
Start by checking the tire tread for a nail, screw, or other sharp object. Confirm that the puncture sits in the tread area and looks smaller than 1/4 inch, or about 6 mm, across. Do not repair a puncture in the sidewall because it can weaken the tire.
Look for bulges, cuts, cracks, or exposed cords. These signs can mean the tire has internal damage. If you see them, stop the repair and call roadside assistance or a tire shop.
| Step | Action | Purpose |
|---|---|---|
| Locate the puncture | Inspect the tread for foreign objects | Find the source of the leak |
| Check size | Estimate the puncture diameter | Decide if the damage looks repairable |
| Assess condition | Check the tread, sidewall, and tire shape | Spot damage that needs professional service |
Check the Damage Location
Check the puncture location before you remove anything from the tire. A repair kit works best when the hole sits in the tread, away from the shoulder and sidewall. Damage outside the tread area can affect tire strength.
Use a flashlight if you need a clearer view. Avoid driving farther on a low or flat tire because the rim can damage the tire from the inside. If you already drove on the flat, get professional help instead of relying on a plug.
What You’ll Need for Tire Repair
Gather every tool before you begin. A typical tire repair kit includes a T-handle reamer, insertion tool, rubber cement, tire plugs, and pliers. Check the kit instructions and confirm that the sealant, cement, or plug materials have not expired.
- Tire repair plug kit
- Pliers for removing the puncture object
- T-handle reamer for cleaning the hole
- Plug insertion tool
- Rubber cement, if your kit requires it
- Portable air compressor or kit inflator
- Tire pressure gauge
- Reflective safety gear
You may also need the jack, jack handle, and lug nut wrench if the tire must come off. Some repairs work with the tire still mounted. Follow your specific kit instructions because Toyota tire mobility kits and aftermarket plug kits can work differently.
Pro tip: Keep a tire pressure gauge with your kit because the compressor gauge may not read as clearly.
Estimated Repair Time
A simple tread puncture repair usually takes about 20 to 30 minutes once you park safely and find the damage. The repair can take longer in poor light, bad weather, or heavy traffic. Do not rush any step because a rushed repair can leak.
Repair the Puncture Step by Step
- Park safely. Move your RAV4 to a flat, stable area away from traffic. Turn on your hazard lights and set the parking brake.
- Inspect the tire. Find the puncture and confirm it sits in the tread area. Do not continue if you see sidewall damage, bulges, or a large cut.
- Remove the object. Grip the exposed nail, screw, or debris with pliers. Pull it straight out with a slow, steady motion.
- Clean the puncture hole. Insert the T-handle reamer into the hole. Twist it in and out to clean and slightly shape the opening.
- Prepare the plug. Thread the plug through the insertion tool. Apply rubber cement or lubricant only if your kit instructions call for it.
- Insert the plug. Push the plug into the puncture until a small portion remains outside the tire. Pull the tool straight out to leave the plug seated in the hole.
- Trim the excess plug. Cut the extra plug material close to the tread surface. Avoid cutting into the tire.
- Inflate the tire. Attach the inflator to the valve stem and inflate the tire to the pressure listed on the driver’s door jamb.
- Check for leaks. Apply soapy water to the repair area and watch for bubbles. If bubbles keep forming, the repair has not sealed.
Remove the Object Causing the Puncture
Before you remove the object, confirm that the vehicle sits securely on a flat surface. Use pliers to grip the exposed part of the object. Pull it straight out in one steady motion to reduce the chance of making the hole larger.
If the object sits deep in the tire, gently move it as you pull. Do not dig into the tire with sharp tools. If you cannot remove the object without force, stop and contact a tire professional.
Assess the Puncture Source
After you remove the object, inspect the puncture again. Check that the hole stays in the tread and does not extend into the sidewall. Look for any new damage caused during removal.
Keep track of what you found so you can explain it to the technician later. This helps the shop decide whether the tire needs an internal patch, a combination repair, or replacement.
Use Pliers Effectively
Needle-nose pliers work well for small objects because they give you better control. Grip the object firmly and pull along the same angle that it entered the tire. This method helps protect the tread from extra tearing.
Check your pliers before you store them in the vehicle. Worn jaws can slip, which makes the repair harder and less safe.
Minimize Further Damage
Do not drive more than needed after you notice the puncture. Driving on a low tire can damage the sidewall and inner liner. That damage may make the tire unsafe even if the outside hole looks small.
| Step | Action | Notes |
|---|---|---|
| 1 | Confirm vehicle stability | Use a flat surface and hazard lights |
| 2 | Grip with pliers | Pull the object straight out |
| 3 | Avoid sudden movements | Help prevent a larger puncture |
| 4 | Check puncture location | Repair only small tread punctures |
| 5 | Inspect for internal damage | Get professional help if needed |
Get the Puncture Hole Ready for Repair
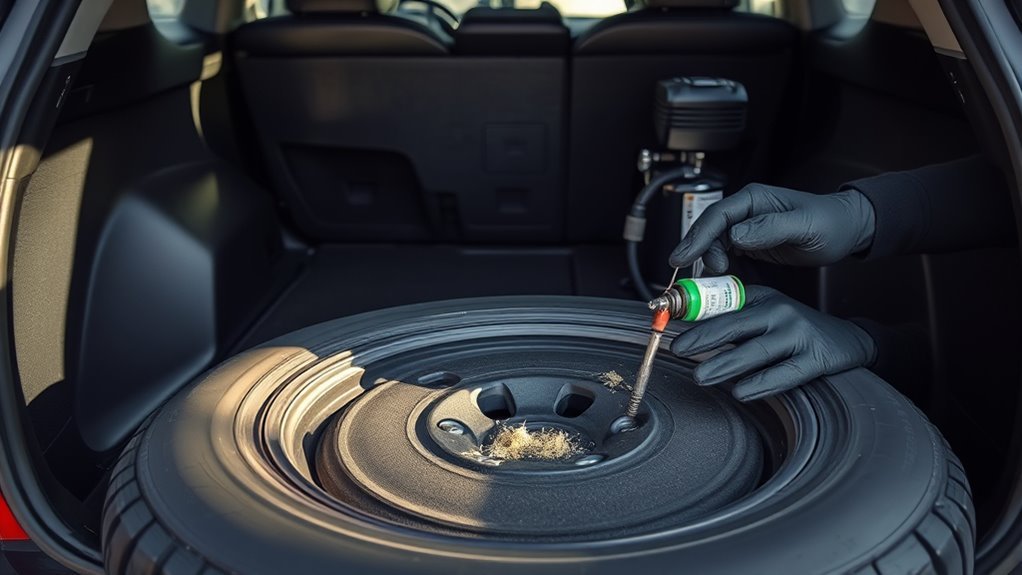
Start by placing the reamer into the puncture hole. Push and twist it carefully so it cleans the channel and prepares the rubber for the plug. Keep the tool aligned with the puncture path so you do not create a new angle.
Some kits tell you to use lubricant, rubber cement, or sealant during this step. Follow the instructions that came with your kit. Using the wrong material can weaken the seal.
Insert the Tire Plug Correctly
Thread the tire plug through the eye of the insertion tool. Align the tool with the puncture, then push the plug into the hole until a small part remains visible. Pull the tool straight out so the plug stays seated in the tire.
Check that the plug fills the puncture evenly. If you pull the tool out at an angle, the plug may not seal well. Trim the excess material only after the plug sits firmly in place.
[Products Worth Considering]

Wykodra tire plugs provide quick vulcanizing repairs for tubeless tires, helping you seal punctures and get back on the road. The industrial-strength rubber creates a long-lasting, leak-resistant bond and is designed for emergency fixes without removing the tire. Choose between two standard plug sizes with color-matched options for small to larger damage across many vehicles and off-road uses.
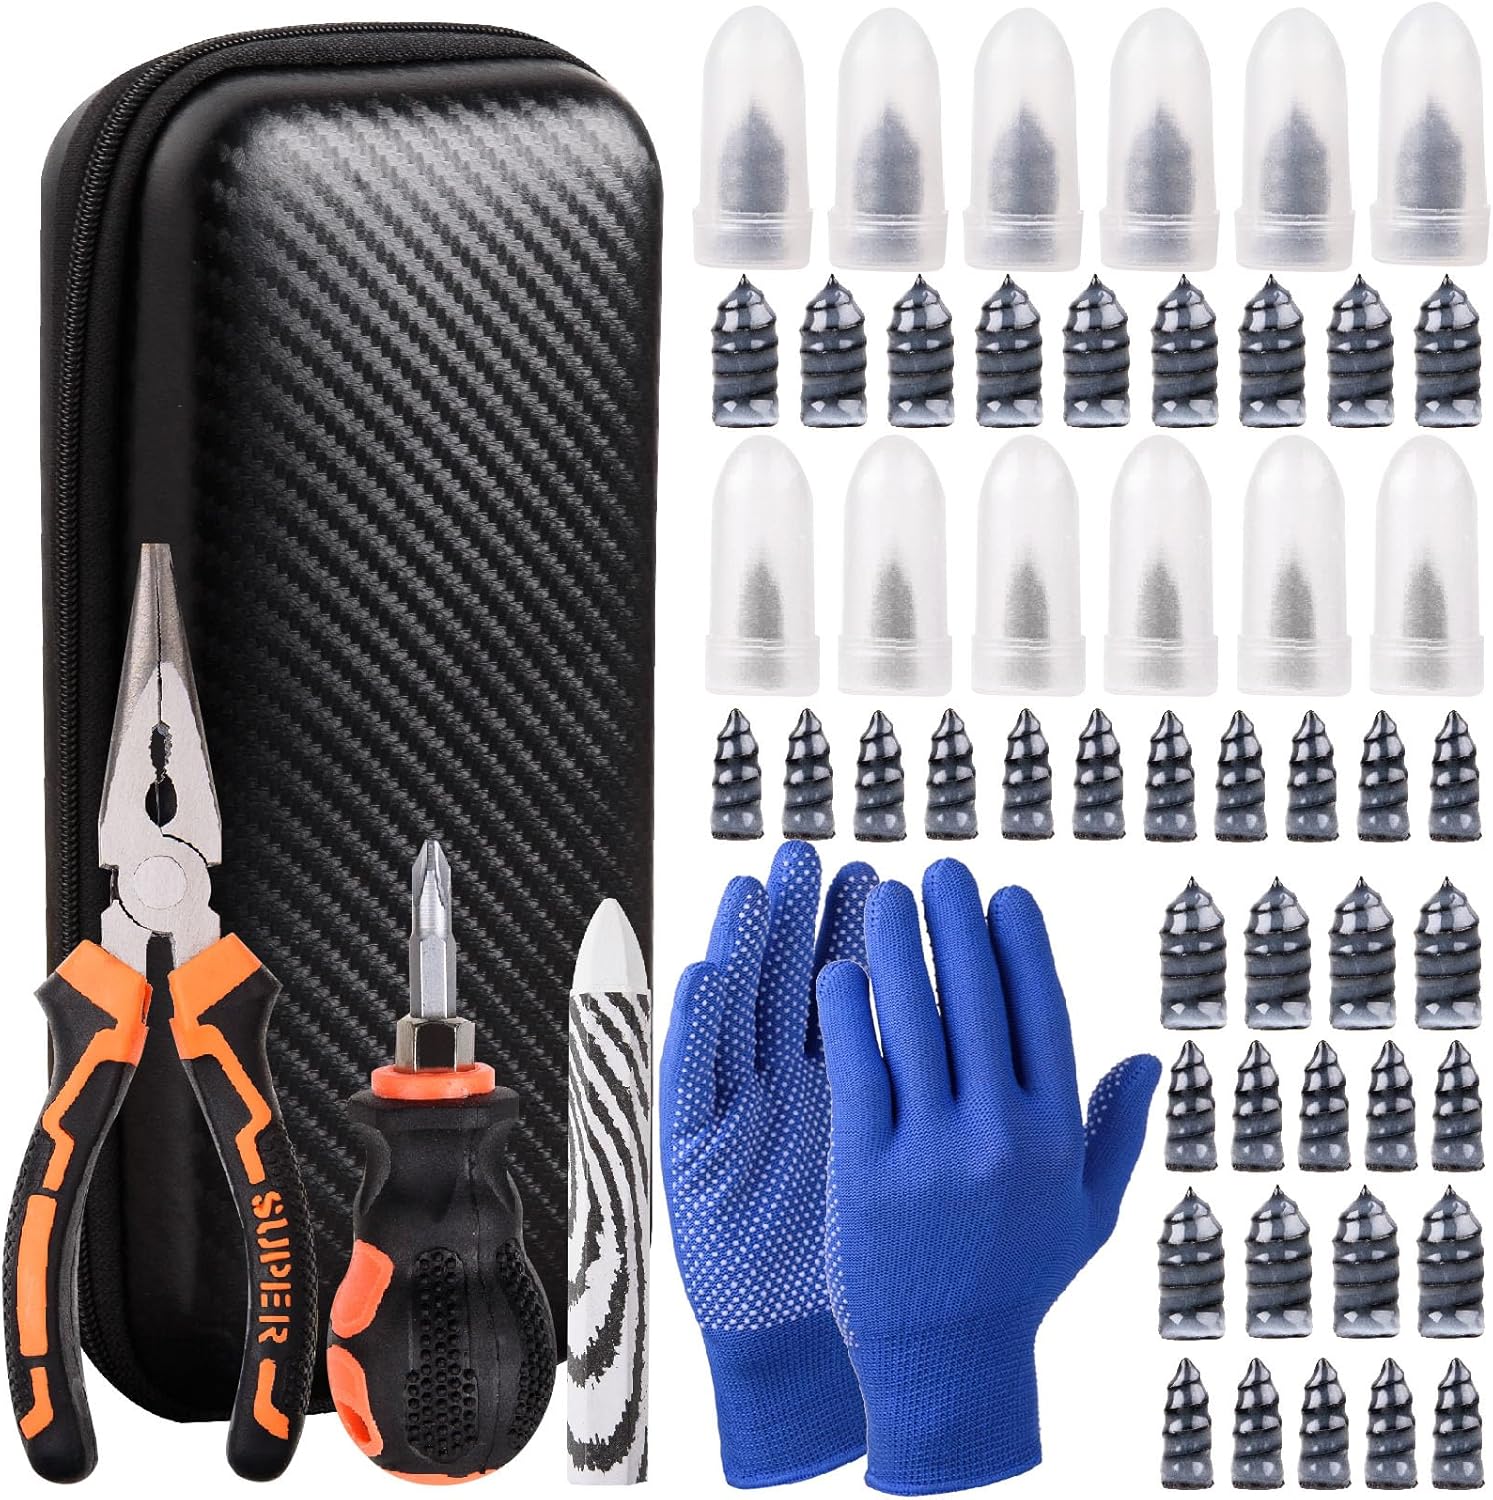
This tire sidewall puncture repair kit fixes flats fast without removing the tire, helping you get back on the road in minutes. It includes self-tapping repair nails, essential tools, gloves, and a portable storage bag for convenient roadside use. Designed for tubeless tires, it helps create a tight, leak-resistant seal for cars, motorcycles, trucks, SUVs, and ATVs.
Seal the Plug for Better Durability
If your kit includes rubber cement, apply it as the manufacturer directs. Coat only the needed area and avoid using too much. Extra cement can make a mess and may not improve the repair.
Let the material set for the time listed in the kit instructions. Then inspect the plug again. A plug that leans, lifts, or slips out needs attention before you inflate the tire.
Inflate the Tire to Proper Pressure
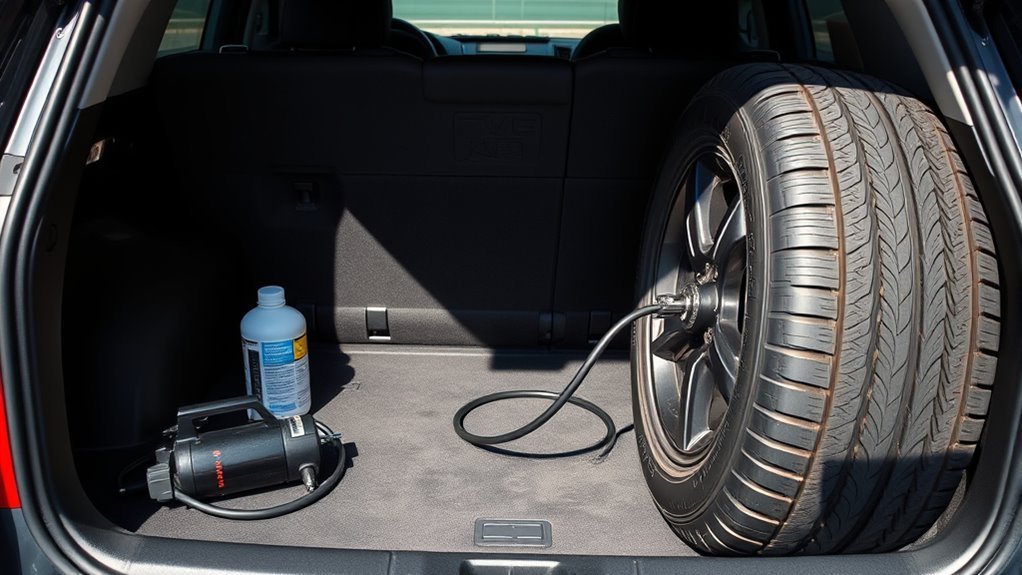
Find the valve stem and remove the cap. Attach the inflator nozzle firmly so air does not leak while you fill the tire. Inflate the tire slowly and watch the pressure gauge.
Use the recommended tire pressure on the driver’s side door jamb, not the number molded into the tire sidewall. The sidewall number usually shows the tire’s maximum pressure, not the correct pressure for your RAV4. Replace the valve cap after you finish.
Check for Leaks After Repair
Mix soap and water, then apply the solution to the repaired area. Watch the plug and nearby tread for bubbles. Steady bubbles mean air still escapes from the tire.
Small bubbles may appear at first, so give the area a moment. If bubbles keep forming, do not drive on the tire except to move to safety. Call roadside assistance or a tire shop instead.
Get a Professional Inspection After Repair
A plug or tire mobility kit can help you get off the roadside, but it should not replace a professional inspection. A technician can remove the tire, check the inner liner, and confirm whether the tire can stay in service. Some tires need a patch-plug repair from the inside or full replacement.
Why a Professional Inspection Matters
A professional inspection helps confirm that the repair sealed the leak and did not hide deeper damage. The tire may look fine from the outside while the inside has heat or sidewall damage. A technician can spot those risks before they cause a failure.
Protect Long-Term Tire Safety
Keep repair records and inspection notes with your vehicle documents. These records help future technicians understand the tire’s history. They can also help you decide when replacement makes more sense than another repair.
Identify Underlying Issues
Ask the shop to check the tire, wheel, valve stem, and tire pressure monitoring system if the warning light stays on. A slow leak can come from more than the puncture. Fixing the real cause helps protect the tire and your vehicle.
Common Mistakes to Avoid
A tire repair kit works only when you use it within its limits. Avoid these mistakes because they can leave you with a leaking or unsafe tire:
- Repairing sidewall damage or a large cut
- Skipping the leak check after inflation
- Driving long distances after a temporary repair
- Inflating the tire to the sidewall maximum instead of the vehicle pressure label
- Using expired sealant, cement, or plug materials
Frequently Asked Questions
How Does the Toyota Tire Repair Kit Work?
A Toyota tire repair kit, often called a tire mobility kit, usually uses sealant and an air compressor to help seal a small tread puncture. The sealant coats the inside of the tire as the compressor adds air. This repair gives you a temporary way to reach service, not a permanent fix.
What Is the Toyota Tire Mobility Kit?
The Toyota Tire Mobility Kit is a compact kit that can help with some small tread punctures when the vehicle does not have a usable spare tire. It often includes sealant, an inflator, and instructions. Check your owner’s manual because kit contents can vary by model year and trim.
Can You Use a Tire Repair Kit on Sidewall Damage?
No, you should not use a tire repair kit on sidewall damage. The sidewall flexes as you drive, so a plug or sealant may not hold safely. Replace or professionally inspect any tire with sidewall damage.
How Far Can You Drive After Using a Tire Repair Kit?
Drive only as far as needed to reach a safe service location. Follow the distance and speed limits listed in your Toyota owner’s manual or kit instructions. If the tire loses pressure again, stop driving and call for help.
Do You Need to Replace the Sealant After Using the Kit?
Yes, replace the sealant bottle or used parts after you use the kit. Many sealants also expire over time, even if you never open them. Check the date on the bottle so the kit works when you need it.
Safety Disclaimer: This article provides general information only and does not replace your Toyota owner’s manual or advice from a qualified tire professional. Tire damage can create serious driving risks, so seek professional help when you feel unsure.
Conclusion
A tire repair kit can help you handle a small tread puncture, but safety matters more than speed. Park carefully, inspect the damage, follow the kit instructions, and check for leaks before you drive. Then schedule a professional inspection so you know the tire can stay on the road. With the right steps, you can handle the emergency and protect your next drive.

Related Articles

Toyota RAV4 TPMS Reset: Easy Steps That Work
Unlock the secrets to resetting your Toyota RAV4's TPMS effortlessly—discover the essential steps to ensure your tires are always safe.
Read More
Toyota RAV4 Tire Rotation: DIY Steps & Pattern
Take control of your Toyota RAV4's tire maintenance with our simple DIY rotation guide—discover the best steps for optimal performance and longevity!
Read More
Mix Tire Brands on a Toyota RAV4? Expert Guide
Keeping your RAV4 safe? Learn when mixing tire brands risks traction, ABS/TCS and AWD damage — and what exact matches you must insist on.
Read More