
How to Remove a Nail From a Tire: Step-By-Step Safe Guide
If the tire holds air and the nail is in the tread, you can usually remove it safely. First, check pressure, then inspect the puncture with strong light and soapy water. Secure the wheel, pull the nail out in one controlled motion, and watch for widening damage. Ream the hole, insert a plug, trim it flush, reinflate, and recheck for leaks. If air drops fast or the puncture is on the sidewall, call a pro for the next steps.
Key Takeaways
- Check tire pressure and leak rate first; short drives may be possible, but avoid long distances with a nail.
- Locate the puncture with strong light and soapy water, and inspect the tread and sidewall for damage.
- Secure the wheel, then remove the nail slowly and in a controlled motion to avoid enlarging the hole.
- After removal, recheck for shifting leaks, then plug the hole with proper tools and trim the excess plug.
- Reinflate the tire and test with soapy water; seek professional help for sidewall, large, or multiple punctures.
Is It Safe to Drive With a Nail in Your Tire?
Yes, you can usually drive a short distance with a nail in your tire, but you should treat it as an urgent repair, not a minor inconvenience. A nail in your tire may still be safe to drive for a brief trip if the puncture hasn’t caused rapid air loss. Check tire pressure before you move the vehicle, then recheck it after you drive a short distance. If the tire loses air quickly, the risk of sidewall damage, heat buildup, and blowout rises fast.
Don’t keep driving long-term with the nail in place. You need prompt tire repair to protect the casing and stay in control. Before removing the nail, estimate its depth so you can judge how much air may escape. If you’re unsure, go directly to a nearby tire center or store for safe removal and repair. Regular visual inspections and monthly tire pressure checks help you catch these issues early and keep your movement free. Additionally, consistent tread life is crucial in ensuring the safety and performance of your tires.
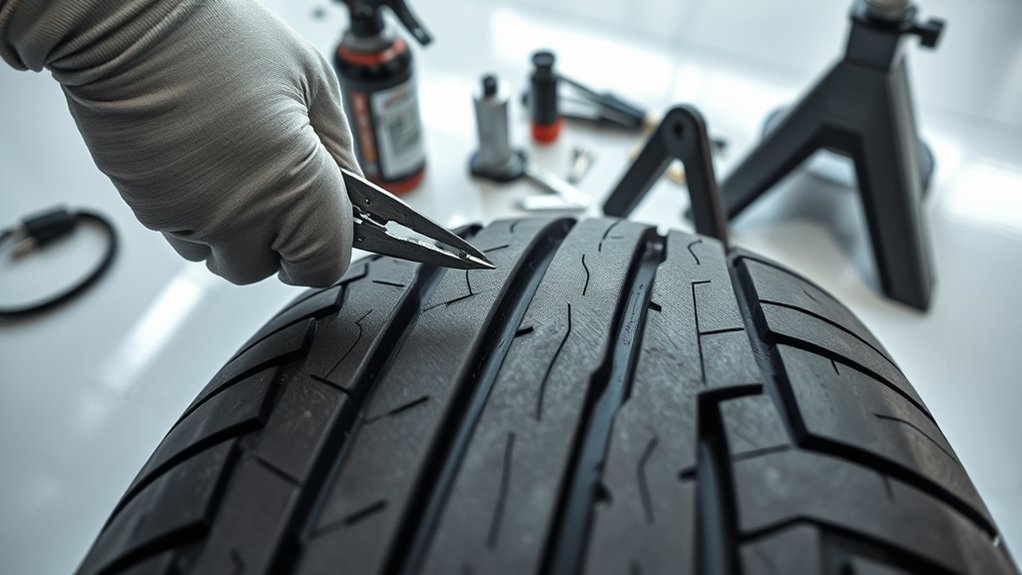
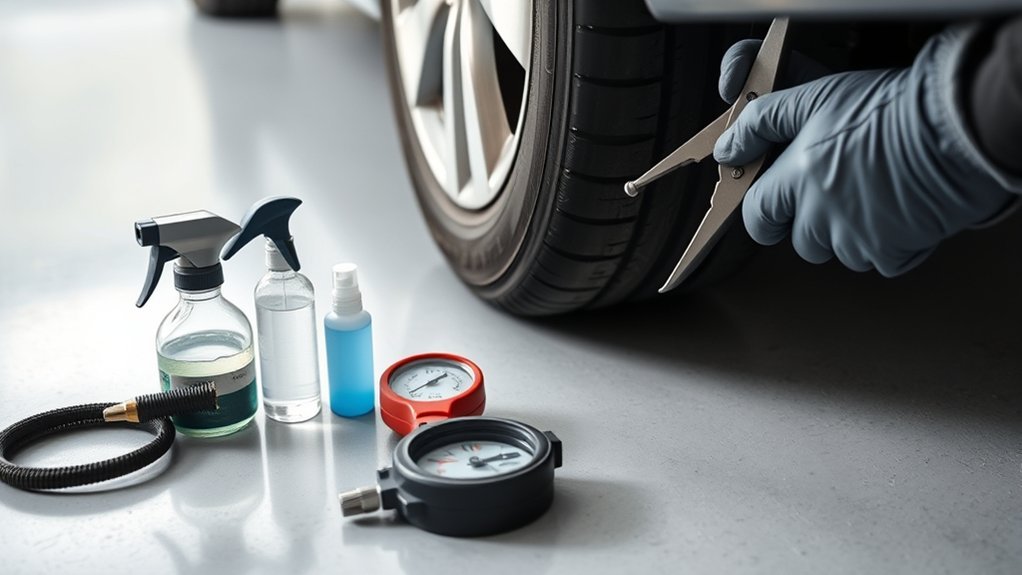
Find the Nail and Inspect the Puncture
Start by carefully locating the puncture, since the nail or screw is often visible in the tread area, where most tire damage occurs. Use strong lighting and scan the entire tread, then check the sidewalls for cuts, bulges, or embedded metal. If you can’t find the nail in the tire right away, spray a bubbly solution, such as window cleaner, over the suspected area and watch for bubbles. That leak pattern helps you inspect the puncture with accuracy and confirms where air is escaping. Inflate the tire to its recommended tire pressure first, because higher internal pressure makes small leaks easier to reveal. This step also helps you judge whether the damage is stable enough for a repair kit later. If you do monthly tire pressure checks, you’ll spot slow losses sooner and avoid giving control to a hidden failure. Reliable inspection keeps you informed and ready to act. Additionally, UTQG ratings can assist you in evaluating the tire’s overall condition and suitability for repair.
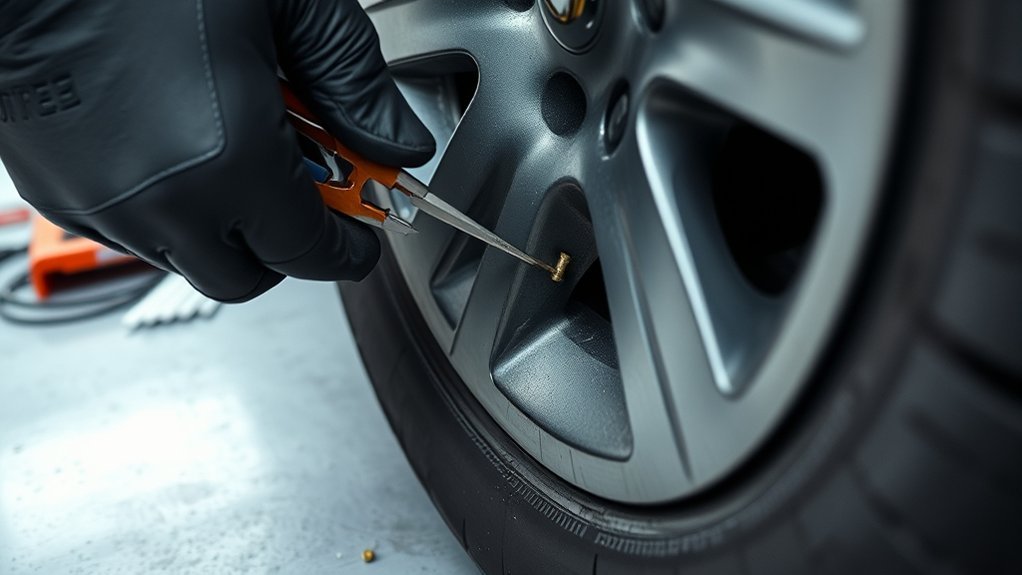
Remove a Nail From Your Tire
With the puncture identified, use a claw hammer or pliers to grip the nail and pull it straight out of the tread, keeping the tire steady as air may escape quickly. You’ll remove the nail in one controlled motion, then inspect the tire again for widening damage or multiple punctures. If you hear a hiss, don’t panic; that release is normal and brief. Use this sequence:
- Secure the wheel so it can’t roll while you remove the nail.
- Watch the hole as you extract it, noting whether the puncture stays clean and round.
- Set aside your Plug Tool and tire plug kits for the next repair step.
After extraction, inspect the tire visually and with soapy water to confirm the leak point hasn’t shifted. Keep your grip firm, work methodically, and don’t force the tool sideways. Precision here protects the casing and preserves your freedom to continue the repair safely. Having a reliable spare tire kit can significantly aid in managing unexpected punctures.
How to Plug the Tire Hole
Insert the reaming tool from your tire plug kit into the puncture and work it in and out to enlarge and clean the hole, roughening the sides so the plug can grip properly. This prep makes the repair hold. Thread the plug through the insertion tool, then push it straight in until only a short tail shows. Pull the tool free so the plug stays seated and anchored.
| Step | Action |
|---|---|
| 1 | Ream and clean the puncture |
| 2 | Roughen the hole walls |
| 3 | Thread the plug into the tool |
| 4 | Insert, then trim excess flush |
| 5 | Reinflate and test with soapy water |
Trim the excess close to the tread, then re-inflate to the recommended pressure. Spray soapy water over the area; bubbles mean you need to reset it. If the seal stays tight, you’ve restored function and kept a tire shop from turning your freedom into a new tire purchase. Using a compact kit like the Slime 2040-A can make this process even easier.
When to Stop and Call a Pro
If the tire is losing pressure quickly, you hear a clicking noise while driving, or the puncture is in the sidewall, stop and call a professional right away. A tire with a nail can look manageable, but you shouldn’t drive with a nail when the damage threatens structural integrity. Check your owner’s manual for repair limits, then inspect the tire sidewall, tread area, and puncture size.
If the tire is losing pressure quickly or the puncture is in the sidewall, call a professional right away.
- Call a pro if the nail is in the tire sidewall or the hole is larger than a quarter inch.
- Seek professional assessment when you find multiple punctures or damage near the shoulder.
- Get help if you lack tools, experience, or certainty about repairability.
A trained technician can judge whether the tire can be safely plugged or needs replacement. If your inspection leaves any doubt, don’t risk a roadside failure. Choosing expert help protects your control, your vehicle, and your freedom on the road. Additionally, treadwear ratings and warranties can provide valuable information on the tire’s longevity and repairability.
Frequently Asked Questions
How to Remove a Nail From a Tire at Home?
You can remove a nail from a tire at home by first checking the puncture, then using pliers to pull it straight out while you wear gloves and eye protection. Keep DIY tools ready, and follow safety precautions as air escapes. Clean the hole for tire repair, then use a plug kit for puncture sealing. Inflate to spec and test for leaks. These temporary solutions free you to move again.
What Is the 3 Tire Rule?
The 3 tire rule means you should replace all four tires if three show significant wear or damage. Why risk unstable handling? You’ll keep traction balanced, protect your drivetrain, and avoid uneven wear. Use tire damage assessment, tire maintenance tips, and nail prevention techniques to decide fast. For emergency tire repair or DIY tire safety, this rule helps you choose freedom from surprises and costly failures.
Is It Safe to Remove a Nail From a Tire?
No, you shouldn’t treat nail removal as inherently safe; tire safety depends on nail damage depth and location. You can make temporary fixes only if you’ll inspect the puncture immediately. For tire repair, you should use DIY precautions: inflate the tire, mark the leak, remove the nail only when ready to patch or plug, and drive straight to a shop. Keep checking pressure to protect your freedom of movement.
How to Get a Nail Out of a Tire Without Pliers?
Use a claw hammer, vice grips, or a screwdriver to grip the nail and pull it straight out; over 60% of punctures can be repaired if you act fast. For nail extraction techniques, deflate the tire first, then apply steady force. These tire repair essentials reduce tearing. Keep DIY safety tips in mind, inspect the hole, and follow tire care maintenance. Your tools needed may include a drill for deep nails.
Conclusion
If you’ve found a nail in your tire, don’t assume the danger’s gone once you pull it out. The hole may look small, but air loss can begin fast and worsen just as quickly. You should inspect the puncture, check tire pressure, and decide whether a plug is safe. If the damage is on the sidewall or the tire keeps leaking, stop driving and call a pro before the problem turns into a blowout.
Related Articles
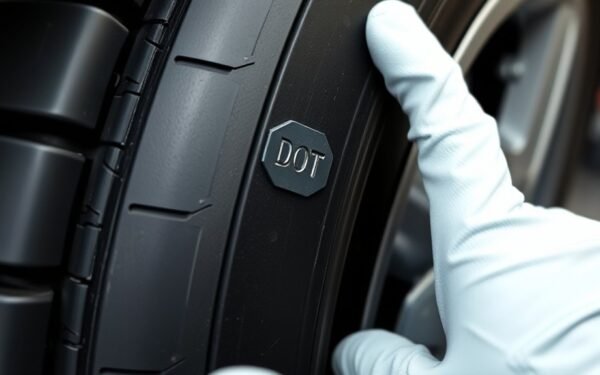
How to Read a Tire’s Year Code: Finding the DOT Date Explained
Find your tire’s age from the DOT code, but there’s a hidden detail that could change everything.
Read More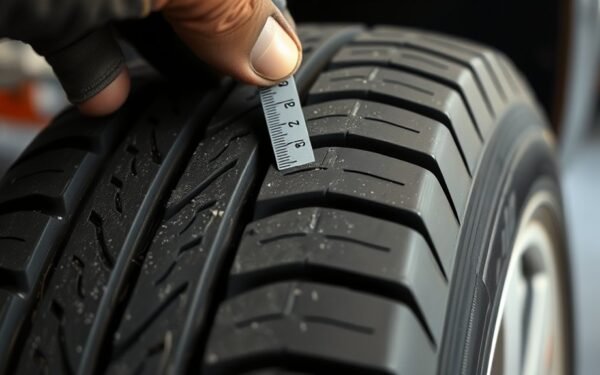
How to Measure Tire Wear: Tread Depth Check Guide
Get the simple tire wear checks that reveal when your tread is dangerously low and what most drivers miss until it’s too late.
Read More
How to Make Homemade Tire Shine: DIY Recipes That Work
Keen to learn easy DIY tire shine recipes that actually work and last?
Read More