
What to Do If You Have a Nail in Your Tire: Step-by-Step Fix
If you find a nail in your tire, don’t pull it out yet. Check the pressure and TPMS, then inspect the tread for leaks, bulges, or sidewall damage. If the tire holds air, drive only a short distance under 50 mph to a shop. Central tread punctures under ¼ inch may be repairable with a proper plug-patch. If air drops fast or damage is in the sidewall, use a spare and get help; more details follow.
Key Takeaways
- Check tire pressure and inspect the nail location, noting any leaks, cuts, bulges, or sidewall damage.
- If the tire holds air, drive only a short distance at under 50 mph to get it checked.
- Do not remove the nail yourself; keep monitoring TPMS for pressure loss.
- Repair tread punctures in the central tread area with a plug-and-patch, if the damage is under ¼ inch.
- Replace the tire if the puncture is in the sidewall, shoulder, too large, or the tire is losing air quickly.
Can You Drive With a Nail in Your Tire?
Yes—if the tire is holding air, you can usually drive a short distance with a nail in it, ideally less than 20 miles, but only as a temporary measure. With a nail in your tire, you’re buying time, not freedom from risk. Keep speed under 50 mph to reduce heat and blowout risk, and watch the Tire Pressure Monitoring System closely for any warning light or pressure drop. If the tire stays stable, it may still be safe to drive briefly, but don’t treat that as permission to keep going. A sudden loss of air can happen fast, especially under load or at higher speeds. If you notice significant pressure loss, pull over and use a spare tire or call roadside assistance. Then get tire repair services to inspect and seal the puncture properly. Prompt repair protects the casing, restores reliability, and keeps you in control of your movement, instead of letting a damaged tire decide for you. Remember that using dedicated winter tires for icy conditions can significantly enhance safety during winter driving.
Check the Tire Without Pulling the Nail
Before you pull the nail, inspect the tire visually to pinpoint its location and see whether it’s still helping seal the puncture. In this tire inspection, look for the nail in the tire tread or sidewall and note any cuts, bulges, or embedded debris. Spray a bubbly solution, such as window cleaner, around the nail to detect air leakage; bubbling shows the puncture’s active edge and helps you judge severity.
- Check TPMS or a manual gauge for steady pressure.
- Keep speed low, ideally under 50 mph, to reduce stress.
- Schedule a professional inspection quickly for repair or replacement.
Remember that a reliable spare tire kit can be invaluable in case of further issues on the road.
Don’t yank the nail yet; you may release the seal and worsen the damage. Instead, document what you see, then drive only as needed to a repair shop. This precise approach protects your freedom to move while limiting risk and preserving the tire’s repairability.
How to Tell It’s Losing Air
Check the tire pressure with a manual gauge and compare it to the manufacturer’s recommended level; a lower reading means it’s losing air. Watch the TPMS light, since an illuminated warning often confirms pressure loss from the puncture. For a leak check, spray the tire with soapy water and look for bubbling at the nail, tread, and sidewalls. Additionally, using a compact tire repair kit can help you address small punctures quickly.
Check Tire Pressure
Once you’ve found a nail in the tire, monitor its pressure closely for any sign of air loss. You should check your tire with a TPMS first; a warning light means low tire pressure and demands immediate action. Then use a gauge to confirm the reading against the manufacturer’s PSI range on the driver’s side door jamb. Keep watching for air loss and visual signs of deflation, like sagging or an uneven profile. Protect tire integrity by responding fast if pressure drops.
- Compare the gauge reading to the recommended PSI.
- Inflate immediately if pressure falls, or install a spare.
- Recheck often so minor losses don’t become costly damage.
Watch For Bubbling
To locate a nail leak, spray a bubbly solution such as window cleaner over the tire and watch for bubbles forming at the puncture site. Inflate it to spec, then inspect the tread in strong light. A nail puncture often hides deep, so keep the tire inspected from shoulder to shoulder. | Signal | Meaning | Action |
| — | — | — |
|---|---|---|
| Bubbling | Air escaping | Mark leak |
| No bubbles | No visible leak | Recheck |
| TPMS alert | Loss of pressure | Verify |
If you suspect loss of pressure but can’t see it, use TPMS and repeat the test. Watch for bubbling after every drive until you’ve confirmed the leak. This simple check helps you catch air loss early, keep control, and stay free from roadside trouble.
Find the Puncture in the Tread
Inspect the tread closely in good light, since nails or screws usually show up there first. Spray the tire with soapy water and watch for bubbles to pinpoint the leak. Check the full tread for hidden damage, because some punctures won’t be obvious at first glance. Additionally, regular tire rotations can help identify issues before they worsen.
Inspect Tread Closely
Start by carefully checking the tread for any visible punctures, embedded nails, or screws, and look at the tire from multiple angles in good lighting so you don’t miss hidden damage. To inspect tread closely, perform a thorough inspection around the full circumference of the punctured tire. If you spot a nail in your tire, note its exact location before you move the vehicle. Use steady lighting and rotate the wheel slowly to expose the full tread pattern.
- Check each groove for cuts, bulges, or debris.
- Verify whether the puncture sits in the repairable tread zone.
- Confirm the damage isn’t on the sidewall or shoulder.
If the hole is small, you may be able to repair it safely and keep rolling with confidence.
Use Soapy Water
A simple soap test can pinpoint the leak: mix soapy water, inflate the tire to the recommended pressure, and apply the solution across the entire tread in good light. You’ll inspect the full surface, because a nail or screw can create a tiny puncture that’s hard to see. Watch for bubbles in the soapy water; they form where air escapes, giving you a clear map of the damage. Move slowly and cover every section of the tread, not just the obvious spot. When you find bubbling, mark the area for repair so you can return to it without delay. Don’t remove the nail yet; keep the tire stable and drive only if you must, then head to a professional repair facility for a proper fix.
Check For Hidden Damage
With the tire inflated and in good light, you should closely scan the tread for any visible puncture, cut, or embedded object, since nails and screws usually damage that area. Don’t just look—turn the tire slowly and inspect every groove. If you can’t find a nail, listen for a hiss and recheck the surface with soapy water to expose bubbles. Measure the tread depth and note whether the hole sits within the repairable zone; tire repairs are usually viable for punctures under ¼ inch in the tread. Watch for sidewall cuts or bulges, which can signal internal damage and end inspection and repair.
- Check for leaks around the puncture
- Confirm the tread location and size
- Reject damage outside repair limits
Should You Remove the Nail or Screw?
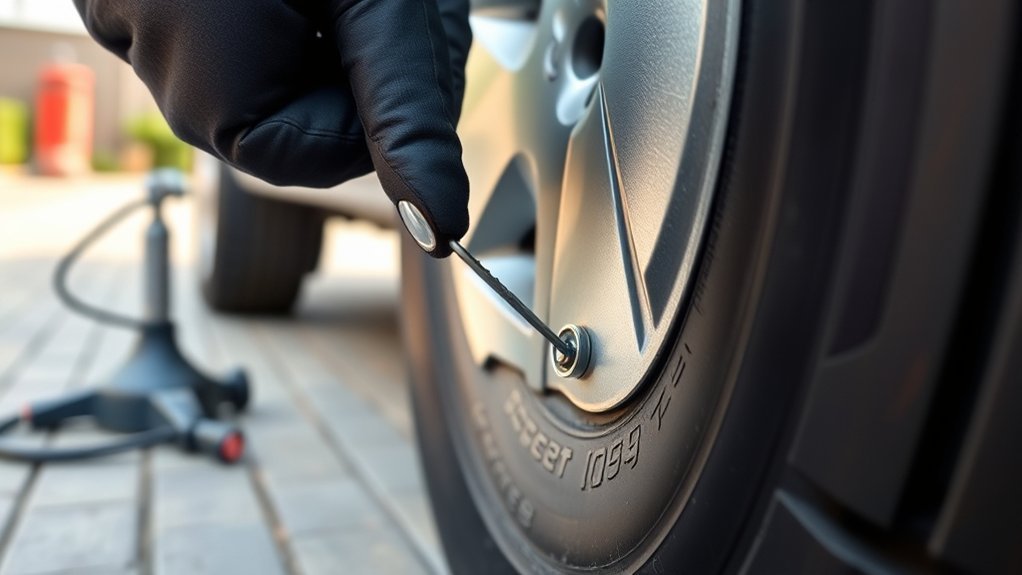
Do not remove the nail or screw right away, because pulling it out can let air escape quickly and worsen the tire’s internal damage. Leave the nail or screw in place while you assess tire pressure and watch the TPMS for warnings. If pressure holds, you can drive cautiously to a shop.
| Action | Why it matters |
|---|---|
| Don’t remove the nail | Prevents sudden deflation |
| Check tire pressure | Confirms stability before moving |
| Watch TPMS | Flags ongoing loss |
| Call expert technicians | Gets a precise assessment |
If you must travel, keep speed low and limit distance to under 20 miles. Avoid hard braking and sharp turns. The goal is control, not risk. By staying measured, you keep your options open and protect your freedom to move. Expert technicians can inspect the puncture, confirm the seal, and tell you the safest next step. Additionally, using a GlueTread SXS Tire Patch Kit can provide a temporary solution for sidewall damage until a professional repair is possible.
Can the Tire Be Repaired or Replaced?
If the puncture is in the tread and measures ¼ inch (6 mm) or less, you can often repair the tire safely. You’ll need replacement if the damage is in the sidewall or shoulder, if there are multiple close punctures, or if the tire has prior repairs or internal damage. Have a professional inspect it to confirm whether the tire’s structure still meets safety requirements. Additionally, choosing the right tires plays a crucial role in maintaining safety and performance on the road.
Repairable Tread Punctures
A tread puncture can often be repaired when the hole is ¼ inch (6 mm) or smaller, but larger damage usually means you need a replacement tire. Use tire plug kits only as a temporary fix until you reach a repair shop for a proper plug-and-patch repair. Check your Pressure Monitoring System (TPMS) and confirm the tire holds pressure, then inspect the tread area carefully.
- Tread-only punctures are usually repairable.
- Shoulder or sidewall damage needs replacement.
- Close multiple punctures often rule out repair.
A technician should inspect for internal damage before you drive far. For best safety, demand a combined plug and patch; it seals the hole more durably and helps you keep control on the road. When the damage sits outside the tread, you don’t bargain with it—you replace the tire and move on.
Signs You Need Replacement
When the damage isn’t confined to the central tread, replacement is usually the safe call. You should choose tire replacement if you spot a nail in the sidewall or shoulder, because those zones can’t be repaired safely. Replace the tire when the puncture is larger than 1/4 inch, when you see damage beyond the tread, or when multiple punctures sit within 16 inches of each other. Prior repairs or internal damage also raise failure risk, so don’t trust a tired casing to keep carrying you. Only central tread punctures are typically repairable, and then only with a proper patch-plug combination. Don’t drive with a nail longer than necessary; every mile can widen the injury and narrow your options for freedom on the road.
Professional Tire Inspection
Once you’ve ruled out obvious sidewall, shoulder, or multi-puncture damage, have a tire professional inspect the puncture to confirm whether repair is possible. A professional tire inspection tells you if the nail in your tire sits in the tread and stays under 1/4 inch (6mm), which supports repairability. The tech will check internal damage that you can’t see, because a tire has already been compromised beyond the hole itself.
- Repairable tread puncture: often fixed with a combined plug and patch
- Replace it: sidewall, shoulder, or clustered punctures usually fail safety rules
- Follow specs: run-flats and specialty tires may require replacement
You get the facts, not guesswork, and that keeps you free to drive with confidence.
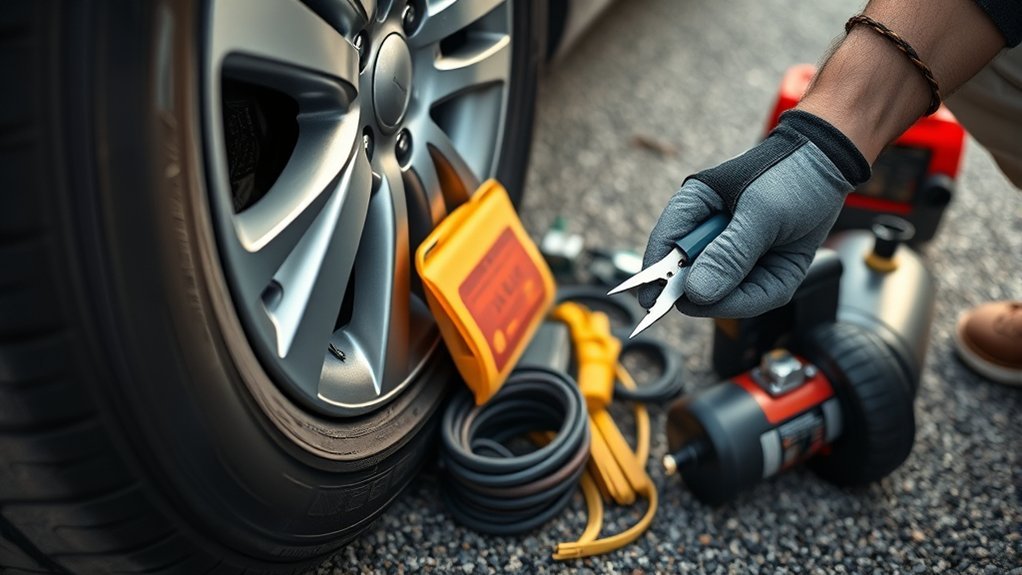
How to Plug a Tire Puncture Properly
Start by reaming the puncture hole with the tool from your plug kit so the plug fits properly, then roughen the inside of the hole to improve adhesion. Next, remove the nail only if it’s still present and ready the tire plug by threading it onto the insertion tool. Push the plug straight into the puncture with firm, controlled pressure until only a small tail remains visible. This lets the material expand and seal the damage from within, giving you direct control over the repair. Trim any excess plug flush with a utility knife so the tread stays even and the repair won’t catch. Finally, inflate the tire to operating pressure and inspect the area with soapy water. If bubbles form, air’s still escaping and you’ll need to revisit the plug. When it holds cleanly, you’ve reclaimed useful mobility on your own terms. Additionally, following the safety notes from your repair kit ensures a safer and more effective process.
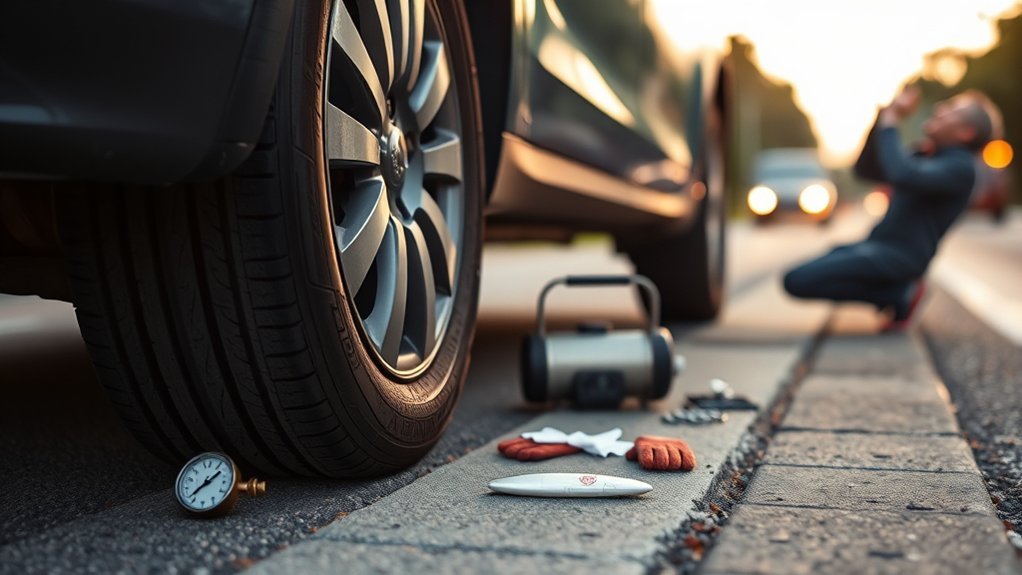
When to Use a Spare Tire Instead
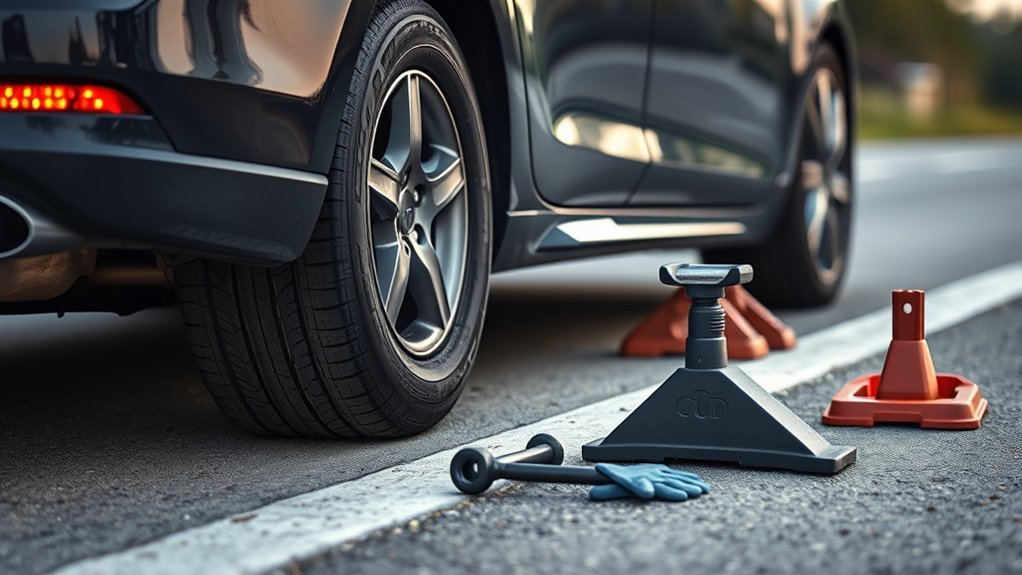
If your tire is flat, losing air quickly, or feeling unstable, switch to the spare instead of trying to keep driving on it. You need a spare tire when the puncture is larger than ¼ inch, when damage sits on the sidewall or shoulder, or when the Tire Pressure Monitoring System (TPMS) light stays on and pressure won’t stabilize. Don’t gamble with a compromised tire; longer trips and highway driving raise the risk of blowout, loss of control, and extra damage. Use the spare, secure the wheel properly, and move toward roadside assistance so you can regain safe mobility without delay.
Flat, unstable, or rapidly losing air? Switch to the spare and head for roadside assistance.
- Rapid air loss means the tire can’t support you safely.
- Sidewall or shoulder damage isn’t a candidate for continued driving.
- If the tire feels unstable, stop and install the spare.
Keep your route short, your speed moderate, and your focus on getting clear of danger. Additionally, remember that regular tire rotations can help prolong the lifespan of your tires and maintain performance.
Why a Pro Repair Is Worth It
Even when a puncture looks minor, a professional repair gives you the safest, most reliable result because a technician can inspect the tire inside and out for hidden damage you might miss. You get expert technicians who measure the cut, check the belt, and decide whether a plug-and-patch is the right safety fix. That matters, because a DIY plug alone can fail under heat, speed, or load. Additionally, a professional can ensure that the repair complies with tire standards and maintains your tire’s structural integrity.
| Benefit | Why it matters | Result |
|---|---|---|
| Full inspection | Finds internal injury | Fewer surprises |
| Professional repairs | Use proper materials | Stronger seal |
| Warranties | Cover repair defects | More confidence |
Pro service can also save you money by preventing blowouts and premature replacement. You keep control of your mobility, but with a repair that meets tire standards and protects your freedom to drive without guesswork.
Find a Tire Shop Near You
Where can you get your tire inspected quickly and safely? Use your zip code or city/state to find a tire shop near you, then compare repair options and hours. Tires Plus locations handle nail punctures, inspections, and tire repairs; you can also use the Tires Plus app to save a preferred store and grab coupons. If your dashboard shows a Pressure Monitoring System (TPMS) alert, don’t ignore it—ask the shop to verify pressure and sensor status during service.
- Call ahead to Schedule Service and confirm walk-in availability.
- Check online maps for directions, service details, and estimated wait times.
- Ask Keystone Chevrolet about free tire inspections with tire purchases.
If you want fast support, contact customer service for questions or to book an inspection. Choose a shop that explains the repair clearly, protects your time, and helps you move with confidence. Additionally, consider choosing the right tire for your specific driving conditions to ensure optimal performance and safety.
Frequently Asked Questions
Can I Fix a Nail in My Tire Myself?
Yes, you can fix a nail in your tire yourself if the puncture sits in the tread, stays under ¼ inch, and doesn’t reach the sidewall. Use proper tools for DIY repairs: inspect, leave the nail in place, ream the hole, insert a plug, and trim it flush. For tire maintenance, follow safety tips and check for internal damage. A shop inspection still gives you the safest long-term result.
How to Get a Nail Out of a Tire?
You should grip the nail with pliers and pull it straight out. About 90% of tire punctures can be repaired if you act fast, so use tire maintenance tips and follow safety precautions. Choose nail removal tools like vice grips for better leverage, and expect air loss. If you can’t seal it immediately, use temporary fixes only to reach help. Then inspect the hole and plan a proper plug repair.
Can I Drive on a Tire With a Nail in It?
Yes, you can drive a short distance on a tire with a nail in it if pressure stays stable, but you need tire safety first. Check the TPMS light, avoid highways, and keep speeds under 50 mph. Different nail types can leak slowly or fast, so watch for pressure loss. Use emergency precautions: don’t pull the nail, and drive only to a repair shop or spare tire change.
How Much Does It Usually Cost to Fix a Nail in a Tire?
You’ll usually pay $10 to $50 for tire repair costs. Why pay more if a simple plug or patch works? DIY tire kits can cost less, but professional services often give safer results, especially if the puncture needs inspection. Mobile repairs may run $40 to $70. If the sidewall’s damaged or punctures cluster, replacement can exceed $100. Follow tire safety tips and choose the fix that protects your freedom.
Conclusion
If you spot a nail in your tire, don’t panic—treat it like a slow leak waiting to happen. Keep the nail in place, check the tread for damage, and watch for air loss. If the tire won’t hold pressure, mount the spare and head to a tire shop. A proper repair seals the puncture cleanly and safely, so you can get back on the road with confidence, not a risky guess.
Related Articles

Do Not Tire in Doing Good: Inspiring Meaning & Modern Application
When doing good feels exhausting, wait—discover why Galatians 6:9 says your steady faithfulness still matters and what happens next.
Read More
Why Am I Always Tired? Common Causes & How to Get Your Energy Back
Overwhelmed by constant fatigue? Discover the surprising causes and simple fixes that could help restore your energy before it slips away.
Read More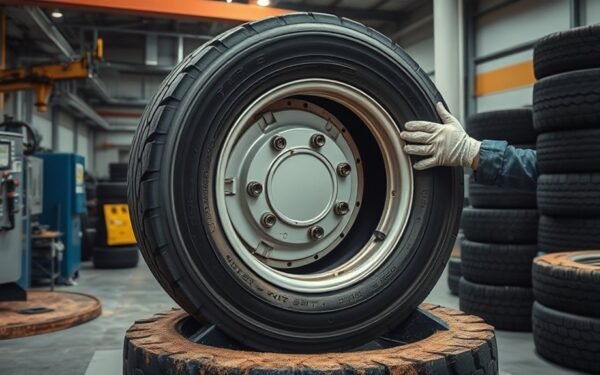
What Is Tire Recapping? Process, Benefits & Safety Facts
How tire recapping works, why fleets use it, and the safety facts you need to know might surprise you.
Read More