
How to Bead a Tire: Methods, Tips & Tools You’ll Need
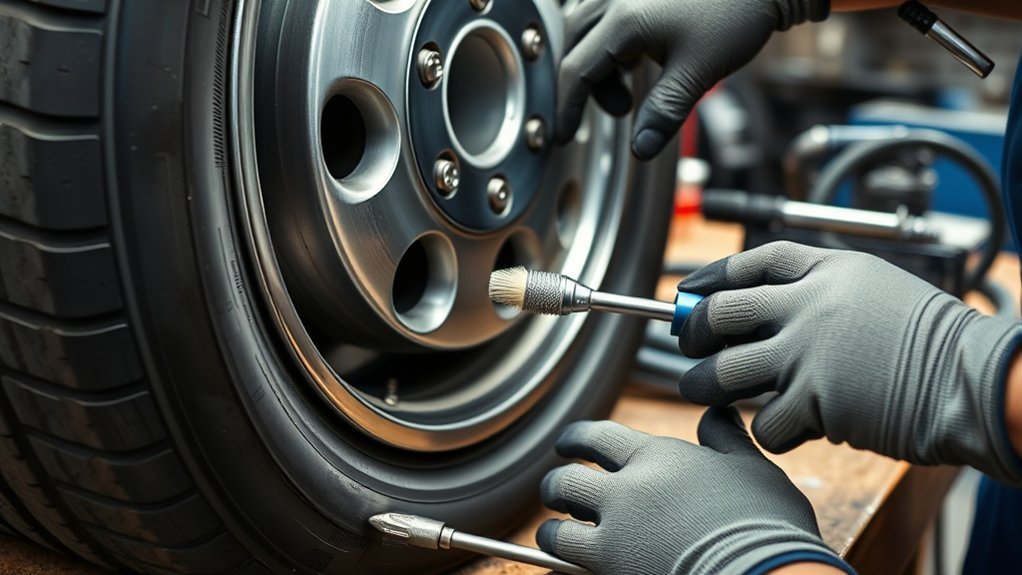
To bead a tire safely, you need a clean tire bead, a compatible rim, nonflammable tire lubricant, controlled air pressure, and a stable setup. A ratchet strap, bead breaker, tire levers, or a proper tire machine can help, but the safest method is the one that keeps your hands clear, avoids fire, and stops before pressure or force becomes unsafe.
Quick Answer
To bead a tire, confirm the tire and rim match, clean the bead seat, apply nonflammable tire lubricant, tighten a ratchet strap only enough to push the sidewalls outward, then add air in controlled bursts until the bead seats. Stop if the bead will not seal, leaks, or needs excessive pressure.
Key Takeaways
- Check tire size, bead diameter, rim width, valve condition, and rim damage before trying to seat the bead.
- Use nonflammable tire lubricant, a stable wheel position, and controlled air pressure instead of fire-based shortcuts.
- A ratchet strap can help push the sidewalls outward, but remove it as soon as the bead catches and the tire starts holding air.
- Never exceed the tire sidewall pressure or the tire/wheel manufacturer’s bead-seating limit.
- Use a tire shop for multi-piece rims, large truck or tractor tires, damaged wheels, severe rust, or stubborn beads that will not seat safely.
At a Glance
| Time Required | 15–45 minutes for a small tubeless tire; longer if the bead is dirty, stiff, or damaged |
| Difficulty | Moderate DIY for small passenger, ATV, mower, or trailer tires; professional-only for many heavy-duty and multi-piece rim jobs |
| Tools Needed | Air compressor or high-volume inflator, tire pressure gauge, valve-core tool, nonflammable tire lubricant, ratchet strap, bead breaker or tire levers, soapy water, gloves, and eye protection |
| Cost | Low if you already own the tools; professional mounting is usually worth it for large, damaged, or stubborn tire assemblies |
How to Seat a Tire Bead Safely
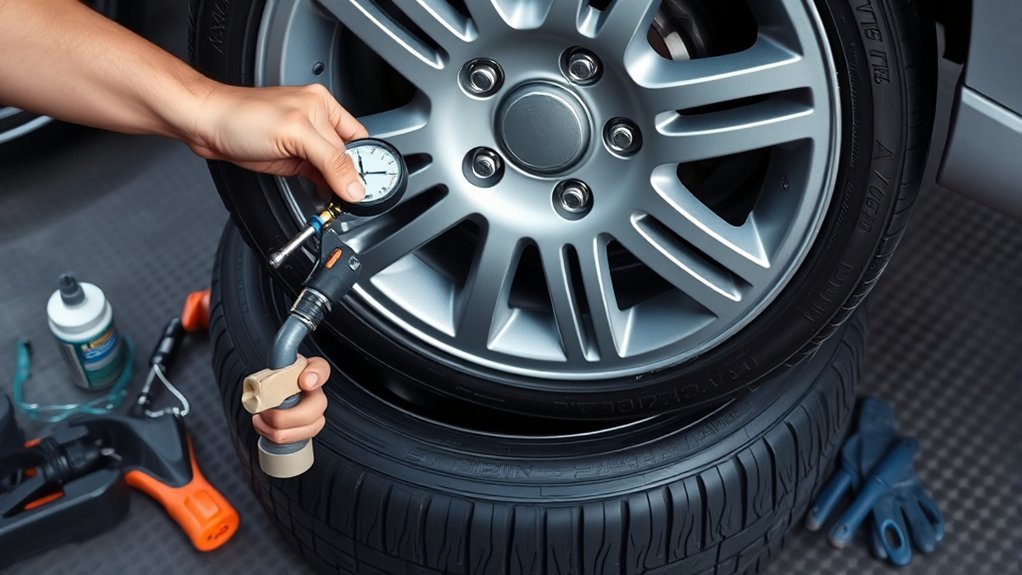
Before you add air, make sure the tire and wheel actually belong together. Check the tire size, bead diameter, wheel width, rim type, valve stem, and bead seat. Do not try to seat a tire on a cracked, bent, badly corroded, mismatched, or unknown rim.
Warning: Tire inflation can release sudden force. Stay out of the sidewall trajectory, keep your hands and face away from the bead area, and do not work on multi-piece rims, large truck tires, tractor tires, or off-road machine tires unless you have the correct training and equipment. OSHA’s rim-wheel servicing standard covers large-vehicle rim-wheel work and explains the hazards, training, compatibility, inflation, and restraining-device requirements.
For a small tubeless tire, start by cleaning the rim bead seat and tire bead with a rag. Remove loose rust, dirt, dried sealant, and rubber buildup. Apply a thin layer of nonflammable tire lubricant to the bead and rim mating surfaces unless the tire or wheel maker says not to use lubricant. Lubricant helps the bead slide into position instead of grabbing, folding, or tearing.
Set the wheel flat on a stable surface. If the tire is very loose on the rim, wrap a ratchet strap around the center of the tread and tighten it gradually. The goal is to push the sidewalls outward so the bead touches the rim. Do not crush the tire casing, stand in the strap path, or leave your fingers between the bead and rim.
[Products Worth Considering]

This VEVOR tire bead breaker uses a slide-hammer impact and wedge tip to separate tire beads from rims quickly and efficiently without damaging hub surfaces. The long handle and sturdy steel construction help reduce user strain while providing reliable, portable tire changing for cars, trucks, and more. Ideal for home mechanics and repair shops handling multiple vehicle tire sizes.

This 4-in-1 tire valve core removal tool helps you deflate, unblock, and remove or install valve cores quickly for easier tire repair. The multifunction design also supports re-taping damaged threads and reaming inside the valve stem for smoother service. Included as a 2-pack, it’s compact for convenient carry and works for cars, bicycles, and motorcycles.
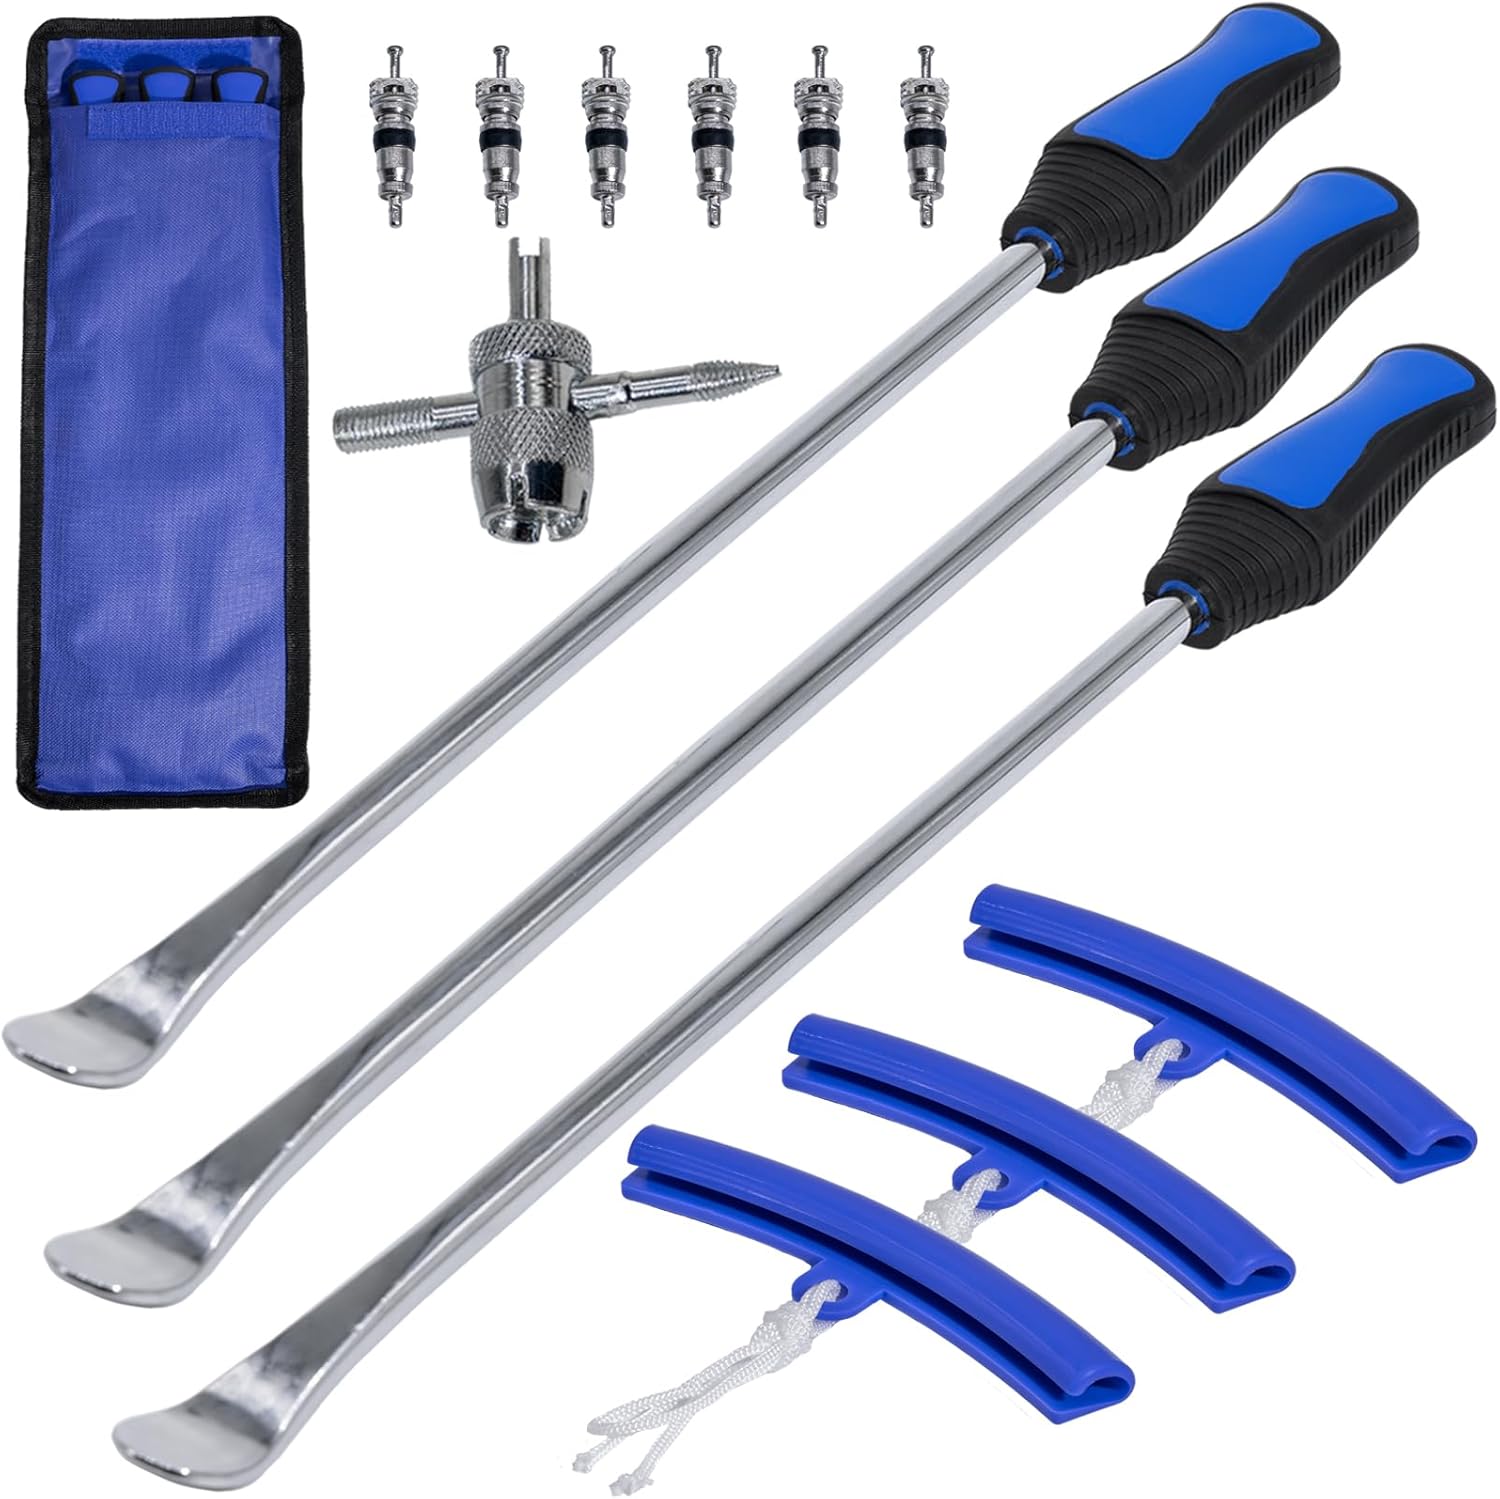
This tire spoon set helps you remove and install motorcycle, dirt bike, lawn tractor, and bicycle tires with extra leverage from a 14.5-inch spoon length. The kit includes tire removal tools, rim protectors, and a valve tool to simplify repairs and help protect rims during changing. Designed for quick, on-the-go service, it’s convenient for garage work, trails, and track-side fixes.
Tools and Supplies for Tire Beading
The safest setup uses tools made for tire work. Avoid improvised sharp pry bars, flammable sprays, and uncontrolled force.
- Air compressor or high-volume inflator: A fast airflow helps the bead catch before air escapes around the rim.
- Tire pressure gauge: Watch pressure as the bead seats instead of guessing.
- Valve-core tool: Removing the valve core can increase airflow while seating; reinstall it before final inflation.
- Nonflammable tire lubricant: Use tire lube or approved rubber lubricant, not oil, grease, fuel, brake cleaner, or starting fluid.
- Ratchet strap: Helps push the sidewalls outward on some small tubeless tires.
- Bead breaker or tire levers: Used when the old bead must be released before reseating or replacing the tire.
- Soapy water: Useful for checking leaks after the bead seats.
- Gloves and eye protection: Protects your hands and eyes from slips, debris, and sudden movement.
Note: For normal road use, the final tire pressure should come from the vehicle tire placard or owner’s manual, not the maximum pressure molded on the tire. NHTSA’s TireWise guidance explains why correct cold inflation pressure matters for safety, tire life, and fuel use.
Break the Tire Bead With Simple Tools
If you are removing or resetting a tire, the old bead must be broken loose from the rim first. Fully deflate the tire and remove the valve core before demounting. Then use controlled pressure at the bead seat, not the sidewall.
Levers and Pliers
Tire levers or tire spoons can break the bead by sliding between the tire and rim, then pressing the bead downward into the drop center. Work around the wheel a little at a time instead of forcing one spot. Keep each lever aimed at the bead, not the sidewall, and protect the rim from gouges.
Tire pliers work in a similar way. Insert the jaws near the bead and open them to separate the tire from the rim. They can be useful on smaller tires, but large, stiff, or rusty beads may need a proper bead breaker or a tire shop.
Jack and Wood
A jack-and-wood setup can press a stubborn bead loose, but it carries more slip risk than a proper bead breaker. If you use this method, the wheel must be fully deflated, flat, supported, and stable. Place a solid wood block on the tire close to the rim, then apply pressure slowly and evenly.
- Align the wood squarely over the bead, not the rim lip.
- Keep the jack stable and away from loose gravel or soft ground.
- Apply pressure gradually; never bounce the vehicle or shock-load the tire.
- Stop immediately if the wheel, jack, or block shifts.
This method should not be used on damaged wheels, multi-piece rims, or large heavy-duty tires. If the bead does not move with steady pressure, use a proper bead breaker or take the assembly to a tire shop.
Bead Breaking Safety
Bead breaking is safer when the wheel cannot move and the force lands exactly where you intend. Keep your hands, feet, face, and legs out of the load path. Do not hammer on pressurized tires, and do not heat, weld, braze, or rework damaged wheel components.
Use a Ratchet Strap to Seat the Tire Bead
The ratchet strap method is one of the easiest non-explosive ways to seat a small tubeless tire bead. Slip the strap around the tire’s tread, centered between the sidewalls. Tighten it slowly until the sidewalls bulge outward just enough for the bead to touch the rim.
- Remove the valve core to improve airflow while seating the bead.
- Apply nonflammable tire lubricant to both beads and rim bead seats.
- Center the tire on the rim so the bead sits evenly all the way around.
- Tighten the strap gradually. Stop when the sidewalls move outward; do not overtighten.
- Add air in short, controlled bursts while watching the bead and pressure gauge.
- As soon as the bead catches and the tire starts holding air, release and remove the strap.
- Reinstall the valve core, inflate to the correct pressure, and check for leaks.
Pro Tip: If air escapes too quickly, stop and reset the tire instead of adding more pressure. Often the fix is simple: more lubricant, a cleaner bead seat, a centered tire, or removing the valve core for better airflow.
Try a Bead Breaker, Jack, or Tire Hammer
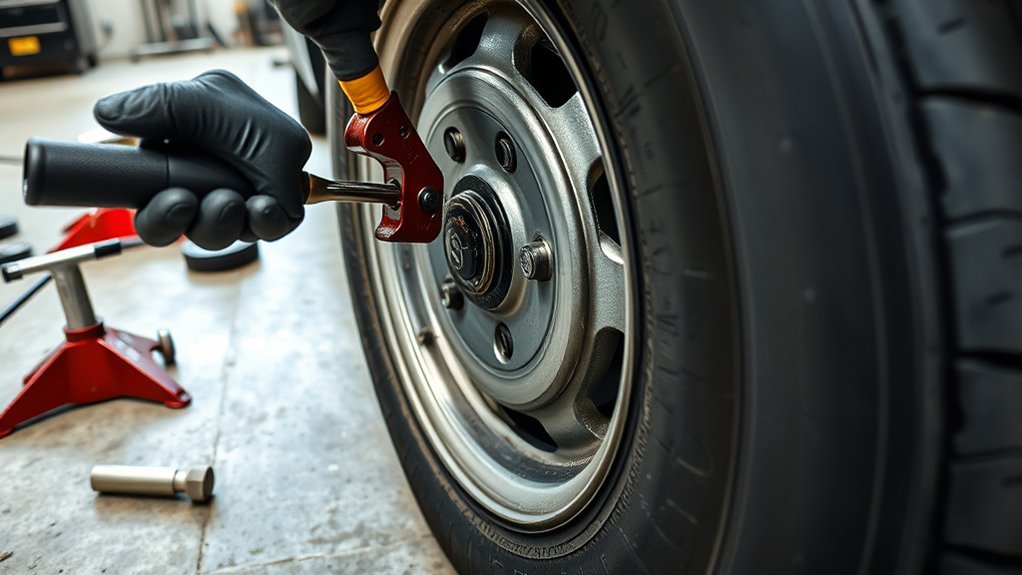
If the bead will not release, use a tool that applies focused pressure to the bead seat. A bead breaker is the cleanest choice because it is made for the job. A jack can work when it is stable and carefully positioned. A tire hammer can help on larger agricultural or off-road tires, but it demands experience and accuracy.
| Tool | Best Use | Key Caution |
|---|---|---|
| Bead breaker | Controlled bead release | Align evenly and protect the rim |
| Jack and wood | Occasional DIY bead breaking | Watch for slipping or weight shift |
| Tire hammer | Large tires in experienced hands | Never strike a pressurized tire or rim component |
Keep your foot clear, support the rim, and avoid side-loading the wheel. If the assembly is heavy, rusty, or unpredictable, professional service is the safer choice.
Seat the Tire Bead With Air
Once the bead is clean, lubricated, and aligned, use controlled airflow to seat it. The best setup is an air hose with a gauge and a clip-on chuck so you can keep your body out of the sidewall path. For small tires, removing the valve core can help the compressor deliver enough volume for the bead to catch.
- Confirm the tire is centered on the rim.
- Keep the wheel stable and keep your body out of the trajectory path.
- Add air in short bursts while watching the bead line and pressure gauge.
- Listen for the bead to pop into place on both sides.
- Stop once the bead seats; do not keep adding air just because the tire looks close.
- Release any ratchet strap or bead expander as soon as the tire becomes airtight.
- Reinstall the valve core and inflate to the vehicle or equipment maker’s recommended pressure.
Warning: Never exceed the pressure stamped on the tire sidewall, and never exceed the tire or wheel manufacturer’s bead-seating pressure. If the bead will not seat before you reach the safe limit, deflate the tire, reset it, inspect for problems, and try again only if the parts are undamaged and compatible.
Check for Leaks After the Bead Seats
After the bead seats, do not assume the job is finished. Mix dish soap and water in a spray bottle, then spray around both bead seats, the valve stem, and the tread area if the tire had a puncture. Bubbles show an air leak.
- Small bubbles at the bead: Deflate, clean the bead seat, relubricate, and reseat the tire.
- Bubbles at the valve stem: Tighten or replace the valve core, or replace the valve stem if it is cracked or leaking at the base.
- Bubbles from the sidewall: Do not repair the sidewall for road use; replace the tire or have it inspected professionally.
- Slow pressure loss overnight: Recheck the bead seat, valve stem, rim corrosion, and puncture repairs.
Once the tire holds pressure, set it to the recommended cold pressure for the vehicle or equipment, then recheck it after the first drive or use cycle.
Avoid Flammable Bead-Seating Tricks
Do not use starting fluid, carb cleaner, brake cleaner, gasoline, propane, or a lighter to seat a tire bead. Fire-based tricks can create a sudden ignition, damage the tire, damage the wheel, injure you, and make pressure control impossible.
Controlled air, lubricant, correct alignment, and proper equipment are slower than a viral shortcut, but they are far safer. If the bead will not seal with normal methods, the tire is telling you something is wrong: poor fitment, dirty bead seat, stiff sidewalls, low airflow, damaged bead, damaged rim, or the wrong tool for the job.
[Products Worth Considering]

This multi-function tire valve stem removal tool set makes it fast to remove, install, bleed, and clean valve cores for easier tire maintenance. It includes valve core removers, a 4-way spool tool, replacement valve caps, and spare cores to handle replacements and repairs with confidence. Universal compatibility suits cars, trucks, motorcycles, bicycles, and more for roadside convenience.

Upgrade your air tools with this 18-piece air compressor accessory kit featuring a 25ft recoil poly hose, 1/4" NPT quick connect fittings, and a 100 PSI tire inflator gauge. The set also includes a heavy-duty blow gun with safety and tapered nozzles, plus couplers, inflation needles, plugs, and other essentials for everyday mechanic and workshop tasks. Corrosion-resistant steel and brass components help keep connections reliable for inflating, blowing out, and general pneumatic use.
Avoid Rim Damage and Slips
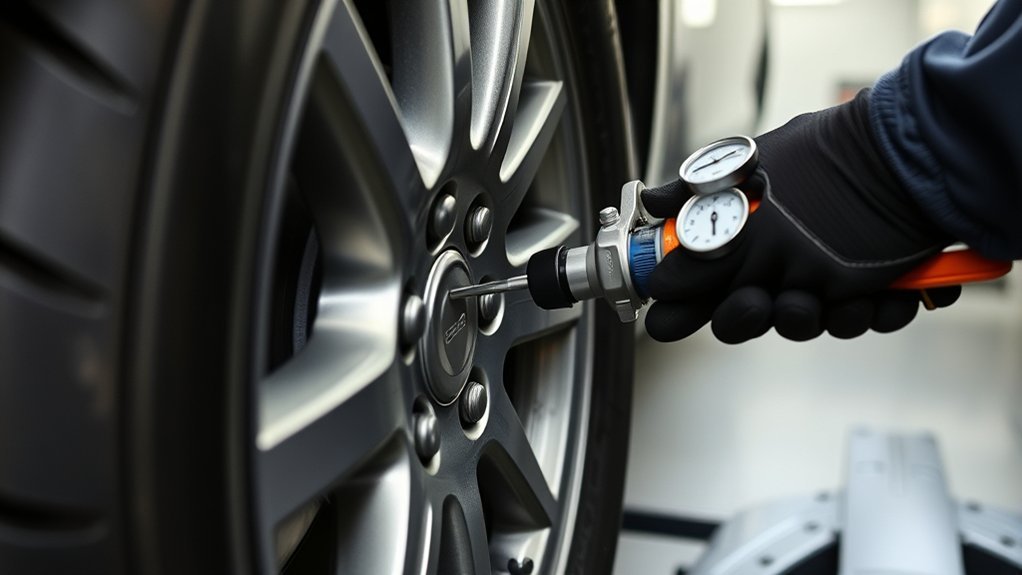
Secure the wheel on a stable, level surface so it cannot shift while you work. Align tools and pressure directly with the tire bead, not the sidewall or rim lip. Before applying force, check your footing, tool angle, and escape path.
Secure the Wheel
Place the wheel flat on the ground or on a stable tire stand. Use chocks, blocks, or another secure brace to stop movement. Heavy assemblies should not be balanced loosely or held by hand while force is applied.
- Set chocks tight against the wheel.
- Brace the rim so it cannot tip.
- Check tool alignment before you push or pry.
- Keep your body clear of the load and sidewall path.
Align Pressure Carefully
Position your beading tools squarely against the tire bead. You want force to move the bead, not bend the rim, tear the bead, or distort the sidewall. If you keep service notes, record the tire size, rim size, starting pressure, leak points, and any damaged parts so you know what changed if the bead fails to hold air later.
| Check | Target | Risk if Wrong |
|---|---|---|
| Tool angle | Bead seat | Rim gouges or bead damage |
| Force path | Straight and even | Sidewall distortion or slipping |
| Surface | Stable and level | Wheel shift or tool kickout |
Common Tire Beading Mistakes
Most tire beading problems come from poor setup, low airflow, dirty bead seats, mismatched parts, or too much force. Slow down and correct the cause instead of pushing harder.
Clean parts, correct fitment, nonflammable lubricant, and controlled air pressure solve more bead-seating problems than brute force.
- Skipping compatibility checks: A mismatched bead diameter or wrong rim width can be dangerous.
- Inflating a dirty bead seat: Rust, dirt, dried sealant, or rubber buildup can prevent an airtight seal.
- Using the wrong lubricant: Oil, grease, and flammable chemicals can damage rubber or create fire risk.
- Leaving the valve core in during seating: Removing it can improve airflow when the bead needs a quick volume of air.
- Overtightening a ratchet strap: The strap should help the sidewalls move outward, not crush the tire.
- Standing in the sidewall path: Stay clear during inflation and inspection.
- Forcing a damaged tire: A torn bead, cracked rim, or leaking valve should be repaired or replaced before inflation.
Troubleshooting a Stubborn Tire Bead
If the tire bead will not seat, deflate and inspect before trying again. Most stubborn beads have a simple cause.
Air Escapes Around the Whole Rim
The tire sidewalls are not reaching the bead seat. Recenter the tire, add more nonflammable lubricant, remove the valve core for better airflow, and use a ratchet strap to push the sidewalls outward.
One Side Seats but the Other Side Does Not
Deflate the tire, lubricate the side that is stuck, and check whether the bead is folded or caught. Do not pry aggressively while the tire is pressurized.
The Bead Pops Then Leaks
Use soapy water to find the leak. If bubbles appear at the bead, the rim may be dirty, corroded, bent, or scratched. Clean the bead seat and try again only if the wheel is structurally sound.
The Tire Needs Too Much Pressure
Stop. A tire that will not seat before the safe pressure limit may be mismatched, damaged, too stiff, or mounted on a poor rim. Deflate it and take it to a tire shop.
When to Let a Tire Shop Handle It
Use a tire shop if you are unsure, lack the right tools, or cannot seat the bead with controlled pressure. Professional tire machines can clamp the wheel, apply lubricant evenly, deliver high-volume air, and keep the operator farther from the hazard path.
You should also let a shop handle large truck tires, tractor tires, bus tires, off-road machine tires, multi-piece rims, split rims, badly rusted wheels, bent wheels, cracked wheels, damaged beads, unknown wheel sizes, or any tire that has been driven severely underinflated. These jobs can require trained service procedures and restraining equipment, not improvised DIY methods.
Frequently Asked Questions
How do you get a stubborn tire to bead?
Deflate it, clean the bead seat, apply nonflammable tire lubricant, remove the valve core for better airflow, and use a ratchet strap to push the sidewalls outward. Add air in short, controlled bursts while watching the pressure gauge. If the bead still will not seat, stop and have a tire shop inspect the tire and rim.
What pressure should I use to seat a tire bead?
Use only the minimum pressure needed to move the bead onto the bead seat, and never exceed the pressure stamped on the tire sidewall or the tire/wheel manufacturer’s bead-seating limit. If the bead will not seat before the safe limit, deflate the tire, reset it, and inspect for fitment, damage, or airflow problems.
What is the easiest beading technique?
For many small tubeless tires, the easiest technique is the ratchet strap method. Wrap the strap around the tread, tighten it just enough to push the sidewalls outward, remove the valve core for better airflow, then add air until the bead catches. Remove the strap as soon as the tire starts holding air.
Can you seat a tire bead with fire?
No. Do not use starting fluid, carb cleaner, brake cleaner, gasoline, propane, or any flame to seat a tire bead. Fire-based methods can cause sudden ignition, tire damage, wheel damage, and serious injury. Use lubricant, alignment, controlled air pressure, and proper tire tools instead.
What are common tire beading mistakes?
Common mistakes include skipping tire/rim compatibility checks, inflating a dirty bead seat, using flammable sprays, prying while the tire is pressurized, overtightening a ratchet strap, exceeding safe pressure limits, and trying to force a damaged or mismatched tire onto a rim.
Conclusion
When you bead a tire, the safe path is simple: verify fitment, inspect the tire and rim, clean the bead seat, use nonflammable lubricant, keep the wheel stable, and add air with control. A ratchet strap, bead breaker, tire levers, or tire machine can help, but none of them replace safe pressure limits and good judgment. If the bead will not lock, leaks continue, parts look damaged, or the tire is large or heavy-duty, let a tire shop finish the job.
Sources
- OSHA 1910.177 — Servicing multi-piece and single piece rim wheels — rim-wheel safety, training, inflation, trajectory, lubrication, compatibility, and equipment requirements for covered large-vehicle work
- eCFR 29 CFR 1910.177 — current electronic Code of Federal Regulations text for rim-wheel servicing
- NHTSA TireWise — tire pressure, tire maintenance, tire ratings, and consumer tire-safety guidance

Related Articles
How to Use a Tire Spoon: Pro Technique for Mounting Tires
Careful technique makes tire mounting easier, but the real pro trick for using a tire spoon starts with one overlooked step.
Read More
How to Unmount a Tire: Tools, Steps & Pro Tips for Clean Removal
Start unmounting a tire with the right tools and pro tricks, then discover the cleanest way to avoid costly damage.
Read More
How to Tie a Tire Swing: Safe Knot & Hanging Guide
D**iscover the safest knot, rope, and branch choices for a tire swing, plus expert tips that could prevent a dangerous mistake.
Read More