
How to Tell Tire Wear Patterns: Causes, Diagnosis & Fixes
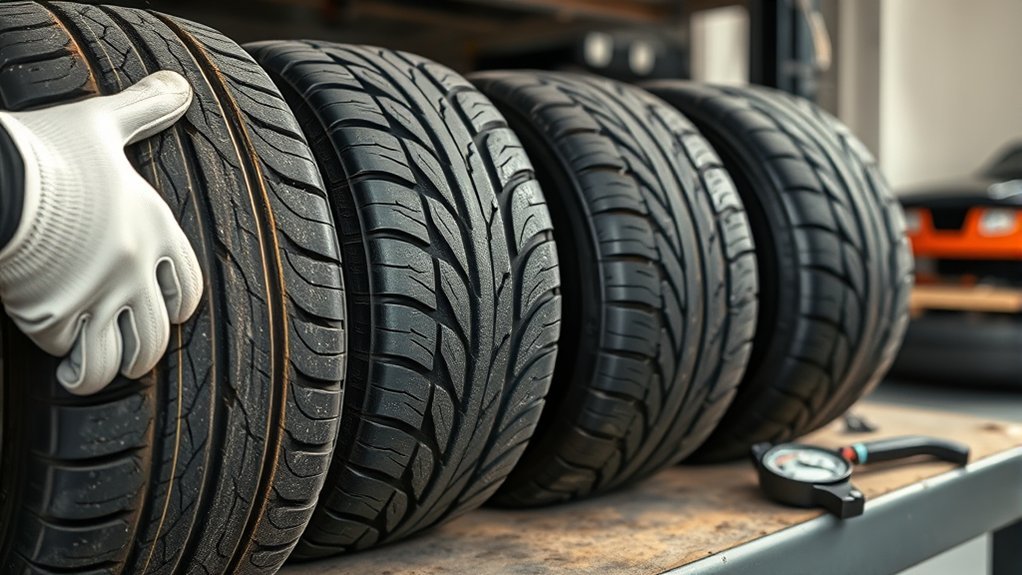
You can identify tire wear patterns by comparing tread depth across the center, inner shoulder, outer shoulder, and the full width of each tire. The pattern usually points to a cause: tire pressure, alignment, balance, suspension wear, skipped rotation, braking, or driving conditions. Use the tread as a clue, then confirm it with a cold tire-pressure check, tread-depth gauge, and inspection by a qualified technician when the wear is severe or uneven.
Quick Answer
Center tread wear usually points to overinflation, both-edge wear often points to underinflation, one-sided shoulder wear suggests camber or toe alignment problems, feathering points to toe settings, and cupping or scalloping often means the tire is bouncing from worn suspension parts, imbalance, or poor rotation.
Key Takeaways
- Check all four tires, not just the one that looks worn.
- Use the vehicle placard or owner’s manual for tire pressure, not the maximum pressure printed on the tire sidewall.
- Measure tread in the center, inner shoulder, and outer shoulder so you can compare wear across the tire.
- Replace tires that are at or below 2/32 inch tread depth, have exposed cords, show bulges, or vibrate badly.
- Fix the root cause before installing new tires, or the same wear pattern can come back.
At a Glance
| Time Required | 10–20 minutes for a driveway check; longer if a shop inspects alignment, balance, or suspension. |
| Difficulty | Easy for spotting patterns; moderate to professional for confirming alignment, balance, or suspension faults. |
| Tools Needed | Tire-pressure gauge, tread-depth gauge or penny, flashlight, gloves, notebook or phone photos. |
| Cost | Free for a basic visual check; low cost for gauges; shop costs vary for rotation, balancing, alignment, or suspension repair. |
Warning: Do not keep driving on a tire with exposed cords, a sidewall bulge, deep cracking, severe vibration, or tread worn to 2/32 inch. The National Highway Traffic Safety Administration says tires are not safe and should be replaced when tread reaches 2/32 inch.
How Do You Spot Tire Wear Patterns?
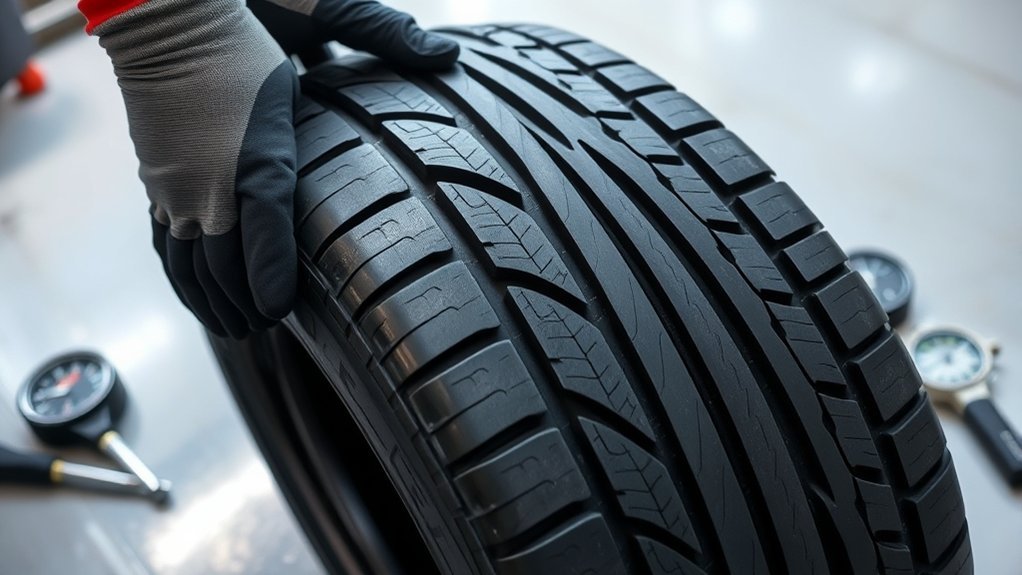
Spot tire wear patterns by checking the tread in three places: the inner shoulder, the center ribs, and the outer shoulder. A healthy tire should wear fairly evenly across the tread. If one area is thinning faster than the rest, the tire is telling you something about pressure, alignment, balance, suspension, braking, or rotation.
Start when the tires are cold. NHTSA recommends checking tire pressure at least once a month when the vehicle has not been driven for at least three hours. Use the PSI listed on the Tire and Loading Information Label on the driver’s door area or in the owner’s manual. Do not use the maximum pressure printed on the tire sidewall as your normal inflation target.
- Check pressure first. Incorrect pressure can create fast and uneven wear, so confirm inflation before blaming alignment or suspension.
- Measure tread depth. Use a tread-depth gauge in the center, inner shoulder, and outer shoulder of every tire. If you do not have a gauge, use the penny test as a quick backup.
- Run your hand across the tread. A sawtooth feel can point to feathering or heel/toe wear, often linked to toe alignment.
- Look for dips or waves. Scalloped low spots can point to cupping from suspension wear, imbalance, or wheel-hop.
- Compare all four tires. One tire with odd wear may point to a local problem. Matching wear on both front tires or both rear tires may point to pressure, rotation, or axle alignment.
Pro Tip: Take a photo of each tire and label its position: left front, right front, left rear, right rear. If the wear gets worse after a few weeks, the photos make it easier to show the pattern to a technician.
[Products Worth Considering]

EVOULTES heavy duty tire inflator with an integrated gauge delivers accurate pressure readings from 10–120 PSI, helping you inflate, deflate, and check tires in one tool. The 16.5-inch extended dual-head air chuck with swivel base reaches hard-to-access dual wheel valves on trucks and RVs. A brass trigger core and side-mounted air release valve make operation smooth, with standard 1/4" NPT threading and quick-connect compatibility for easy setup.

The JACO FlowPro Tire Inflator measures, inflates, and airs down tires up to 100 PSI with battery-free operation and ±2% accuracy after calibration. It features a glowing pressure dial for night visibility, a heavy-duty steel build with a hybrid hose, and a precision push-to-inflate thumb trigger. The patented Lightning Air Chuck locks on for a secure seal, and the kit includes quick-connect hardware for easy inline use with your air compressor.

This compact capsule-style tire repair kit helps you quickly fix punctures and plug flats with minimal effort. The rugged stainless steel shell protects the contents for reliable roadside use, while the simple plug assembly makes repairs fast and tool-free. Suitable for motorcycles, cars, ATVs, UTVs, and even mountain bikes.
What Do Center, Edge, and Shoulder Wear Mean?
Center wear means the middle of the tread is wearing faster than the shoulders. This often happens when a tire is overinflated for the load, because the center carries more of the contact patch. The fix is not to guess lower pressure; it is to set the tire to the vehicle manufacturer’s recommended cold PSI and keep checking it monthly.
Both-edge wear means both shoulders are wearing faster than the center. This often points to underinflation, overloading, or driving for long periods with too much tire flex. Underinflation can also increase heat, reduce fuel efficiency, and shorten tire life.
One-sided shoulder wear means the inner or outer edge is wearing faster than the rest of the tire. Bridgestone explains that one-sided shoulder wear, also called camber wear, is often caused by excessive positive or negative camber. Toe problems can also scrub the tread and create shoulder wear, so a full alignment check is the right next step.
Tire Wear Pattern Chart
Use this chart as a first-pass guide. Tire wear patterns overlap, so confirm the cause before replacing parts.
| Wear Pattern | What It Looks Like | Likely Cause | First Check |
|---|---|---|---|
| Center wear | Middle tread ribs are lower than both shoulders. | Overinflation for the load, incorrect pressure, or tire/load mismatch. | Set cold PSI to the door placard or owner’s manual. |
| Both-edge wear | Inner and outer shoulders are worn more than the center. | Underinflation, overloading, or repeated low-pressure driving. | Check cold PSI, inspect for slow leaks, and confirm load rating. |
| Inner shoulder wear | Inside edge wears faster than the center and outside edge. | Negative camber, toe-out, worn bushings, or suspension geometry issues. | Book an alignment and suspension inspection. |
| Outer shoulder wear | Outside edge wears faster than the center and inside edge. | Positive camber, toe-in, hard cornering, or underinflation. | Check pressure, then alignment if the pattern is one-sided. |
| Feathering | Tread feels smooth one way and sharp the other way. | Toe misalignment, sometimes combined with caster or camber error. | Run your hand over the tread and schedule alignment. |
| Cupping or scalloping | Repeated dips, scoops, or wavy low spots around the tread. | Worn shocks or struts, loose suspension parts, imbalance, or skipped rotation. | Inspect suspension and balance the tire/wheel assembly. |
| Diagonal or patchy wear | Uneven patches or diagonal bands across the tread. | Imbalance, worn parts, missed rotation, or alignment error. | Balance, rotate if safe, and inspect suspension. |
| Flat spot | One smooth, flat patch on the tread. | Hard braking, skidding, parking storage, or brake issue. | Check for vibration and have the tire inspected. |
Why Do Cupping and Scalloping Happen?
Cupping and scalloping happen when the tire does not roll smoothly and evenly against the road. Instead, parts of the tread bounce, skip, or scrub. The result is a series of shallow dips around the tire, often with road noise or vibration.
The most common suspects are worn shocks or struts, loose suspension parts, wheel imbalance, bent wheels, or a rotation schedule that let a small pattern become worse. Cupping can also appear with alignment problems, especially when the tire is already moving unevenly across the pavement.
Treat cupping as a mechanical warning, not just a cosmetic tread mark. If you only replace the tire and ignore the worn shock, loose bushing, or imbalance, the new tire can develop the same pattern.
Note: A cupped tire may stay noisy even after the mechanical problem is fixed. The repair can stop the pattern from getting worse, but it cannot rebuild missing tread.
How Do You Diagnose Tire Wear Causes?
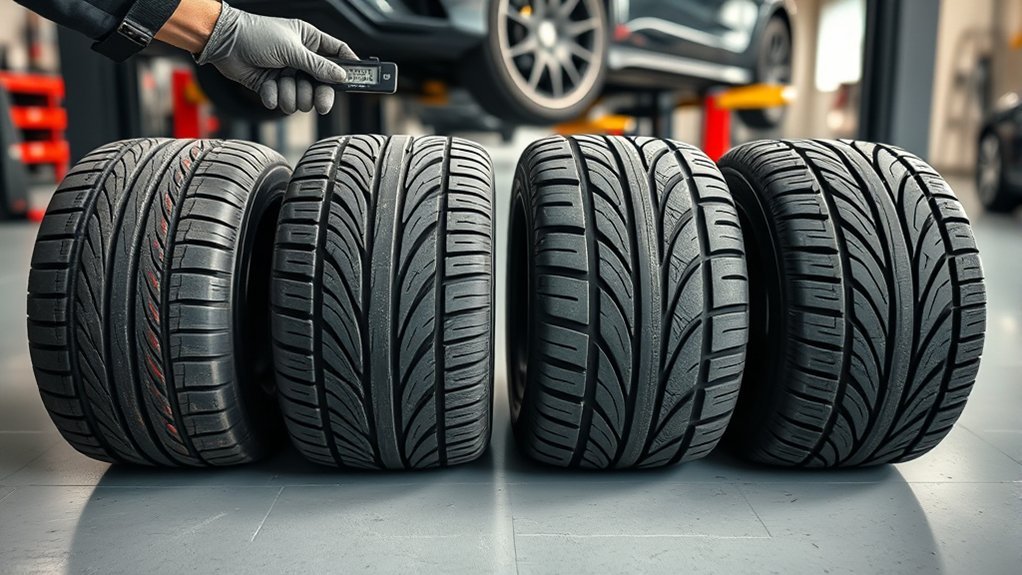
Diagnose tire wear causes in the same order every time: pressure, tread depth, visible damage, tire position, driving symptoms, then mechanical checks. This keeps you from blaming alignment when the real cause is low pressure, or blaming pressure when the real cause is a worn suspension part.
1. Check Tire Pressure Cold
Use a quality tire-pressure gauge before driving or after the car has been parked for at least three hours. Compare the reading with the vehicle’s Tire and Loading Information Label or owner’s manual. If one tire is repeatedly low, check for a nail, valve-stem leak, wheel corrosion, or bead leak.
2. Measure Tread Depth Across the Tire
Measure the inner shoulder, center, and outer shoulder. Write down the readings. A tire at or below 2/32 inch is due for replacement. If the tread is close to that limit, do not focus only on fixing the pattern; plan for replacement and correct the cause before the new tires go on.
3. Inspect for Damage
Look for exposed cords, cracks, bubbles, sidewall cuts, embedded objects, and uneven bulges. Tread wear is one clue, but structural damage is more urgent. A bulge or exposed cord means the tire should be inspected immediately and usually replaced.
4. Match the Pattern to the Vehicle Symptom
If the car pulls to one side, suspect alignment, brake drag, or tire conicity. If the steering wheel shakes at speed, suspect imbalance, tire damage, or wheel damage. If the vehicle floats, bounces, or clunks, inspect shocks, struts, bushings, ball joints, and tie rods.
5. Confirm with a Technician
Some wear patterns look similar. A technician can measure alignment angles, check wheel balance, inspect suspension play, and look for bent parts. This matters because Bridgestone identifies improper inflation pressure and out-of-spec alignment as common causes of early or irregular tread wear.
How Do You Fix Tire Wear?
Fix tire wear by correcting the cause, not by hiding the symptom. Tires do not grow tread back, so the goal is to stop the wear from getting worse and prevent the next set from wearing the same way.
[Products Worth Considering]

This multi-function tire valve stem removal tool set makes it fast to remove, install, bleed, and clean valve cores for easier tire maintenance. It includes valve core removers, a 4-way spool tool, replacement valve caps, and spare cores to handle replacements and repairs with confidence. Universal compatibility suits cars, trucks, motorcycles, bicycles, and more for roadside convenience.

Wykodra tire plugs provide quick vulcanizing repairs for tubeless tires, helping you seal punctures and get back on the road. The industrial-strength rubber creates a long-lasting, leak-resistant bond and is designed for emergency fixes without removing the tire. Choose between two standard plug sizes with color-matched options for small to larger damage across many vehicles and off-road uses.
Fix Center Wear
Set tire pressure to the vehicle manufacturer’s cold PSI. Do not simply “let out some air” based on the tire’s appearance. If the tire has been driven while overinflated for a long time, inspect tread depth and replace the tire if the center is too low.
Fix Both-Edge Wear
Inflate the tire to the correct cold PSI, then check for slow leaks. Inspect the valve stem, tread punctures, bead area, and wheel. If the vehicle often carries heavy loads, confirm the tires are the correct size and load rating for the vehicle.
Fix One-Sided Shoulder Wear
Schedule a wheel alignment and suspension inspection. Inner or outer shoulder wear often points to camber or toe settings, but worn bushings, ball joints, tie rods, or bent parts can keep the alignment from holding.
Fix Feathering
Feathering usually needs toe correction. Ask the shop to inspect tie rods and steering components before setting alignment. If the tread is badly feathered, the tire may remain noisy even after alignment is corrected.
Fix Cupping or Scalloping
Inspect shocks, struts, bushings, ball joints, wheel bearings, wheel balance, and wheel condition. Replace worn parts first, then balance and rotate the tires if the tires are still safe to use. If the cupping is deep or noisy, replacement may be the better fix.
Fix Diagonal or Patchy Wear
Check wheel balance, rotation history, alignment, and suspension parts. Diagonal wear can build slowly when a tire stays in the same position too long. NHTSA says rotation can help reduce irregular wear and, when recommended by the manufacturer, tires are commonly rotated every 5,000 to 8,000 miles or sooner if uneven wear appears.
Poor tire maintenance is not just a tire-life problem. NHTSA reported 511 deaths in tire-related crashes in 2024, which is why pressure, tread depth, rotation, balance, and alignment should be treated as safety checks.
When Should You Replace a Worn Tire?
Replace a worn tire when it reaches 2/32 inch tread depth, when treadwear indicators are flush with the tread, or when the penny test shows the top of Lincoln’s head. Replace it sooner if the tire has exposed cords, a sidewall bulge, a deep cut, a separated tread area, or vibration that does not go away after balancing.
You should also replace tires in axle pairs when needed for safe handling, and you should be extra careful with AWD and 4WD vehicles. These systems can be sensitive to tire circumference differences. The safest rule is to follow the vehicle owner’s manual and tire manufacturer guidance rather than relying on a universal percentage rule.
How Can You Prevent Irregular Tire Wear?
- Check pressure monthly. Use cold pressure and the vehicle placard PSI.
- Measure tread depth regularly. Check all grooves and all four tires.
- Rotate on schedule. Follow the owner’s manual, especially if tires are directional, staggered, or different sizes front to rear.
- Balance when needed. Balance new tires and investigate steering-wheel shake or seat vibration.
- Align after symptoms or repairs. Get an alignment if the vehicle pulls, the steering wheel is off-center, or suspension parts are replaced.
- Inspect suspension. Worn shocks, struts, bushings, tie rods, ball joints, and bearings can all shorten tire life.
- Drive smoothly. Hard cornering, panic braking, pothole impacts, and heavy loads can speed up wear.
Frequently Asked Questions
How do you identify tire wear patterns?
Identify tire wear patterns by measuring tread depth across the inner shoulder, center, and outer shoulder. Center wear often points to overinflation, both-edge wear often points to underinflation, one-sided shoulder wear suggests alignment trouble, feathering points to toe issues, and cupping suggests suspension, balance, or rotation problems.
What is the 3% tire rule?
The “3% tire rule” is often used as a rough discussion point for tire circumference differences, but it is not a universal safety rule for every vehicle. AWD and 4WD systems may require tires to be much closer in size or tread depth. Follow the vehicle owner’s manual, tire placard, and tire manufacturer guidance.
What are the five common tire wear problems?
Five common tire wear problems are center wear, both-edge wear, one-sided shoulder wear, feathering, and cupping or scalloping. You may also see diagonal wear, flat spots, or rapid all-over wear. Each pattern should be checked against pressure, alignment, balance, suspension condition, and rotation history.
What causes irregular wear on tires?
Irregular tire wear is usually caused by incorrect pressure, poor alignment, wheel imbalance, worn suspension parts, skipped rotation, overloading, hard driving, or road impacts. The best first checks are cold tire pressure, tread depth across the tire, and a visual inspection for damage.
Can tire wear patterns be fixed?
The cause can usually be fixed, but the worn tread cannot be restored. Correct pressure, alignment, balance, rotation, or suspension faults to stop the pattern from getting worse. If the tire is too worn, noisy, damaged, or unsafe, replace it after correcting the root cause.
How often should you check tires for wear?
Check tire pressure and tread at least once a month and before long trips. Also inspect tires after hitting a pothole, curb, or road debris, and any time you feel vibration, pulling, wandering, or new tire noise.
Conclusion
You can spot tire wear patterns by comparing the center tread, shoulders, texture, and tread depth on all four tires. Center wear usually points to pressure problems, one-sided shoulder wear often points to alignment, feathering suggests toe issues, and cupping or scalloping can warn of suspension or balance trouble. Check pressure cold, measure tread depth, watch for damage, and fix the mechanical cause before replacing tires. That is how you protect tread life, handling, and safety.
Sources
- NHTSA TireWise: Tire Safety Ratings and Awareness — supports cold pressure checks, tread depth replacement threshold, TPMS guidance, tire rotation, balance, alignment, and 2024 tire-related crash safety context.
- Bridgestone: Tire Tread Wear & Causes — supports irregular tread wear causes, improper inflation pressure, out-of-spec alignment, heel/toe wear, feathering, and one-sided shoulder wear.
- eCFR 49 CFR 575.104: Uniform Tire Quality Grading Standards — supports UTQG treadwear, traction, and temperature grading context.

Related Articles
Wheel Damage: Types, Repair Options, and Costs
Many wheel damages look minor, but some hide costly safety risks—learn which repairs are worth it and when replacement is smarter.
Read More
Tire Balancing Weights: Types, Cost, and Why You Need Them
Precisely chosen tire balancing weights reduce vibration and wear, but which type fits your wheels and what it really costs may surprise you.
Read More
Tire Repair Kits: What’s Inside and How to Use One
Get the essentials of tire repair kits, learn how each tool works, and discover the simple steps that can save your trip.
Read More