
What Is a Tire Mobility Kit? How to Use It in an Emergency

A tire mobility kit is a temporary flat-tire repair system that uses sealant and an air compressor instead of a spare tire. In an emergency, connect the sealant hose to the tire valve, plug the compressor into a 12-volt outlet, and inflate to the recommended pressure. Then drive 3 to 6 miles at moderate speed to spread the sealant. It’s only a short-term fix, and the details matter if you want to use it correctly.
Key Takeaways
- A tire mobility kit is a temporary flat-tire solution with sealant and a compressor, used instead of a spare tire.
- It is meant for short-term emergency driving, not a permanent tire repair.
- To use it, connect the sealant hose to the valve stem, plug in the compressor, and inflate the tire.
- After inflation, drive 5 to 10 kilometers at moderate speed to spread the sealant inside the tire.
- Check tire pressure and get professional repair soon, especially if the sealant is expired or the kit warning appears.
What Is a Tire Mobility Kit?
A tire mobility kit is a temporary flat-tire solution that lets you get back on the road without a spare tire. You use this Tire Mobility Kit, often called a tire inflator or repair kit, to seal and inflate a damaged tire long enough to reach a repair shop. It usually includes an air compressor, sealant, hose, connectors, and a pressure gauge, though exact parts vary by manufacturer. You gain freedom from lifting the vehicle with a jack, which makes the process faster and simpler than changing a wheel. The compact design also saves cargo space. Still, you should treat the kit as a short-term tool, not a permanent repair. Sealant typically lasts about four years, so you need to replace expired material to keep the system effective. For larger punctures or sidewall damage, you should seek professional service quickly. Additionally, using a tire mobility kit can help you avoid routine tire maintenance by quickly addressing flat tires in emergencies.
What Does the Service Tire Mobility Kit Alert Mean?
The Service Tire Mobility Kit alert means your kit needs maintenance, usually because the sealant has expired. You’ll typically see it every few years, and you should replace the sealant with a fresh dealer-supplied batch. After replacement, you’ve got to reset the alert per your vehicle manual so the kit stays ready for a flat tire emergency. It’s crucial to understand that this maintenance ensures the reliability of your self-sealing rubber plugs during an unexpected tire issue.
Alert Meaning
When your vehicle displays the Service Tire Mobility Kit alert, it means the kit needs maintenance, usually because the sealant has expired. This alert meaning is straightforward: your emergency repair system isn’t fully ready. You should visit your dealer to get a fresh sealant kit and restore full function. After replacement, reset the alert exactly as your owner’s manual directs so the monitoring system stays accurate. Don’t ignore the warning; if you do, the kit may not seal a puncture when you need it most. Check for this reminder regularly so you stay prepared and independent on the road. A maintained kit gives you more control in a roadside emergency, reducing dependence on outside help and keeping you moving.
Sealant Expiration
Because the sealant in a tire mobility kit typically expires after about four years, a Service Tire Mobility Kit alert means you need maintenance now, not later. The warning usually points to sealant expiration, not a failed compressor, and expired sealant won’t seal punctures effectively. You should treat this as a safety issue: without fresh sealant, you may lose the chance to restore proper tire pressure and keep moving. Visit a dealer and buy a new batch of sealant, then follow your vehicle’s maintenance schedule. Don’t ignore the alert; the kit won’t deliver reliable emergency support with outdated materials. By replacing the sealant on time, you keep your mobility tool ready, reduce dependence on outside help, and stay prepared to handle a flat on your own terms.
Reset Reminder
After you replace the expired sealant, you’ll still need to clear the Service Tire Mobility Kit alert with a reset. That reset reminder tells you the kit has been serviced and is ready for real use. If you ignore it, you may think you’re prepared while the sealant has already expired, which usually happens after about four years.
Follow this practical sequence:
- Buy fresh sealant from the dealer.
- Install it exactly as your vehicle manual specifies.
- Perform the reset reminder procedure so the warning disappears.
Check the alert status regularly and inspect the kit before long trips. A cleared light doesn’t just reduce dashboard clutter; it confirms your mobility kit is maintained and your road freedom isn’t dependent on a dead canister when a tire emergency hits.
How Do You Tell Which Kit You Have?
To tell which tire mobility kit you have, look for the control layout: dial kits have a central dial, while dual port kits have two hose ports and require you to attach the hose to the body before use. That simple check tells you the kit type fast, so you can act without hesitation when you’re on the shoulder and need control. Dial kits usually let you select the sealant or inflation mode with one knob. Dual port kits separate the air and sealant paths, so the hose connection matters before activation.
Confirm the identification in your Owner’s Manual; it’ll list the exact kit type and the steps for your vehicle. Both designs work on the same principle: they inject sealant and air to get you moving again. Knowing which one you have helps you use it correctly, avoid delays, and stay independent when a flat tries to stop you. Additionally, understanding the tire maintenance tips can enhance your preparedness for emergencies.
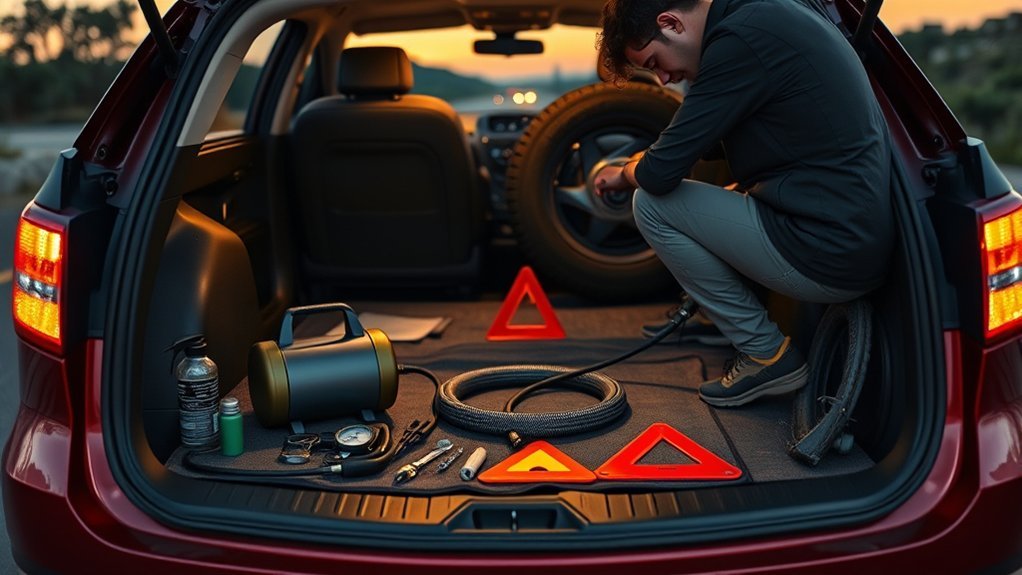
Where Is the Tire Mobility Kit Stored?

You’ll usually find the Tire Mobility Kit in the trunk or luggage compartment, though some vehicles store it under the front passenger seat. Its exact location depends on the manufacturer, so you should check your Owner’s Manual for the specific placement. Knowing the storage spot and verifying it regularly helps you access the kit quickly during a tire emergency. Additionally, familiarizing yourself with the importance of choosing the right tires can enhance your overall driving safety.
Common Storage Locations
A tire mobility kit is usually stored in the trunk or luggage compartment, though some vehicles place it under the front passenger seat or in a dedicated storage compartment. These common storage locations keep the tire mobility kit accessible when you need fast, practical action. To stay prepared, you should confirm its spot now, before a flat limits your options.
- Trunk or luggage area
- Under the front-row passenger seat
- Dedicated compartment
Check the kit periodically so you can reach it without delay. Familiarity with the storage point reduces stress and helps you respond with confidence and freedom when tire trouble hits. Keep the space clear, and make sure nothing blocks the kit.
Check The Owner’s Manual
If you still can’t spot the tire mobility kit after checking the trunk, luggage compartment, or front passenger seat area, consult the owner’s manual for the exact storage location. You’ll find the manufacturer’s placement diagram, part identifiers, and any vehicle-specific access steps there. When you check the owner’s manual, confirm what the kit contains so you know the compressor, sealant, hose, and power lead are present. Then inspect the storage area regularly; missing or damaged parts reduce its emergency value. Knowing the exact location saves critical minutes during a roadside failure and helps you respond independently, without waiting on outside help. Keep the manual accessible in the cabin, and verify the kit before long trips so you’re ready when a flat demands immediate action.
How Do You Use a Tire Mobility Kit in an Emergency?
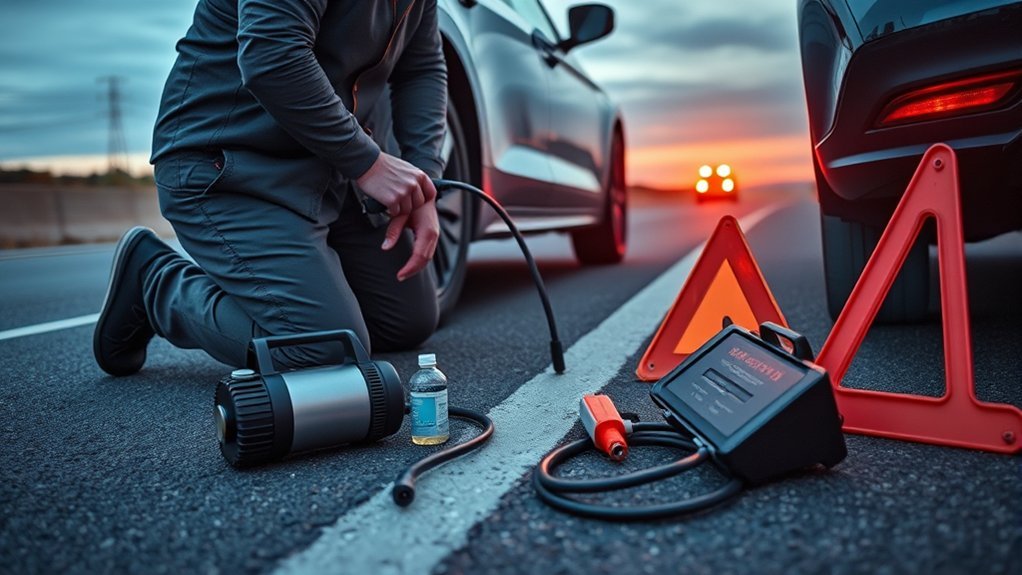
When a tire goes flat in an emergency, move the vehicle to a safe location, switch on the hazard lights, and set the parking brake before using the tire mobility kit. This process gives you control and keeps you moving with purpose. Do not remove the puncturing object; keep it in place so the sealant can do its job.
- Attach the sealant hose firmly to the valve stem.
- Plug the power cable into the 12-volt outlet and set the compressor to sealant mode.
- Inflate the tire to the recommended pressure, then drive 5 to 10 kilometers at 12 to 50 mph.
That short drive helps the sealant spread through the tire and complete the tire repair. While you drive, watch for odd noise or vibration. Afterward, check the tire again and confirm proper pressure. If the reading’s off, correct it before you continue. Additionally, having a spare tire kit on hand can further ensure you’re prepared for unexpected situations.
How Fast and Far Can You Drive After Repair?
After the tire mobility kit has done its job, you should drive only 7 to 10 kilometers, or 4 to 6 miles, so the sealant can spread evenly through the tire. Keep your speed between 12 mph (20 km/h) and 50 mph (80 km/h) to protect the temporary repair and maintain control. Before you move, check that the tire pressure is above 29 PSI (200 kPa); that’s the proper recommended tire pressure range for safe travel after sealing. If the reading stays low, don’t push on under load. Drive smoothly, avoid hard braking, and stay alert for any unusual noise, steering pull, or vibration. If anything feels off, pull over immediately and get assistance. This repair gives you freedom to keep moving, but only within tight limits. Treat it as a short bridge to a professional repair shop, not a long-term fix. Consider carrying a tire inflator for added convenience before your next trip to restore full safety and performance.
When Should You Replace the Sealant?
A tire mobility kit isn’t ready for use indefinitely, so you should replace the sealant before it expires. Most sealant canisters last about four years, but you should check the printed date regularly. If your Service Tire Mobility Kit Alert illuminates, treat it as a prompt to inspect the system and install new sealant. Don’t wait for a flat to find out the canister is outdated; freedom on the road depends on preparation, not luck. Additionally, temporary seals from kits like these are effective for quick fixes but should not be relied upon for long-term use.
- Check the expiration date on the sealant canister.
- Replace it at a dealer with a canister made for your vehicle.
- Reset the alert using your vehicle’s manual.
You won’t always have a spare tire, so your kit has to work when you need it. A fresh sealant keeps the compressor-and-seal system effective, helping you stay mobile and self-reliant. Replace it before it fails, and you’ll keep control in an emergency.
Frequently Asked Questions
What Does It Mean When Your Car Says Service Tire Mobility Kit?
It means your tire mobility kit needs service, usually because the sealant’s expired or the system needs inspection. You should replace the sealant and reset the alert using your owner’s manual or a dealer’s procedure. Follow tire maintenance tips and keep the kit current for emergency preparedness. If you ignore it, you may lose an essential backup when you need it most on the road.
How Long Can You Drive With a Tire Mobility Kit?
You can drive only a short stretch—about 4 to 6 miles, or 7 to 10 km—after using a tire mobility kit. Keep your speed between 12 and 50 mph, and check pressure right away; below 29 PSI isn’t safe. Listen for vibrations or noise, then head straight to a repair shop. This tire maintenance step supports emergency preparedness, giving you enough freedom to reach help, not to keep driving far.
What Are the Disadvantages of Tire Mobility Kits?
You’ll find tire mobility kits have clear limits: they’re temporary, can’t fix sidewall damage or large punctures, and their sealant expires, so tire maintenance matters. You still need a professional repair soon after use. They also restrict speed and pressure, which reduces safety and range. For emergency preparedness, they’re useful, but they don’t replace a spare or long-term solution. You can’t rely on them for every failure.
How Much Does a Tire Mobility Kit Cost?
A tire mobility kit usually costs $50 to $150, cheap protection for costly downtime. You’ll spend less on basic kits and more on OEM or feature-rich versions. Replacement sealant often runs $30 to $60. For tire maintenance and emergency preparedness, you should compare dealership and auto-store pricing, because your needs may differ from the market’s defaults. You can buy only what you need and keep control, not dependency.
Conclusion
When your tire mobility kit becomes the lantern in your roadside storm, you see its purpose clearly: it is not a permanent cure, but a bridge to safety. You follow the steps, seal the wound, and drive only as far as the manual allows. Then you replace the sealant before it ages out. Treat the kit like a spare key in your glove box—small, technical, and essential when the road decides to test you.
Related Articles
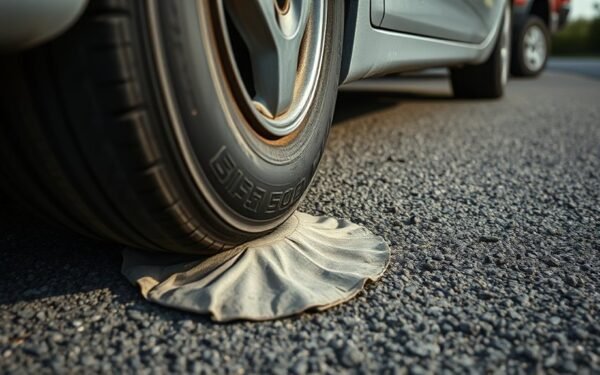
What Does a Low Tire Look Like? How to Spot an Underinflated Tire
A low tire looks flattened and sagging, but subtle signs can reveal more—learn what else to watch before it becomes a bigger problem.
Read More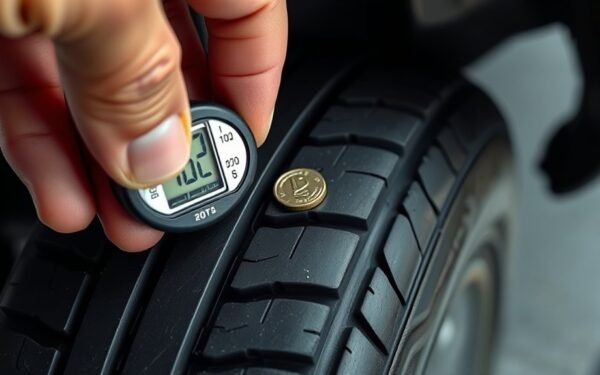
How to Tell If a Tire Is Good: Tread, Age & Wear Check Guide
Learn how to spot a good tire by checking tread, age, and damage—then discover the warning signs most drivers miss.
Read More
What Does 91H Mean on a Tire? Load, Speed & Rating Guide
What does 91H mean on a tire, and why does it matter for safety, handling, and replacement choices?
Read More