Disclosure: As an Amazon Associate, we earn from qualifying purchases. If you click a link on this page and make a purchase, we may receive a small commission at no extra cost to you.
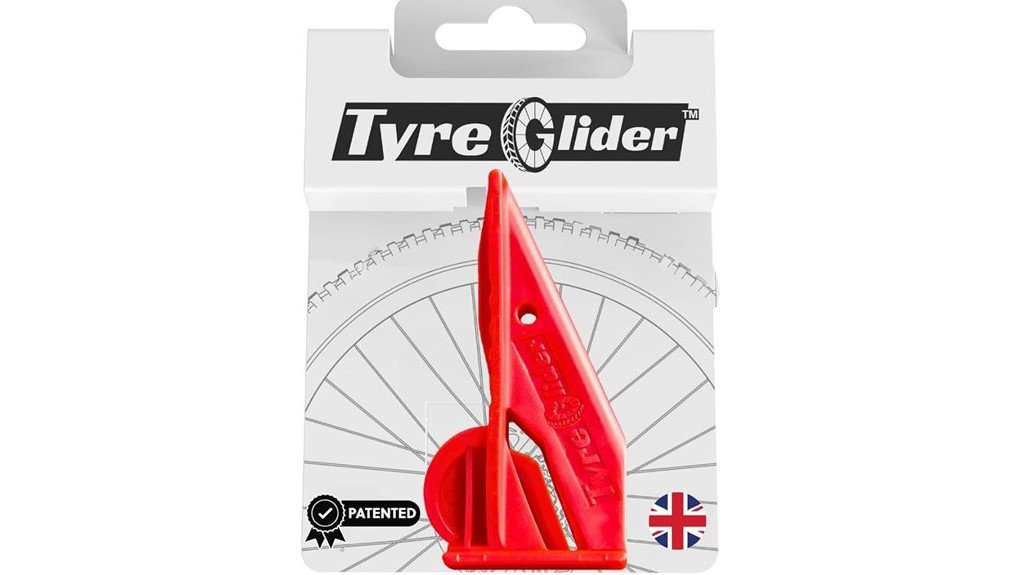
Changing a tight bicycle tire can turn a simple roadside repair into a frustrating job, especially when ordinary levers keep slipping or demand more thumb strength than you want to use. The Tyre Glider takes a different approach by clipping onto the rim and letting you push the tool around the wheel with better control. Its lightweight, reinforced-nylon design is easy to carry, and it works with many road, gravel, and mountain-bike setups. The main limitation is fit: the maker says it works with the vast majority of tire and rim combinations, not every possible combination, so rim shape and hook width still matter.
Quick Verdict
Rating: 8.5/10, Recommended with caveats
Best For: cyclists who regularly deal with tight beads and want a compact single-tool alternative to traditional tire levers.
Bottom Line: Tyre Glider’s clip-on design can make tire removal and installation easier by improving control and letting you use body weight. It is light and versatile, but a small number of tire and rim combinations may not suit the clip geometry.
| Specification | Detail |
|---|---|
| Brand | Tyre Glider |
| Product type | Clip-on bicycle tire lever / tire changing tool |
| Material | High-tensile, glass-filled nylon |
| Official listed weight | 20 g |
| Official listed dimensions | 9.0 × 4.3 × 3.2 cm |
| Compatibility | Road, gravel, and mountain-bike tires; tubed and tubeless setups; hooked and hookless rims according to the current Amazon listing |
| Wing-clip limit | Fits tire hook widths up to 7 mm, according to the manufacturer |
| Included item | One Tyre Glider |
| Made in | United Kingdom |
| Best use | Removing and installing bicycle tires, especially tight-fitting beads |
Key Takeaways
- Tyre Glider clips onto the rim, so you can guide the tire with less constant hand pressure than a conventional loose lever.
- The current manufacturer page lists the tool at 20 g and 9.0 × 4.3 × 3.2 cm, making it compact enough for a saddlebag or tool kit.
- Its high-tensile, glass-filled nylon construction is designed to handle repeated tire changes without using a metal contact surface.
- The current Amazon listing covers road, gravel, and mountain-bike use, including tubed and tubeless tires on hooked or hookless rims.
- Compatibility is broad but not absolute. The manufacturer notes that a small number of tire and rim combinations may not work, and the wing clip fits hook widths up to 7 mm.
What Is the Tyre Glider?
Tyre Glider is a compact bicycle tire changing tool made in the UK. Instead of working like a traditional lever that you hold in place while prying the bead over the rim, it is shaped to clip onto the rim and stay engaged as you move it around the wheel.
That clip-on approach is the main reason to consider it. During removal, you scoop the tool under the tire bead, lever the bead over the rim, then push the tool forward and downward. During installation, you clip it onto the rim and push it around the wheel so the bead seats as the tool moves.
The body is made from high-tensile, glass-filled nylon. That keeps the contact surface smoother than a metal lever while giving the tool more reinforcement than a thin basic plastic lever.
Before You Buy: Do not assume universal fit means every wheel will work. The manufacturer says a small number of tire and rim combinations may not be compatible, and the wing clip fits tire hook widths up to 7 mm. Check your rim profile if you use an unusual wheel system.
How Tyre Glider Makes Tire Changes Easier
The tool’s biggest practical advantage is control. Because it can clip onto the rim, you do not have to keep one hand squeezing a loose lever in place while the other hand works the tire. That gives you more freedom to steady the wheel and manage the bead.
For a tight tire, the manufacturer specifically recommends bringing the bead into the center channel of the rim and then using body weight when resistance increases. That matters because the center channel usually gives the bead more slack than the outer edge of the rim.
Tyre Glider can also help during installation. You start at the valve, clip the tool onto the rim, and push it forward with your palm. If the final part of the bead becomes tight, you can keep the wheel controlled between your legs and apply steady downward pressure rather than forcing the tool with a sharp twisting motion.
Pro Tip: When the bead gets tight, stop and work more of the tire into the rim’s center channel before applying extra force. Correct bead position often reduces the effort needed for the last section.
Fit and Compatibility
The current Amazon listing says Tyre Glider is intended for road, gravel, and mountain-bike tires, including tight 700c road setups and wider 29er mountain-bike combinations. It also lists both tubed and tubeless tires and both hooked and hookless rims.
That is broad coverage, but the manufacturer’s own compatibility note is more cautious. It says the tool works with the vast majority of tire and rim combinations, while acknowledging that a small number may not work. The wing clip is listed for tire hook widths up to 7 mm.
You should be most careful with unusual proprietary rims, very unusual hook profiles, or combinations where the clip cannot seat naturally. If the tool does not sit securely, do not force it into position.
Build Quality and Materials
Tyre Glider uses high-tensile, glass-filled nylon rather than bare metal. The current Amazon listing describes this as an engineering-grade material chosen to withstand the forces involved with tight tires when the tool is used correctly.
The smooth polymer contact surface is also intended to reduce the chance of scratching a rim compared with sharp metal tools. The same design can help you avoid pinching an inner tube, but technique still matters. A tire tool cannot prevent damage if you trap the tube or force the lever against a badly positioned bead.
One claim from older product descriptions deserves caution: warranty wording is inconsistent across current sources. Amazon’s current technical table lists “No Warranty,” while older syndicated product copy refers to a lifetime guarantee. Because those sources conflict, check the current seller’s warranty or return terms before treating a lifetime replacement promise as part of your purchase.
Who Should Buy It?
Best For
- Road, gravel, or mountain-bike riders who regularly change tight-fitting tires.
- Home mechanics who want a single compact tool for both tire removal and installation.
- Riders who prefer a tool that can use body weight and palm pressure instead of relying mainly on thumb strength.
Skip If
- Your rim profile does not allow the wing clip to seat securely.
- Your setup has a tire hook wider than the manufacturer’s stated 7 mm clip limit.
- You prefer a simple multi-lever set that can be positioned at several points around the rim at once.
[Products Worth Considering]
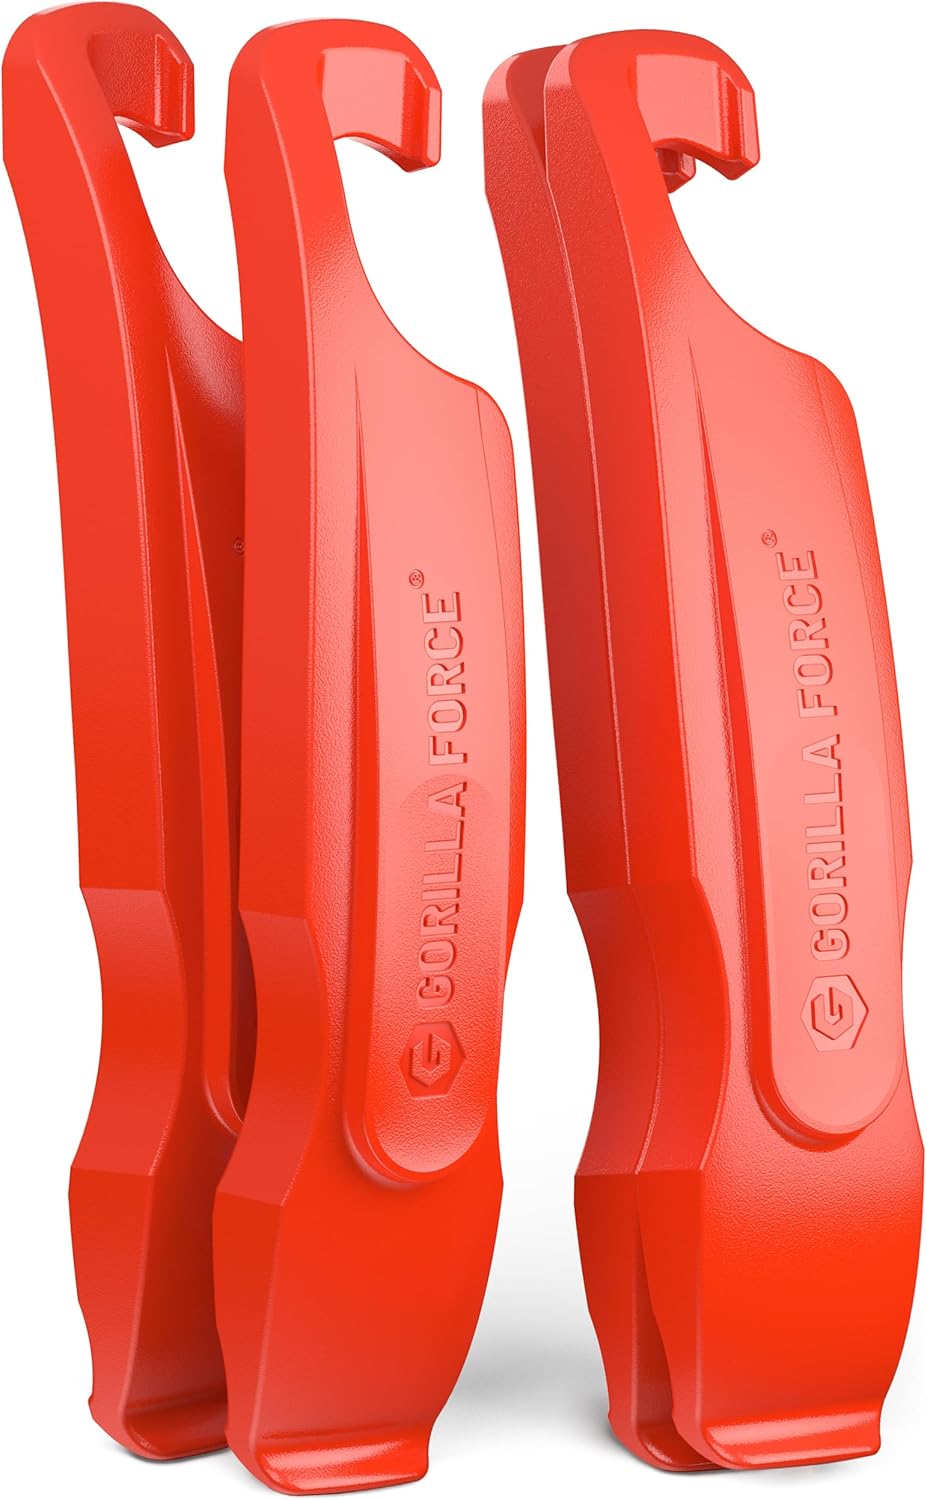
Gorilla Force tire levers make removing and installing even super-tight tires easier, using a stubby chisel tip and controlled leverage to lift the bead over the rim. Engineered, no-scratch plastic helps protect aluminum and carbon rims while providing smooth, reliable pry action. Designed for road, MTB, gravel, and e-bike tires, these compact levers clip together and include a spoke clip system for secure holding during tough changes.

The Tyre Glider is the original clip-on bicycle tyre lever designed to glide tyres on and off with controlled, effortless use. Its reinforced, glass-filled nylon construction helps it withstand high forces without snapping, while the smooth polymer surface protects rims and tubes. Universal compatibility makes it suitable for a wide range of tyres, including road, MTB, and gravel, for both tubed and tubeless setups.

The Park Tool TL-1.2 tire lever set is narrow, strong, smooth, and versatile for easy tire removal and reliable work on bike tires. It includes a spoke hook design to help when multiple levers are needed. With Park Tool’s industry-standard reputation, this set is ideal for fast flat-fix repairs.
How It Performs in Real Use
For Roadside Repairs
At about 20 g on the manufacturer’s current product page, Tyre Glider adds little weight to a saddlebag or jersey pocket. That makes it practical as a ride-carry tool rather than something that needs to stay on a workbench.
For Tight Road Tires
Tight 700c tires are one of the use cases highlighted in the current Amazon listing. The clip-on design is useful here because you can keep the tool engaged while you work the remaining bead into the rim’s center channel.
For Gravel and Mountain Bikes
The current listing also covers gravel tires and wide 29er mountain-bike setups. The same basic method applies, but wider rims and tougher casings can require more attention to bead position before you push the tool around the wheel.
For Repeated Workshop Use
In a home workshop, Tyre Glider can save time when you are switching tires often because one tool handles both removal and installation. Its compact shape is easy to store, but it does not replace good tire-changing technique or the need to check the bead before inflation.
How to Use Tyre Glider Correctly
Removing a Tire
- Push the tire bead inward to create enough space for the tool.
- Scoop the Tyre Glider lip fully under the bead.
- Lever the tool back so the bead comes over the rim.
- Push the tool forward and downward around the rim to continue removal.
Installing a Tire
- Start at the valve and clip the Tyre Glider onto the rim.
- Push the tool forward with your palm as the bead seats.
- If resistance increases, work the opposite section of bead into the center of the rim.
- For a very tight final section, use steady body weight and controlled pressure rather than a sudden twist.
Before inflating, inspect both sides of the wheel to make sure the bead is seated evenly and an inner tube is not trapped under the tire. Follow your tire and rim manufacturer’s pressure and setup instructions.
Compatibility and Safety
The smooth polymer surface is a useful feature if you have carbon or painted rims because it avoids direct metal-on-rim contact. The current Amazon listing specifically markets the tool for protecting rims and tubes during tire changes.
Even so, “rim-safe” should not be read as permission to force the tool. If the clip is not sitting correctly, stop and reset it. For tubeless setups, take care around rim tape, valves, and sealant. After fitting the tire, inspect the bead around the full circumference before inflation.
If your wheel or tire maker has special installation rules, follow those instructions first. Hookless systems in particular depend on approved tire and rim combinations and correct inflation limits.
Pros and Cons
Pros
- Clip-on design gives you more control than a loose conventional lever.
- Works for both tire removal and installation.
- High-tensile, glass-filled nylon keeps the tool light without using a metal rim contact surface.
- Broad road, gravel, MTB, tubed, tubeless, hooked, and hookless compatibility is listed by Amazon.
- Compact 20 g design is easy to carry for roadside repairs.
Cons
- It will not fit every possible tire and rim combination.
- The wing clip is limited to tire hook widths up to 7 mm.
- Current warranty information is inconsistent across sources, so you should verify seller terms before purchase.
Is It Worth the Price?
Tyre Glider makes the most sense if you change bicycle tires often enough to value easier handling and a tool that works for both removal and installation. Its main value is not extra pieces or accessories. It is the different clip-on method and the ability to keep the tool engaged while you move around the rim.
It is worth considering if ordinary levers feel awkward on your usual tires or if you want one compact tool in your ride kit. It is less compelling if your existing lever set already handles your wheels easily, or if your rim profile falls outside the Tyre Glider’s clip geometry.
[Products Worth Considering]
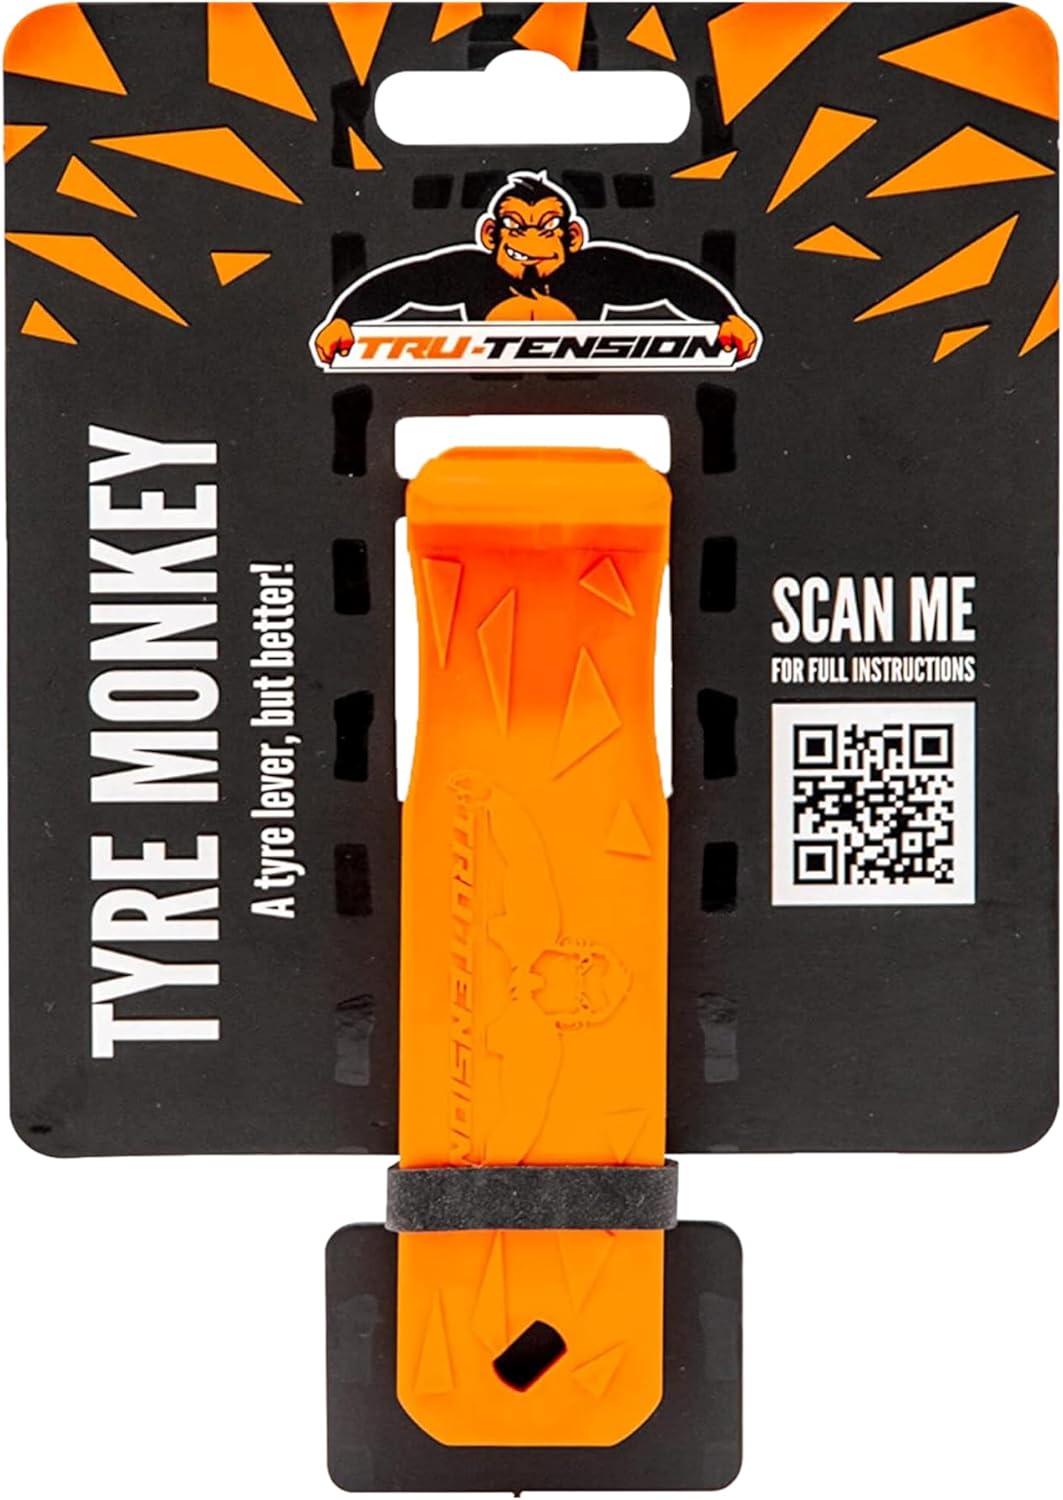
The Tru-Tension Tyre Monkey is a revolutionary bicycle tyre lever that makes removing and fitting tires fast and easy. Its innovative geometry helps keep your hand at a 90-degree angle to the wheel to reduce the risk of hitting spokes, and the design is optimized to use only one tool instead of multiple conventional levers. Compact and durable, it’s built for convenient carry and reliable tire changes on the go.
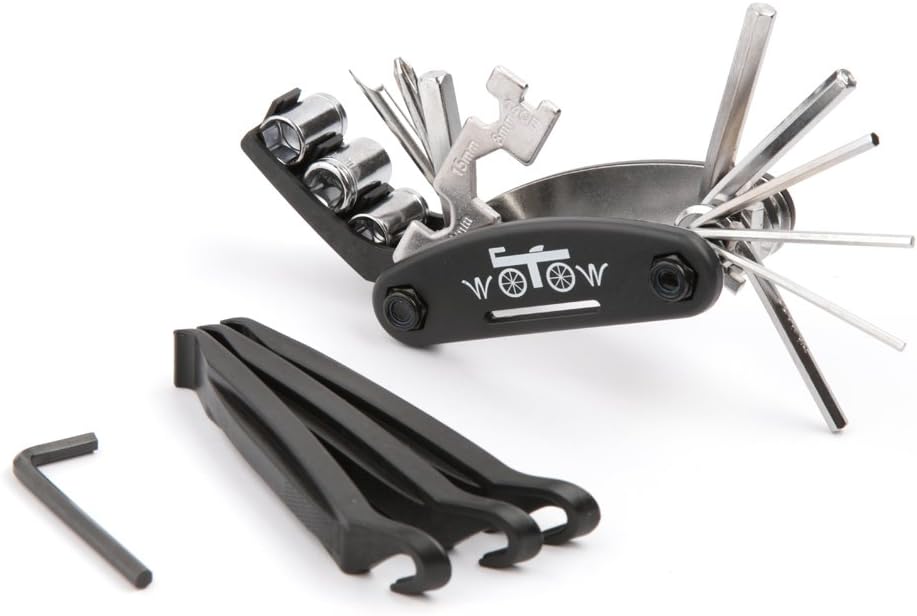
This WOTOW 16-in-1 bicycle multitool is built from corrosion-resistant chrome-vanadium steel for reliable, high-torque performance on the road or trail. It includes multiple hex sizes, a socket extension rod, flat wrench options, a spoke tool, a slot and cross screwdriver, plus three nylon tire levers to help you remove inner tubes and fix flats quickly. The compact folded design makes it easy to carry in a saddlebag or pocket, while an extra Allen wrench helps tighten or loosen stubborn hardware.

FANSPRO’s 2-pack 26-inch bicycle inner tubes are built for reliable performance on road and mountain bikes. They fit tire widths from 2.125 to 2.40 inches and use a 48mm Schrader valve for convenient inflation. The set includes two durable tire levers to help you remove and install tubes quickly after a flat.
How It Compares to Alternatives
Park Tool’s TL-4.2 uses a more traditional two-lever format with wide, flat tips and spoke hooks, so it may suit you if you prefer placing more than one lever around a stubborn bead. Crankbrothers’ Speedier Tire Lever is another single-tool option for removing and installing tires, with a longer lever-style body.
Tyre Glider’s main difference is the rim-clipping, glide-around-the-wheel method. Choose it if that controlled clip-on action appeals to you. Choose a conventional lever set if you prefer familiar pry-and-hook technique or want multiple tools working at separate points around the bead.
[Products Worth Considering]

Switch to tubeless with this Muc-Off rim tape designed to create an airtight seal for smooth-running setups. The pressure-sensitive adhesive offers the right stretch for strength and durability, while the semi-transparent material helps you locate the valve hole quickly. It includes four seal patches for a secure finishing seal after wrapping.

This professional wheel and rim cleaning brush set lifts brake dust, grime, and dirt with soft, scratch-free microfiber and synthetic wool fibers. The rim brush bends up to 360 degrees for easy access to hard-to-reach areas around spokes, lips, and faces. Ideal for thorough cleaning of car, truck, motorcycle, bicycle, RV, and more wheel and tire surfaces.

Ultraverse 700c inner tubes are built for 700x28C to 32C tires and feature a 48mm Presta valve for accurate, secure inflation. The high-elasticity butyl rubber construction helps seal air tightly, resist pressure loss, and absorb road vibrations for a smoother ride. A reinforced valve base and thick walls add durability and puncture resistance for reliable everyday performance on road, gravel, and city routes.
Frequently Asked Questions
Does Tyre Glider work with tubeless tires?
Yes. The current Amazon listing states that Tyre Glider is suitable for tubed and tubeless tires. Use controlled pressure and avoid disturbing rim tape or the valve area during installation.
Can you use Tyre Glider on carbon rims?
The current listing specifically describes the smooth polymer surface as suitable for protecting carbon rims from scratches associated with sharper metal tools. You should still keep the tool seated correctly and avoid forcing it against the rim.
Does Tyre Glider fit every bicycle wheel?
No tool fits every wheel. Tyre Glider says it works with the vast majority of tire and rim combinations, but it also notes that a small number may not work. The wing clip is listed for tire hook widths up to 7 mm.
How much does Tyre Glider weigh?
The current manufacturer product page lists a 20 g weight. That is light enough for a saddlebag, jersey pocket, or compact repair kit.
Is Tyre Glider only for removing tires?
No. The tool is designed for both removal and installation. For fitting, you clip it to the rim and push it forward while the tire bead seats.
What comes in the package?
The product information lists one Tyre Glider as the included component. Check the selected Amazon variation before ordering because the current listing also presents hand-orientation options.
Does Tyre Glider have a lifetime warranty?
Current sources conflict on this point. Amazon’s technical table lists “No Warranty,” while older product copy on some retailer pages mentions a lifetime guarantee. Check the current seller or manufacturer terms before buying if warranty coverage matters to you.
Who should skip Tyre Glider?
Skip it if the clip does not fit your rim profile or if you prefer a conventional multi-lever method. It also may not add much value if your current tires already come off and go on easily by hand.
The Bottom Line
Tyre Glider is a strong option for riders who want a compact tool that handles both tire removal and installation with a clip-on, body-weight-assisted method. Its biggest strengths are control, low weight, and broad compatibility, while the main tradeoff is that a few rim and tire combinations may not fit the clip correctly. If your wheel profile is compatible and tight beads are a regular frustration, it earns a recommendation with caveats.