
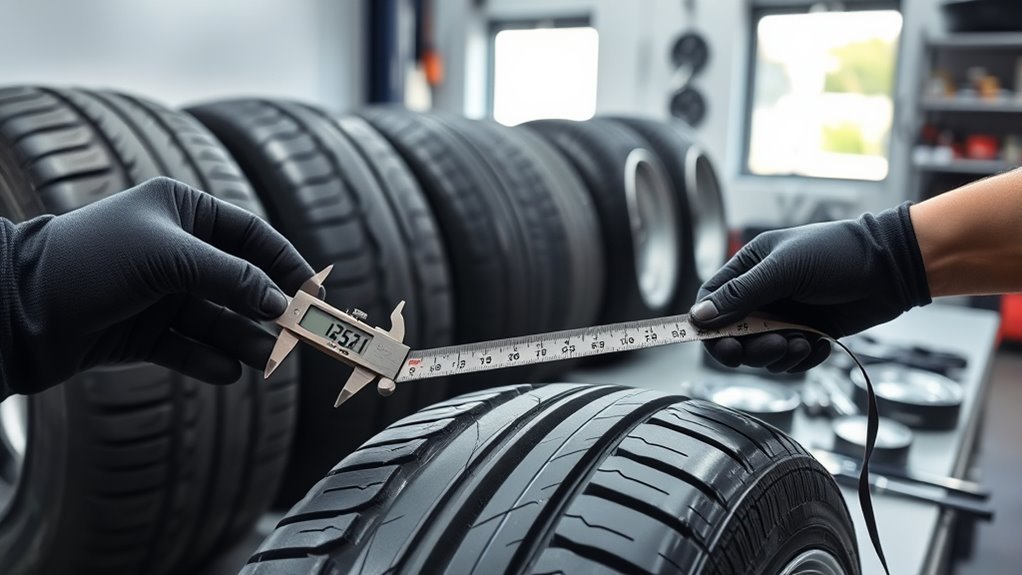
A tire code tells you everything you need to know before buying or swapping tires. It covers the tire type, tread width, aspect ratio, construction, rim diameter, load capacity, and speed rating. Understanding each part helps you match fit, maintain speedometer accuracy, and stay within safe load limits. The formulas below let you calculate sidewall height, overall diameter, circumference, and RPM so you can verify fitment before you buy.
Quick Answer
- Read the tire code left to right: type (P, LT), width in mm, aspect ratio (%), construction (R or D), and rim diameter in inches.
- Use: Sidewall Height = (Width × Aspect Ratio) / 100, then Overall Diameter = (2 × Sidewall Height) + Rim Diameter.
- Keep overall diameter within about 3% of stock to preserve speedometer accuracy and handling.
- Replacement tires must meet or exceed the original load index and speed rating.
- Check rim width, inflation pressure, and wheel well clearance before mounting any new size.
How to Read a Tire Code: Type, Width, Aspect Ratio, Construction, Rim
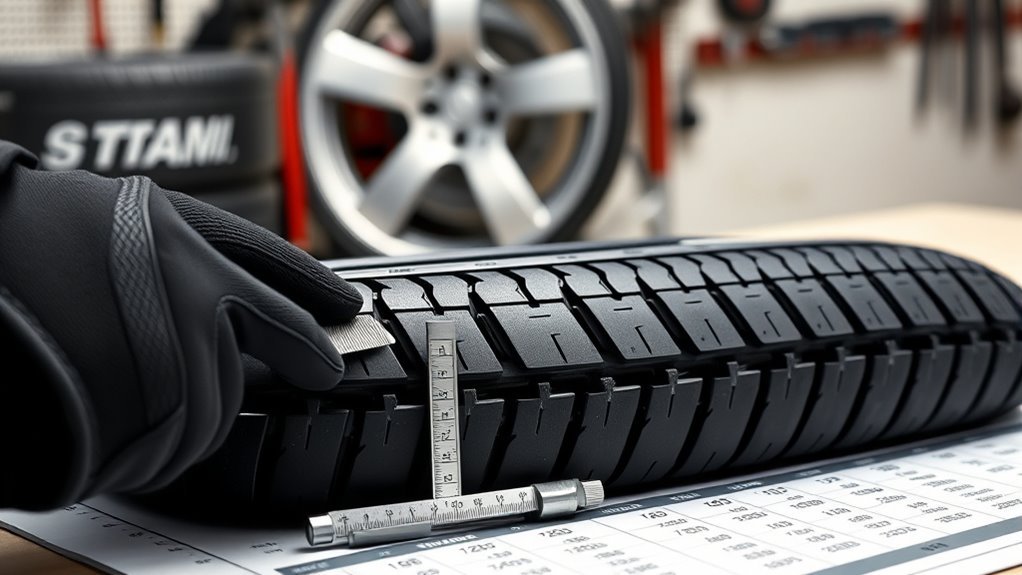
Read the tire code from left to right. The first letter or letters show the type: P for passenger car, LT for light truck. The three-digit number is the tread width in millimeters (P225 means 225 mm wide). The two-digit aspect ratio that follows is the sidewall height as a percentage of that width (70 means the sidewall is 70% of 225 mm). The construction letter identifies internal ply orientation: R for radial, D for bias or diagonal. The final number is the rim diameter in inches, so P225/70R16 fits a 16-inch wheel.
Width and aspect ratio define the contact patch and sidewall stiffness. Rim diameter determines mechanical fit. Radial construction dominates modern tires because it disperses heat better and delivers longer tread life than bias-ply designs.
After the rim diameter, most codes include a load index number and a speed rating letter. These tell you the tire’s maximum weight capacity and sustained-speed tolerance, covered in detail below.
Quick Calculations: Sidewall Height, Overall Diameter, Circumference, RPM
Four linked formulas let you verify fitment and predict how a size change affects your speedometer. Here they are:
- Sidewall Height = (Section Width × Aspect Ratio) / 100
- Overall Diameter = (2 × Sidewall Height) + Rim Diameter
- Circumference = Overall Diameter × π (≈3.14)
- RPM = 63,360 ÷ Circumference (in inches)
Sidewall Height Formula
Sidewall height sets the tire’s ride height and directly affects speedometer accuracy. Calculate it with: Sidewall Height = (Section Width × Aspect Ratio) / 100. Use millimeters for width and the aspect ratio percentage to get the result in millimeters.
For example: 225 mm × 70% = 157.5 mm sidewall height. From there, plug into Overall Diameter = (2 × Sidewall Height) + Rim Diameter, converting rim diameter to millimeters (1 inch = 25.4 mm) or keeping both in inches if you convert the sidewall first. Then Circumference = Overall Diameter × π gives you the rolling distance per revolution, and RPM = 63,360 ÷ Circumference tells you how many times the tire rotates per mile.
Tire Circumference and RPM
A smaller circumference means more revolutions per mile. That raises the RPM count, which can cause your speedometer to over-report speed and puts more cycles on the drivetrain. A larger circumference does the opposite: fewer RPM, potentially lower fuel consumption on the highway, but the speedometer may under-report your actual speed.
Run the numbers before you commit to a size. Small differences in circumference add up over long distances and affect both accuracy and wear.
Load Index and Speed Rating: How Tire Size Affects Safety and Fit
Load index and speed rating work together. The load index number maps to a specific weight capacity (for example, 89 equals about 1,279 lbs per tire), while the speed rating letter sets the maximum sustained speed the tire can handle without excessive heat buildup.
Mismatching these across an axle pair creates uneven load distribution and unpredictable handling. Always use the same load index on both tires of an axle.
- Use the same load index across each axle pair to keep load distribution even.
- Choose a speed rating equal to or higher than your vehicle’s maximum operating speed.
- Go with a higher index if you frequently carry heavy loads or tow.
[Products Worth Considering]

The SAFELIFE dial tire tread depth gauge measures tread depth in 1/32 inch increments with clear, easy-to-read 2-inch dial face. Color zones using a traffic light system help you quickly judge whether tread is low, marginal, or ample for safer driving. Built with a durable zinc cast body and a metal detect probe for precise, comfortable use across cars, motorcycles, trucks, and buses.

These M14x1.5 closed-end chrome lug nuts are a one-piece replacement designed for secure fitment on compatible GM, Ford, and select Chrysler/Dodge models. Featuring a 60-degree conical seat and anti-rust chrome plating, they help resist corrosion and maintain a bright look for everyday driving. Built for long-term durability, they include OEM-style part references and are backed by 12 months of support.

Measure tire tread depth quickly and accurately with this LUMITECO dial gauge that reads in 1/32" increments up to 14/32". The color-coded green/yellow/red zones make it easy to judge tire wear and know when replacement is needed. A rugged, compact design with a protective pouch helps keep the gauge ready for use on cars, trucks, motorcycles, and more.
Metric vs. Flotation vs. LT Sizes: When to Use Each
Three sizing systems exist, and each serves a specific purpose.
Metric tires (often marked with a “P”) use millimeter width and an aspect ratio, like P225/70R16. They suit passenger cars and crossovers, balancing handling, comfort, and fuel efficiency for everyday driving.
Flotation tires use inch-based width without an aspect ratio, such as 30X9.50R15. They are built for soft surfaces like sand and mud, where low inflation pressure and a wide footprint improve traction. They are not designed for standard highway load sharing.
LT tires carry an “LT” designation and are built for light trucks and work vehicles. They have higher load ratings and more durable construction for heavier payloads and rougher terrain.
Match the tire type to the vehicle’s actual use. Consult your tire retailer before substituting one type for another.
Choosing Compatible Replacement Tire Sizes and Allowable Substitutions

Start with the factory size on your owner’s manual or doorjamb sticker. That is your baseline. You can substitute within limits: keep width within roughly ±10% of the original and match the rim diameter. The replacement’s load index and speed rating must meet or exceed the vehicle’s requirements.
If the aspect ratio or overall diameter changes, expect some effect on handling and speedometer accuracy. A tire retailer can confirm whether a specific swap is safe for your vehicle.
[Products Worth Considering]

Upgrade your wheels with MIKKUPPA closed-end lug nuts designed for reliable fit and corrosion resistance. The one-piece, cold-forged and heat-treated steel construction helps resist rust and stripping, while the integrated finish delivers a durable black appearance. Built to OEM standards with a conical 60-degree seat, these nuts provide a secure solution for compatible Ford, Honda, Jeep, and Chevrolet models.

The 22800 wheel stud installer makes replacing wheel studs quick and secure, saving time and effort during tire service. It uses a ratchet or impact wrench to pull new studs firmly into place, helping when existing studs are too long. Compatible with most automotive wheels and light-duty truck wheel studs, it’s designed for easy, tool-assisted installation.

Monitor tire tread wear with a smart, color-coded depth gauge that shows clear condition ranges at a glance. The bar is range marked for fast, easy readings, helping you maintain safer traction and performance. Each gauge is portable with a pocket clip, and the set includes 20 units for daily use and sharing.
Acceptable Size Variations
Keep overall diameter within about 3% of stock. That range protects speedometer accuracy and keeps suspension geometry close to factory calibration.
Width changes of roughly ±10 mm are generally acceptable, but wider tires may require wider rims and can reduce fuel efficiency. Aspect ratio shifts of up to 10% are workable; larger changes affect ride compliance and handling noticeably.
Temporary spare tires (“T” designation) have their own size restrictions and are not suitable for extended use.
- Check overall diameter first, before anything else.
- Only change width if the rim and fender clearance support it.
- Limit aspect ratio changes to avoid upsetting suspension dynamics.
Load and Speed Matching
A size swap is only acceptable when the replacement tire’s load index matches or exceeds the original and the overall diameter stays within roughly ±3%. Dropping to a lower load index reduces safe carrying capacity and risks structural failure under load.
Speed rating works the same way: never go lower than the factory rating. A downgraded speed rating can cause handling problems at highway speeds and increases the risk of tire failure.
Cross-check the owner’s manual or a professional tire retailer for approved alternatives. Some substitutions that seem safe on paper may not meet local regulations.
Rim Width, Pressure, and Load: Rules for Proper Fitment
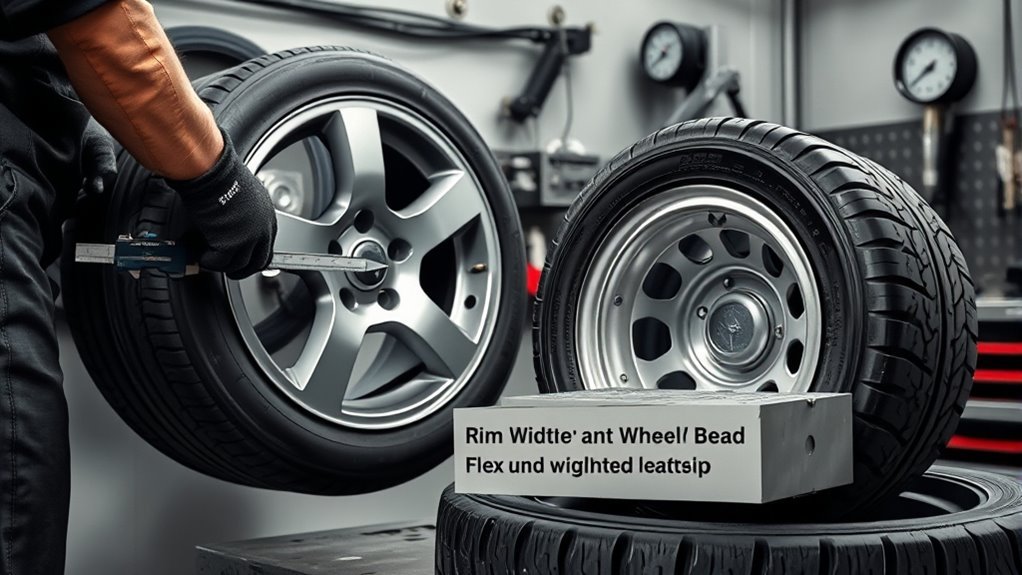
Correct rim width, inflation pressure, and load management are all connected. Get one wrong and the others are compromised.
The rim width must fall within the tire manufacturer’s stated range so the bead seats correctly. A general guide: tire width is approximately rim width plus 1.5 to 2 inches. Outside that range, the contact patch geometry changes and handling suffers.
Use the inflation pressure on your owner’s manual or doorjamb placard, not the maximum pressure printed on the tire sidewall. Wrong pressure changes the footprint, speeds up uneven wear, and reduces load capacity. For more on tire inflation and safety guidelines, see the NHTSA tire safety resource.
- Verify rim-to-tire width pairing before mounting.
- Check pressure regularly, including before long trips or heavy loads.
- Never exceed the tire’s load index at the recommended inflation pressure.
[Products Worth Considering]

This VEVOR tire bead breaker uses a slide-hammer impact and wedge tip to separate tire beads from rims quickly and efficiently without damaging hub surfaces. The long handle and sturdy steel construction help reduce user strain while providing reliable, portable tire changing for cars, trucks, and more. Ideal for home mechanics and repair shops handling multiple vehicle tire sizes.

This metal-free wheel and tire cleaning brush uses dense, fluffy synthetic wool to safely clean rims, spokes, fenders, and engine areas without worrying about damaging surfaces. Its flexible, comfortable design helps you reach detailed areas while maintaining durability, and the extra absorbent fibers work well with wheel spray cleaners for faster cleanup. Reusable and washable performance helps prevent grime and build-up for cleaner vehicles and easier maintenance at home.

Clean grills, fenders, fender flares, bumpers, and wheel wells with a long-handled brush built for detailed car washing. The soft, triple-flagged bristles and dense scrub coverage help lift dirt gently while making coverage fast and easy. Use it with your favorite car wash soap for tires and exterior surfaces, and it also works for bike, motorcycle, boat, or RV cleaning.
Common Mistakes When Changing Tire Sizes (And How to Fix Them)
Changing tire sizes introduces several specific problems if you skip the checks.
A reduced sidewall height (lower aspect ratio) stiffens the ride and may require adjusted inflation pressure and shorter maintenance intervals. Mixing load index ratings across an axle is a structural risk. Ignoring speed rating downgrades can cause tire failure at highway speeds. Mounting a tire on an incompatible rim diameter is simply unsafe.
Account for the change in revolutions per mile to anticipate speedometer and fuel efficiency effects. Aggressive tread patterns increase road noise and often raise rolling resistance. Match the tread compound to the season and driving conditions. When comparing brands, look for consistent construction quality and predictable wear ratings.
After any size change: torque the lug nuts to spec, balance the tires, and check wheel alignment. Schedule regular pressure checks, rotations, and visual inspections to stay ahead of wear issues.
Troubleshooting Fitment Issues: Clearance, Speedometer, and Handling
After changing tire sizes, check three things right away: clearance, speedometer accuracy, and handling.
- Inspect the wheel well and suspension contact points at full steering lock and full compression. Look for rubbing against the fender liner, control arms, or shocks.
- Calculate the circumference difference and recalibrate the speedometer if revolutions per mile have changed. Diagnostic tools can update ECU values on most modern vehicles.
- Evaluate how the new width and aspect ratio affect steering response, road noise, and rolling resistance.
If trade-offs are unavoidable, keep load compatibility and predictable handling as the priority over tire appearance or fitment that only looks aggressive.
Frequently Asked Questions
How to Determine What Size Tire Will Fit?
Check your owner’s manual or doorjamb sticker for the stock size. Use the tire code to confirm width and rim diameter. Compare potential replacements using a tire size calculator, and verify the load index with a tire professional before purchasing.
What Is the 7 7 Rule for Tires?
The 7/7 rule suggests replacing tires when tread depth reaches 7/32 inch or less. At that depth, wet traction and hydroplaning resistance are reduced. Worn tread also lowers the tire’s effective load capacity, so factoring in both depth and load conditions helps you judge when replacement is overdue.
Conclusion
Tire codes pack a lot of information into a short string of numbers and letters. Once you know how to read them, matching the right tire to your vehicle becomes straightforward. Use the formulas for sidewall height, overall diameter, circumference, and RPM to verify fitment before you commit to a size. Stay within the recommended tolerances for diameter, width, load index, and speed rating. When anything is unclear, check the owner’s manual or talk to a tire professional. Small errors in fitment compound over time, so measure, calculate, and confirm every change.

