
Inner Tube Sizing for Lawn Mower Tires: Find the Right Fit
You’ll match an inner tube by reading the tire sidewall (e.g., 10×3.50‑4), confirming the rim diameter (the last number), and selecting a tube that lists that size or a compatible range. Pick a TR‑13 valve stem and appropriate stem length for your rim clearance. Choose tube material and ply based on load and terrain, slightly inflate before install, seat the bead, and avoid pinches while inflating to 10–15 psi. Continue for step‑by‑step fit and troubleshooting guidance.
Quick Guide: Choose the Right Inner Tube for Lawn Mower Tires
When selecting an inner tube for your lawn mower tire, match the tube size to the tire size stamped on the sidewall (for example, 15×6.00-6). You’ll verify valve compatibility next; TR-13 is common, but confirm the stem fits your rim to avoid leaks or installation issues. If the exact tube size isn’t stocked, choose one size smaller to preserve fit and tire performance—don’t guess larger. Maintain proper inflation (typically 10–15 psi) to optimize operation and extend life. Consider inner tube materials: butyl offers durability and air retention, while rubber blends can be more flexible for tight fits. Use fitment tools like the TYK Industries Fitment Page to cross-reference sizes and valve types, simplifying selection and reducing wasted time. You’ll act deliberately, freeing yourself from trial-and-error purchases and ensuring your mower runs efficiently with a correctly sized, compatible inner tube.
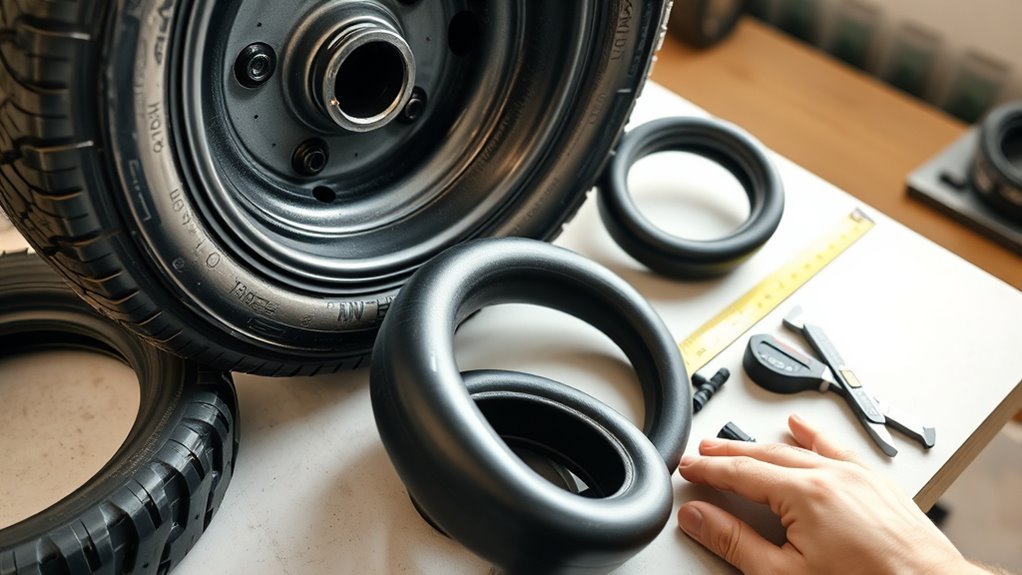
Read Your Tire Sidewall: Decode 10×3.50-4 and Common Markings
You’ve learned how tube size, valve type, and material affect fit and performance; now check the tire sidewall to confirm the exact size stamped there. Read tire sidewall markings left to right: in 10×3.50-4, 10 is the overall tire height, 3.50 is tread width, and 4 is the rim diameter. Decoding tire sizes like this gives you the precise numbers to match when selecting an inner tube.
Accurate reading prevents mismatches that cause leaks or blowouts. Inner tubes are sold to match or slightly overlap tire specifications; you’ll want one that equals the tire size or falls within the acceptable range the manufacturer specifies. When decoding tire sizes, ignore decorative letters and look for numeric groups separated by x or hyphen. Confirm the tire sidewall markings before purchase so you can choose an inner tube that maintains performance, safety, and your freedom to fix equipment without compromise.
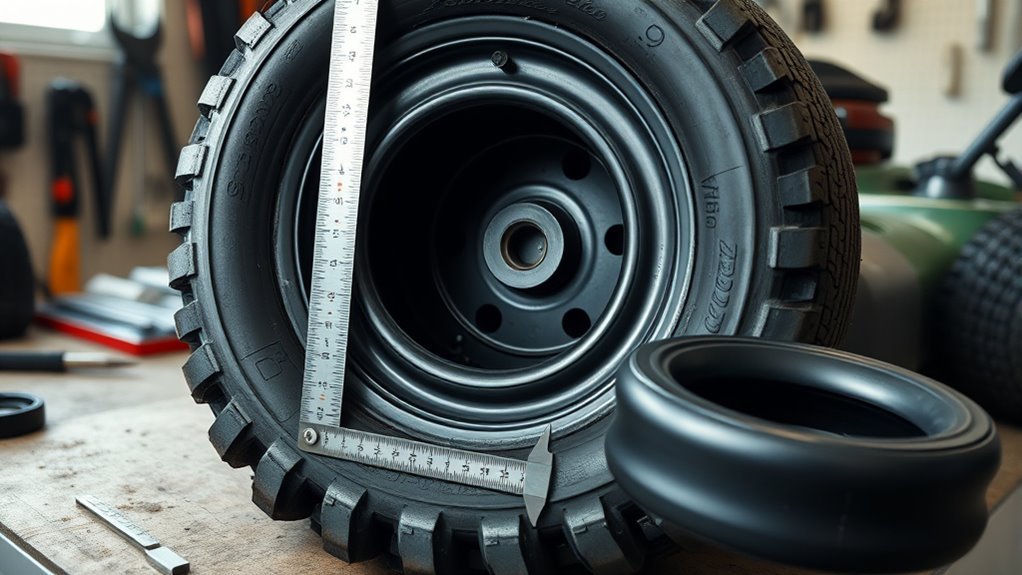
Confirm Rim Diameter (The Last Number on the Tire)
Start by confirming the rim diameter—the final number in the tire code (for example, the “6” in 15×6.00-6)—because that measurement tells you the wheel size the tire mounts to and dictates the inner tube you need. You’ll find rim measurement techniques simple: read the tire sidewall first; if markings are worn, measure across the wheel bead seat diameter with calipers or a tape, noting inches. Rim diameters for lawn mower tires commonly span 4–12 inches, so verify before buying a tube.
Accurate rim diameter prevents mismatched tubes that cause leaks, blowouts, or instability. Focus on tire compatibility factors—rim size, bead profile, and valve placement—when selecting tubes. Using the correct rim diameter improves performance, reduces maintenance, and frees you from repeated repairs. If in doubt, document the rim diameter and cross-check with tube specs or supplier guidance to guarantee reliable, liberated operation of your mower with minimal downtime.
Match Inner Tube Size to Tire Size: Exact Fit vs. Size Ranges
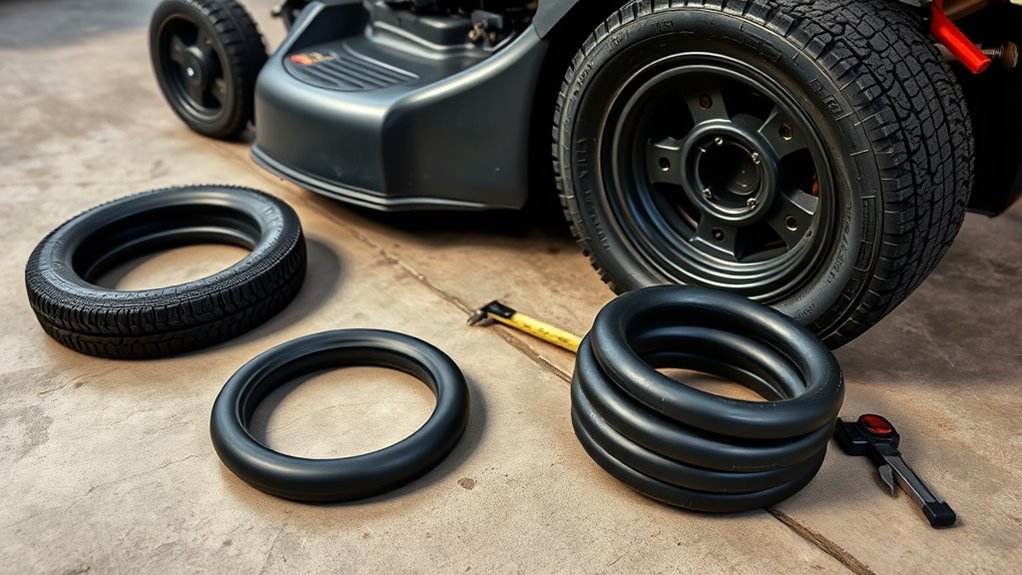
Although an exact tube-to-tire match is ideal, you can sometimes use a tube sized one size smaller if the rim diameter and valve placement match, but do so cautiously to avoid overstretching the tube. You’ll prioritize inner tube compatibility to maintain safety and reduce downtime. Exact matches listed on the tire sidewall (e.g., 15×6.00-6) give you the correct rim diameter and width. If you must go one size down, check rubber stretch, valve alignment, and bead seating before final inflation.
Prefer exact tube-to-tire matches; only step down one size cautiously—check rim, valve alignment, and bead seating.
Use these checks to preserve your freedom to work without interruption:
- Verify rim diameter (last number on the tire) equals the tube’s rim spec.
- Confirm the smaller tube spreads evenly across the tire without pinching.
- Cross-reference with a fitment tool (like TYK Industries) for documented compatibility.
Accurate sizing prevents blowouts and minimizes tire maintenance. Choose practicality and precision so your equipment serves you, not the other way around.
Choose the Right Valve Stem: TR-13, Lengths, and Rim Clearance
When choosing a valve stem for your mower tire, pick a TR-13 for standard rims and match stem length to rim clearance so you can access and inflate the tube without stress. You’ll confirm valve stem compatibility by checking rim hole size and selecting TR-13 unless a specialty stem is required. Match stem length to rim depth: too short blocks access; too long risks damage. A proper fit prevents leaks and preserves inflation, supporting consistent mower performance and your freedom to maintain the land.
| Rim Condition | Recommended Action |
|---|---|
| Standard rim | Use TR-13 |
| Shallow rim | Short TR-13 stem |
| Deep rim | Long TR-13 stem |
| Unknown size | Measure hole first |
| Damaged rim | Repair before fit |
Practice routine valve stem maintenance: inspect for cracks, replace if worn, and verify seating is tight. Check tire and rim specs to confirm the selected stem meets required dimensions.
Tube Materials and Ply Ratings: Durability and When They Matter
You’ll compare natural rubber and synthetic compounds for flexibility, abrasion resistance, and temperature tolerance to match your use case. Understand ply ratings (commonly 4–6 for mowers) as measures of load capacity and puncture resistance when choosing a tube. Opt for higher-ply, heavy-duty tubes for heavier machines or rough terrain to reduce downtime and extend service life.
Rubber Compounds Compared
Because the rubber compound and ply rating determine how a tube copes with punctures, flexing, heat, and aging, you should match those specs to your mower’s workload and operating conditions. You’ll favor synthetic advantages when you need improved resilience and rubber durability in sunlight and moisture; synthetic compounds resist aging and keep flexibility longer than natural rubber. Choose stiffer formulations for high-pressure, high-load mowing and softer blends for shock absorption on uneven ground. Consider ply only as it affects strength and pressure capacity.
- Synthetic compounds: longer life, UV/ozone resistance, better aging performance.
- Natural rubber: higher elasticity, lower aging resistance, cost-effective for light use.
- Hybrid blends: balance durability and ride comfort for liberation-minded users.
Ply Rating Explained
Ply rating tells you how much stress an inner tube can handle: higher ply numbers mean thicker walls, greater tear resistance, and increased load capacity. You’ll use ply rating to match tube strength to terrain and load. Typical lawn mower tubes range 4 to 8 ply; 4-ply fits light-duty work, 8-ply handles harsher surfaces with better puncture resistance. Material—rubber compound and construction—dictates the effective ply and inner tube longevity, so choose blends that resist cuts and aging. Consider ply rating benefits: reduced downtime, fewer flats, and steadier performance under load. You want freedom from constant maintenance; selecting the correct ply preserves tire function and extends service life without overbuilding.
When To Choose Heavy-duty
Now that you know how ply rating reflects tube strength, it helps to recognize when thicker, heavy-duty materials actually matter. You’ll choose heavy-duty when duty cycles, terrain, and load demand it: thicker rubber and higher ply ratings give better puncture resistance and load support. Consider these practical cues in your durability comparison and weigh heavy duty benefits against cost.
- Commercial or frequent use: pick 4-ply/6-ply tubes to minimize downtime and replacements.
- Rough terrain or debris-prone sites: thicker compounds resist cuts and blowouts, improving uptime.
- Heavier loads or uneven ground: higher ply maintains pressure and reduces failure under stress.
This approach frees you from avoidable flats, lowers maintenance, and extends mower performance.
Use Fitment Tools and Compatibility Charts to Find a Tube
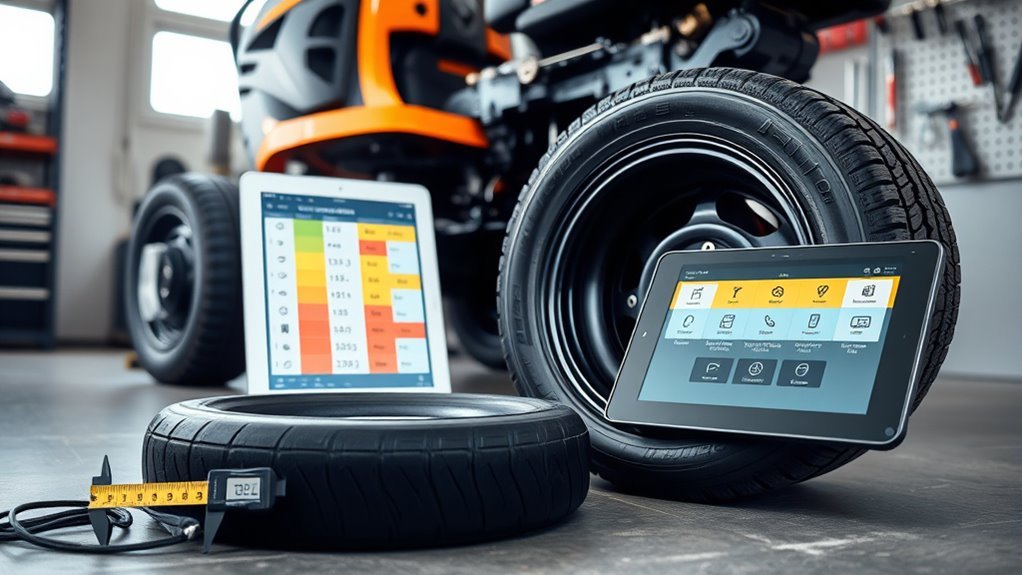
When you need the right inner tube, use TYK Industries’ Fitment Page and product compatibility charts to match tube dimensions and valve stem types to your tire and rim. You’ll get fitment accuracy and resolve compatibility concerns quickly by entering your tire code (e.g., 156006 for 15×6.00-6) into the search box. The charts let you cross-reference exact sizes or acceptable ranges, and they list valve stem types tied to rim dimensions so you won’t guess.
| Tire Size Input | Tube Size Match | Valve Stem Type |
|---|---|---|
| 156006 | 15×6.00-6 | Straight TR13 |
| 175/65/10 | 175×65-10 | Angled TR15 |
| Custom code | Range tolerance | Listed in chart |
Use the fitment tools to verify specs before purchase. You’ll act with certainty, avoid mismatches, and maintain freedom to choose the right tube for performance and longevity.
Installation Checklist: Inflate, Seat, and Avoid Pinches
Before you install the tube, give it a slight inflation so it holds shape and’s easier to position without pinching. Seat the tube and tire bead fully by rotating the assembly 360° and checking for folds or twists. Inflate gradually to the recommended 10–15 psi while watching for pinch points and use proper tools to avoid damage.
Proper Tube Inflation
Start by slightly inflating the tube to a firm but pliable shape so you can position it evenly inside the tire without folds. You’ll use disciplined inflation techniques: keep the valve aligned, seat the tube evenly, and guard against pinches. Inflate slowly to the recommended tube pressure (10–15 psi), pausing to inspect for bulges or pinches.
- Rotate the tire as you incrementally add air to confirm even seating and detect irregularities early.
- Check valve stem alignment and secure the stem to prevent leaks or stress during final inflation.
- Finish by bringing pressure to the specified value, rechecking bead area and valve integrity.
You’re reclaiming control—precise, safe inflation avoids failures and keeps you moving.
Correct Bead Seating
Now that the tube’s slightly inflated and aligned, focus on seating the bead evenly to prevent pinches and leaks. You’ll inflate to the recommended 10–15 psi, watch bead alignment, and perform a thorough tire inspection. Rotate the wheel as you top off pressure so the bead settles uniformly. If you see uneven spacing between tire and rim, deflate slightly, reposition the bead, and re-inflate. Confirm the sidewalls show consistent clearance all the way around—this is your proof the tube’s free and properly seated. Freedom on the mower starts with confident installation: precise seating reduces failures and downtime.
| Checkpoint | Action |
|---|---|
| Pressure | Inflate to 10–15 psi |
| Alignment | Verify bead alignment |
| Inspection | Rotate and inspect sidewalls |
Pinch Prevention Techniques
While you’re fitting the tube, keep it slightly inflated so it holds shape and won’t fold or slip into the rim gap; align the valve stem with the rim hole, seat the tube evenly by rotating the wheel, and use tire levers sparingly and gently to avoid pinches or nicks. You’ll follow clear installation techniques to prevent damage and maintain autonomy over your equipment. Check seating visually and by feel, confirming the tube isn’t trapped between bead and rim. Use minimal leverage and smooth edges on tools. Inflate to the specified pressure (typically 10–15 psi) to set the tube and detect leaks or pinches before final use. These pinch prevention steps protect the tube and keep you moving freely.
- Pre-inflate slightly
- Align and seat evenly
- Use gentle tire levers
Troubleshoot Fit Problems: Leaks, Bulges, and Valve Issues
1 clear check you can run when a tire behaves oddly is a systematic inspection for leaks, bulges, and valve problems, since these often stem from incorrect tube sizing, over‑inflation, or the wrong valve stem type. For leak prevention, confirm the inner tube matches tire size and seat; use soapy water to locate pinholes and inspect seams. Bulge identification requires deflating partially and seating the tube evenly; a localized swell usually signals over‑inflation or improper fit—keep pressure within 10–15 psi for lawn mower tires. For valve compatibility, verify stem type fits the rim hole and has enough clearance to avoid stress or bending during mounting. Practice routine tube maintenance: check for abrasions, aging rubber, and proper bead alignment before each season. Use resources like TYK Industries Fitment Page to cross‑reference sizes and reduce guesswork. You’ll gain control and freedom from breakdowns by diagnosing fit issues methodically and correcting size, pressure, or valve mismatches promptly.
Buying Tips: Ordering Format, Shipping, Returns, and Warranties
After you’ve confirmed proper fit, pressure, and valve compatibility, the next step is ordering the right replacement tubes with minimal hassle. Use the tire size format without punctuation (for example, 15×6.00-6 → 156006) in the search box to speed the ordering process. Note that Tires4That.com offers free shipping to the continental U.S., reducing friction and cost.
Check return policy specifics before purchase — terms can vary by product condition. Most inner tubes include manufacturer warranties; review coverage limits and the claims process so you’re not surprised later. If you need help selecting sizes or confirming compatibility, contact customer support by phone; they’ll guide sizing and product choice.
- Use unpunctuated size code (156006) for quick search.
- Verify return policy and warranty scope before checkout.
- Call customer support for sizing confirmation and order issues.
These steps keep you empowered, efficient, and ready to replace tubes with confidence.
Frequently Asked Questions
What Is the Difference Between TR4 and TR6 Inner Tube?
TR4 compatibility centers on smaller rims and a smaller valve stem, while TR6 applications suit larger rims with a bigger valve stem; you’ll match tube to rim size so you’ll maintain safe inflation and reliable performance.
What Does TR13 Mean on a Tube?
TR13 labels the valve stem type; it’s a rubber TR13 stem (~0.453″) used on inner tube materials to maintain tire pressure. You’ll prefer it for reliable inflation, durability, and practical freedom from leaks.
Conclusion
You’ve got the tools to match inner tubes to mower tires confidently — decode the sidewall, confirm the rim diameter, pick a tube that lists your tire size or a compatible range, and choose the right TR-13 valve length for rim clearance. Inflate and seat carefully to avoid pinches, then test for leaks or bulges. If something’s off, swap sizes or valves before the season starts — a small misfit can quietly ruin your day, so fix it now.
Related Articles
Vulcanizing Patch Kit: Step-by-Step Tube Repair
A quick, reliable guide to using a vulcanizing patch kit—learn the essential steps, tips, and fixes to get your tube sealed and riding again.
Read More
Signs of a Bad Inner Tube: When Repair Won’t Work
Find out which cuts, bulges, or repeated patch failures mean you must replace your inner tube—and why patching might not save it.
Read More
Golf Cart Tire & Tube Guide: Sizes, Pressure & Care
Practical tips on golf cart tire sizes, pressures, tubes, and maintenance to save wear and avoid flats—discover what pros adjust next.
Read More