
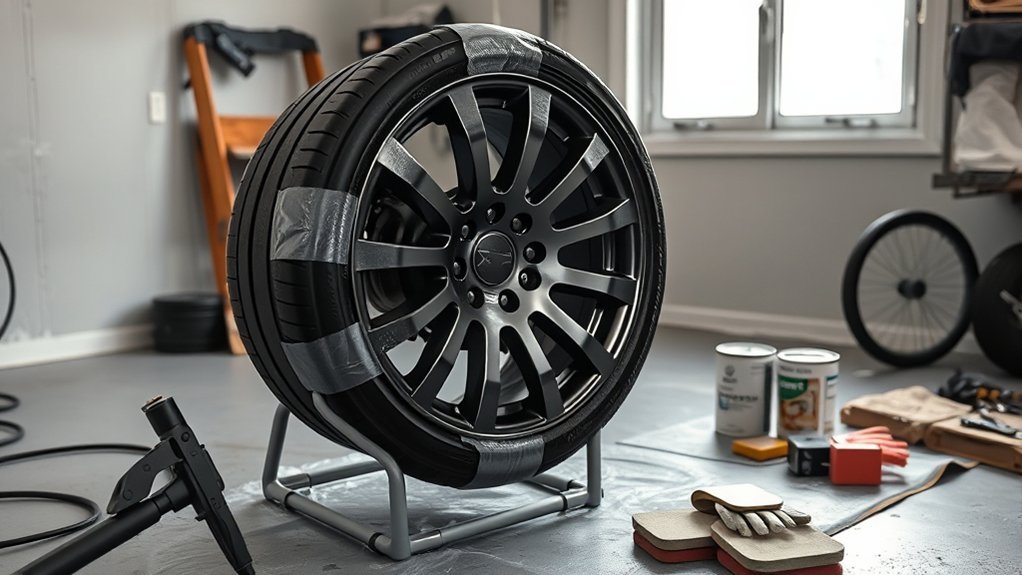
Painting your car wheels at home can refresh faded, chipped, or worn finishes without replacing the wheels. The quality of the result depends far more on cleaning, sanding, masking, product compatibility, and curing than on spraying a heavy coat of paint. Work patiently, keep functional wheel and brake surfaces paint-free, and follow the exact instructions on your chosen coating system.
Quick Answer
To paint car wheels at home, remove and clean the wheels, inspect and repair surface damage, scuff the existing finish, mask the tire and functional mounting areas, then apply compatible primer if required, wheel paint, and clear coat in controlled coats. Follow each product’s recoat and cure times before reinstalling the wheels.
Key Takeaways
- Cleaning and surface preparation determine how well wheel paint adheres.
- Use wheel paint that is compatible with the wheel material and existing finish; primer is not automatically required on every wheel.
- Remove the wheel from the vehicle when practical, and keep paint away from brake friction surfaces, lug seats, studs, threads, and hub-mating surfaces.
- Apply controlled coats and obey the manufacturer’s spray distance, temperature, flash-time, and recoat-window instructions.
- Do not treat 2K automotive clear coat like ordinary hobby spray paint; some systems involve isocyanate hazards and require much stricter exposure controls.
- Do not reinstall or drive on freshly painted wheels until the coating has reached the handling or cure stage specified by the manufacturer.
At a Glance
| Time Required | Several hours of preparation and spraying, plus the coating manufacturer’s required curing time |
| Difficulty | Moderate DIY project |
| Tools Needed | Wheel cleaner, lint-free towels, sandpaper or scuff pads, masking materials, wheel paint, compatible primer and clear coat when required, PPE, and safe wheel-removal tools if taking the wheels off |
| Cost | Varies with wheel size, number of wheels, coating system, repair materials, and PPE already owned |
Wheel Painting Supplies You’ll Need
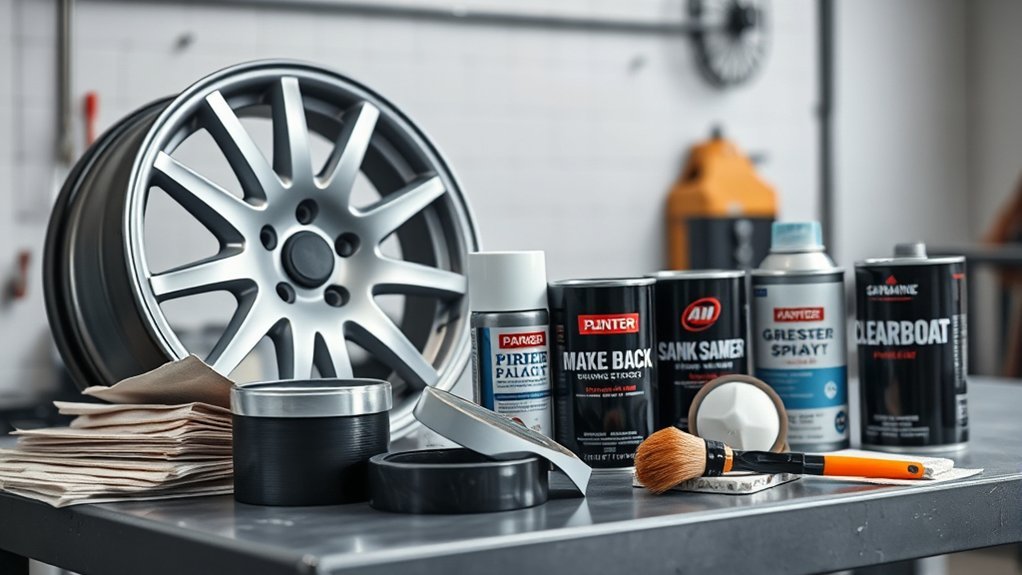
Gather everything before you begin so you do not have to stop halfway through a coating window. Your exact materials depend on the wheel’s existing finish and the paint system you choose.
- Wheel cleaner: For removing brake dust, road grime, and dirt.
- Wax-and-grease remover or coating-approved prep cleaner: For the final cleaning stage when required by the paint manufacturer.
- Lint-free towels: For drying and final wipe-downs.
- Sandpaper or scuff pads: Use the grit recommended for your coating. For example, Dupli-Color Wheel Paint currently instructs users to lightly sand with 600-grit paper before application.
- Primer: Use it when bare metal, repaired areas, corrosion treatment, or the coating system calls for primer.
- Wheel paint: Choose a coating made for the wheel material and intended exposure.
- Compatible clear coat: Use when the color system calls for one or when you want the protection and sheen provided by a compatible clear.
- Masking tape, masking film, paper, or trash bags: For protecting tires and non-painted areas.
- Gloves and eye protection: Use chemical-resistant gloves where the coating or cleaner label specifies them.
- Respiratory protection: Follow the paint manufacturer’s label and safety data sheet rather than relying on a simple dust mask.
Do not assume every wheel needs three or four cans of color and one or two cans of clear. Coverage varies with wheel diameter, spoke design, whether you paint the barrel, number of coats, and the product itself. Check the can’s stated coverage and buy enough to finish the entire set with the required coat schedule.
Warning: Aerosol automotive coatings can contain flammable solvents and other hazardous chemicals. Spray only where the product label permits, keep the area away from flames, sparks, heaters, cigarettes, and ignition sources, and follow the SDS for ventilation and respiratory protection. OSHA identifies solvents and isocyanates among the hazards found in automotive spray refinishing.
[Products Worth Considering]

The Chemical Guys Gerbil Wheel & Rim Brush is designed to safely clean wheels, rims, exhaust tips, tires, and engine bay components without scratching delicate finishes. Its soft natural bristles help lift brake dust, grime, and buildup while conforming to tight spaces and intricate contours. A comfort grip handle delivers control for extended detailing sessions.

This metal-free wheel and tire cleaning brush uses dense, fluffy synthetic wool to safely clean rims, spokes, fenders, and engine areas without worrying about damaging surfaces. Its flexible, comfortable design helps you reach detailed areas while maintaining durability, and the extra absorbent fibers work well with wheel spray cleaners for faster cleanup. Reusable and washable performance helps prevent grime and build-up for cleaner vehicles and easier maintenance at home.

This 3-piece wheel and tire brush set makes it easy to clean light, medium, and heavy dirt from wheels, rims, tires, and exterior surfaces. It includes both soft and stiff bristle options for gentle scrubbing and tough grime removal, helping lift brake dust and road buildup. The long-handle design supports comfortable cleaning across cars, trucks, SUVs, RVs, motorcycles, and more, with simple care instructions to restore brush shape.
Inspect the Wheels Before You Paint
Paint can hide cosmetic defects, but it cannot make a damaged wheel structurally safe. Inspect each wheel before sanding.
- Look for cracks, bends, severe corrosion, deformation, or evidence of air leakage.
- Check the bead area and valve-stem area for damage.
- Inspect curb rash and gouges to decide whether they are only cosmetic.
- If the wheel vibrates, leaks air, has a visible crack, or is significantly bent, have it inspected by a qualified wheel or tire professional instead of simply refinishing it.
Light scratches, chips, faded clear coat, and minor cosmetic curb marks can often be prepared for refinishing. Structural repairs are a different job and should not be disguised with filler and paint.
Remove the Wheels Safely
You can sometimes mask a wheel while it remains on the vehicle, but removing the wheel usually gives you better access and greatly reduces the chance of coating the brake rotor, caliper, suspension, or bodywork.
Park on firm, level ground, apply the parking brake, chock the wheels that remain on the ground, and use the jacking and support points specified in your vehicle owner’s manual. If you raise the vehicle for an extended refinishing job, support it properly rather than depending on a hydraulic jack alone.
Keep track of the lug nuts and reinstall the wheels later using the tightening sequence and torque specification supplied by the vehicle or wheel manufacturer.
Note: Removing a wheel from the vehicle is different from removing the tire from the wheel. You normally do not need to demount the tire for a basic cosmetic repaint if you can mask the tire and valve area carefully. Tire removal is useful when you need complete access to the rim edge or professional wheel repair.
Clean and Prep Your Wheels for Paint
Start by washing the wheels with a dedicated wheel cleaner to remove brake dust, road film, grease, and loose contamination. Rinse thoroughly and clean every spoke, recess, barrel area you plan to paint, and the area around the valve stem.
Dry the wheel completely. Then remove any wax, silicone, grease, or other contamination using the surface-preparation product specified by your paint manufacturer.
[Products Worth Considering]

This professional wheel and rim cleaning brush set lifts brake dust, grime, and dirt with soft, scratch-free microfiber and synthetic wool fibers. The rim brush bends up to 360 degrees for easy access to hard-to-reach areas around spokes, lips, and faces. Ideal for thorough cleaning of car, truck, motorcycle, bicycle, RV, and more wheel and tire surfaces.
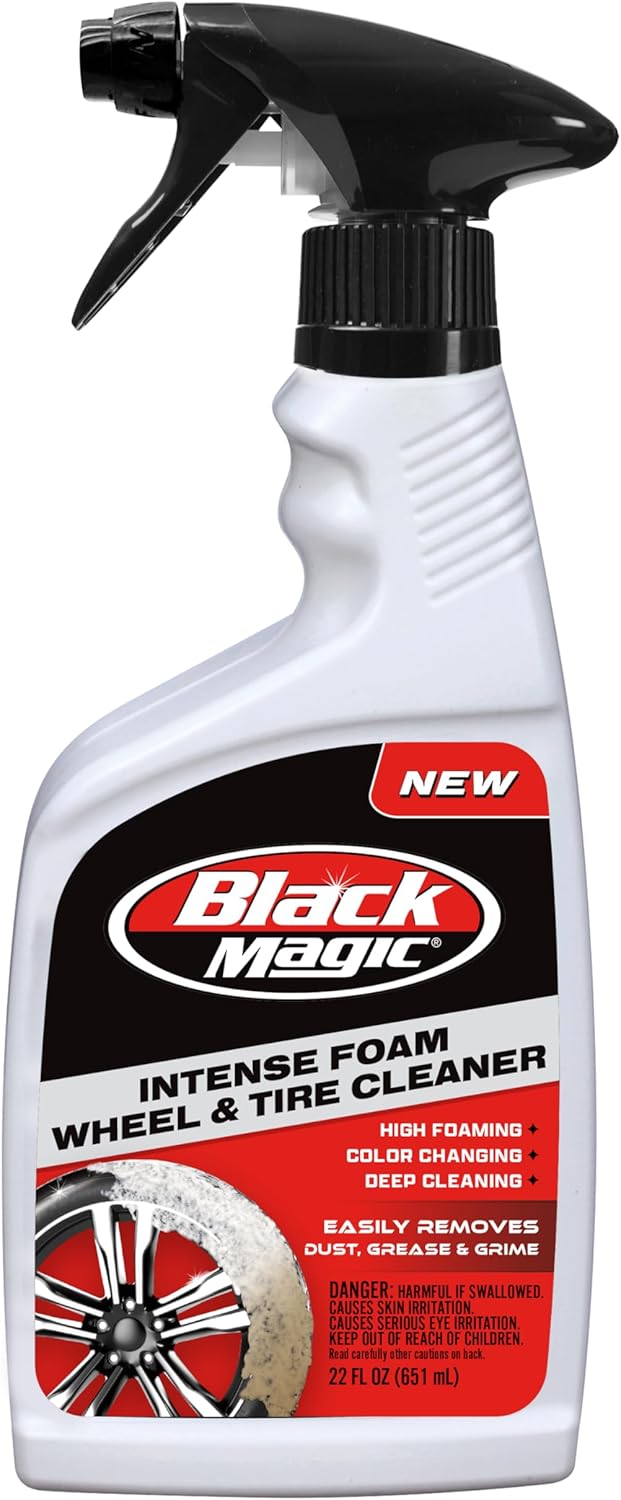
Black Magic Intense Foam Wheel & Tire Cleaner uses a high-foaming action to lift away dirt, grime, and brake dust without scrubbing. The color-changing formula helps show contaminants being dissolved as foam turns from white to brown. Safe for all wheel types and even wheel wells, it leaves a like-new, slick finish with a fresh cherry scent.

Turtle Wax Hybrid Solutions Hyper Foam Wheel and Tire Cleaner uses an advanced high-foaming formula that clings to wheels and tires to dissolve tough road grime, embedded brake dust, and light iron deposits. It helps restore black tires while prepping surfaces for tire shine or protective coatings. The pH-balanced cleaner is safe for all wheel finishes and includes corrosion-repellent polymers that reduce future contaminant build-up.
Sand or Scuff the Existing Finish
Scuffing removes gloss and gives the new coating a properly prepared surface. Use sanding blocks, suitable sandpaper, or a Scotch-Brite-style abrasive pad as appropriate for the finish.
Clean first, then sand or scuff the finish evenly so the coating has a consistent surface to grip.
Do not choose an aggressive grit simply because it removes material faster. Follow your paint system’s directions. Dupli-Color’s current Wheel Paint directions, for example, specify light sanding with 600-grit sandpaper for its product.
After sanding, inspect the wheel under good light. Any glossy areas you intend to paint should be scuffed consistently. Wipe away sanding residue with a lint-free towel and the cleaner approved for the coating system.
Repair Chips, Rust, and Minor Curb Rash
Feather the edges of chipped or peeling paint until the surrounding coating is firmly attached. Remove loose rust from steel wheels and treat the exposed area according to the primer or coating manufacturer’s instructions.
Minor cosmetic curb rash can be smoothed carefully if it does not affect wheel structure. If you use a repair filler, choose one intended for the substrate and follow its curing and sanding instructions before priming.
Decide Whether You Need Primer
Primer is useful on exposed metal, repaired areas, corrosion-treated spots, or whenever the chosen paint system requires it. It is not automatically necessary over every intact factory coating.
A stable existing finish may only need thorough cleaning and the specified sanding procedure before wheel paint. Follow the technical directions for the exact primer and color coat you are using rather than mixing unrelated products.
Mask Tires and Wheel Hardware
Once the wheel is clean, dry, repaired, and ready for coating, mask every area that should remain unpainted.
- Cover the tire with masking film, paper, or a trash bag.
- Run painter’s tape carefully around the tire-to-rim edge. Playing cards or thin cardboard can help create a temporary shield around the bead area.
- Protect the valve stem and exposed TPMS-related hardware.
- Keep paint off lug threads, studs, and lug-nut seating surfaces.
- Keep the wheel-to-hub mating surface clean and free of unnecessary paint buildup.
- Never spray the brake rotor’s friction surface.
- If the wheel remains on the vehicle, completely shield the brake assembly, suspension, and bodywork from overspray.
Press tape firmly into contours around spokes and the rim edge. Inspect the wheel from several angles before spraying because a small unmasked gap can create visible overspray.
Clean wheel-mounting surfaces matter when the wheel is reinstalled. Wheel manufacturers such as Alcoa emphasize that the wheel must fit flush against a clean hub mounting surface.
Pro Tip: Mask before the final surface wipe so you can inspect every paint boundary closely. After masking, lightly clean the paintable surface again with the coating-approved prep product and avoid touching it with bare fingers.
Choose Compatible Primer, Paint, and Clear Coat
The safest way to avoid wrinkling, lifting, poor adhesion, or delayed curing is to use coatings that are confirmed to work together.
Choose a wheel paint approved for your wheel’s material and existing finish. Dedicated products are available for aluminum and steel wheels. Rust-Oleum and Dupli-Color, for example, publish wheel-specific coating systems.
If you plan to use clear coat, confirm that the clear is compatible with the color coat and that you apply it inside the required recoat window. A matched system from one manufacturer can make compatibility easier to verify, but the important factor is the technical specification—not the brand name alone.
[Products Worth Considering]

This oesee 8-piece wheel care kit helps you clean, scrub, and dry wheels safely with purpose-built brushes and towels. The scratch-free microfiber wheel brush lifts brake dust and grime, while the stiff pro-grip tire brush removes tire browning and embedded dirt. A twist loop microfiber drying towel and an applicator help achieve a streak-free finish and cleaner, more even product application.

This professional wheel and rim brush kit makes it easy to lift brake dust, grime, and dirt from wheels and tires without scratching finishes. The brushes feature soft, metal-free wool heads and a flexible 360-degree rim brush design for reaching hard-to-clean areas. Includes multiple brush types plus accessories for thorough car, motorcycle, and general vehicle detailing.

These M14x1.5 closed-end chrome lug nuts are a one-piece replacement designed for secure fitment on compatible GM, Ford, and select Chrysler/Dodge models. Featuring a 60-degree conical seat and anti-rust chrome plating, they help resist corrosion and maintain a bright look for everyday driving. Built for long-term durability, they include OEM-style part references and are backed by 12 months of support.
Prime and Paint Your Wheels
Set the wheel in a stable position where you can reach the face, spokes, edges, and any barrel area you intend to coat without touching wet paint.
1. Check Application Conditions
Temperature and humidity affect atomization, flash time, leveling, and curing. Read the label before you start. For example, Dupli-Color currently specifies using its Wheel Paint between 60°F and 95°F (16°C and 35°C) when humidity is low. Other products may specify different conditions.
2. Apply Primer If Required
If you have exposed metal, repaired spots, or a coating system that requires primer, apply the correct primer in controlled coats. Keep the can moving and follow its required spray distance and drying or recoat times.
Do not assume the primer must be completely cured for hours before color. Some systems require color within a defined wet-on-wet or recoat window, while others require drying and sanding. The product instructions control this step.
3. Apply Wheel Paint
Shake the paint for the full time stated on the label. Spray the difficult recesses and spoke edges first, then finish with broader passes across the face.
- Keep the can moving before and after each pass.
- Maintain a consistent distance from the wheel.
- Overlap adjacent passes enough to avoid striping.
- Use controlled coats rather than trying to achieve full coverage immediately.
- Respect the flash time between coats.
- Do not miss the manufacturer’s recoat window.
Exact spray technique varies by product. As one example, Dupli-Color Wheel Paint currently specifies holding the can 8–10 inches from the surface, applying three light coats followed by one medium wet coat, and allowing 10 minutes between coats within its stated recoat window. Treat those numbers as instructions for that product, not a universal rule for every wheel paint.
The coating label—not a generic internet drying time—should control spray distance, coat count, flash time, and recoat timing.
Apply Clear Coat for Protection
Once the color coat reaches the stage specified by the manufacturer, apply a compatible clear coat if your paint system calls for one. Clear can add gloss or preserve a satin/matte appearance while improving resistance to weather and everyday contamination.
Apply controlled, overlapping coats according to the clear-coat directions. For example, Rust-Oleum High Performance Wheel Clear Coat is specifically recommended over its High Performance Wheel Coatings and calls for two or more light coats a few minutes apart.
A Safety Note About 2K Clear Coat
Two-component automotive clears can offer strong chemical, abrasion, and weather resistance. SprayMax, for example, describes those performance benefits for its 2K clear.
However, do not treat 2K automotive coatings as ordinary household aerosol paint. Some automotive polyurethane coatings involve isocyanate exposure hazards. OSHA’s isocyanate guidance and autobody refinishing guidance describe the respiratory and chemical risks associated with these materials.
For a typical home DIY project, a compatible wheel-specific 1K clear is the simpler option. If you are considering a 2K product, read its current SDS before buying it and use only the ventilation and respiratory-protection system specified for that material. A disposable dust mask is not adequate protection for hazardous paint vapors.
Let the Wheel Paint Cure
Do not use a universal “24-hour rule.” Paint systems have separate definitions for flash time, touch-dry time, handling time, recoating time, and full cure.
For example, Dupli-Color currently lists approximately 30 minutes to touch and one hour to handle for its Wheel Paint under specified conditions, while its recoat instructions contain their own timing window. SprayMax’s 2K products publish different flash and drying schedules. Temperature, humidity, film thickness, and the coating system can also change the real-world result.
Leave the wheel undisturbed until the final coating can be safely handled according to its instructions. If the label specifies a longer full-cure period before service, washing, polishing, chemical exposure, or road use, follow that requirement.
Reinstall the Painted Wheels
After the coating is safe to handle, remove the masking carefully. Check that the following areas remain clean:
- Wheel-to-hub mating surface
- Lug-nut seats
- Studs and threads
- Center bore or hub-contact area where required
- Valve stem and valve hardware
Mount the wheel using the vehicle or wheel manufacturer’s procedure. Start lug nuts by hand, use the specified tightening sequence, and finish with a calibrated torque wrench set to the manufacturer’s torque value.
Do not guess at wheel torque. Correct clamping force is part of safe wheel installation.
Wheel Painting Mistakes to Avoid
Even a careful-looking wheel paint job can fail if the preparation or coating sequence is wrong.
Clean thoroughly, create the surface profile required by the paint, use compatible coatings, and respect every flash and recoat window.
- Painting over brake dust or silicone: Contamination can cause weak adhesion, fisheyes, or peeling.
- Skipping sanding when the coating calls for it: Glossy existing paint may not provide the surface required for adhesion.
- Using primer everywhere by default: Unnecessary or incompatible primer can create another layer that may fail.
- Mixing incompatible products: Some primers, basecoats, and clears can wrinkle, soften, or lift each other.
- Applying heavy coats: Excess material increases the risk of runs, solvent trapping, slow curing, and uneven texture.
- Ignoring temperature and humidity: Conditions outside the coating’s stated range can affect finish and cure.
- Painting mounting or braking surfaces: Keep functional contact and friction areas free of cosmetic coatings.
- Handling the wheel too soon: A coating may feel dry on top while still being soft enough to mark underneath.
- Using 2K clear without understanding the SDS: High-performance coatings can require much stricter exposure controls than ordinary DIY aerosols.
Troubleshoot Common Wheel Paint Problems
Paint Runs or Sags
Runs usually mean too much material was applied at once, the can was held too close, or the pass was too slow. Let the coating dry according to its instructions before attempting to level or recoat it. Do not wipe wet paint because that usually enlarges the defect.
Rough, Dry, or Sandy Finish
A dry-looking finish can come from holding the can too far away, poor temperature conditions, or allowing too much material to dry before it reaches the surface. Check the product’s recommended distance and application range.
Fisheyes or Small Craters
These often point to surface contamination such as silicone, oil, wax, or grease. Stop adding heavy coats to hide the problem. Let the coating reach the appropriate repair stage, clean the surface correctly, and follow the coating manufacturer’s repair procedure.
Paint Peels or Lifts
Peeling commonly points to poor preparation, loose underlying paint, contamination, or incompatible products. If the foundation is failing, adding more clear coat will not repair the adhesion problem.
Color or Gloss Looks Uneven
Uneven overlap, inconsistent spray distance, insufficient shaking, or different film thickness can create patchy color or gloss. Apply later coats using smooth, consistent passes while staying inside the product’s recoat window.
Care for Newly Painted Wheels
Once the coating has fully cured, wash the wheels with products that are safe for the paint system. Avoid harsh wheel acids, aggressive solvents, abrasive brushes, or polishing compounds unless the coating manufacturer says they are suitable.
Remove brake dust regularly instead of allowing it to remain on the finish for long periods. When using a pressure washer, avoid concentrating the nozzle at chips, damaged edges, valve hardware, or freshly repaired areas.
Frequently Asked Questions
How do I paint a car wheel step by step?
Remove and clean the wheel, inspect for structural damage, sand or scuff the existing finish, repair cosmetic defects, mask the tire and functional surfaces, apply compatible primer if required, spray wheel paint in the specified coats, add compatible clear if the system calls for it, let the coating cure, then reinstall the wheel using the manufacturer’s torque procedure.
What kind of paint should I use on rims?
Use a wheel-specific automotive coating that is approved for your wheel material and compatible with the existing finish. Products are available for aluminum and steel wheels. Primer and clear coat should also be compatible with the chosen system. Professional powder coating is a separate refinishing process rather than simply another type of aerosol paint.
Can I paint my wheels myself?
Yes, if the wheels have cosmetic finish damage rather than cracks, major bends, severe corrosion, or other structural problems. A DIY job also requires a suitable spraying area, correct PPE, safe vehicle support if the wheels are removed, careful surface preparation, and enough curing time before the wheels return to service.
Do I need to sand my rims before painting?
Usually, an intact glossy finish needs to be cleaned and scuffed to the degree specified by the paint manufacturer. The required abrasive varies by product. Dupli-Color Wheel Paint, for example, currently specifies light sanding with 600-grit paper. Follow the exact coating instructions rather than assuming one grit works for every finish.
Do I need primer before painting wheels?
Not always. Primer is commonly needed on exposed metal, repaired areas, corrosion-treated spots, or when the selected coating system requires it. An intact factory finish may only require cleaning and sanding. Check the wheel-paint instructions before adding an extra primer layer.
Can I paint wheels without removing the tires?
Yes. You can leave the tire mounted on the rim and mask the tire, bead edge, and valve area carefully. Removing the entire wheel from the vehicle is still preferable because it improves access and makes it much easier to prevent overspray on the brakes and suspension.
How long should wheel paint dry before driving?
There is no single drying time for every wheel paint. Touch-dry, handling, recoating, and full-cure times differ by product and conditions. Follow the final color or clear coat’s current label or technical data sheet and do not put the wheel back into normal road service before the coating reaches the stage required by that manufacturer.
Conclusion
Painting your wheels at home can produce a clean, durable-looking finish when you treat preparation and curing as seriously as the spraying itself. Clean every surface thoroughly, repair only cosmetic defects, scuff the existing finish correctly, mask functional wheel and brake areas, and use a compatible primer, wheel paint, and clear-coat system. Most importantly, follow the exact product instructions instead of relying on universal coat counts or drying times. Take your time through each stage and the finished wheels will look more even and be far less likely to peel, run, or need an early repaint.
Sources
- Dupli-Color Wheel Paint — supports wheel-material compatibility, surface preparation, sanding, spray distance, coat timing, drying, and application-condition guidance.
- Rust-Oleum High Performance Wheel Clear Coat — supports use of a compatible wheel clear and light-coat application.
- SprayMax 2K Clear Coat High Gloss — supports 2K performance, flash-time, and drying information.
- OSHA: Autobody Repair and Refinishing — Hazards and Solutions — supports spray-painting chemical-hazard and exposure-control guidance.
- OSHA: Isocyanates — supports the caution concerning isocyanate exposure in painting operations.
- Alcoa Wheels Service Manual and Fitment Guidance — supports keeping wheel and hub mounting surfaces clean and properly seated.

