
How to Fix a Slow Leak in a Tire on a Tundra: Bead, Valve, and Puncture
To fix a slow tire leak in your Tundra, start by checking for punctures or debris and inspect the valve stem for damage. For bead leaks, clean the area and apply soapy water; bubbles indicate a leak. Replace any faulty valve stems and make certain they’re properly sealed. If you find a puncture, clean it and insert a plug. Regular maintenance and monitoring can prevent future leaks, and there’s more to discover about keeping your tires in top shape.
Common Causes of Slow Tire Leaks in Tundra Vehicles
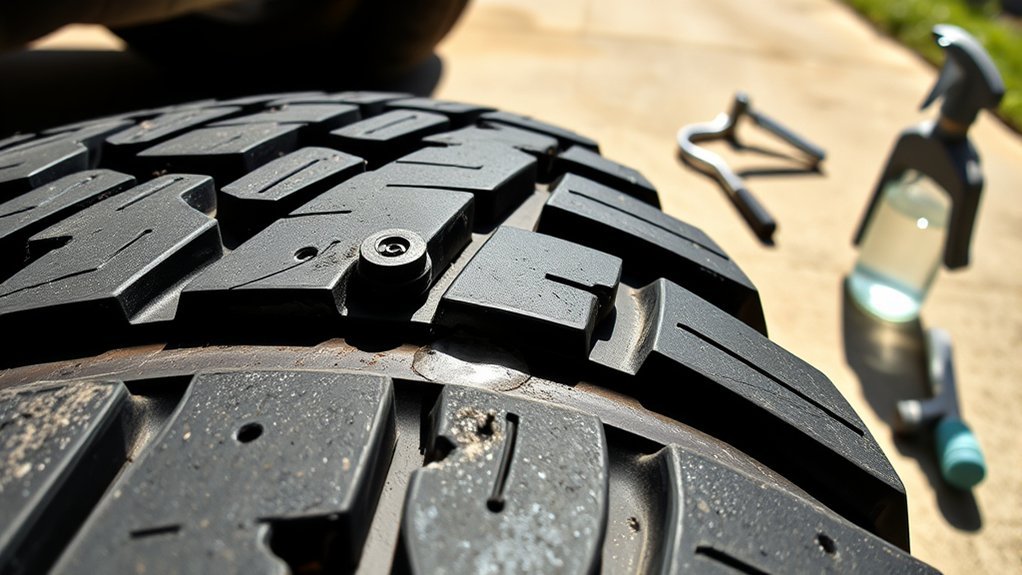
Slow tire leaks in Tundra vehicles can stem from several common issues that may not be immediately obvious. Tiny punctures from road debris, like nails or screws, can create slow leaks that are difficult to spot without thorough leak detection. Additionally, damaged valve stems often lead to gradual air loss, emphasizing the importance of regular tire maintenance. Bead seat leaks can occur due to bent or corroded wheels, compromising the seal between the tire and rim. Sidewall damage, including cracks or bulges, may also contribute to slow leaks and could necessitate tire replacement for your safety. Environmental factors, such as extreme temperature fluctuations, can exacerbate tire deterioration, increasing the likelihood of these slow leaks. Regular inspections can help you catch these issues early, ensuring your Tundra remains safe and efficient on the road.
Symptoms of a Slow Tire Leak
A slow tire leak often shows clear symptoms that you shouldn’t ignore. You might notice a consistent drop in tire pressure, typically around 10-15 PSI overnight, along with uneven wear patterns on the tire. Additionally, vibrations while driving can indicate deeper issues, so it’s essential to monitor these signs closely.
Common Symptoms Noted
Have you noticed your tire pressure dropping consistently? This drop, typically around 10-15 PSI overnight, is a key sign of a slow tire leak. You might also observe uneven tire wear patterns, where areas with lower air pressure deteriorate faster. If you’re frequently refilling your tires every few days or weeks, that’s another red flag. You can further investigate by applying soapy water to the tire; visible bubbling indicates escaping air and helps pinpoint the leak’s source. Finally, if you feel vibrations or shaking while driving, this loss of tire integrity is often related to a slow leak. Regular tire maintenance is essential to guarantee safety and performance on the road.
Pressure Drop Patterns
When observing tire pressure, consistent drop patterns can reveal critical issues, particularly if you notice a loss of 10-15 PSI overnight. This drop often indicates a slow leak, warranting immediate leak detection. You’ll want to monitor how frequently you need to refill air, as frequent refills suggest underlying problems.
| Observation | Symptoms | Possible Cause |
|---|---|---|
| 10-15 PSI drop overnight | Need for constant refills | Slow puncture or bead issue |
| Uneven tire wear | Bald spots on tires | Compromised tire integrity |
| Vibration while driving | Shaking at normal speeds | Air loss from leak |
Understanding these patterns helps you proactively address tire issues, ensuring safe and efficient driving.
Diagnosing Slow Tire Leaks in Your Tire
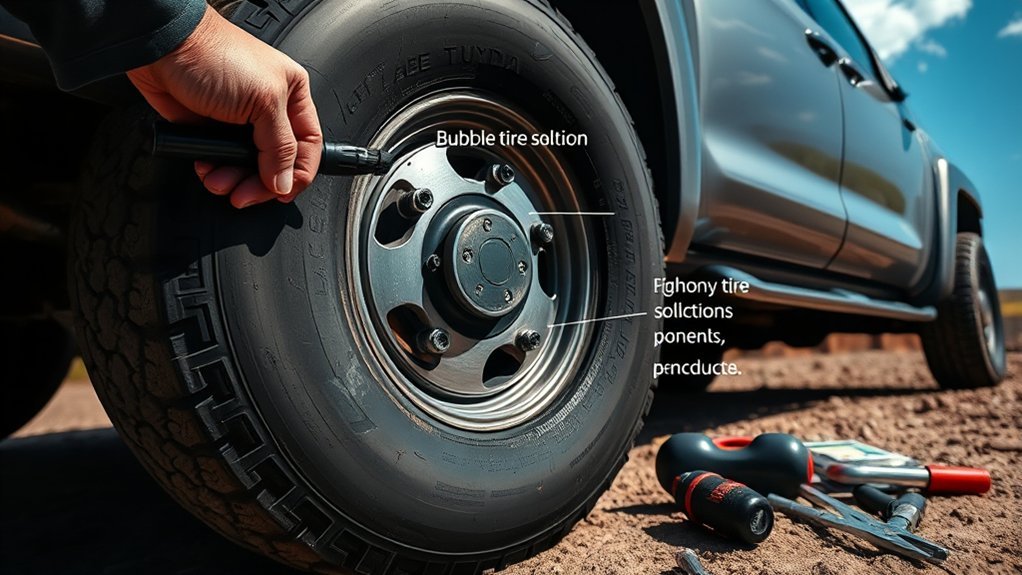
How can you tell if your tire has a slow leak? Start by regularly monitoring tire pressure; a consistent drop of 10-15 PSI overnight often signals a slow leak. Inspect your tire for visible punctures, foreign objects, or uneven wear patterns, as these can indicate leak sources. For effective leak detection, apply a soapy water solution to the tire’s surface. If you see bubbles forming at the bead or any other area, air is escaping. Don’t overlook the valve stem; corrosion or damage here is a common culprit for slow leaks. If you still can’t locate the issue, consider seeking professional help, as unmounted tires may require submersion in water for thorough inspection. Prioritizing tire maintenance not only enhances safety but also prolongs tire life, ensuring that you stay liberated on the road without unexpected interruptions.
How to Fix Bead Leaks: A Step-by-Step Guide
Locating a slow leak can often lead you to the bead area of your tire, where the tire meets the rim. Start by cleaning the bead and rim thoroughly to eliminate any debris or corrosion that could hinder sealing. Next, inflate the tire and apply a soapy water solution around the bead. Look for bubbles forming, which indicate the exact leak location.
Once you’ve confirmed a leak, consider using a bead sealant. Apply it to the rim before re-mounting the tire. After mounting, inflate the tire to the recommended PSI and check for any gaps between the tire bead and rim. This guarantees a secure fit. If the leak persists, it may be necessary to consult a professional to assess for rim damage or consider replacing the tire. Employing these sealing techniques can help restore your tire’s integrity effectively.
Fixing Valve Stem Problems
When addressing slow leaks, valve stem problems can often be a key culprit. You should inspect the valve stem for corrosion or cracks, which may lead to air loss. Understanding common issues and knowing how to replace or maintain the valve stem can enhance tire performance and longevity.
Common Valve Stem Issues
As valve stems age, they can corrode or sustain damage, leading to slow leaks that compromise tire pressure. A common symptom of a faulty valve stem is a consistent drop in tire pressure, which often worsens with temperature changes or humidity. Conducting a thorough valve stem inspection is essential; look for debris, cracks, or signs of valve stem corrosion. These issues can indicate potential air loss before any repairs are attempted. Regular maintenance, including cleaning and ensuring a proper seal, can prevent slow leaks and extend your tires’ lifespan. If you find significant damage, it may be best to seek professional help to replace the valve stem and restore peak tire performance.
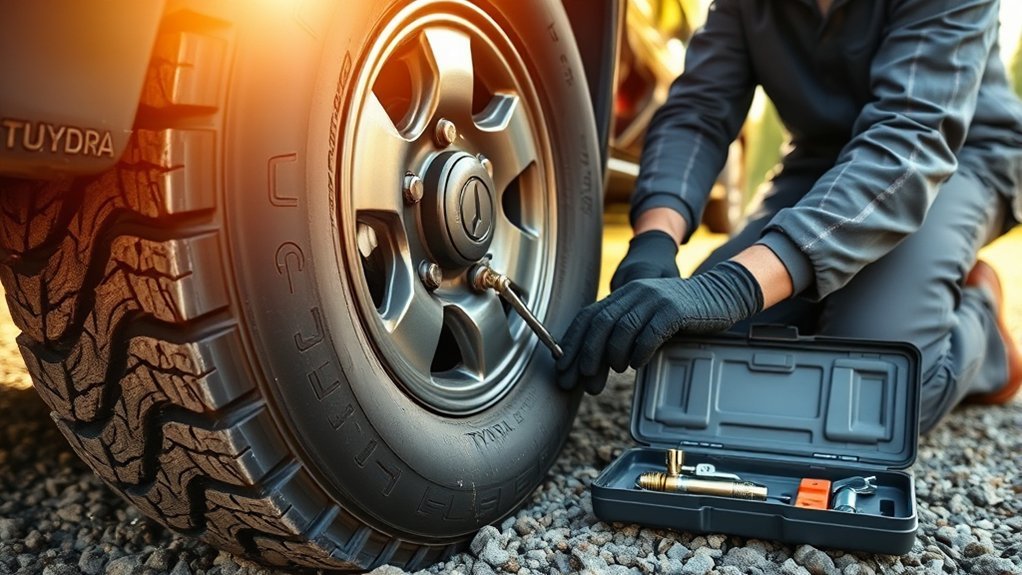
Replacement Procedure Steps
To replace a faulty valve stem, you’ll need to follow a precise procedure to guarantee a proper seal and restore tire pressure. First, safely lift your Tundra and remove the tire from the wheel assembly. Verify the tire is deflated, then use a valve stem removal tool to unscrew the old stem. Clean the valve stem hole thoroughly to eliminate debris and corrosion, as these can compromise the seal during valve stem installation. Insert the new valve stem snugly into the hole and tighten it securely with the tool. Finally, reinflate the tire to the recommended pressure and check for leaks with a soapy water solution at the valve stem area—essential tire maintenance tips for peak performance.
Maintenance Tips for Longevity
After successfully replacing a faulty valve stem, maintaining its integrity is essential for long-term tire performance. Regular inspections can prevent issues. Here’s a quick guide to help you out:
| Maintenance Task | Frequency | Purpose |
|---|---|---|
| Inspect valve stem | Monthly | Check for corrosion/cracks |
| Replace valve stem cap | Every tire change | Keep dirt/moisture out |
| Perform tire rotation | Every 5,000 miles | Guarantee even wear |
| Conduct seasonal checks | Season change | Detect potential leaks |
Utilize a tire pressure monitoring system (TPMS) to catch drops in pressure early. Always apply soapy water during inspections; bubbles indicate leaks. By following these steps, you’re guaranteeing your tires—and your freedom—last longer.
Repairing Tire Punctures: DIY Methods and When to Seek Professional Help
When you notice a slow leak in your tire, addressing it promptly can save you from more extensive damage and costly repairs. Here’s how to tackle tire puncture repair using DIY repair techniques effectively:
- Assess the Damage: Verify the hole is no larger than ¼ inch. If it is, seek professional help, especially for sidewall punctures.
- Prepare the Hole: Use a reamer from your tire plug kit to clean the puncture, guaranteeing proper adhesion of the plug.
- Insert the Plug: Use the plug insertion tool to seal the puncture from the inside.
After plugging, check for leaks with a soapy water solution; bubbles will indicate escaping air. If you encounter difficulties or the damage exceeds your skills, don’t hesitate to consult a professional. Your safety and the longevity of your tire depend on it.
Preventing Future Tire Leaks: Maintenance Tips
Addressing slow leaks is just one part of tire maintenance; preventing them is equally important. Regularly inspect your tires for visible damage, such as cracks or punctures, and check for uneven tread wear. Catching potential leaks early is essential. Maintain proper tire pressure according to manufacturer recommendations; even a loss of 1 PSI per month can lead to significant air loss and diminished performance.
Rotate your tires every 5,000 miles to guarantee even wear, which reduces the risk of slow leaks from uneven tread degradation. Additionally, schedule annual alignment checks to keep your vehicle performing at peak efficiency, minimizing the chances of damage that could lead to leaks. Don’t forget to clean and inspect valve stems for corrosion or debris, as damaged stems can often be a common source of slow leaks. Stay proactive, and your tires will thank you.
Frequently Asked Questions
Can I Use Regular Glue for Tire Repairs?
You can’t use regular glue for tire repairs. Tire repair methods require specialized adhesive options designed to withstand pressure and temperature. Using improper adhesives can lead to failure, compromising safety and performance on the road.
How Often Should I Check My Tire Pressure?
You should check your tire pressure at least once a month and before long trips. Regular pressure monitoring is essential for effective tire maintenance, ensuring ideal performance, safety, and fuel efficiency for your vehicle.
What Tools Do I Need for a DIY Repair?
You’ll need a tire lever, patch kit, air compressor, and valve tool. These essential tools empower your tire maintenance, ensuring you’re ready to implement effective repair techniques whenever a leak threatens your journey.
Is It Safe to Drive With a Slow Leak?
It’s not safe to drive with a slow leak. Tire safety is compromised as leaks can worsen, leading to blowouts. Identify leak causes promptly and address them to guarantee your vehicle’s stability and your safety.
How Long Does a Tire Repair Usually Last?
Think of a tire repair like a patch on a sail; done right, it can last several years. Tire longevity depends on repair techniques, but regular checks guarantee your journey remains smooth and safe.
Conclusion
In summary, addressing a slow tire leak in your Tundra is essential for safety and performance. Did you know that nearly 25% of drivers experience tire issues each year? By diagnosing and repairing bead leaks, valve stem problems, and punctures, you can enhance your vehicle’s lifespan and fuel efficiency. Regular maintenance and timely repairs not only save you money but also guarantee a smoother ride, keeping you and your passengers safe on the road.
Related Articles

When Is a Tire Too Old to Use Safely? The DOT Age Rule for Trucks
How can you tell if your truck's tires are too old for safe use? Discover the critical DOT age rule that every truck owner must know.
Read More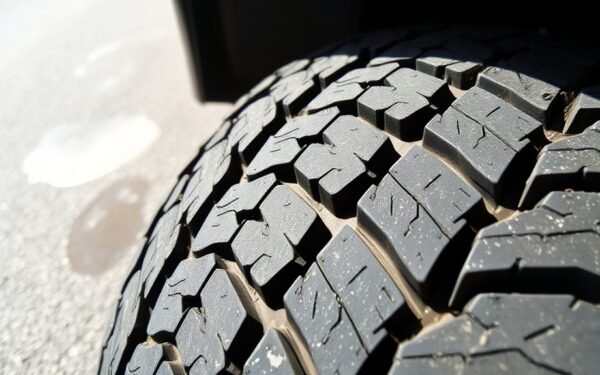
What Causes Premature Tire Wear on a Toyota Tundra? 8 Common Reasons
How does improper tire pressure and misalignment lead to premature tire wear on your Toyota Tundra? Discover the surprising reasons behind this issue.
Read More
Can You Drive on a Plugged Tire Long Term? Risks and Guidelines
Get the facts on driving with a plugged tire long-term—understanding the risks and guidelines could save you from a dangerous blowout.
Read More