
How to Vulcanize a Tire: Complete Cold & Hot Repair Guide
You can vulcanize a tire by choosing cold vulcanizing for small punctures and hot vulcanizing for larger damage. First, clean, trim, and buff the repair area so the patch bonds well. Then apply cold vulcanizing fluid in a thin, even coat and let it flash off, or use heat and pressure at 250°F to 300°F in a vulcanizing press. After curing, check for leaks with soapy water, and you’ll see the full repair process next.
Key Takeaways
- Choose cold vulcanizing for small punctures and hot vulcanizing for larger damage requiring heat and pressure.
- Clean, trim, and buff the damaged tire area to remove debris and create a rough bonding surface.
- Apply cold vulcanizing fluid evenly, then let it flash off before placing the patch or repair unit.
- For hot vulcanizing, use a heated mold or machine at 250°F to 300°F with steady pressure for proper bonding.
- Let the repair cure fully, then test for leaks with soap water and verify tire pressure before returning it to service.
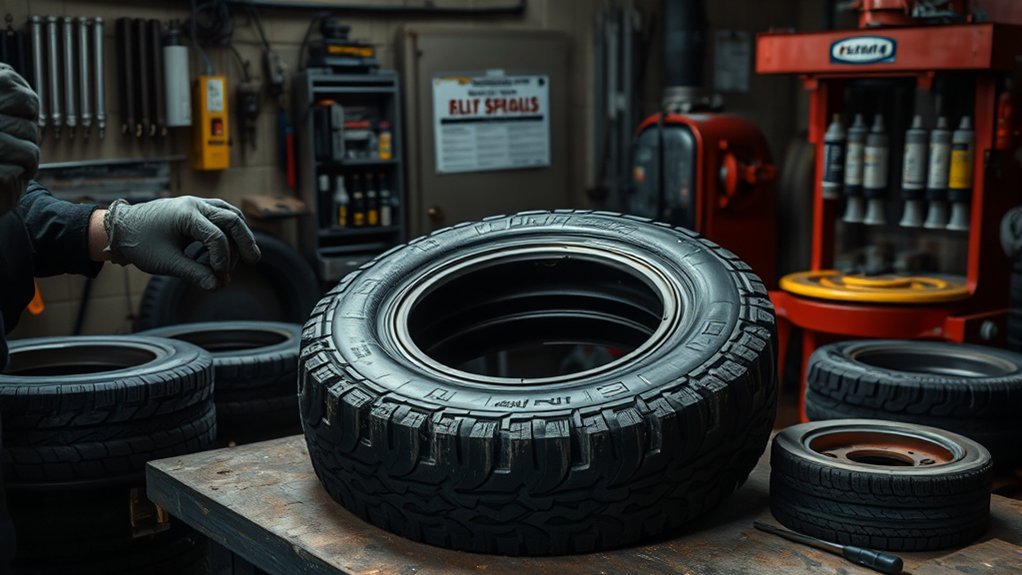
Choose the Right Vulcanizing Method
Before you start the repair, choose the vulcanizing method that matches the damage: use cold vulcanizing for small punctures and surface repairs, since it uses vulcanizing fluid to form a permanent bond between the patch and the tire, or use hot vulcanizing for larger damage when you need heat and pressure to restore stronger structural integrity. In the vulcanizing process, you’ll match the method to the injury, not guess. Use A-B rubber compounds for cold repairs, and select a patch sized to the manufacturer’s specification for your proper tire. If you need maximum durability, choose hot vulcanizing, but set the correct temperature and pressure so the rubber cures fully. Keep your workspace clean and dry, because cold or humid conditions can weaken adhesion. When you choose correctly, you protect your tire, reclaim control, and move toward a repair that lasts. Additionally, understanding tire performance characteristics can help you select the most appropriate repair method for your specific situation.
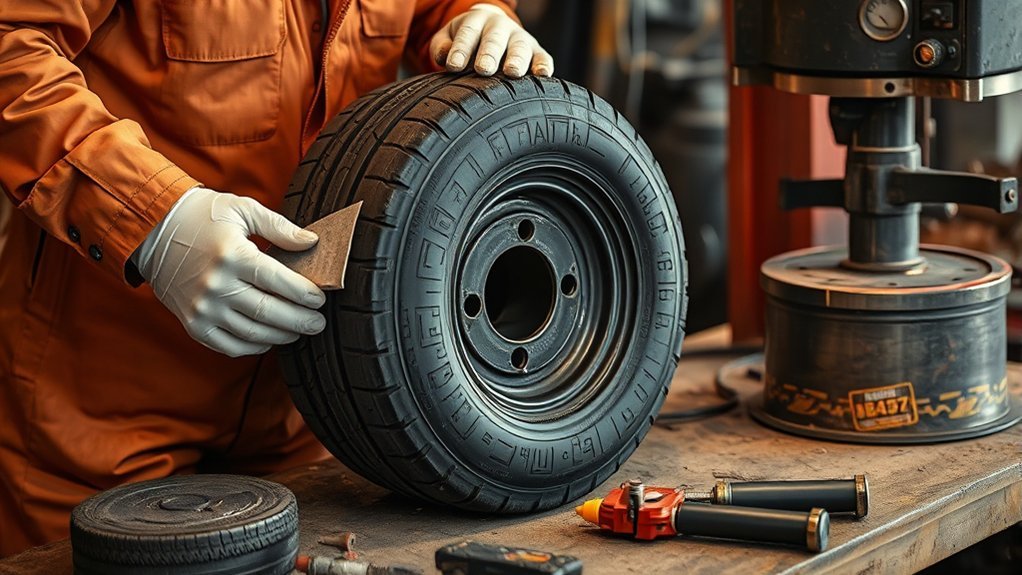
Prepare the Tire for Vulcanizing
Clean the tire surface thoroughly to remove dirt, debris, and moisture that can interfere with adhesion. Use an air hose to blow away loose particles, then check to see that the area is dry before you move forward. A clean, controlled surface gives you the freedom to make a durable repair without compromise.
Clean the tire surface thoroughly, ensuring it’s dry and free of debris for lasting adhesion.
- Trim away loose rubber around the damage.
- Buff the repaired zone with a die grinder or buffing stone.
- Roughen the surface so the patch can grip securely.
- Select a patch that’s at least three times the cut length.
Work evenly and keep the repair area centered. Don’t over-buff; you want texture, not structural loss. If the damage edges stay ragged, continue shaping until they’re stable and uniform. Match the patch to the injury size so you seal the defect fully and efficiently. Additionally, ensure that the tire’s tread depth is adequate to support safe driving once repaired. Once the surface is prepared, you’re ready for the next repair step.
Apply the Cold Vulcanizing Fluid
With the tire surface prepped and dry, you can now coat the repair area with cold vulcanizing fluid. Use a cap-mounted brush and apply a generous layer in a circular motion to guarantee uniform coverage across every exposed surface. Keep the area clean and free of debris; even minor contamination can weaken adhesion and compromise the repair. Work in a well-ventilated space so you don’t inhale concentrated fumes while you’re applying the compound. Let the fluid flash off fully before you move on—most standard formulas need 3 to 5 minutes, while heavy-duty products can require up to 10. Don’t rush this step or touch the surface while it’s still wet, because a premature bond can fail. When the fluid reaches the proper tack, you’re ready to position the repair unit and Cushion Gum for a controlled, lasting vulcanized seal. Additionally, ensure you have the right valve type and measure valve opening to avoid complications during the repair process.
Heat-Vulcanize the Tire
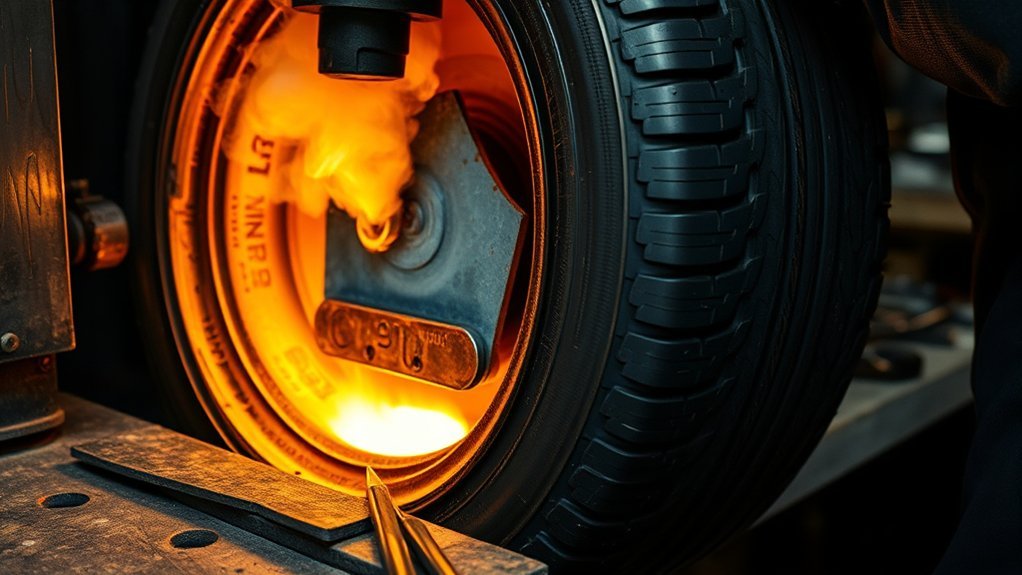
Set the tire in a vulcanizing machine or heated mold and apply steady heat and pressure so the rubber compound can bond and cure properly. During heat-vulcanizing, keep the repair zone clean, buffed, and dry so the adhesive and rubber fuse without contamination. Hold the assembly at 250°F to 300°F for the specified cycle, since that temperature range drives reliable curing.
Hold the repair at 250°F to 300°F so heat and pressure cure the rubber cleanly and reliably.
- Center the damaged area in the mold.
- Verify even pressure across the patch.
- Match the cycle time to tire size.
- Use one time, continuous heat for consistency.
You’ll often need 30 minutes to several hours, depending on the tire and damage depth. Use the machine’s controls to maintain uniform thermal contact, and don’t interrupt the cycle unless the equipment requires adjustment. This controlled process gives you a strong, durable repair and lets you move with confidence, free from unnecessary compromise. Additionally, understanding the foam-filled tire benefits can help you assess if vulcanization is the best repair method for your specific needs.
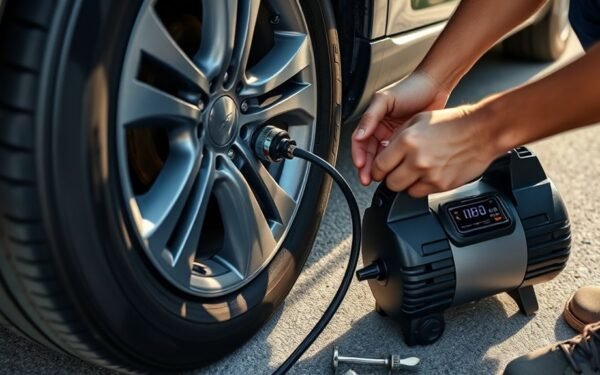
Let It Cure, Then Test for Leaks
Once you’ve applied the vulcanizing patch, let the tire cure in a heated environment for the recommended time, typically about 12 hours, so the bond can reach full strength. Don’t inflate it early; you’ll weaken the repair and risk failure. After curing, inspect the patched zone with a soap and water solution. Brush it over the repair and watch closely for bubbles. Any bubbling means the seal’s compromised, and you need to repeat the process. If the leak seems minor, probe the area with a small pin from the inside to help locate the edge of the flaw, then recheck the surface prep and vulcanizing fluid coverage. Next, inflate the tire to the recommended PSI and let it sit for a few hours. Monitor pressure loss carefully. If pressure drops, the patch didn’t bond correctly. Rework it now, not later, so your tire can return to service safely and independently. Additionally, ensuring proper treadwear ratings can help you choose the right replacement tires when needed.
Frequently Asked Questions
How Many Minutes to Vulcanize a Tire?
You’ll usually need 3 to 10 minutes for the vulcanization process during tire repair, depending on the fluid you use. TECH 760 sets in 3 to 5 minutes, while 10 VOLK needs 8 to 10 minutes. You should add more time in cold or humid conditions, and you shouldn’t use fans or air hoses to rush drying. Follow the manufacturer’s directions closely for a strong, lasting bond.
How to Vulcanise Rubber at Home?
Mix equal parts of a two-part self-vulcanizing rubber at home, and you’ll see a seam turn steadfast. Clean and buff the surface first so the rubber properties can bond properly. Brush on vulcanizing fluid evenly, wait 3–10 minutes, then press a matching patch firmly to expel air pockets. Use precise DIY techniques, and store materials in a cool, dark place to keep them ready for your next repair.
What Is Cold Vulcanizing Fluid?
Cold vulcanizing fluid’s a chemical bonding agent you use to fuse rubber during repairs. You apply it to cleaned tire surfaces, and it reacts with cushion gum to create an air- and moisture-proof seal. For cold vulcanizing applications, you’ll brush it on evenly, then let it dry 3 to 10 minutes. This is one of the vulcanizing process essentials, giving you a durable, chemical-resistant repair that keeps you moving.
Can You Vulcanize Tires?
Yes, you can vulcanize tires, you can restore seals, and you can extend tire durability. You’ll use the vulcanization process to bond rubber, repair punctures, and reinforce damaged areas. For small holes, apply cold vulcanizing fluid; for larger damage, use hot vulcanizing in a shop. You must clean, prep, and dry the surface carefully, or the bond won’t hold.
Conclusion
You’ve now got the basics to vulcanize a tire safely and effectively. Choose the right method, prep the damaged area, apply cold vulcanizing fluid or controlled heat, then let the repair cure fully. Don’t rush this step; proper bonding is the backbone of a lasting fix. Once cured, test the tire for leaks before you put it back in service. A careful repair is like stitching a wound: precise, steady, and built to hold.
Related Articles
How to Use a Tire Air Compressor: Quick Guide for Proper Inflation
Before you inflate, learn the simple steps that can save your tires—and discover the one mistake most drivers make.
Read More
How to Seal a Tire: Repair Methods From Plugs to Sealants
When should you use a plug, patch, or sealant to seal a tire safely?
Read More
How to Reseal a Tire Bead: Step-by-Step Fix for Leaking Beads
Fix a leaking tire bead fast with these simple steps, but there’s one critical detail that could make the repair finally hold.
Read More