
How to Mount and Dismount Truck Tires at Home: Tools and Technique
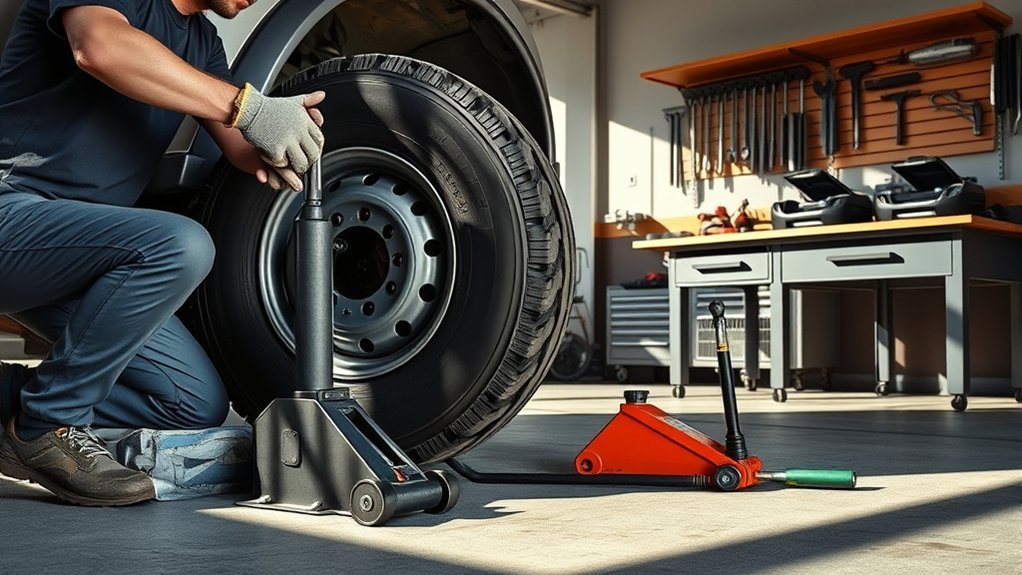
Mounting and dismounting truck tires at home can be possible on some light-truck, one-piece wheel assemblies, but it is not a casual job. The tire stores a lot of energy, and the risk rises fast with heavy-duty, commercial, tube-type, or multi-piece rim wheels. Use this guide to understand the tools, checks, safe steps, and clear points where calling a professional is the smarter choice.
Quick Answer
You can mount and dismount some light-truck tires at home if they use one-piece wheels and you have proper tire tools, a stable work area, nonflammable tire lubricant, safe inflation equipment, and the correct tire/rim match. Do not DIY commercial truck, bus, tube-type, damaged, or multi-piece rim assemblies unless you are trained and equipped for that work.
Key Takeaways
- Only attempt DIY tire mounting on a compatible one-piece light-truck wheel in good condition.
- Always remove the valve core and fully deflate the tire before demounting.
- Use proper tire tools and nonflammable bead lubricant; never use starter fluid, gasoline, ether, or heat.
- Stop if the tire bead, wheel, rim, valve stem, or TPMS parts are damaged, corroded, mismatched, or unfamiliar.
- After mounting, check for leaks, balance the assembly, and reinstall the wheel using the vehicle manufacturer’s torque specification.
At a Glance
| Time Required | 30–90 minutes per tire for an experienced DIYer; longer if the tire is stiff, oversized, or corroded to the rim. |
| Difficulty | Moderate to advanced for light-truck one-piece wheels; professional-only for commercial, tube-type, multi-piece, damaged, or unknown assemblies. |
| Tools Needed | Manual tire changer or bead breaker, tire irons/spoons, valve core tool, nonflammable tire lubricant, air compressor with gauge/regulator, clip-on chuck, leak-check solution, jack stands, torque wrench, safety glasses, and gloves. |
| Cost | Usually $100–$400+ for basic DIY tools if you do not already own them; professional mounting/balancing may be cheaper for occasional work. |
Can You Mount and Dismount Truck Tires at Home?
For many pickup and light-truck tires on one-piece wheels, a skilled DIYer can remove and install a tire with the right tools. The key phrase is right tools. Screwdrivers, hammers, vehicle weight, and improvised bead-seating tricks can damage the tire, bend the wheel, or cause injury.
Warning: Do not service multi-piece rims, tube-type truck/bus assemblies, commercial truck tires, severely underinflated tires, cracked wheels, mismatched tire/rim sizes, or assemblies with unknown parts at home. OSHA’s rim-wheel safety rules require trained procedures, correct tools, inflation safeguards, and rim manuals for covered truck, bus, trailer, tractor, and off-road equipment.
Before you begin, confirm that your tire is the correct size, load rating, speed rating, and construction for the wheel and vehicle. The tire size should match the vehicle placard or owner’s manual unless you have confirmed an approved alternate size. The bead diameter and rim width must also match the tire. If those details are unclear, stop and ask a qualified tire shop.
Essential Tools for DIY Tire Changes
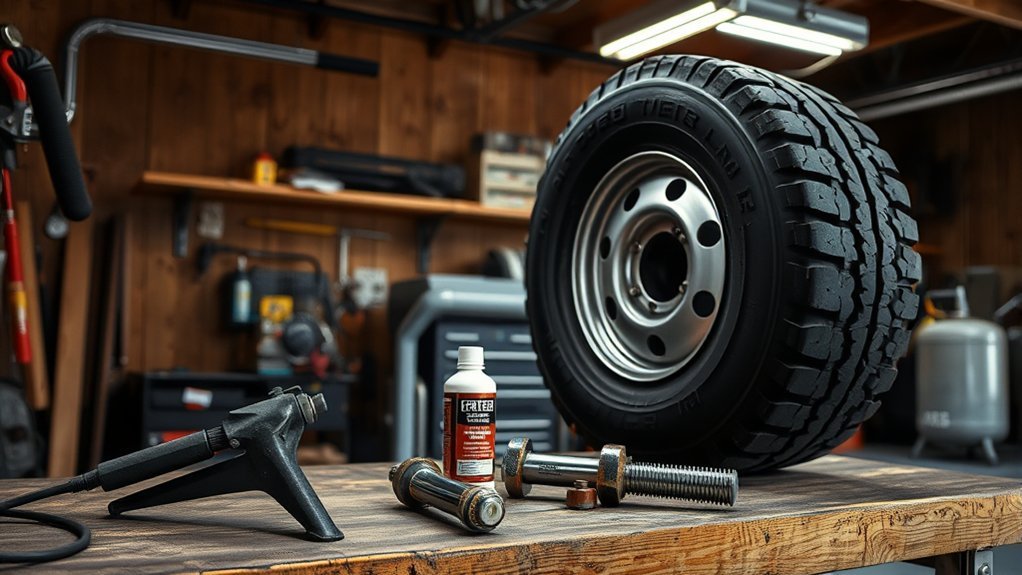
Having the right tools makes the work safer and reduces the chance of damaging the bead or wheel. For a one-piece light-truck wheel, gather these items before you remove anything from the vehicle:
- Manual tire changer or proper bead breaker: Use a tool designed to break the bead without crushing the sidewall or bending the rim.
- Tire spoons or tire irons: Use smooth, tire-service tools, not sharp pry bars that can cut the bead.
- Valve core tool: Needed to fully deflate the tire before demounting.
- Nonflammable tire bead lubricant: A commercial tire lube is best. A mild soap-and-water mix may help in a pinch, but never use petroleum products, starter fluid, gasoline, ether, or heat.
- Air compressor with gauge and regulator: Use controlled inflation, not guesswork.
- Clip-on air chuck and enough hose to stand out of the trajectory: This keeps your body away from the sidewall and rim path during inflation.
- Leak-check solution: Soapy water in a spray bottle works for checking bead and valve leaks.
- Jack, jack stands, and wheel chocks: Never rely on a jack alone while removing or installing wheels.
- Torque wrench: Lug nuts should be tightened to the vehicle manufacturer’s torque specification.
- Safety glasses, gloves, and hearing protection: Tire beads can release suddenly, and air tools are loud.
Pro Tip: If the wheel has a TPMS sensor, note its location before using tire spoons. Work carefully around the valve stem area so you do not snap the sensor or damage the stem seal.
[Products Worth Considering]

This VEVOR tire bead breaker uses a slide-hammer impact and wedge tip to separate tire beads from rims quickly and efficiently without damaging hub surfaces. The long handle and sturdy steel construction help reduce user strain while providing reliable, portable tire changing for cars, trucks, and more. Ideal for home mechanics and repair shops handling multiple vehicle tire sizes.
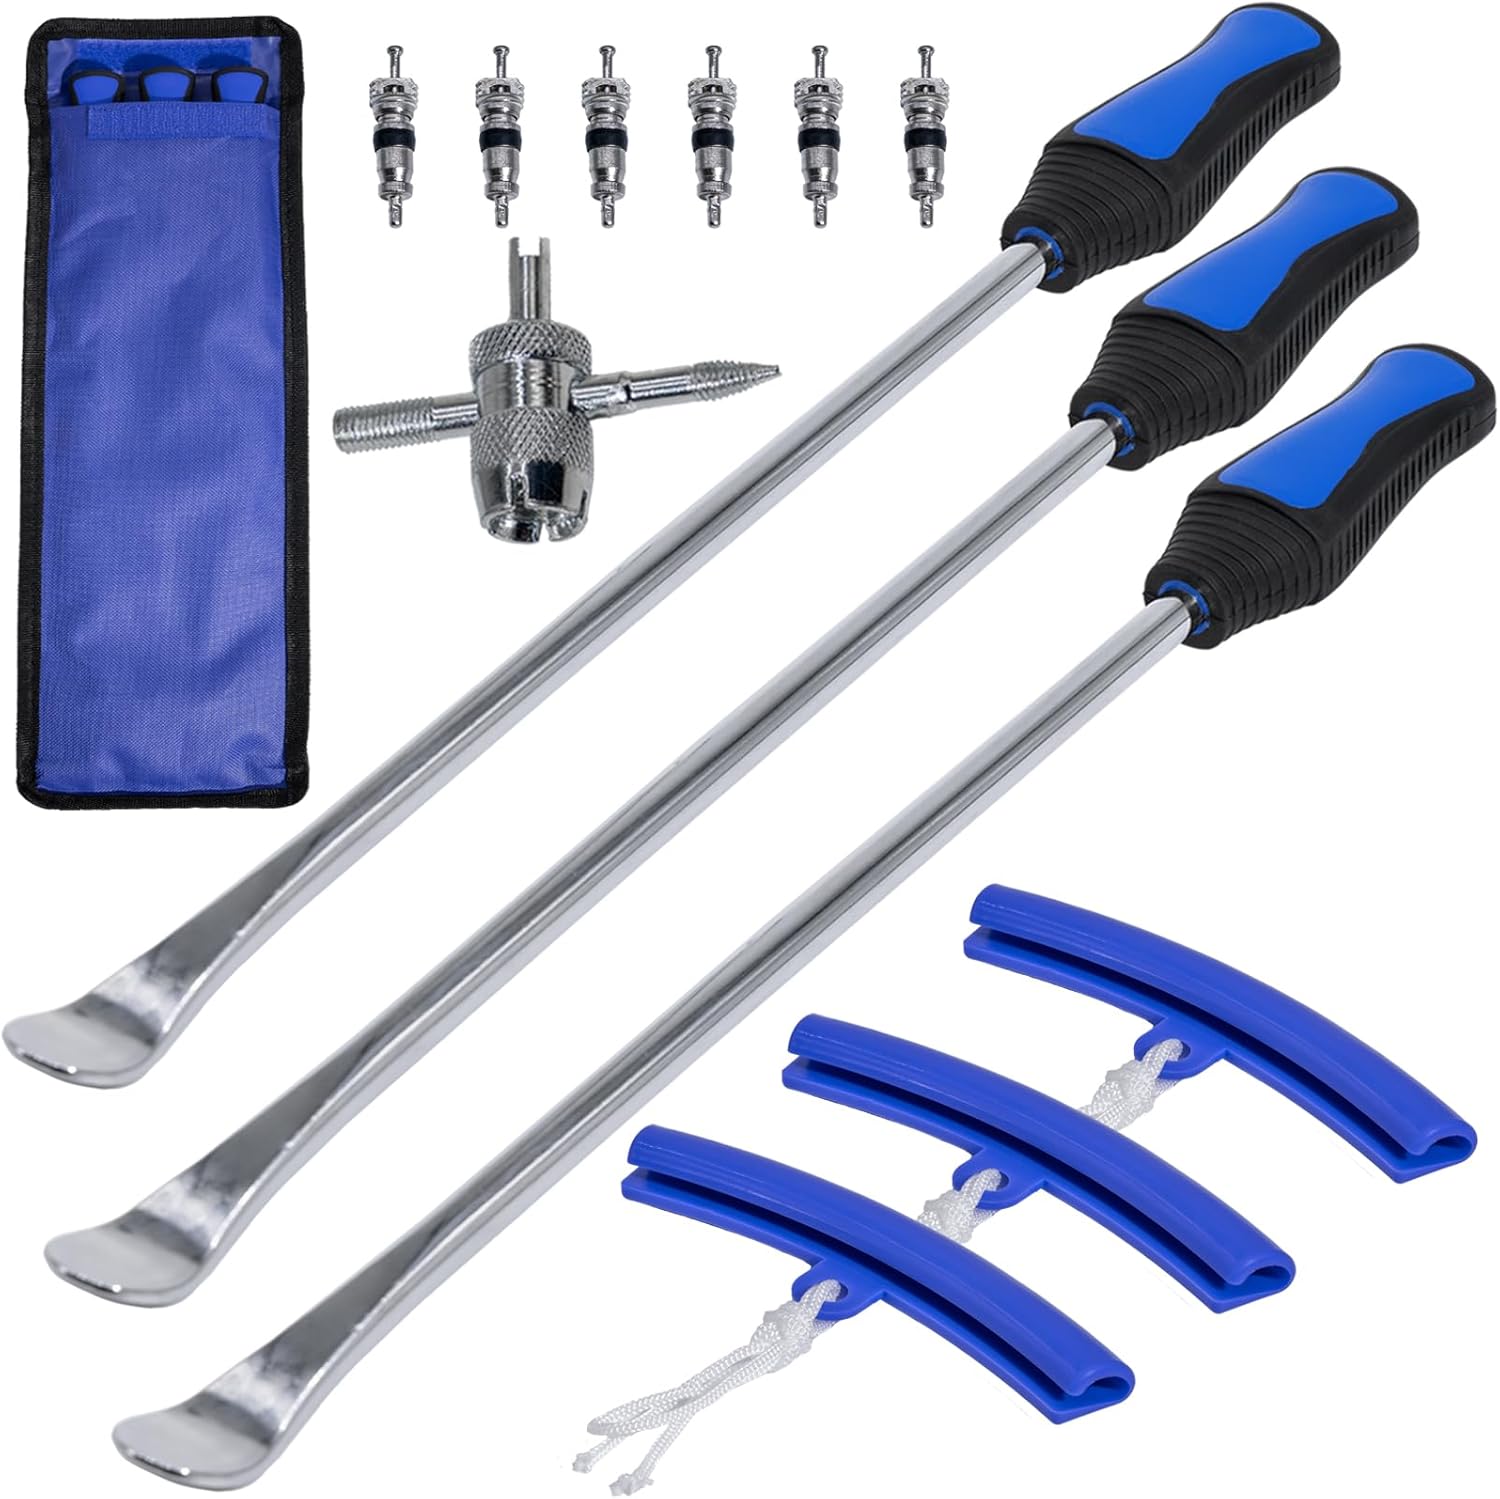
This tire spoon set helps you remove and install motorcycle, dirt bike, lawn tractor, and bicycle tires with extra leverage from a 14.5-inch spoon length. The kit includes tire removal tools, rim protectors, and a valve tool to simplify repairs and help protect rims during changing. Designed for quick, on-the-go service, it’s convenient for garage work, trails, and track-side fixes.

This 4-in-1 tire valve core removal tool helps you deflate, unblock, and remove or install valve cores quickly for easier tire repair. The multifunction design also supports re-taping damaged threads and reaming inside the valve stem for smoother service. Included as a 2-pack, it’s compact for convenient carry and works for cars, bicycles, and motorcycles.
Preparing Your Work Area and Safety Tips
Set up on a flat, stable surface with good lighting. Keep children, pets, and bystanders away from the service area. Tire and wheel assemblies are heavy, so plan your lifts before you move the wheel.
Essential Tools Checklist
Place your tire changer, bead breaker, spoons, lubricant, valve core tool, compressor, gauge, and torque wrench within reach. Inspect each tool first. Do not use chipped tire irons, mushroomed tools, cracked bead breakers, damaged air hoses, or gauges that do not read correctly.
Clear Workspace Organization
A clean workspace helps prevent slips and missed steps. Keep the wheel flat and stable when breaking the bead, and secure the tire changer according to its instructions. Avoid working on gravel, slopes, wet concrete, or any surface where the wheel can shift.
| Item | Purpose |
|---|---|
| Tire spoons | Lifting the bead over the rim without cutting it. |
| Manual tire changer or bead breaker | Breaking and holding the bead under control. |
| Air compressor with gauge/regulator | Controlled inflation and pressure checks. |
| Nonflammable bead lubricant | Reducing bead friction during mounting and demounting. |
Safety Gear Recommendations
Wear safety glasses and gloves every time. Use steel-toe shoes if you have them because truck wheels are heavy. Keep your face and body out of the sidewall path during inflation, and never lean over a tire while adding air.
Note: If the tire was driven flat, run underinflated, hit hard, or shows bulges, cuts, exposed cords, bead damage, or sidewall cracking, do not remount it. Have it inspected or replaced.
Before You Remove the Tire: Inspect and Confirm Fit
Do these checks before breaking the bead:
- Confirm tire size: Match the tire size to the vehicle placard, owner’s manual, or approved alternate size.
- Confirm load rating: The tire must meet or exceed the vehicle’s load requirement.
- Confirm wheel compatibility: Match bead diameter, rim width, and wheel type.
- Inspect the wheel: Look for cracks, bends, heavy corrosion, damaged bead seats, and loose rust.
- Inspect the bead: Do not reuse a tire with torn, kinked, or exposed bead wire.
- Check valve stem and TPMS parts: Replace cracked rubber stems and leaking seals. Use the right service kit for TPMS stems.
- Mark the tire position: If you plan to remount the same tire, mark its position relative to the valve stem before dismounting.
Step-By-Step Guide: Dismounting Tires
Work slowly. A tire that fights you is usually telling you something is dry, stuck, corroded, mismatched, or unsupported.
[Products Worth Considering]

This multi-function tire valve stem removal tool set makes it fast to remove, install, bleed, and clean valve cores for easier tire maintenance. It includes valve core removers, a 4-way spool tool, replacement valve caps, and spare cores to handle replacements and repairs with confidence. Universal compatibility suits cars, trucks, motorcycles, bicycles, and more for roadside convenience.
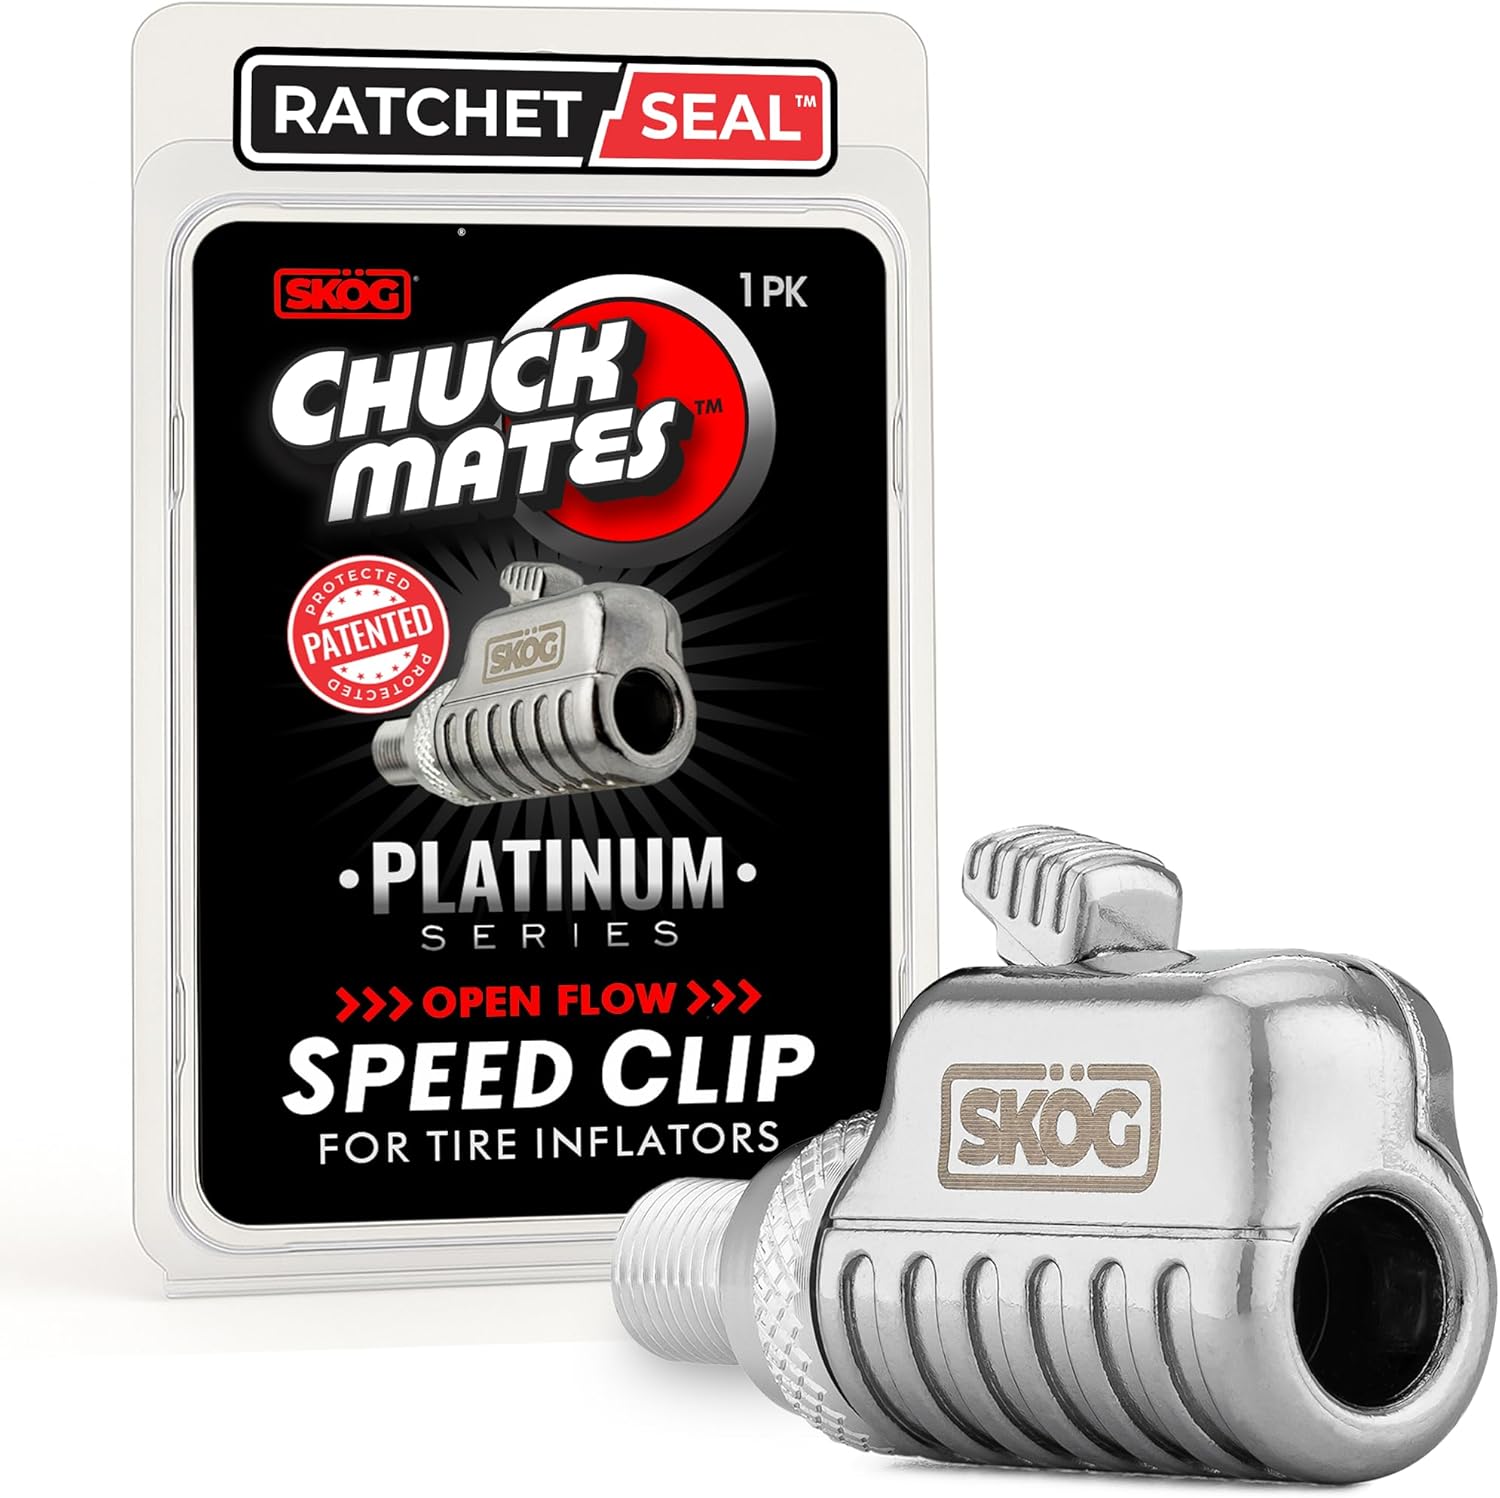
The SKÖG Chuck Mates Platinum uses a patented RatchetSeal push-to-connect system for instant, secure, air-tight attachment to standard tire valve stems. It features an easy push-button release for quick disconnects, plus 360° swivel open-flow airflow to keep operation smooth and kink-free. Universal Schrader compatibility makes it ideal for cars, bikes, motorcycles, RVs, trucks, and more.
Prepare Your Workspace
Lay the wheel flat or mount it securely on the tire changer according to the tool instructions. Remove the valve cap, then remove the valve core to release all air pressure. Wait until the tire is completely deflated before touching the bead.
Break the Bead Safely
Apply bead lubricant around the tire bead. Use a bead breaker or the bead-breaking shoe on a manual tire changer. Keep hands away from pinch points. Break the bead on one side, flip the assembly, and break the bead on the other side.
Avoid using the weight of a vehicle as your main bead-breaking method. It can slip, damage the tire or wheel, and create a crush hazard. If the bead will not break with proper tools, stop and take the assembly to a tire shop.
Remove the First Bead
Lubricate the bead and rim edge again. Start opposite the valve stem when TPMS is present. Use tire spoons to lift a small section of the bead over the rim, then work around the wheel in small steps. Do not force large bites; that can tear the bead.
Remove the Second Bead
Once the first bead is off, stand the tire slightly or reposition it on the changer. Lubricate the second bead and work it off the same way. Keep the bead in the drop center of the wheel so the opposite side has enough slack to come over the rim.
Mounting Truck Tires: Techniques for Success
Before mounting the new tire, clean the bead seat area. Remove loose rust, dirt, old rubber, and dried sealant. Do not grind deeply into the wheel or remove metal. If corrosion is heavy enough to pit the bead seat, replace or professionally refinish the wheel.
- Confirm direction: Check directional arrows, outside/inside markings, and rotation requirements.
- Lubricate both beads: Use nonflammable tire lubricant on the tire bead and rim bead seat.
- Mount the first bead: Push the bead into the rim drop center and work it over the wheel with tire spoons or the mounting bar.
- Protect the valve area: If TPMS is present, avoid prying directly against the sensor.
- Mount the second bead: Keep the opposite side of the bead down in the drop center while working in small sections.
- Inspect before inflation: Make sure the bead is not pinched, folded, torn, or sitting on the wrong side of the rim flange.
Warning: Never use starter fluid, ether, gasoline, brake cleaner, propane, or any other flammable method to seat a bead. Explosive bead seating can injure you, damage the tire, and leave the assembly unsafe for road use.
Effective Tire Sealing and Inflation
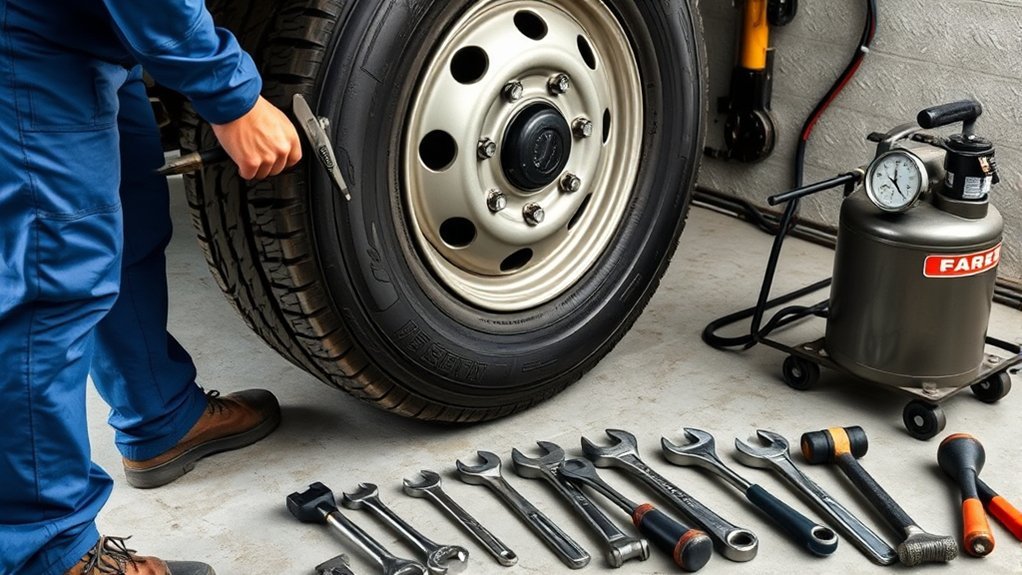
Inflation is the most dangerous part of the job because the tire and wheel assembly stores energy as pressure rises. Use a clip-on chuck, an in-line gauge or regulator, and enough hose to stand away from the sidewall trajectory.
- Install the valve core only when appropriate: Follow the tire and tool instructions. Some beads seat more easily with the core removed because air flows faster, but pressure must still be controlled.
- Add air slowly: Watch both beads as they move toward the bead seat.
- Stop if the bead does not seat: Deflate, relubricate, reposition, and try again. Do not keep raising pressure to force it.
- Set final pressure: Inflate to the vehicle placard, owner’s manual, or tire/load chart recommendation, not the sidewall maximum unless that is the specified operating pressure for the load.
- Leak check: Spray soapy water around both beads and the valve stem. Bubbles mean the assembly needs more work before it goes on the road.
For truck and bus tire service, OSHA’s tubeless tire wall chart warns not to inflate beyond 40 psi just to seat tire beads. If the bead will not seat safely, stop and have the tire serviced professionally.
Balancing Tires: Why It Matters and How to Do It
Balancing helps reduce vibration, uneven wear, steering shake, and stress on suspension parts. If you mounted a tire at home, you still need a way to balance it before normal road use.
- Best option: Take the mounted assembly to a tire shop for dynamic spin balancing.
- DIY option: A bubble balancer can help with static balance, but it is less precise than a spin balancer.
- Marking tip: If reusing the same tire and wheel, your original valve-stem mark can help you reinstall it close to its previous orientation, but it does not replace balancing.
After the assembly is balanced, reinstall the wheel on the vehicle. Tighten lug nuts in a star or crisscross pattern, lower the vehicle, then torque the lug nuts to the vehicle manufacturer’s specification with a calibrated torque wrench. Recheck torque after the first drive if your owner’s manual or wheel manufacturer recommends it.
Common Issues and How to Fix Them
| Problem | Likely Cause | Safe Fix |
|---|---|---|
| Bead will not break | Rust, dried bead sealer, stiff sidewall, or weak tools | Use proper bead breaker and lubricant. If it still will not move, take it to a tire shop. |
| Bead tears during mounting | Dry bead, oversized pry, or bead not in drop center | Stop. Do not drive on a tire with bead damage. |
| Air leaks at bead | Dirty bead seat, corrosion, bent rim, or bead damage | Deflate, clean, inspect, and relubricate. Replace damaged tires or wheels. |
| Air leaks at valve stem | Old rubber stem, loose core, damaged TPMS seal | Replace the stem or TPMS service kit and recheck with soapy water. |
| Vibration after installation | Assembly is not balanced, wheel not seated, or tire/wheel damage | Have the assembly spin-balanced and inspect wheel seating and runout. |
When Should You Call the Pros?
Call a professional tire service if any of these apply:
- The tire is for a commercial truck, bus, trailer, tractor, RV, or off-road machine.
- The wheel is multi-piece, split-rim, tube-type, or unfamiliar.
- The tire was driven flat or at very low pressure.
- The wheel is cracked, bent, heavily rusted, welded, or heat-damaged.
- The tire and rim sizes do not clearly match.
- The bead will not seat with normal lubricant and controlled air pressure.
- You do not have a safe way to inflate the assembly while staying out of the trajectory.
- You need road-speed balancing and do not have access to balancing equipment.
Professional service is not just about convenience. Tire shops have mounting machines, cages or barriers where required, calibrated gauges, balancing equipment, replacement valve hardware, and trained technicians who know when a tire or wheel should be rejected.
Essential Tips for Maintaining Tire and Wheel Integrity
Once the tire is mounted, ongoing maintenance matters as much as the installation.
- Check pressure cold: Measure pressure before driving or after the tire has cooled.
- Inspect tread and sidewalls: Look for cuts, bulges, embedded objects, uneven wear, and exposed cords.
- Rotate as recommended: Follow the vehicle manual or tire manufacturer’s pattern.
- Keep wheels clean: Dirt and corrosion around the bead seat can cause slow leaks.
- Replace questionable valve stems: A cheap valve stem can cause an expensive roadside problem.
- Watch load limits: Do not exceed the vehicle, axle, wheel, or tire load ratings.
Frequently Asked Questions
What is the 3% rule for tires?
The 3% rule is a common aftermarket guideline that says replacement tire diameter should stay within about 3% of the original diameter to reduce speedometer, gearing, clearance, and stability issues. It is not a substitute for the vehicle placard, owner’s manual, load rating, rim width, bead diameter, and manufacturer-approved fitment.
What tools do I need to mount tires?
For a light-truck one-piece wheel, you need a manual tire changer or bead breaker, tire spoons, valve core tool, nonflammable bead lubricant, air compressor with gauge/regulator, clip-on chuck, leak-check solution, jack stands, wheel chocks, safety gear, and a torque wrench. Heavy truck, tube-type, and multi-piece rim service requires professional training and equipment.
What is the first step in dismounting a tire?
The first step is to remove the valve core and fully deflate the tire. Do not break the bead or pry on the tire while pressure remains inside the assembly.
How do you stud your own truck tires?
Only stud tires that are specifically designed for studs and only where tire studs are legal for the season and road type. Use the correct stud size and a proper stud insertion tool. Do not drill random holes into a standard tire, and do not stud a worn or damaged tire.
Can I use fire or starter fluid to seat a stubborn bead?
No. Flammable bead seating methods are dangerous and can damage the tire. Deflate, relubricate, reposition the tire, and use proper equipment. If the bead still will not seat, take the assembly to a professional.
Do I still need balancing after mounting a tire at home?
Yes. A tire can be mounted correctly and still be out of balance. For road use, dynamic spin balancing at a tire shop is usually the most accurate option.
Conclusion
Mounting and dismounting truck tires at home is only sensible when the tire is a compatible light-truck tire on a one-piece wheel and you have the right tools, safe inflation setup, and enough experience to recognize problems. The safest DIY approach is slow, controlled, and conservative: fully deflate before demounting, use proper bead tools and nonflammable lubricant, confirm tire/rim compatibility, leak-check the finished assembly, and get it balanced. For heavy-duty, commercial, tube-type, damaged, or multi-piece rim assemblies, call a qualified tire professional.
Sources
- OSHA 29 CFR 1910.177 — Servicing multi-piece and single-piece rim wheels — training, compatibility, deflation, inflation safeguards, and rim-wheel servicing rules.
- OSHA Tubeless Truck and Bus Tire Demounting and Mounting Wall Chart — truck/bus tire warnings, bead seating limits, and no-flammable-material guidance.
- NHTSA TireWise Tire Safety — tire size, inflation, maintenance, crash-risk, and tire-care guidance.
- FMCSA Motor Carrier Safety Planner: Tires 393.75 — commercial motor vehicle tire safety requirements overview.
- Bridgestone Truck Tire Warranty, Maintenance and Safety Manual — truck tire maintenance and safety recommendations from a major tire manufacturer.

Related Articles
Toyota Tundra Tire and Wheel Package: What to Consider Before Buying
Unlock the secrets to choosing the perfect tire and wheel package for your Toyota Tundra—essential tips await to enhance your ride.
Read More
Do Bigger Tires Void a Toyota Tundra Warranty? Magnuson-Moss Act Explained
Bigger tires might not void your Toyota Tundra warranty, but understanding the Magnuson-Moss Act is crucial—discover how to protect your investment effectively.
Read More
Toyota Tundra Tire Rack Setup: Garage Storage Ideas for Seasonal Sets
Better tire storage for your Toyota Tundra awaits—discover essential tips to maximize space and protect your seasonal sets in the garage!
Read More