
How to Change a Bike Tube: 10 Easy Steps for Flats
How to Change a Bike Tube
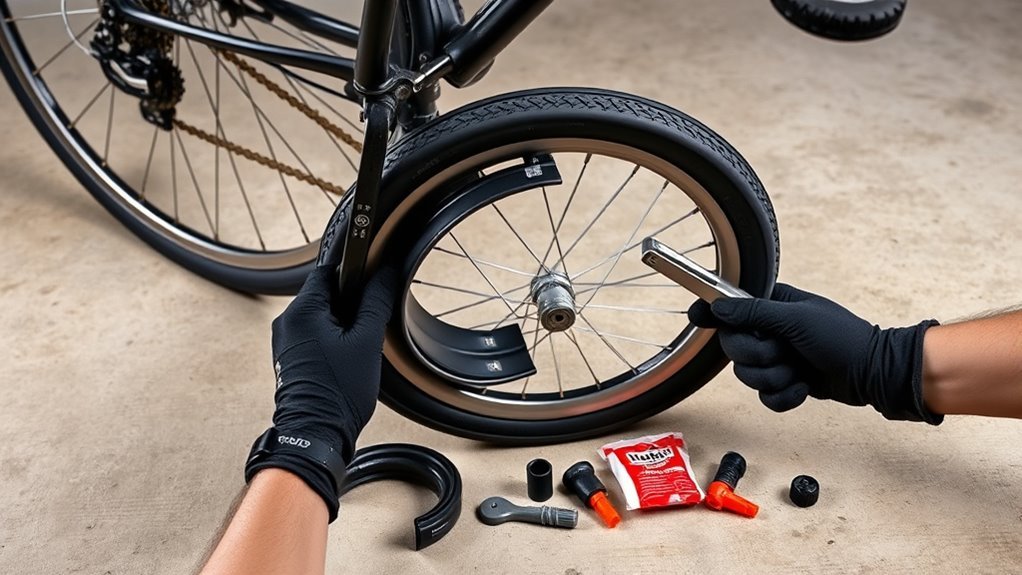
A flat bike tire can stop your ride fast, but you can fix it with a few basic tools and a steady process. Start by finding the valve type, removing the wheel if needed, and checking the tire for the cause of the flat. This guide walks you through each step so you can replace the tube, seat the tire, inflate it safely, and get back on the road.
Quick Answer
To change a bike tube, remove the wheel, fully deflate the tire, unseat one tire bead, and pull out the old tube. Check the tire and rim for sharp debris, fit the new tube with the valve straight, seat the bead evenly, then inflate to the pressure printed on the tire sidewall.
Key Takeaways
- Match your pump or adapter to the valve type before you start.
- Fully deflate the tire and push the bead into the rim center before using tire levers.
- Inspect the tire, rim, and rim strip so the new tube doesn’t get punctured right away.
- Keep the valve straight and check that the tube isn’t pinched under the tire bead.
- Inflate slowly, check for bulges, then test the brakes before riding.
What’s in This Article
- Prep Workspace and Tools for Tube Change
- Identify Valve Type, Adapters, and Variations
- Remove the Wheel for a Tube Change
- Deflate the Tire and Break the Bead
- Remove the Old Tube Without Damage
- Inspect Tire, Rim, and Rim Strip
- Fit the New Tube and Straighten Valve
- Seat the Tire Beads Evenly on Rim
- Inflate Tube to Recommended Pressure and Test
- Reinstall the Wheel, Check Brakes, Troubleshoot
- Frequently Asked Questions
Prep Workspace and Tools for Tube Change
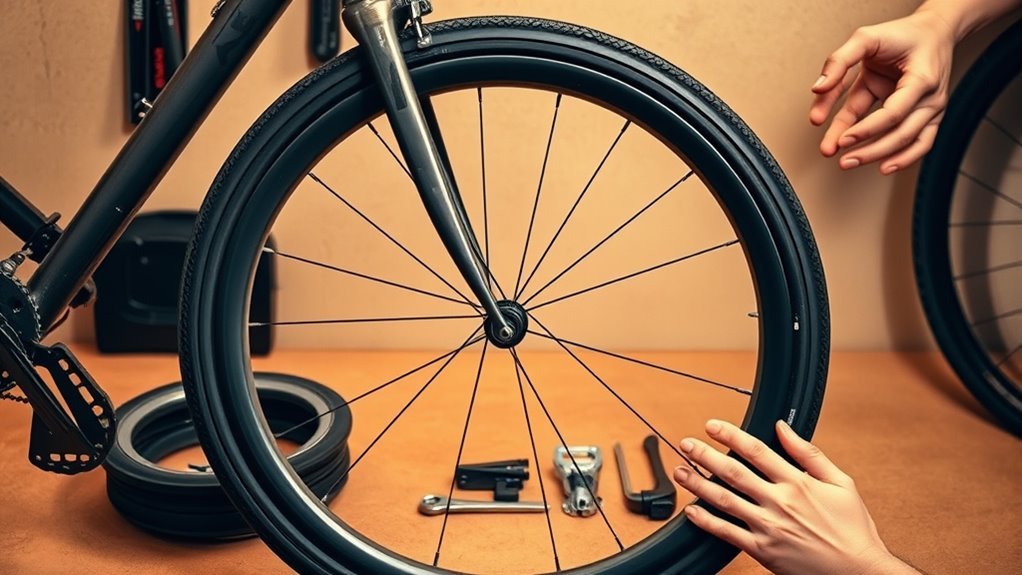
Choose a clean, flat surface with good lighting and enough room for the bike, wheel, and tools. Good space helps you see small parts and keeps grit away from the new tube.
Gather tire levers, a bicycle pump with a gauge, a spare tube, and a wrench if your bike uses bolt-on axles. A patch kit, valve adapter, and clean rag also help if you find a small puncture or sharp debris.
Use a repair stand if you have one. If not, turn the bike upside down and rest it on the saddle and handlebar grips.
Estimated time: most riders can change a bike tube in about 15 to 30 minutes after the workspace and tools are ready.
Identify Valve Type, Adapters, and Variations
Before you remove the wheel, identify the valve type: Schrader, Presta, or Dunlop. Each valve needs the right pump head or adapter, and the wrong fit can leak air or damage the valve.
Schrader valves look like car tire valves and fit many standard pumps. Presta valves are slimmer and have a small locknut at the tip. Dunlop valves look similar to Schrader valves from a distance, but they use a different internal seal.
Valve Types Overview
Look at the bike tube’s valve stem before you choose your pump. A Schrader valve has a wide body and a spring-loaded core. A Presta valve has a narrow body and a small threaded nut that you loosen before inflation.
A Dunlop valve, also called a Woods valve, appears on some bikes in certain regions. It can need a different pump head or adapter, so test the fit before you inflate.
Keep valve caps on when you ride, check that Presta tips open and close smoothly, and replace damaged cores when possible. These small checks help prevent leaks after you install the tube.
Adapter and Compatibility
Match the valve to your pump before the tire comes off the rim. Use a dual-head pump, a reversible pump head, or the correct threaded adapter.
Carry a small Presta-to-Schrader adapter if your bike uses Presta valves. It lets you use many standard pumps in a pinch.
Test the pump fit with light pressure before full inflation. Stop if air escapes around the pump head, then reseat the head or use the correct adapter.
Remove the Wheel for a Tube Change
Shift the chain onto the smallest rear cog before removing a rear wheel. This creates slack and makes the wheel easier to guide out.
Open the brake if it blocks the tire. Rim brakes often have a release lever or cable quick release, while disc brakes usually leave enough room for the wheel to slide out.
For quick-release axles, open the lever and loosen the nut a few turns. For bolt-on axles, use the correct wrench and remove both axle nuts.
Pull the wheel straight out of the dropouts. On a rear wheel, guide the chain away from the cassette so you don’t bend the derailleur or scratch the frame.
Deflate the Tire and Break the Bead
Start by fully deflating the tire. Press the valve core on a Schrader valve, loosen and press the tip on a Presta valve, or open the Dunlop valve as needed.
Once the tire feels flat, push each tire bead toward the rim’s center channel. This step reduces tension and makes the tire easier to remove.
Work around the wheel with steady thumb pressure. If the bead won’t move by hand, use a plastic tire lever to lift a short section over the rim.
Warning: Avoid metal levers on soft rims because they can scratch the rim or cut the tube.
Remove the Old Tube Without Damage
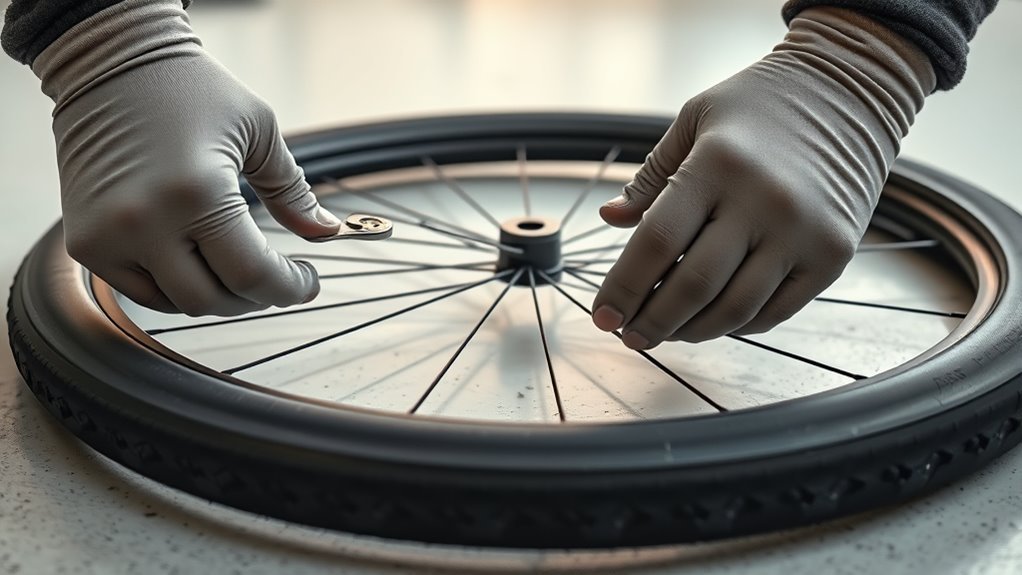
Make sure the tire stays fully deflated before you pull the tube out. Start opposite the valve and lift one bead over the rim with plastic tire levers.
Once one side of the tire sits outside the rim, pull the tube out by hand. Push the valve stem straight through the rim hole so it doesn’t snag.
Deflate Completely First
Do not pry the tire while air remains inside. Air pressure keeps the bead tight and raises the risk of pinching or tearing the tube.
Press the valve until no more air escapes, then squeeze the tire to confirm it feels soft all the way around. After that, push the bead into the rim well.
- Press the valve to release all air.
- Push the bead into the center of the rim.
- Start prying opposite the valve.
- Pull the valve straight through the rim hole.
Use Tire Levers Carefully
Choose plastic tire levers because they reduce the chance of rim and tire damage. Insert the first lever under the tire bead, then hook it to a spoke to hold the bead out.
Insert a second lever a few inches away and move it around the rim in small steps. Use even pressure and keep the lever away from spokes, brake parts, and the tube.
After the bead comes free, remove the tube with your fingers. Check inside the tire before you fit the replacement tube.
Inspect Tire, Rim, and Rim Strip
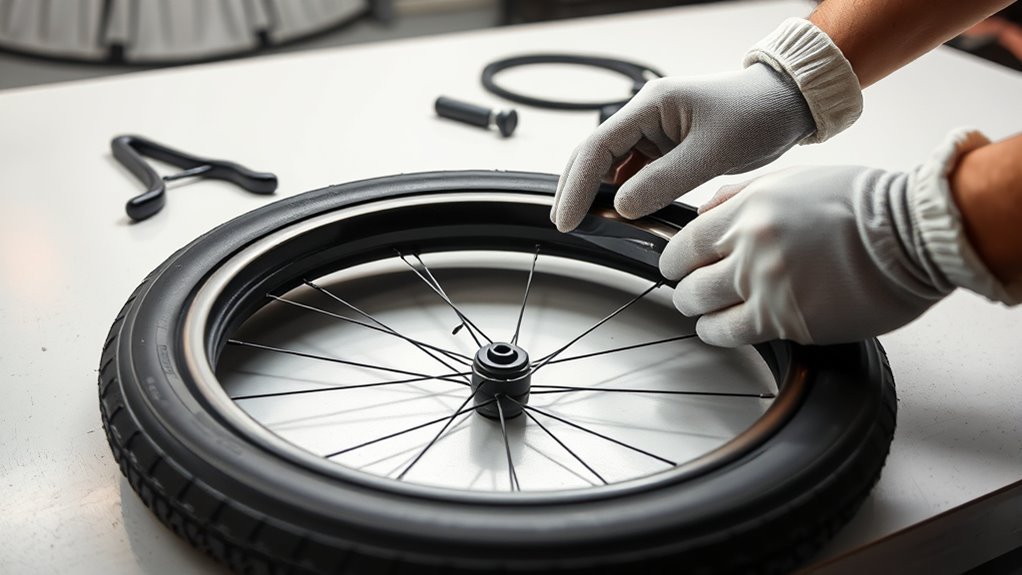
Before you fit a new tube, inspect the tire, rim, and rim strip carefully. This step helps prevent a second flat right after the repair.
Run a cloth around the inside of the tire casing. If it catches, look for glass, thorns, wire, or sharp grit, then remove it before you continue.
Check the tread and sidewalls for cuts, cracks, or worn spots. Replace the tire if damage looks deep enough to expose casing threads or let the tube bulge.
Verify the rim strip covers every spoke hole. Replace a cracked, shifted, or missing rim strip because exposed spoke holes can puncture the new tube.
Pro tip: Match the puncture spot on the old tube to the tire so you can find the object that caused the flat.
Fit the New Tube and Straighten Valve
Slightly inflate the new tube until it holds a round shape. Do not fill it to riding pressure yet.
Feed the valve stem through the rim hole, then tuck the tube into the tire. Keep the tube smooth and centered so it doesn’t twist or fold.
Work the tire bead back onto the rim with your thumbs. Start opposite the valve and finish near the valve so you can keep the stem straight.
Align Valve Stem Straight
Set the valve stem straight through the rim hole so it points toward the hub. A crooked valve can tear at the base or make inflation harder.
After you seat the bead, check the valve again. Push the valve up slightly to move the tube away from the bead, then pull it back into place.
- Insert the valve straight through the rim.
- Tuck the tube evenly into the tire.
- Seat the bead by hand when possible.
- Recheck the valve before final inflation.
Check Tube for Twists
Trace the tube around the tire before you seat the last section of bead. The tube should lie smooth, with no folds, overlaps, or kinks.
If you find a twist, pull that section back out and reset it. A twisted tube can inflate unevenly and cause a pinch flat.
Add a little air after the tube sits inside the tire. Then inspect both sides to make sure the tube doesn’t show under the bead.
Seat Bead Around Valve
Pay close attention to the valve area because the tube often gets trapped there. Push the valve inward before you finish seating the bead.
Use your thumbs to roll the bead into the rim, and avoid tire levers unless the final section feels too tight. If you use a lever, take small bites so you don’t pinch the tube.
Seat the Tire Beads Evenly on Rim
Seat the tire beads evenly so the molded bead line runs at the same height around the rim. Check both sides before you inflate to full pressure.
If a section sits low, push the bead toward the rim center and work it back into place. If a section sits high or bulges, stop and deflate the tire before adjusting it.
You can use a small amount of soapy water on a stubborn bead to reduce friction. Keep it off braking surfaces and wipe the rim clean before riding.
Inflate Tube to Recommended Pressure and Test
Pump the new tube to the recommended pressure printed on the tire sidewall. Use a pump with a reliable gauge so you can track pounds per square inch (PSI).
Inflate in short bursts at first. Pause around low pressure and spin the wheel while you inspect both bead lines.
Run your hands around the tire and check for bulges, dips, or hissing air. If anything looks uneven, release air and reseat the bead before you continue.
Note: Tire pressure ranges vary by tire size, rider weight, surface, and tube type, so use the sidewall range as your starting point.
Reinstall the Wheel, Check Brakes, Troubleshoot
Place the wheel back into the dropouts and make sure the axle sits fully in place. Close the quick-release lever or tighten axle nuts securely.
Check wheel alignment by looking for equal clearance between the rim and frame or fork. If the wheel sits off-center, loosen it, reseat it, and tighten it again.
Reconnect or close the brake if you opened it earlier. Squeeze the brake levers and confirm the pads contact the rim squarely or the disc brake feels firm.
Spin the wheel and listen for rubbing. If the tire or rim rubs, check wheel seating, brake position, and bead alignment before you ride.
Common Mistakes to Avoid When Changing a Bike Tube
Many repeat flats happen because a sharp object stayed inside the tire. Always inspect the tire and rim before fitting the new tube.
Do not rush the final bead section with a tire lever. A lever can trap the tube between the bead and rim, which can cause a pinch flat during inflation.
Do not ride until the brakes work and the wheel spins freely. A correct tube change still needs a safe wheel and brake check.
Frequently Asked Questions
How do beginners change a bike tube?
Beginners should remove the wheel, deflate the tire, lift one bead off the rim, and pull out the old tube. After checking for debris, fit the new tube, reseat the tire, inflate it to the sidewall pressure range, and reinstall the wheel.
Can you change a bike tube with no tools?
You can sometimes change a loose-fitting tire by hand, but tight tires usually need plastic tire levers. If you have no tools, fully deflate the tire, push the bead into the rim center, and work one bead off with your thumbs.
Why does my new bike tube go flat right away?
A new tube can go flat if a thorn, glass shard, rough rim edge, or exposed spoke hole remains inside the tire or rim. It can also fail if the tube gets pinched under the bead during installation.
How much air should I put in a new bike tube?
Use the pressure range printed on the tire sidewall. Inflate slowly, check the bead at low pressure, then continue to a pressure that fits your tire, rider weight, and riding surface.
Should I patch or replace a bike tube?
You can patch a small, clean puncture if the tube otherwise looks sound. Replace the tube if the hole is large, the valve base leaks, or the tube has several old patches.
Conclusion
The most important step in changing a bike tube is finding and removing the cause of the flat before you fit the new tube. Work in order: deflate, remove, inspect, install, seat, inflate, and test.
Before your next ride, pack tire levers, a spare tube, a pump, and the right valve adapter. With a little practice, this repair becomes a simple roadside skill instead of a ride-ending problem.

Related Articles
What Does THE P Stand For on a Tire? Full Meaning Explained
I’ll explain what the “P” on a tire really means and why it could change how you choose your next set.
Read More
How to Use a Tubeless Tire Repair Kit: Complete Field Guide
Learn how to fix tubeless tire punctures fast with the right kit, because one small mistake can leave you stranded on the trail.
Read More
How to Tell a Tire’s Diameter: Easy Guide to Reading Tire Size
Want to decode tire sidewall numbers and find the right diameter, but wonder what those hidden digits really mean?
Read More