
Hyundai Sonata Tire Bead Leak: Causes, Symptoms & Solutions
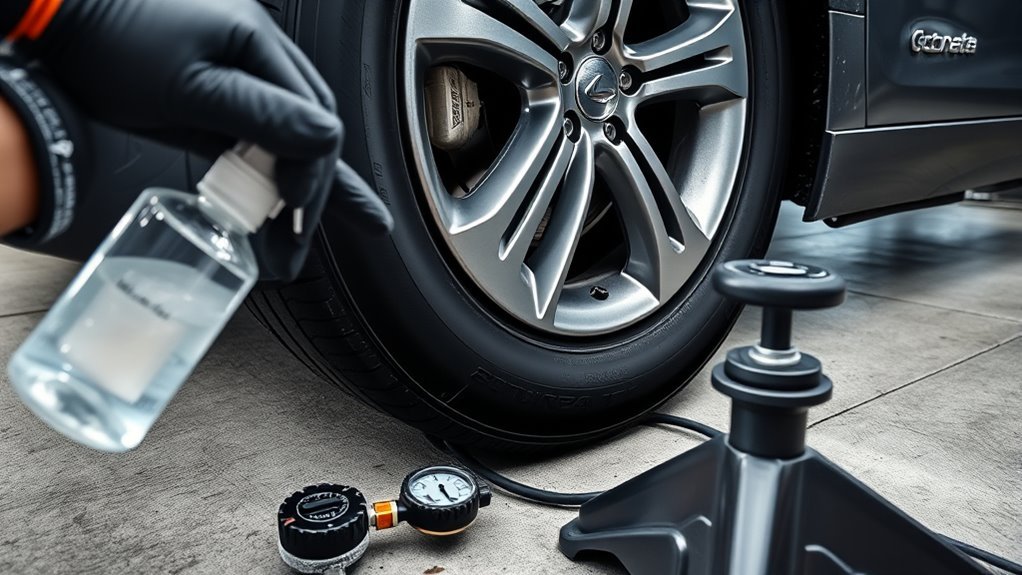
A tire bead leak in your Hyundai Sonata means air is escaping where the tire seals against the wheel rim. It often shows up as a slow pressure drop, a TPMS warning, bubbles during a soapy water test, or a tire that needs air again a few days after inflation. The safest first step is to confirm the leak location, then decide whether the tire, valve stem, rim, or bead seat needs professional service.
Quick Answer
A Hyundai Sonata tire bead leak is usually caused by rim corrosion, dirt on the bead seat, a bent wheel, old sealant, or improper mounting. You can confirm it by spraying soapy water where the tire meets the rim and watching for steady bubbles. Diagnosis is DIY-friendly, but demounting, reseating, or repairing the bead is best handled by a tire professional.
Key Takeaways
- A bead leak happens at the seal between the tire bead and the wheel rim, not necessarily in the tread.
- Use a tire gauge and soapy water to check the bead, valve stem, and tread before assuming the bead is the problem.
- TPMS is a warning system, not a replacement for monthly cold tire pressure checks.
- Do not keep driving on a tire that repeatedly loses air; underinflation can damage the tire and affect handling.
- Professional service is the safest choice if the rim is corroded, bent, cracked, or the tire bead is damaged.
At a Glance
| Time Required | 10–20 minutes for basic leak diagnosis; longer if a shop removes and reseals the tire |
| Difficulty | Easy for diagnosis; professional level for demounting, bead cleaning, resealing, or wheel repair |
| Tools Needed | Tire pressure gauge, spray bottle, dish soap and water, flashlight, valve cap remover, and safe access to an air source |
| Cost | DIY diagnosis is low-cost; professional repair depends on shop labor, valve/TPMS parts, rim corrosion, and whether the wheel or tire must be replaced |
What Is a Tire Bead Leak and Why Does It Matter?
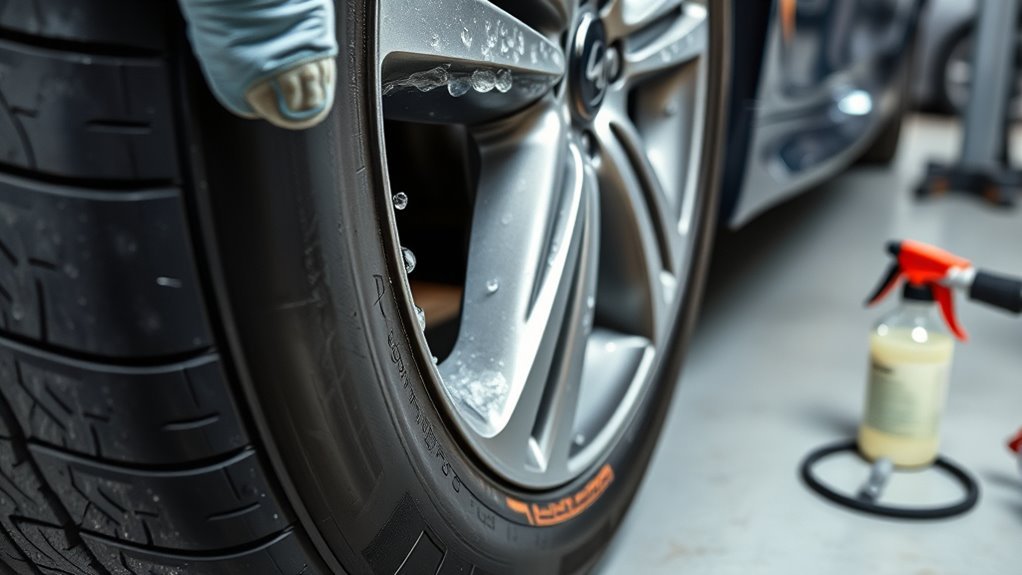
A tire bead leak happens when air escapes from the sealing area between the tire bead and the wheel rim. The bead is the reinforced inner edge of the tire. It presses against the wheel’s bead seat to help hold air inside the tire.
When that seal is interrupted by corrosion, dirt, old sealant, damage, or poor mounting, air can seep out slowly. On a Hyundai Sonata, that can lead to repeated low-pressure warnings, uneven tire wear, reduced fuel economy, and weaker handling during braking or cornering.
For the correct tire size and cold inflation pressure, use your Sonata’s driver-side Tire and Loading Information Label or the correct Hyundai owner’s manual for your model year. NHTSA also advises using the vehicle label or owner’s manual, not the maximum pressure printed on the tire sidewall, as the source for correct inflation pressure. NHTSA TireWise and Hyundai owner resources are helpful references.
Warning: Do not keep driving on a tire that repeatedly loses air. If the tire is visibly low, the TPMS light is on, or the car feels unstable, slow down, park safely, and inspect the tire before continuing.
[Products Worth Considering]

EVOULTES heavy duty tire inflator with an integrated gauge delivers accurate pressure readings from 10–120 PSI, helping you inflate, deflate, and check tires in one tool. The 16.5-inch extended dual-head air chuck with swivel base reaches hard-to-access dual wheel valves on trucks and RVs. A brass trigger core and side-mounted air release valve make operation smooth, with standard 1/4" NPT threading and quick-connect compatibility for easy setup.

The JACO FlowPro Tire Inflator measures, inflates, and airs down tires up to 100 PSI with battery-free operation and ±2% accuracy after calibration. It features a glowing pressure dial for night visibility, a heavy-duty steel build with a hybrid hose, and a precision push-to-inflate thumb trigger. The patented Lightning Air Chuck locks on for a secure seal, and the kit includes quick-connect hardware for easy inline use with your air compressor.
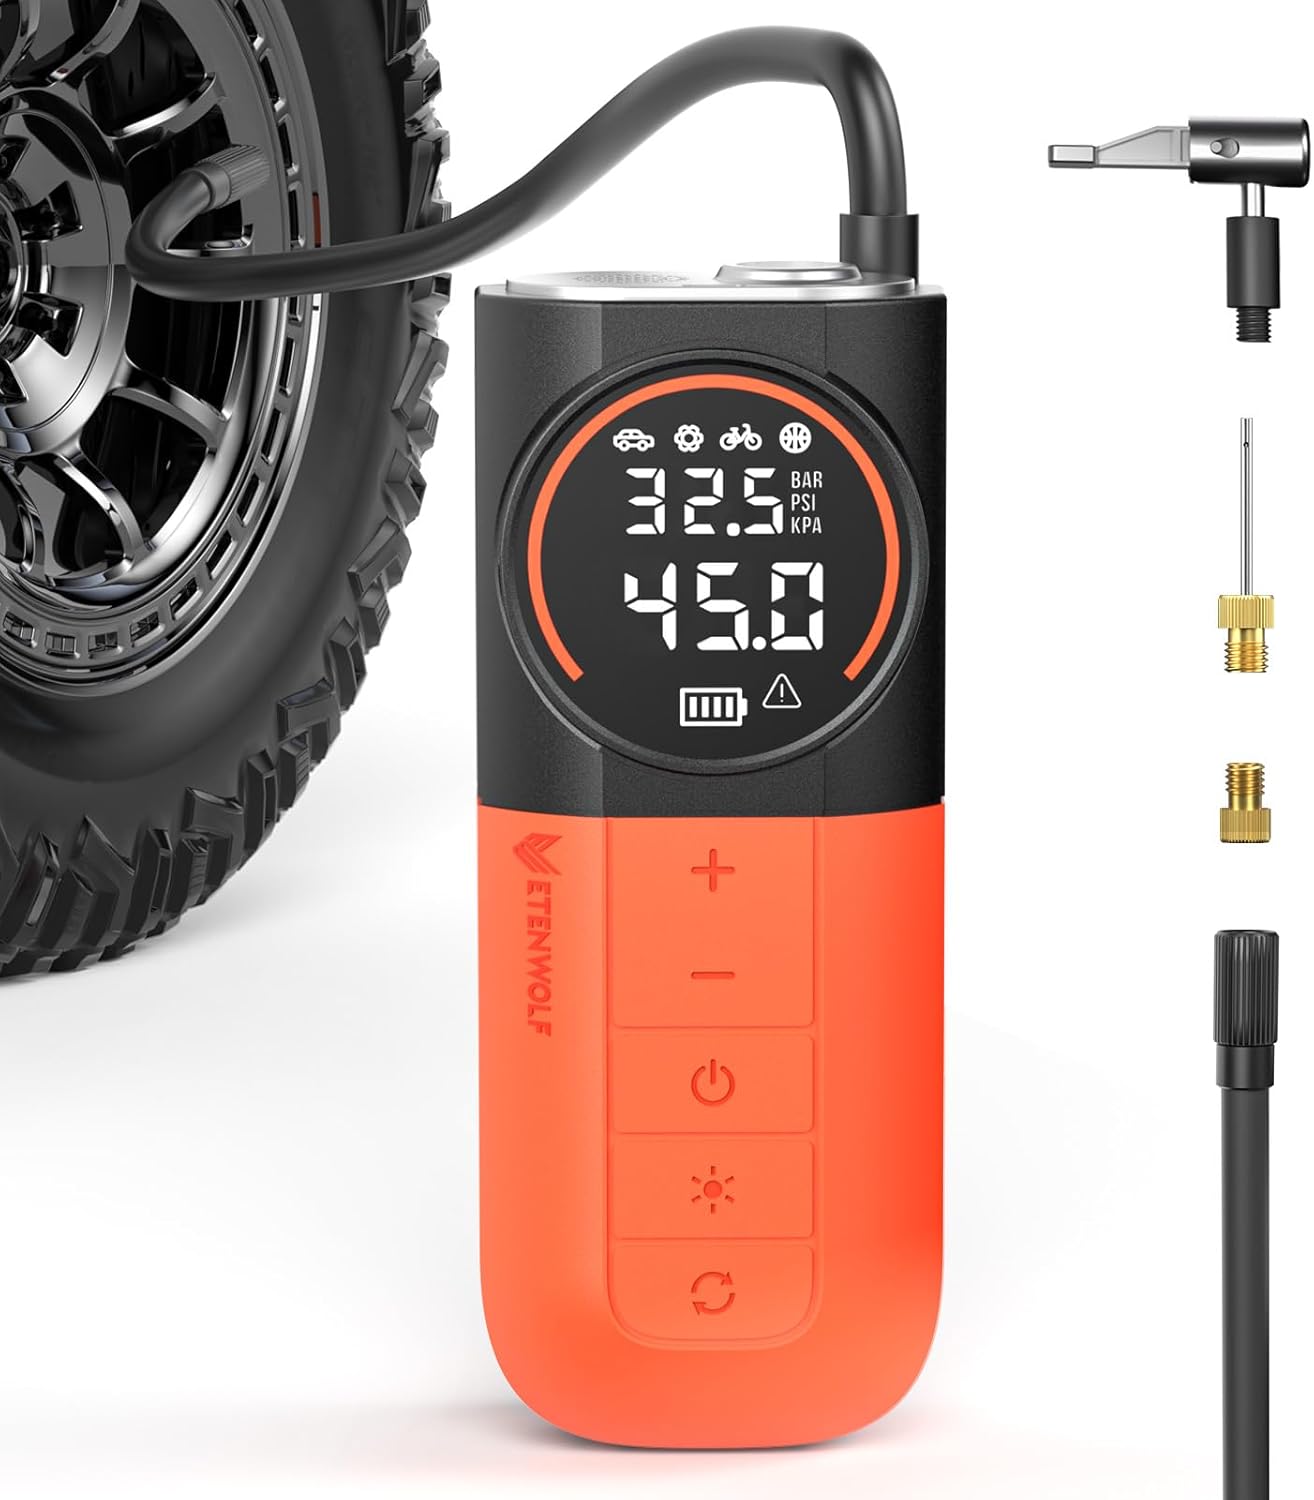
The ETENWOLF S1 cordless tire inflator delivers ultra-fast inflation with up to 160 PSI and a 20 L/min airflow for quicker tire top-offs. Its 5200mAh battery and cooling system support inflating many tires and sports balls on a single charge, while the digital pressure gauge and multi-unit display help you reach the right pressure accurately. With preset modes, pressure memory, an auto-stop feature, and an LED flashlight, it’s built for easy roadside and everyday use.
How to Identify Symptoms of a Tire Bead Leak
A bead leak can look like any other slow tire leak, so check the symptoms before assuming the bead is the only cause.
Common Signs of Air Loss
- One tire loses pressure again within days after you inflate it.
- The TPMS warning appears, especially during cold mornings or after the car sits overnight.
- You see bubbles around the rim when spraying soapy water on the bead area.
- The tire looks slightly low even though there is no obvious nail in the tread.
- The ride feels shaky, especially if the tire has become underinflated.
- You notice corrosion, flaking finish, or dirt where the tire meets the rim.
TPMS is useful, but it should not be your only check. Federal TPMS rules require a warning when a tire becomes significantly underinflated, and NHTSA says drivers should still check tire pressure monthly with an accurate gauge. 49 CFR § 571.138 and NHTSA TireWise both support regular pressure checks.
Bead Leak vs. Valve Stem Leak vs. Tread Puncture
| Leak Source | What You May Notice | Best Next Step |
|---|---|---|
| Tire bead | Bubbles where the tire meets the rim | Have a shop inspect, clean, and reseal the bead seat |
| Valve stem or TPMS stem | Bubbles at the valve base or valve core | Replace the valve core, valve stem, or TPMS service kit as needed |
| Tread puncture | Nail, screw, or bubbles from the tread area | Ask for a proper internal inspection and plug-patch repair if repairable |
| Cracked or bent wheel | Air loss continues after resealing; visible rim damage | Repair or replace the wheel before relying on the tire again |
Common Causes of Tire Bead Leaks in the Hyundai Sonata
Tire bead leaks on a Hyundai Sonata usually come from problems at the wheel rim or bead seat. The most common causes include:
- Rim corrosion: Moisture, road salt, and age can create rough spots where the tire should seal.
- Dirt or old sealant: Debris between the bead and rim can create a small air path.
- Bent wheel lip: Potholes, curbs, or road impacts can distort the rim enough to break the seal.
- Damaged tire bead: A torn, stretched, or pinched bead may not seal correctly.
- Improper installation: If the bead was not seated evenly during mounting, it may leak later.
- Valve stem leak: This is not a bead leak, but it can cause the same slow pressure loss.
- Chrome or painted wheel flaking: Flaking finish can lift the tire slightly away from the bead seat.
Note: A bead leak is not always the tire’s fault. If the wheel rim is corroded, bent, cracked, or flaking, a new tire may still leak until the wheel is repaired or replaced.
How Corroded Rims Affect Tire Bead Sealing
Corrosion makes the bead seat rough instead of smooth. Even a small rough patch can keep the tire bead from pressing evenly against the wheel. That tiny gap can cause a slow leak that becomes worse in cold weather, after driving, or after the vehicle sits.
Light surface corrosion may be cleaned during professional tire service. Heavy corrosion, pitting, cracks, or a bent rim can prevent a reliable seal. In those cases, bead sealer may only hide the problem for a short time.
How to Inspect Your Tire Bead for Damage
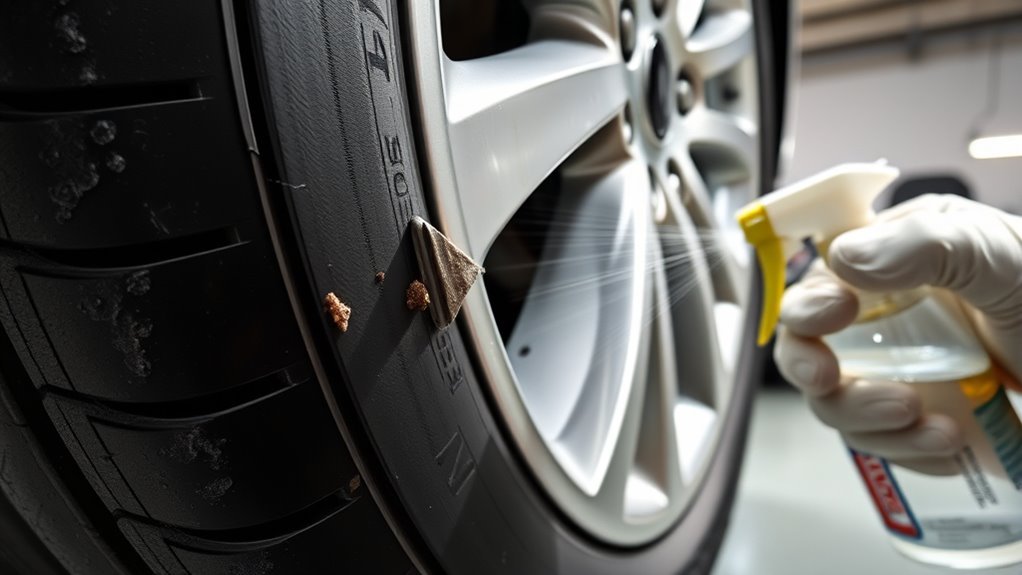
You can inspect for signs of a bead leak without removing the tire from the wheel. Work on a level surface, keep the car parked safely, and never put any part of your body under a vehicle that is not properly supported.
| Inspection Step | What to Do | What It Means |
|---|---|---|
| Check cold pressure | Use a gauge before driving or after the car has been parked for at least three hours. | A recurring pressure drop confirms a slow leak somewhere. |
| Inspect the rim edge | Look for corrosion, dents, cracks, flaking finish, or dirt around the bead area. | Damage or corrosion can stop the bead from sealing. |
| Spray soapy water | Spray around the full rim edge, valve stem, and tread. | Steady bubbles show where air is escaping. |
| Compare all tires | Check whether only one tire loses pressure or several do. | One tire points to a local leak; multiple tires may indicate weather pressure changes or neglected inflation. |
Diagnosing a Slow Tire Leak Step by Step
Follow this process before paying for a repair. It helps you avoid replacing the wrong part.
Step 1: Check the Cold Tire Pressure
Use a tire pressure gauge when the tires are cold. Compare the reading with the pressure listed on your Sonata’s door-jamb Tire and Loading Information Label or the correct owner’s manual for your model year. NHTSA recommends checking all tires, including the spare if equipped, at least once a month when cold.
Step 2: Look for Obvious Tread Damage
Inspect the tread for nails, screws, cuts, or embedded metal. If you find a puncture, do not assume it can be plugged from the outside. Industry repair guidance says proper tire repair requires removing the tire from the wheel, inspecting the inside, filling the injury, and sealing the inner liner. Repairs are generally limited to the tread area, and punctures larger than 1/4 inch (6 mm), shoulder damage, or sidewall damage should not be repaired. USTMA puncture repair procedures and Tire Industry Association repair guidance explain these limits.
Step 3: Test the Valve Stem
Spray soapy water on the valve cap area, valve core, and base of the valve stem. Bubbles here point to a valve issue, not a bead leak. If your Sonata has direct TPMS sensors, the service kit or sensor stem may need attention during tire service.
Step 4: Test the Bead Area
Spray soapy water where the tire meets the wheel on both the outer and inner bead areas if you can safely access them. A bead leak usually creates a line of small, steady bubbles along the rim edge.
Step 5: Recheck After Driving
After inflating the tire to the correct cold pressure, recheck it the next morning and again after 24–72 hours. A tire that keeps losing air needs service even if the leak is slow.
Pro Tip: Mark the suspected leak spot with chalk or painter’s tape before going to the tire shop. It helps the technician find the exact area faster.
What to Do After Finding a Tire Bead Leak
Once you confirm bubbles at the bead, choose the repair based on the condition of the tire and wheel.
- If the rim is dirty: A shop can demount the tire, clean the bead seat, apply proper tire lubricant or bead sealer if appropriate, and reseat the tire.
- If the rim has light corrosion: The bead seat may be cleaned and sealed, but the repair should be checked after a few days.
- If the rim is bent, cracked, or badly pitted: The wheel should be repaired or replaced. Bead sealer is not a reliable fix for structural damage.
- If the tire bead is torn or damaged: The tire should usually be replaced.
- If the valve stem leaks too: Replace the valve stem, valve core, or TPMS service parts while the tire is off the wheel.
After any repair, inflate the tire to the correct cold pressure and recheck it after the car has been parked overnight.
[Products Worth Considering]

The AstroAI 2 pack air chucks provide a heavy-duty, closed-flow locking design that helps keep air flowing during inflation while securely attaching to the valve stem. Built with 250 PSI rated brass components and compatible with Schrader valves, they feature 1/4" female NPT threads for a wide fit with common inflators. The straight tip and locking clip make filling tires and monitoring pressure more convenient.

This portable cordless tire inflator delivers up to 160 PSI with fast 17 L/min airflow to help you quickly top up tires and get back on the road. It features dual power mode, running on a 21V rechargeable battery or a 12V DC adapter for convenient roadside use. An automatic shut-off with digital pressure gauge helps prevent overinflation, and a built-in LED light improves visibility in low-light conditions.
Quick Fixes for Common Tire Bead Leaks
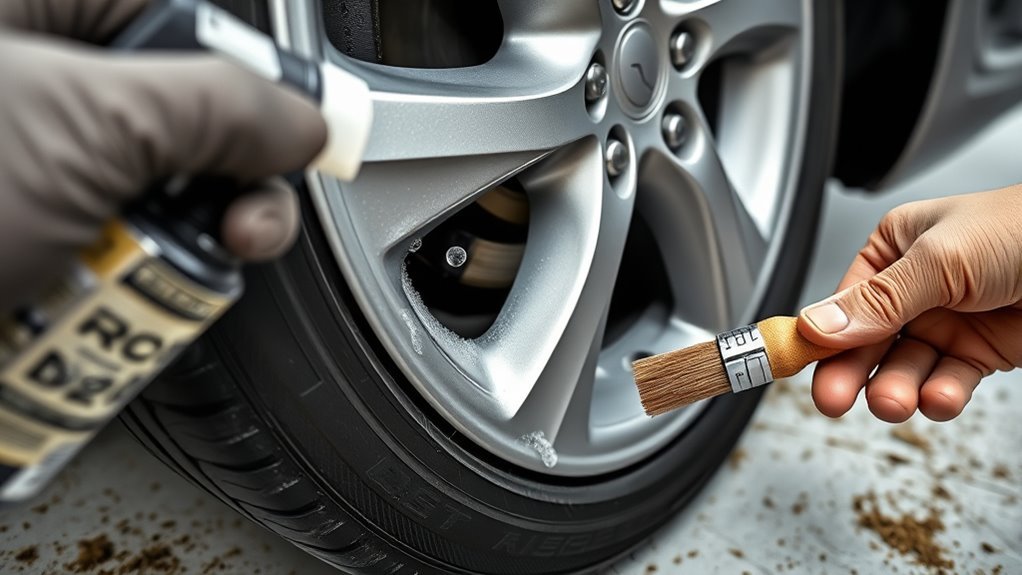
Most safe quick fixes are temporary checks, not permanent repairs. Here is what you can do before visiting a tire shop:
- Inflate to the correct cold pressure: Use the Sonata’s label or owner’s manual, not the tire sidewall maximum.
- Confirm the leak location: Use soapy water on the bead, valve stem, and tread.
- Remove visible debris: If dirt is sitting on the outside rim edge, gently clean the visible area without prying the tire bead.
- Install a valve cap: A missing cap does not seal the tire by itself, but it helps keep dirt and moisture out of the valve.
- Schedule tire service: Ask the technician to inspect the bead seat, tire bead, valve stem, TPMS hardware, and wheel condition.
Warning: Do not use flammable sprays, excessive pressure, or improvised methods to seat a tire bead. OSHA warns that tire bead seating uses pressurized air and can be hazardous when tire and wheel components are mismatched, damaged, or unsecured.
When Professional Repair Is Required
Get professional tire service if any of these are true:
- The tire loses pressure again after you inflate it.
- You see bubbles around the bead area.
- The wheel is corroded, bent, cracked, or flaking.
- The tire has sidewall damage, a bulge, or a damaged bead.
- The TPMS warning stays on after correct inflation.
- The tire was driven while very low or flat.
- You are unsure whether the leak is from the bead, valve, tread, or wheel.
OSHA’s tire service guidance emphasizes correct tire and rim matching, proper inflation practices, and secure mounting during bead seating. While some OSHA rim-wheel rules are written for workplace service settings, the safety lesson still applies to passenger tires: tire mounting and bead seating should be treated as high-energy procedures, not casual DIY tasks. OSHA bead seating safety guidance explains the hazard.
Maintenance Tips to Prevent Tire Bead Leaks
Good tire maintenance can reduce the chance of bead leaks and help you catch slow leaks early.
- Check pressure monthly: Check all tires cold, including the spare if your Sonata has one.
- Watch the TPMS light: Treat the warning as a sign to check pressure immediately.
- Clean wheels regularly: Rinse off road salt and brake dust, especially in winter climates.
- Avoid curb impacts: A small bend in the rim lip can create a bead leak.
- Inspect during rotations: Ask the shop to check for rim corrosion, valve stem wear, and bead-seat buildup.
- Replace valve stems when appropriate: Valve hardware is easier to service when tires are already off the wheel.
- Use the correct tire size: Follow the Hyundai owner’s manual and door-jamb label for your exact model year and trim.
A slow bead leak is easy to ignore, but repeated underinflation can shorten tire life, reduce fuel economy, and affect how your Sonata handles in an emergency.
What to Do When You Need New Tires or Wheels
If your tire bead is damaged or your wheel cannot hold a seal, replacement may be safer than repeated resealing. Before buying new tires for your Hyundai Sonata, check these points:
- Match the tire size, load rating, and speed rating to the vehicle label or owner’s manual.
- Inspect the wheels before mounting new tires.
- Ask the shop to clean the bead seat before installation.
- Replace damaged valve stems or TPMS service parts during mounting.
- Balance the tires after installation.
- Recheck cold pressure after the first day of driving.
If the old rim is corroded or bent, installing a new tire on it may not solve the leak. The wheel must be able to provide a smooth, undamaged bead seat.
Frequently Asked Questions
How do you stop a tire bead from leaking?
First confirm the leak with soapy water. If bubbles form around the rim, a tire shop usually needs to demount the tire, clean the bead seat, inspect the rim and tire bead, then reseat and seal the tire. If the rim is bent, cracked, or badly corroded, the wheel may need repair or replacement.
How much does it cost to fix a tire bead leak?
There is no universal price. A simple diagnosis or reseal may be a small shop service, but cost rises if the valve stem, TPMS parts, tire, or wheel must be repaired or replaced. Ask the shop for a quote after it inspects the wheel and confirms the leak source.
How can I tell if my Hyundai Sonata has a tire bead leak?
Inflate the tire to the correct cold pressure, then spray soapy water where the tire meets the rim. Steady bubbles along the rim edge usually point to a bead leak. Also test the valve stem and tread so you do not mistake a valve leak or puncture for a bead problem.
Can I drive with a slow bead leak?
Only long enough to get to a safe place or a tire service location if the tire is still properly inflated and the car feels stable. Do not keep driving on a tire that repeatedly loses pressure. Underinflation can overheat and damage the tire, reduce tread life, and affect handling.
Will tire sealant fix a bead leak?
Tire sealant may temporarily slow some small leaks, but it is not a dependable fix for rim corrosion, bead damage, a bent wheel, or a leaking valve stem. It can also make later tire service messier. For a bead leak, cleaning and inspecting the bead seat is usually the correct repair path.
Conclusion
A Hyundai Sonata tire bead leak is usually a slow leak at the tire-to-rim seal. You can often find it with a tire gauge, visual inspection, and soapy water test, but the actual repair may require demounting the tire, cleaning the rim, replacing valve parts, or repairing the wheel. Treat repeated pressure loss as a safety issue, not a nuisance. Check cold pressure monthly, use the correct Hyundai label or manual for PSI, and get professional tire service when bubbles appear at the bead or the wheel shows damage.
Sources
- NHTSA TireWise — tire pressure, TPMS, monthly checks, tire safety, and correct inflation pressure guidance
- 49 CFR § 571.138 Tire Pressure Monitoring Systems — federal TPMS warning threshold and owner-manual language
- U.S. Tire Manufacturers Association Tire Care Essentials — cold tire pressure checks and TPMS limitations
- USTMA Puncture Repair Procedures — proper tire repair limits and demounted inspection requirements
- Tire Industry Association Tire Repair — plug-patch repair guidance and non-repairable tire conditions
- OSHA Bead Seating Safety Guidance — hazards of tire bead seating and tire/rim mismatch

Related Articles

Danger of Using Summer Tires in Winter on a Hyundai Sonata
Potentially perilous, using summer tires in winter on your Hyundai Sonata can compromise safety—discover the hidden dangers that await you on icy roads.
Read More
Can You Mix Nitrogen and Air in Hyundai Sonata Tires? Answered
Discover the implications of mixing nitrogen and air in your Hyundai Sonata tires—are the benefits worth the risks? Explore the answer inside!
Read More
How to Tell If Hyundai Sonata Tires Are Too Old to Use Safely
Understand how to assess the age of your Hyundai Sonata tires and discover crucial signs of deterioration that could compromise your safety on the road.
Read More