
How to Use a Tire Spoon: Pro Technique for Mounting Tires
Use two tire spoons, a valve core tool, and an air compressor. Deflate the tire, break the bead, and clean the rim before you start. Find the drop center, then begin at the valve stem and pry the first bead over the rim with controlled pressure. For the second bead, keep the opposite side in the drop center and work with two spoons. Seat the beads, balance the wheel, and you’ll pick up the finer points next.
Key Takeaways
- Deflate the tire fully, remove the valve core, and clean the rim before starting.
- Use two tire spoons to work the bead gradually and maintain control.
- Push the tire into the drop center to create slack and reduce mounting force.
- Start near the valve stem, pry carefully, and alternate spoons to protect the rim.
- Seat the bead with air, then balance the wheel and check for vibration on test drive.
Gather Your Tire-Changing Tools
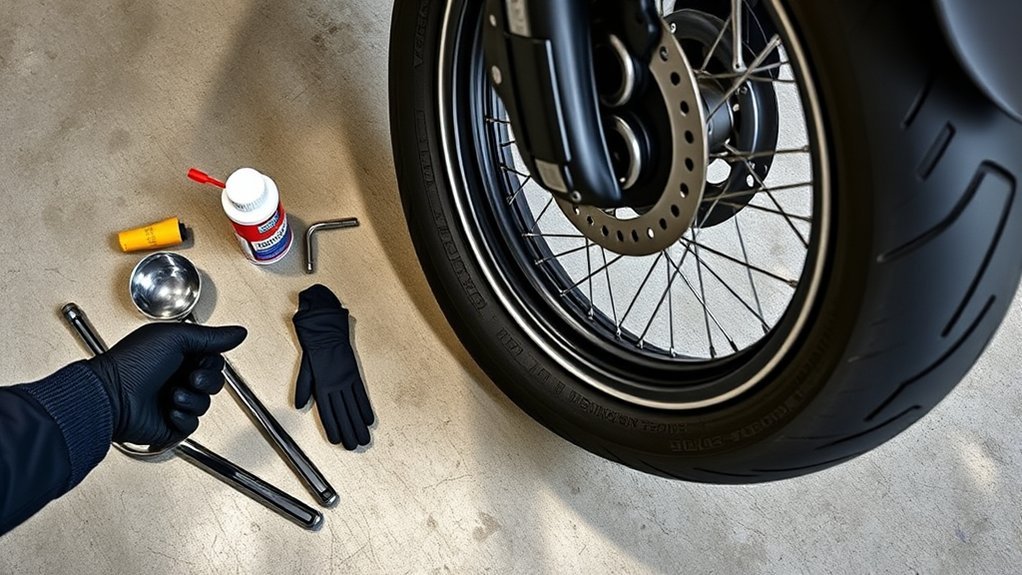
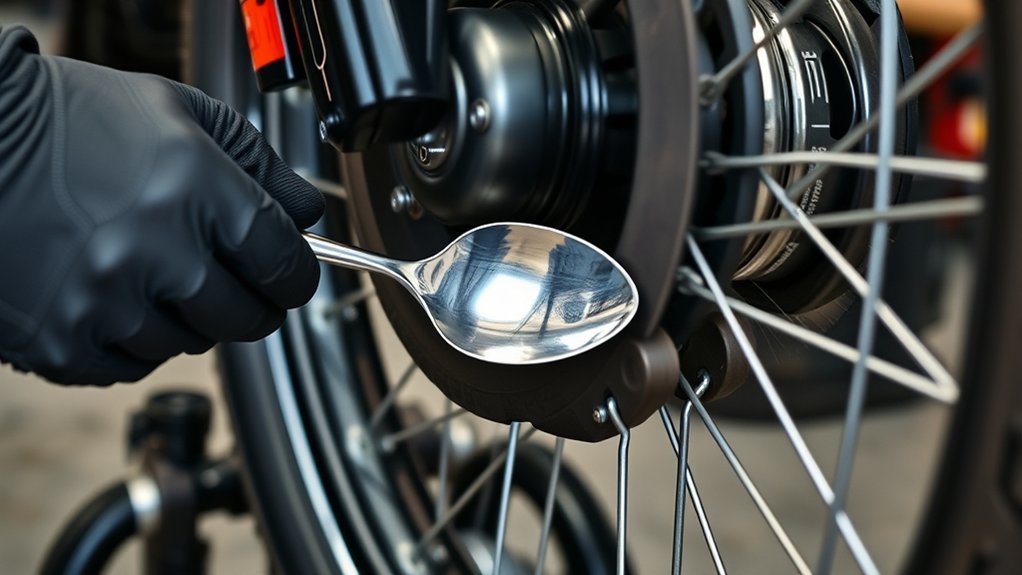
Before you start, gather the right tire-changing tools so the job goes smoothly. You’ll need two tire spoons to lever the tire bead over the rim during mounting; use both so you can control the rubber with less strain and more precision. Keep an air compressor with a tank nearby, because it helps seat the beads quickly once the tire is on the rim. A valve core tool makes valve core removal and reinstallation faster, cleaner, and less frustrating, so include one in your kit. If you plan to replace stems, add optional valve stem tools for a secure seal on the new tire. For final setup, a bubble balancer helps you verify balance, especially on smaller tires where even minor error matters. When you prepare these tools in advance, you work efficiently, reduce unnecessary effort, and keep control of the task from start to finish. Also, be aware that many run-flat tires require professional mounting to ensure optimal performance.
Break the Bead Without Damaging the Wheel
Start by removing the valve core so the tire can deflate fully and the bead loses pressure. Set the wheel on flat concrete so it can’t rock, scratch, or dent under load. Place a jack or trailer against the sidewall and press steadily to break the bead. Aim the force opposite the TPMS sensor, and keep it off the valve stem to avoid damage. Once one section drops free, rotate the wheel and repeat until the bead releases all the way around. Then flip the wheel and do the same on the other side. If the tire resists, reset your contact point and increase pressure gradually rather than jerking it. You’re trying to separate rubber from rim, not punish the wheel. A clean break the bead step gives you control, protects the hardware, and clears the way for the tire spoon. Once both beads are loose, the tire can move freely and you’re ready for the next stage. Maintaining proper tire pressure is crucial for optimal vehicle performance and safety.
Find the Drop Center First
First, spot the drop center by finding the narrowest section of the wheel barrel. Push the bead into that valley to create slack for the tire spoon. Then pry from the low point, not the rim edge, to reduce force and avoid damage. This technique is crucial for achieving optimal repair reliability during tire mounting.
Spot the Drop Center
The drop center is the narrow, lower section of the wheel barrel, and you need to locate it before you use tire spoons. Inspect the rim; the drop center sits lower than the surrounding barrel, giving you room to move tire beads with less force. If you misread it, you’ll fight the tire and slow the job. Use this quick check:
| Clue | What you see |
|---|---|
| Height | Lower section |
| Shape | Narrow barrel |
| Benefit | More leverage |
| Result | Easier mount |
When you spot it, you can place the tire where it works with you, not against you. That lets you pry with control, start at the valve stem, and keep the process efficient. Know the drop center, and you claim cleaner, safer tire work.
Push Bead Into Center
Push the tire bead into the drop center before you try to lever it over the rim, since that narrower section of the wheel barrel gives you the slack you need to work without fighting bead tension. You can spot the drop center by finding where the barrel width decreases, usually opposite the mounting surface. Keep the bead seated there with your hands or a tire spoon. This push bead into center step lowers tension so the tire moves cleanly instead of binding. Work around the full circumference and make sure the bead stays in the drop center everywhere before you finish mounting. That steady positioning helps you avoid pinching the bead, protects the tire, and makes the job smoother, faster, and more controlled.
Pry From the Valley
Once the bead is seated in the drop center, you can use that valley to your advantage when prying the tire off the rim. Find the drop center by spotting the narrowest section of the wheel barrel; that’s where the bead can move with the least resistance. Start at the valve stem, where the tire is usually less rigid, and work your tire spoon into the bead. Push the tire down into the drop center as you pry, because that extra slack gives you leverage and reduces strain. Keep the opposite side of the bead trapped in the valley while you advance. This method helps you remove or mount the tire with control, and it lowers the chance of scuffing the rim or pinching the tire.
Start at the Valve Stem
Start at the valve stem to create your initial point of leverage and make the tire easier to lift off the rim. You place the spoon’s hook end around the valve, then seat it firmly so it grips the bead without slipping. Stand opposite the valve and push the tire into the drop center; that move gives you the slack you need and reduces resistance. With the first spoon anchored, use a second spoon to lift the tire over the rim while you maintain pressure in the center channel. Keep your motions controlled and deliberate, not forced. As you work, advance a few inches at a time, always returning to the valve area for steady leverage. This method keeps the bead manageable and lets you work with the wheel instead of against it. You’re not fighting the tire—you’re directing it, one clean pry at a time. Having the right tire plug kit can also facilitate quick roadside repairs if you encounter a puncture during your tire work.
Pry the First Bead Over the Rim
Start at the valve stem and use the hook end of the tire spoon to get under the first bead with solid leverage. Keep the opposite side of the tire pushed into the drop center so you’ve got enough slack to lift the bead over the rim. Use a second tire spoon to hold the bead in place while you work the first spoon around the rim. This technique is crucial for preventing common punctures that can lead to air loss during installation.
Start at Valve Stem
Position the tire with the valve stem facing you, then use the hook end of the tire spoon to catch the bead right at that point. This gives you the cleanest leverage for starting the bead on the tire. Keep the motion controlled and direct.
- Hook the spoon under the bead at the valve stem.
- Pry up while you press the tire downward to free space.
- Hold the opposite side with your foot or body weight.
- Alternate spoon and hands as you work around the rim.
Don’t rush; each lift should move the bead a little farther over the rim. By starting here, you reduce strain and keep the process efficient. Stay deliberate, stay compact, and let the tool do the work.
Keep Bead in Drop Center
Keep the bead in the drop center as you pry the first bead over the rim so you’ve got the most working room. Position the valve stem opposite you, then press the tire into the drop center before you lever the bead. Start at the valve stem with the hook end of the spoon for bite and control. Stand on the bead on the opposite side to keep the tire seated in the drop center and stop it from climbing the rim.
| Step | Action | Result |
|---|---|---|
| 1 | Center bead | More clearance |
| 2 | Pry at stem | Easier start |
| 3 | Hold opposite side | Better control |
Keep your pry angle steady, and use the flat side of the second spoon to spare the sidewall.
Use Two Tire Spoons
With the tire sidewall facing up, use the first spoon at the valve stem to pry the first bead over the rim, then push the tire down into the drop center as you work for extra clearance. Insert a second tire spoon opposite the first to lock the bead and keep the rim under control. Work in sequence:
- Seat the tire so the sidewall faces up.
- Pry the first bead with the tire spoon at the valve stem.
- Drop the tire into the center to relieve tension.
- Move both spoons around the rim until the first bead clears.
Use the flat faces against the rim to avoid gouging. This method gives you leverage, protects the bead, and lets you mount with precision and freedom.
Remove the Tire and Swap the Valve Stem
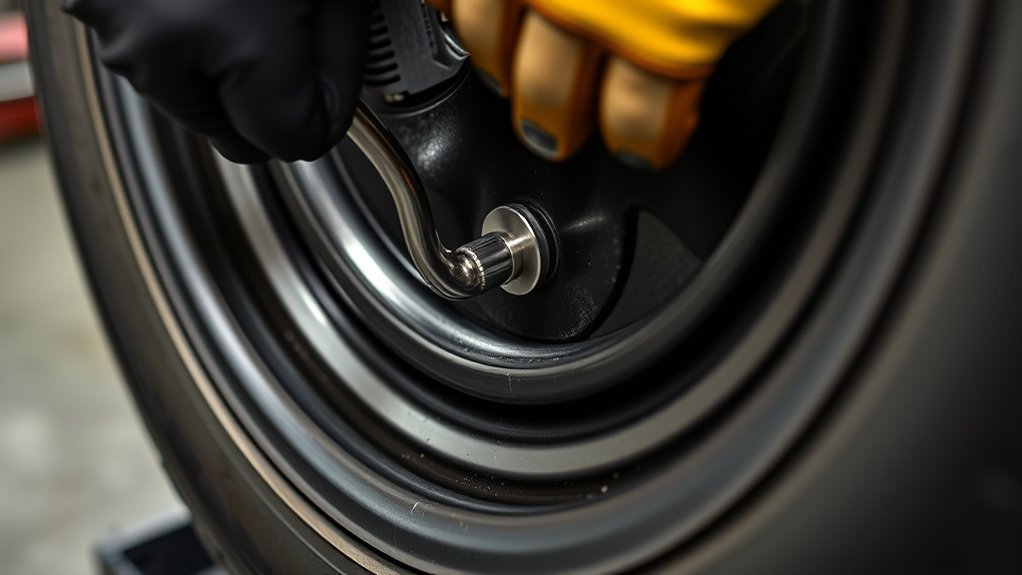
First, remove the valve core to let the tire deflate fully; that makes the bead easier to break and the tire easier to handle. With the tire relaxed, use your tire spoon to lever the bead off the rim and expose the valve stem. Hook the old valve stem with the spoon and pull steadily until it breaks free. If you’ve got a valve core tool, use it for fast core removal and reinstallation; it saves time and keeps the job controlled. Fit the new valve stem by pushing it straight into the valve hole until it seats flush and secure. Don’t twist it sideways or you’ll risk a bad seal. Reinstall the valve core, inflate the tire, and inspect the stem area for leaks. If air escapes, reset the stem before you mount the tire back on the wheel. This process is especially helpful for routine tire swaps that can save you time and money over time.
Clean the Rim Before Mounting
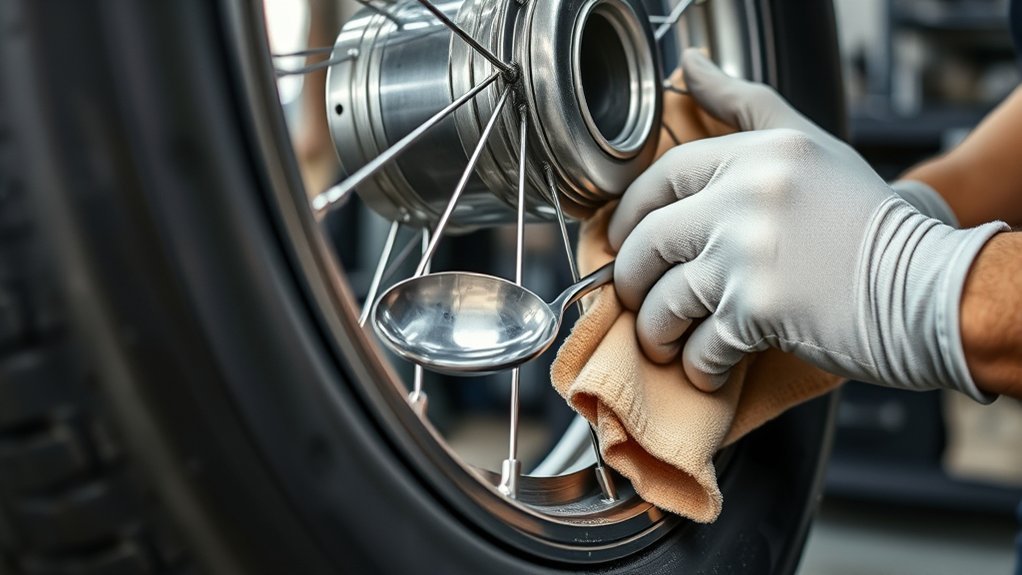
Before you mount the tire, clean the bead area with a Scotch-Brite pad to remove old sealant, dirt, and residue. You should also check the rim’s inner lip and valve stem area for rust, corrosion, or debris that could stop a proper seal. Remove any old wheel weights so the bead surface stays smooth and the tire seats evenly. Additionally, ensuring consistent mileage through proper tire maintenance can help extend the life of your tires.
Remove Old Residue
Even after the old tire is off, you need to clean the rim bead area thoroughly so the new tire seals correctly and won’t leak. With a clean rim, you can remove old residue fast and avoid sealing problems. Use a Scotch-Brite pad to strip off sealant, dirt, and grime, then inspect the bead seat for smooth contact.
- Scrub the bead area.
- Remove old wheel weights.
- Wipe away loosened residue.
- Check for smoothness and imperfections.
Don’t leave contamination behind; it can block proper seating and cause imbalance. You’re freeing the wheel from debris, so the new tire mounts easier and performs longer. Keep the surface precise, clean, and ready for the next step.
Prep Bead Surface
A clean bead surface is essential before you mount the tire, so use a Scotch-Brite pad to scrub the rim bead area and remove any old sealant, residue, or grime. As you prep bead surface, inspect the rim for nicks, dents, or sharp edges that could break the seal and let air escape. Clean around the valve stem carefully; trapped debris there can distort the bead and hurt performance. Strip off any old wheel weights before you install the tire, since leftover weights can throw off balance and seating. Don’t leave old sealants behind either, because even a thin film can compromise fit. A smooth, debris-free rim gives you the best chance at a tight seal, reliable inflation, and a clean, liberated ride without leaks or rework.
Mount the Second Bead With Two Spoons
Start at the 6:00 position on the unmounted bead and insert one tire spoon to lift the bead over the rim, then use a second spoon to hold that section in place while you lever the first spoon farther along the bead. Keep the tire steady, and you’ll free the second bead without fighting the tire machine. Use the flat faces of both spoons to protect the rim and bead as you work. Move in controlled steps toward 12:00, keeping tension on the tire so the bead doesn’t slip back.
- Pry a small section.
- Lock it with the second spoon.
- Advance the first spoon.
- Push the tire into the drop center if resistance rises.
Working methodically around the rim, remember that proper tire fitment is crucial for safety and performance. Then inspect the full circumference for gaps. When the bead sits evenly, you’re ready for the next stage of seating and balancing.
Pop the Beads Back on With Air
With the tire positioned so the inner bead rests in the rim’s drop center, use an air compressor to fill the tire and push compressed air into the casing until the beads pop onto the rim. Keep the valve core installed if you need a faster blast, then inflate steadily and watch both sidewalls. Your goal is to pop the beads back on cleanly, not overwork the setup. If a bead hesitates, press the tire inward at the sidewall while air flows, or brace it against an old tire or solid surface to create a small gap and help the bead climb. Stay alert for any visible gap between rim and tire; that gap means one bead hasn’t seated yet. Adjust pressure and position until each bead snaps into place evenly. Once both beads seat, keep the tire stable and continue inflating to your target pressure. This process ensures you achieve dependable grip and optimal performance from your all-season tires.
Balance the Wheel and Test Drive
Once the tire is mounted, place the wheel on a bubble balancer and let it settle for 2 to 3 minutes so you can center the bubble and add weights where needed. This step helps you balance the wheel with precision, not guesswork. Keep the wheel still, then correct the heavy spot until the bubble holds center.
- Install weights gradually and recheck after each change.
- Confirm the center cap is back on before remounting.
- Tighten the wheel to spec and lower the vehicle.
- Test drive on a smooth road, then at highway speed.
During the test drive, feel for vibration, shimmy, or steering pull. If the tire stays calm at speed, your balance is good. If you sense oscillation, return to the balancer and adjust again. Keep monitoring tread wear and handling over time; irregular patterns can expose tire performance in wet conditions before it becomes unsafe.
Frequently Asked Questions
How to Properly Use a Tire Spoon?
You use a tire spoon by hooking the curved end at the valve stem, keeping the bead in the drop center, and prying with steady leverage. Stand opposite the work to keep pressure on the tire, and use proper lubrication plus the flat side to protect the rim. Alternate two spoons for controlled lift, then inspect seating evenly. These tire maintenance tips help you work safely, precisely, and with freedom.
What Is the 3 Tire Rule?
The 3 tire rule means you replace the fourth tire when you’ve changed three, so you keep tread depth and wear balanced. You can use this as one of your tire maintenance tips to protect handling, AWD drivetrains, and fuel economy. It also supports precise tire installation techniques, since matched tires reduce stress, noise, and vibration. You’re choosing safer, freer movement on the road, not letting uneven wear control you.
What’s the Easiest Way to Put a Tire on the Rim?
The easiest way to put a tire on the rim is to lubricate the tire bead, align the orange dot with the valve stem, and start the second bead at 6:00 while you keep the bead in the drop center. For example, on a 17-inch wheel, you’ll cut force sharply with proper rim compatibility. Then use tire spoons to pry while pushing inward, and you’ll finish faster, safer, and with less struggle.
What Is the 7 7 Rule for Tires?
The 7/32 rule says you should replace your tires when tread depth drops to 7/32 of an inch. You’ll keep better wet-weather grip and reduce hydroplaning risk by checking often with a gauge or penny test. Use tire maintenance tips and tire pressure management to slow uneven wear and preserve control. In rain or snow, you can’t afford shallow tread, so inspect each tire regularly and act before performance falls.
Conclusion
With the right tire spoon technique, you’ll seat both beads cleanly and keep the wheel from taking a beating. Think of the drop center as your tire’s home base, and use steady pressure, not brute force, to guide the rubber into place. Once the beads pop and the wheel spins true, you’re almost done. Finish by balancing the assembly and test driving it so you can catch any wobble before it grows.
Related Articles
How to Unmount a Tire: Tools, Steps & Pro Tips for Clean Removal
Start unmounting a tire with the right tools and pro tricks, then discover the cleanest way to avoid costly damage.
Read More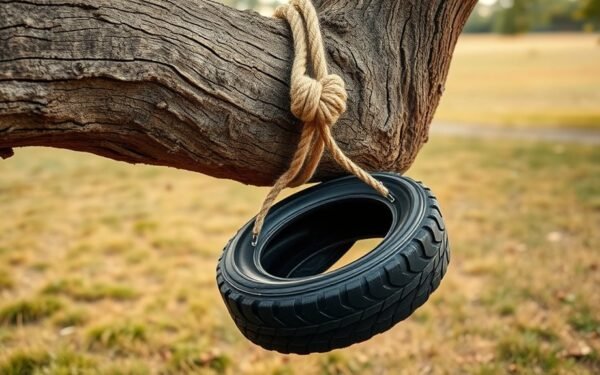
How to Tie a Tire Swing: Safe Knot & Hanging Guide
D**iscover the safest knot, rope, and branch choices for a tire swing, plus expert tips that could prevent a dangerous mistake.
Read More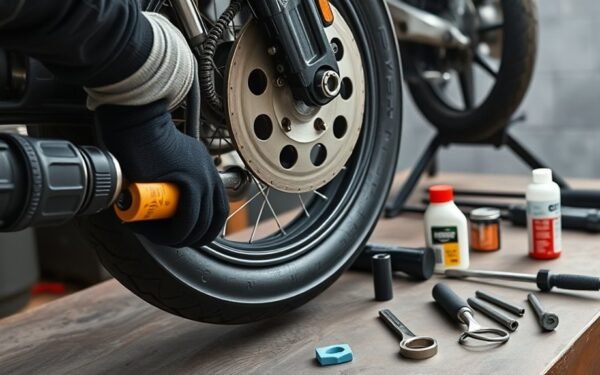
How to Take Off a Motorcycle Tire: Full Step-by-Step Guide
Discover the easiest way to remove a motorcycle tire safely, and learn the crucial steps that make reinstallation smoother.
Read More