
How to Tie a Tire Swing: Safe Knot & Hanging Guide
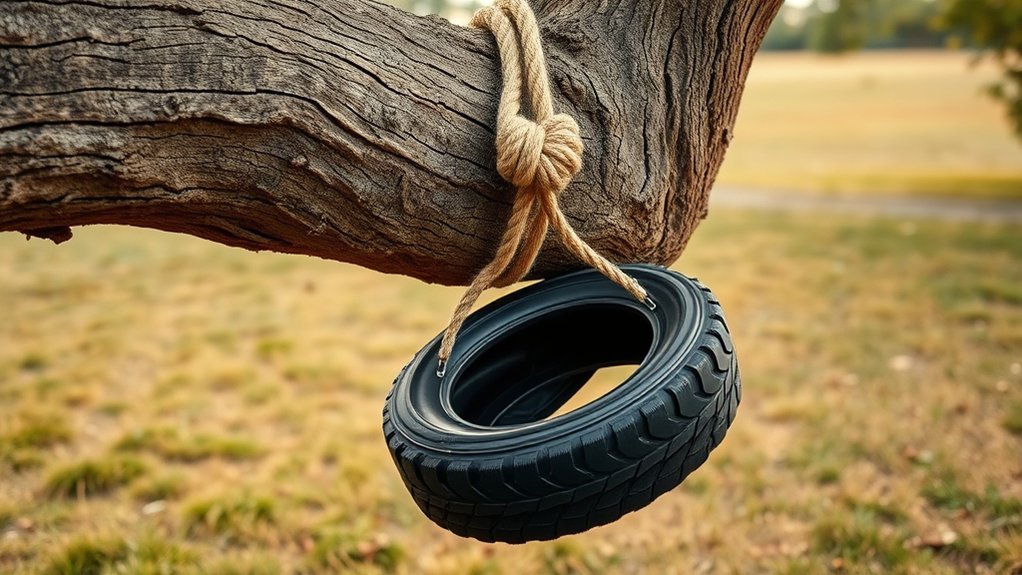
Use a nylon or polypropylene rope rated for at least 4,000 pounds and a sound tire with no cracks or bulges. Hang it from a healthy branch 8 to 10 feet high and at least 6 inches thick. Tie a bowline, then add a Yosemite finish to lock it. Set the tire over soft ground, load it gradually, and inspect the rope, knots, and anchor often. A few more details can make it safer still.
Key Takeaways
- Use weather-resistant nylon or polypropylene rope rated well above the swing’s expected weight.
- Choose a sound tire with no cracks, sharp debris, or damage, ideally 15 to 20 inches wide.
- Hang the swing from a healthy branch at least 6 inches thick and 8 to 10 feet high.
- Tie a secure bowline, then finish with a Yosemite knot to prevent slipping.
- Inspect the rope, knot, and anchor regularly, and replace worn parts before use.
Choose the Right Rope and Tire
Before you hang the swing, choose a rope and tire that can safely handle repeated use and outdoor exposure. Make sure you select nylon or polypropylene rope; both resist weather, UV wear, and abrasion better than weak natural fiber. Verify a minimum breaking strength of 500 pounds so the line can absorb user weight and dynamic loading without failure. Choose a tire with no cracks, cuts, or bulges, and prefer a standard 15- to 20-inch diameter for balanced support and predictable motion. A smooth tread and sidewall reduce scrape hazards and improve comfort. If you can, pick a tire rated for outdoor use, since it’ll tolerate sun and rain longer. Inspect the bead and inner cavity for trapped wire or sharp debris before installation. When you choose durable materials, you protect safety, extend service life, and keep this simple ride dependable for everyone. Additionally, selecting tires like the Fullway HP108 can provide reliable performance and comfort for swings.
Find a Safe Hanging Point
Choose a sturdy tree branch that’s at least 8 to 10 feet high and 6 inches in diameter, and make sure it’s healthy, solid, and free of rot, splits, or other damage. Use branch selection tips to confirm the limb can support dynamic load, not just static weight. Conduct a tree health assessment by checking bark, flex, and nearby limbs for decay or weakness. You should match the hanging point to the swing’s intended use and expected rider weight so the setup stays within safe limits. Choose a site with a clear swing path; remove rocks, fences, stumps, and structures that could strike a rider. Verify the ground below is level and preferably covered with soft grass or mulch to reduce impact if someone falls. These swing safety considerations help you claim a safe, durable play space without surrendering control to avoidable hazards. Additionally, ensure the hanging point is suitable for dynamic loads to guarantee safety during play.
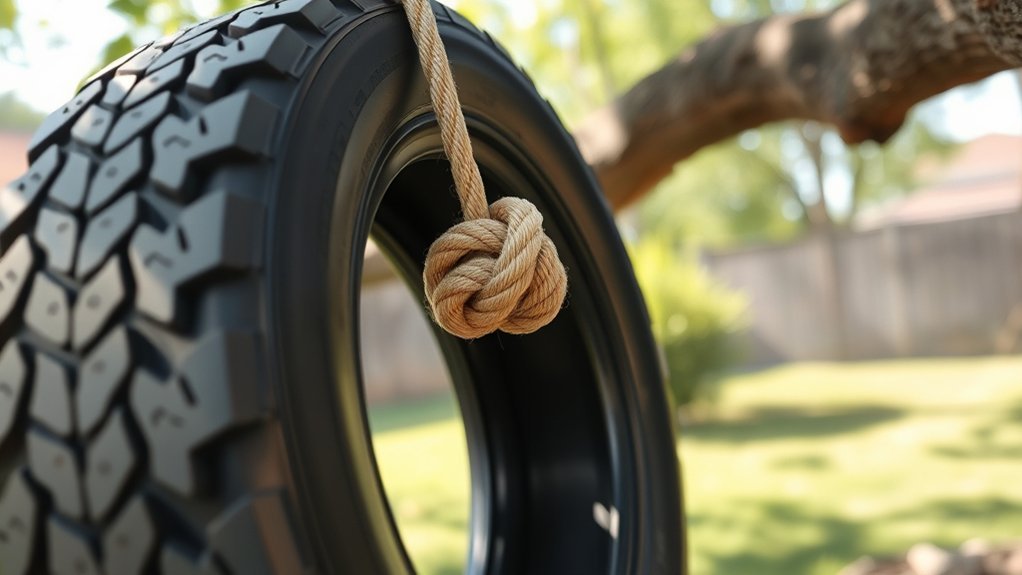
Tie the Bowline Knot
To secure the tire to the branch, tie a bowline knot in the rope. Form a small loop with the working end over the standing part, then pass the tail up through the loop from underneath. Wrap it around the standing part and bring it back down through the same loop. Dress the knot so each turn lies flat and the load path stays clear. Leave enough tail beyond the knot so you can inspect and secure it later. This method gives you a fixed loop that won’t cinch down under normal load, which helps you keep control while you build a swing that feels free, stable, and safe. Use careful knot tying techniques, follow rope safety practices, and check for twists, glazing, or abrasion before use. If you’re comparing bowline knot variations, keep this version simple and reliable for the main suspension point. Consider using reinforced sidewalls to enhance the security of your tire swing setup.
Add a Yosemite Finish
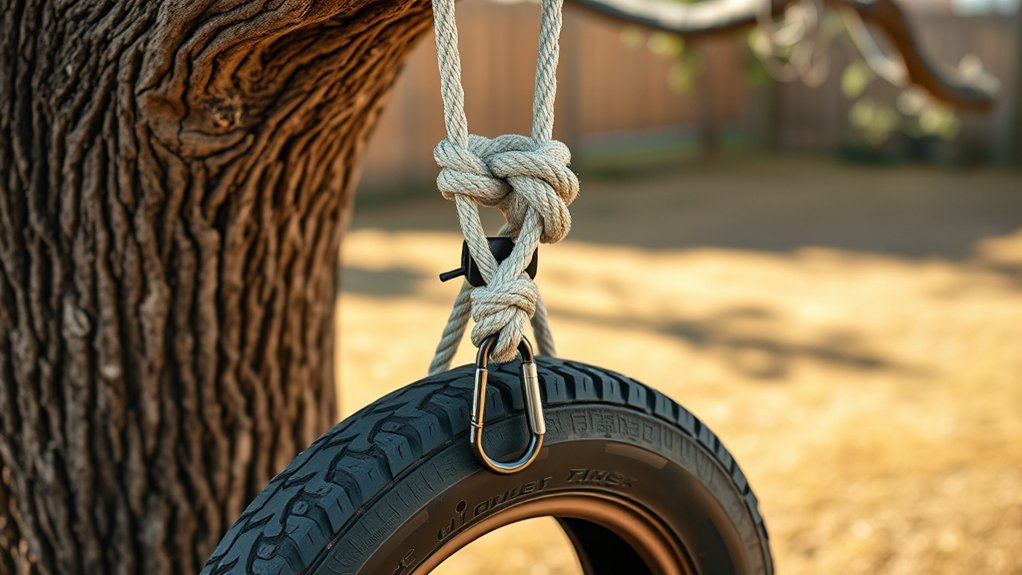
A Yosemite finish adds a second layer of security to the bowline by locking the tail against the standing part. You start with a standard bowline, then wrap the tail around the standing part. Next, you thread the tail up through the loop beside the standing end, forming the Yosemite finish. This extra turn improves knot security and helps the knot resist loosening under movement and load. Pull both the standing part and the tail snug so the wraps seat cleanly and the rope lays flat. Good rope management means you leave no slack, twists, or crossed strands that could compromise the hitch. Check your work before you trust it: the finish should dress neatly and hold firm without creeping. For a tire swing, that’s how you keep your setup controlled, reliable, and free from avoidable failure. Inspect the Yosemite finish regularly for wear, abrasion, or slippage, and retighten if needed to preserve safety. Additionally, ensuring that your tire choice is suitable for your swing’s intended use can enhance overall safety and performance.
Set the Tire Swing at the Right Height
With the knot dressed and secured, set the tire swing at a height that’s safe and easy to use. For most children, position the seat 18 to 24 inches above the ground; that swing height supports climbing, mounting, and dismounting without unnecessary strain. Keep at least 6 feet of clearance space below the swing so a fall doesn’t turn into injury. If younger children will use it, lower it slightly for easier access. If adults will ride, raise it to about 3 feet off the ground to match longer legs and keep movement comfortable. Check the surrounding area for hard surfaces, roots, or rocks that reduce safety. Make user adjustments as bodies, ages, and uses change; your setup should serve freedom, not limit it. Recheck the height regularly, because rope stretch and growth can shift the swing out of spec. Additionally, maintaining the right tire pressure is crucial for ensuring a safe and enjoyable swing experience.
Test the Knot Before First Use
Before anyone rides, test the knot by loading the swing gradually so you can confirm it holds securely under weight. Use controlled pressure, not a sudden drop, and watch for slip, twist, or stretch. These knot security tips help you verify the bowline’s tail wraps the standing part correctly and that the Yosemite finish stays snug. Apply practical testing techniques: tug down on the seat, then release and repeat. Inspect the attachment point and rope surface during each pull; any abrasion or deformation means you should stop. Safety reminders matter here because first use is the most revealing check.
Load it gradually, tug to test, and inspect every connection before anyone rides.
- Load slowly in stages.
- Tug test for movement.
- Recheck every connection.
If the knot stays tight and the setup remains stable, perform a final walk-around before anyone plays. You’re not asking permission from risk; you’re confirming control. Additionally, ensure to have a reliable spare tire kit on hand for any unexpected emergencies while enjoying the swing.
Check Rope Strength and Weight Limits
You should choose a rope with a minimum tensile strength of 500 pounds, and nylon or polyester gives you better durability and weather resistance. You also need to verify the swing area’s weight limit so it can support the tire and the combined load of every user. Inspect the rope regularly for fraying, wear, or damage, because any defect can reduce its safe working strength. Additionally, consider selecting a tire with a high treadwear rating to ensure it maintains durability and performance over time.
Rope Strength Basics
Strong rope is the foundation of a safe tire swing. You should choose rope types like nylon or polyester, since they deliver higher tensile strength than cotton or jute. A climbing rope rated around 4,000 to 6,000 pounds often works well when the manufacturer approves it for your setup. For freedom with control, build in margin: use rope that can hold at least three times the intended load to handle dynamic forces from swinging.
- Read the label and verify the published weight limit.
- Inspect for frays, glazing, cuts, or UV wear before every hang.
- Confirm the rope can support the combined users plus motion.
When you select properly rated rope, you create a liberated ride that stays secure under real movement and real use.
Weight Limit Checks
Check the rope’s tensile strength against the total load of the swing system, including all riders and any added motion, and make sure it exceeds that load by at least 25%. Use combined weight calculations before you hang the tire, then compare the result with the rope’s rated capacity. For nylon or polyester swing rope, expect typical limits from 200 to 1,000 pounds, depending on diameter and construction. Confirm the tree limb or beam can carry the same load without flex or cracking. Do a weight distribution analysis if more than one person’ll ride, and keep everyone within safe user limits. Recheck fraying, discoloration, and other wear, because damage reduces capacity fast. If the numbers don’t clear margin requirements, stop and upgrade the line, hardware, or support before use.
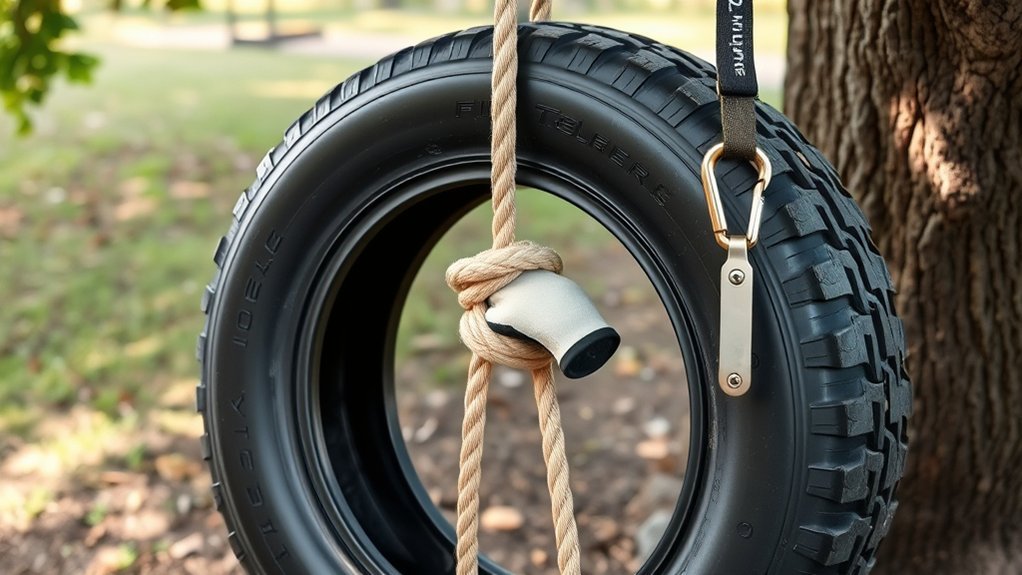
Inspect the Rope and Attachment Points
Inspect the rope for fraying, cuts, or other wear that could weaken it under load. Check each anchor point to confirm it’s stable, secure, and free of rust, looseness, or damage. Verify that the rope and hardware can support the swing’s full load, including the rider and any dynamic movement. Regular tire pressure checks can help ensure your swing setup remains safe and reliable, just as they do for your vehicle.
Rope Wear Check
Every few weeks, examine the rope for fraying, abrasion, or other signs of wear that could weaken it, and make sure the attachment points are still tight, stable, and free of damage. Follow rope maintenance tips by checking inspection frequency every few weeks, and more often during heavy use. Track fraying signs near knots, bends, and contact points. Use a strong nylon or polyester rope, since weather can degrade weaker fibers.
- Run your hand along the rope to detect soft spots.
- Verify knots haven’t loosened or shifted.
- Replace any worn section before use.
These checks protect your swing’s freedom to move safely while keeping the load path intact.
Anchor Point Stability
A secure tire swing starts with a sturdy anchor point, such as a healthy tree branch or a metal frame rated to hold the swing and its users. You should choose anchor point materials that resist weather and stress, then inspect the branch, beam, or frame for rot, cracks, corrosion, or movement. Verify the anchor point location gives clear space around the swing, free from walls, fences, and other hazards. Check anchor point height so the tire hangs high enough to clear the ground, yet low enough for safe mounting. Use a durable, weather-resistant rope, and confirm each attachment point stays tight and aligned. Recheck the knot and support hardware often; stable anchoring gives you the freedom to swing with confidence and control.
Load-Bearing Inspection
Because the swing carries dynamic loads, you should inspect the rope and every attachment point before each use. Check rope durability for fraying, glazing, cuts, or UV damage; if you see wear, replace it. Confirm the branch or beam can still meet the required load capacity and shows no rot, cracks, or flex. Verify knot security at the bowline with Yosemite finish: it must sit tight, dress cleanly, and resist slipping under tension. Set the swing at a height that limits leverage on the system.
- Run a hand and eye check along the full rope length.
- Tap and probe the anchor point for hidden weakness.
- Reinspect after storms or heavy use.
These steps keep your swing safe, dependable, and ready for free play.
Maintain the Swing Over Time
To keep your tire swing safe and reliable, inspect the rope regularly for frays, wear, or other signs of deterioration, and check the attachment points on the tree or structure at least once a month, especially after storms or heavy winds. These swing maintenance tips keep your setup secure and free. During seasonal inspections, clean the tire and rope to remove dirt and debris that can abrade fibers or weaken knots. If you see slippage, uneven hanging, or shifting load, re-tie or adjust the knot immediately. Don’t ignore small defects; they can escalate into failure under dynamic motion. Replace the rope every few years, sooner if UV exposure, moisture, or repeated use has degraded it. Treat each check as a safety reminder: you’re protecting your freedom to swing hard without risking collapse. Keep a written log of inspections, repairs, and replacement dates so you can track wear trends and act before trouble starts. Additionally, ensure that the rope is rated for outdoor use to withstand severe weather conditions and maintain its integrity over time.
Frequently Asked Questions
What Type of Tire Works Best for a Swing?
A heavy-duty passenger or light truck tire works best because you need thick sidewalls, minimal cracks, and no exposed steel belts. You should choose a tire material that’s weathered but structurally sound, then inspect for dry rot before hanging it. Keep swing height moderate for safer motion and easier mounting. Follow installation tips: drill drainage holes, clean thoroughly, and avoid overly large or damaged tires so you can swing freely and securely.
Can I Use a Chain Instead of Rope?
Yes, you can use chain instead of rope if you choose tire swing materials rated for outdoor loading. Chain durability is usually higher than rope, but you must protect against pinch points and corrosion. Did you know many failures happen from worn hardware, not the chain itself? You should match safety standards, use galvanized or stainless steel chain, and inspect links regularly so you can swing freely and securely.
How Far Apart Should Support Points Be?
Space your support points far enough apart to keep the swing centered and the rope vertical at rest, usually 3 to 6 feet apart, depending on swing height and tire size. You should verify support strength and weight capacity before you hang anything. Keep the span wide enough to prevent twisting, but not so wide that you lose control or increase lateral load. Test slowly, then adjust for safe freedom.
Should the Tire Be Cleaned Before Hanging?
Yes—clean it before you hang it. If you’ve ever seen a child track grease from a dusty tire onto a deck, you know why. You should scrub off mud, oil, and loose rubber for better tire maintenance and swing safety. Use mild detergent, a stiff brush, and rinse thoroughly; avoid solvents that can weaken the rubber. Clean dry rubber lets you build a freer, safer play space.
What Weather Affects Tire Swing Safety?
Wet, icy, windy, and UV-heavy weather all affect tire swing safety. You should monitor tire durability because rain adds weight, freezing makes surfaces brittle, and wind increases side loading. Sunlight and heat speed cracking, so environmental conditions matter year-round. After storms, inspect ropes, hardware, and the tire for wear. Follow maintenance tips: dry the swing, replace frayed parts, and keep the setup free enough that you can move safely.
Conclusion
By now, you know how to choose strong rope and a sound tire, anchor the swing to a secure point, and tie a bowline with a Yosemite finish. Set the height carefully, test the setup, and confirm the load ratings before anyone rides. A well-installed tire swing should hang steady, not sway into danger—like a clean vertical line from branch to tire. Keep inspecting knots, rope, and hardware so your swing stays safe over time.
Related Articles

How to Take Off a Motorcycle Tire: Full Step-by-Step Guide
Discover the easiest way to remove a motorcycle tire safely, and learn the crucial steps that make reinstallation smoother.
Read More
How to Remove Lug Nuts From a Tire: Tools, Torque & Tips
Need the right tools and torque to remove stubborn lug nuts safely, and learn the tricks that keep you moving.
Read More
How to Release Air From a Car Tire: Fast & Easy Deflation
Fast, safe tire deflation methods help you control pressure precisely, but which tool works best depends on your exact situation.
Read More