
How to Vulcanize a Tire: Complete Cold & Hot Repair Guide
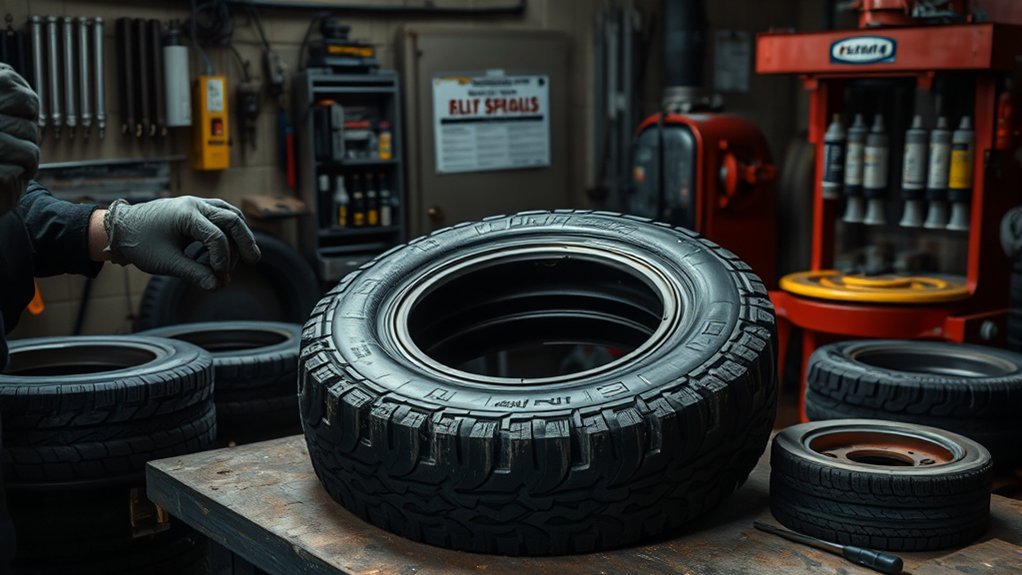
You can vulcanize a tire only when the damage falls within safe repair limits. For most passenger and light-truck tires, that means a small puncture in the repairable tread area, not the shoulder or sidewall. The tire should be removed from the wheel, inspected from the inside, repaired with the correct repair unit, cured as directed, and checked for leaks before it returns to service.
Quick Answer
To vulcanize a tire, first confirm the puncture is repairable, then demount the tire, inspect the inside, clean and buff the injury area, apply the correct vulcanizing cement, install a proper stem-and-patch or combination repair unit, cure it according to the product instructions, and test for leaks.
Key Takeaways
- Repair only safe tread-area punctures; do not vulcanize sidewall, shoulder, bulge, large-cut, or structural tire damage.
- A permanent repair requires the tire to be removed from the wheel so the inside can be inspected.
- Use a proper plug-and-patch or one-piece combination repair unit, not a patch alone or plug alone.
- Cold vulcanizing depends on chemical bonding, while hot vulcanizing uses controlled heat and pressure in a shop-grade press.
- Always follow the repair-material maker’s dry time, cure time, pressure, and temperature instructions before returning the tire to service.
At a Glance
| Time Required | About 30 to 90 minutes for inspection and repair, plus the repair material’s required cure or cool-down time. |
| Difficulty | Advanced. Permanent passenger and light-truck tire repairs should be handled by a trained tire technician. |
| Tools Needed | Tire machine, inspection light, probe, tire spreader, buffing tool, vacuum, vulcanizing cement, repair unit, stitcher, innerliner sealer, PPE, soapy water, and a vulcanizing press for hot repairs. |
| Cost | Varies by tire size, damage type, repair method, and shop labor. Replace the tire if the damage is outside safe repair limits. |
Warning: Do not vulcanize a tire with sidewall damage, shoulder damage, exposed cords, a bubble, a large cut, a puncture larger than 1/4 inch / 6 mm, overlapping repairs, or signs it was driven flat. Replace the tire instead.
NHTSA reports 511 traffic fatalities in tire-related crashes in 2024, so a tire repair should be treated as a safety job, not a shortcut.
Before You Start: Know What Can and Cannot Be Repaired
Before you choose a vulcanizing method, decide whether the tire should be repaired at all. The U.S. Tire Manufacturers Association says repair should be considered only when the damage is limited to the tread area and the puncture injury is no greater than 1/4 inch / 6 mm.
A proper permanent repair also requires the tire to be removed from the rim or wheel assembly. That inside inspection matters because a nail or screw can hide innerliner, belt, or sidewall damage that you cannot see from the outside.
- Repairable: a small, straight puncture in the center tread area, after inside inspection confirms no hidden damage.
- Not repairable: sidewall damage, shoulder damage, a puncture over 1/4 inch / 6 mm, a long cut, exposed cords, a bulge, overlapping repairs, or damage from being driven flat.
- Use caution: run-flat tires, commercial tires, off-road tires, and previously repaired tires may have stricter manufacturer rules.
The Tire Industry Association also explains that a plug by itself or a patch by itself is not an acceptable permanent repair. The injury channel must be filled, and the innerliner must be sealed.
[Products Worth Considering]

This tire repair patch tool kit helps you quickly seal small punctures using upgraded mushroom plugs and a built-in roller system that presses for even penetration. The tungsten buffing wheel and HSS twist drill bits prepare the damaged surface for stronger adhesion, while the crown-angle friendly plugs are designed to keep water and debris out. Ideal for puncture repairs on many vehicle types, from cars and trucks to bikes and scooters.

This VEVOR tire bead breaker uses a slide-hammer impact and wedge tip to separate tire beads from rims quickly and efficiently without damaging hub surfaces. The long handle and sturdy steel construction help reduce user strain while providing reliable, portable tire changing for cars, trucks, and more. Ideal for home mechanics and repair shops handling multiple vehicle tire sizes.

Use this tire repair rubber screw kit for fast, self-service flat fixes on the road. Choose the matching short or long nail size and twist it into the puncture without removing the tire from the rim. Compact storage keeps the emergency set organized for cars, motorcycles, electric bikes, and bicycles, helping you seal tubeless leaks quickly and reliably.
Choose the Right Vulcanizing Method
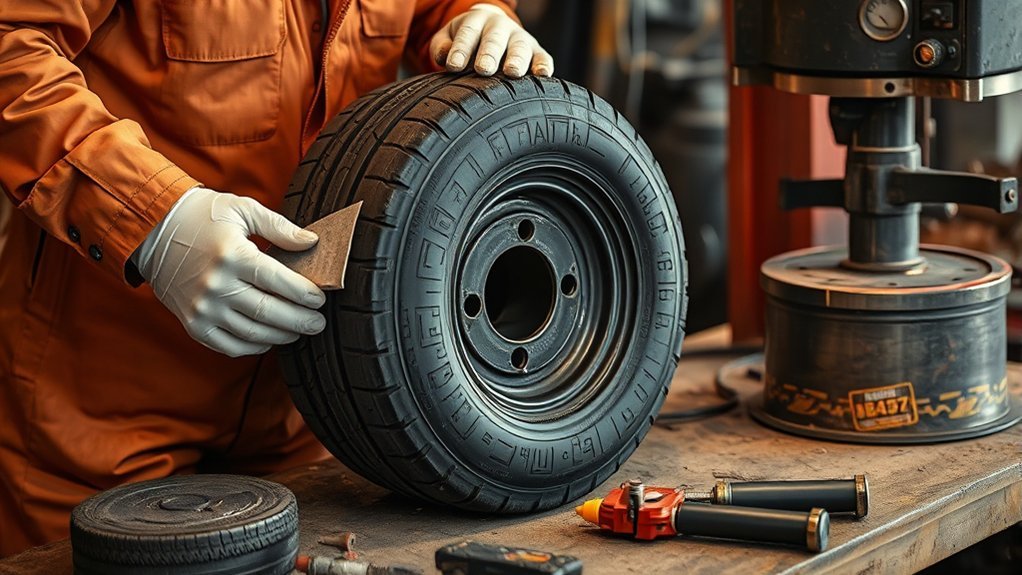
Choose cold vulcanizing for many small tread puncture repairs when the repair system is designed for chemical bonding. Choose hot vulcanizing only when the tire type, repair material, damage location, and equipment call for heat and pressure.
Cold vulcanizing uses a chemical vulcanizing fluid or cement to bond the repair material to the prepared tire surface. This method is common for puncture repair systems that use a stem-and-patch unit or a one-piece combination repair unit.
Hot vulcanizing uses a heated mold or press to cure rubber under controlled pressure. Shops may use it for certain section repairs, heavy-duty tires, or repairs that require added rubber build-up, but it is not a green light to fix unsafe damage. If the injury reaches the shoulder, sidewall, belts, or carcass in an unsafe way, replace the tire.
Note: The word “vulcanize” does not make every tire repair permanent or safe. The repair location, injury size, internal condition, and repair unit matter more than the label on the method.
Prepare the Tire for Vulcanizing
Deflate the tire, remove it from the wheel, and inspect the inside before you start surface prep. Look for wrinkles, powdery rubber, exposed cords, split innerliner areas, previous improper repairs, or sidewall damage. If you find any of these signs, stop and replace the tire.
Once the tire passes inspection, remove the object that caused the puncture and probe the injury path from the inside. Trim loose rubber carefully. Keep the injury centered in your work area so the repair unit will cover the prepared zone fully.
- Clean away dirt, moisture, sealant residue, and loose rubber.
- Use the correct reamer or carbide tool for the injury channel.
- Buff the innerliner only within the marked repair area.
- Vacuum the buffing dust instead of blowing it across the clean surface.
- Choose the repair unit from the repair-material maker’s chart.
Do not over-buff the tire. You want a clean bonding texture, not a thin or weakened innerliner. A rough, contaminated, wet, or over-buffed surface can cause the patch edge to lift and leak later.
Pro Tip: Mark the injury on the tread and innerliner before buffing. That keeps the repair centered after dust, cement, and patch material make the area harder to read.
Apply the Cold Vulcanizing Fluid
After the repair area is clean, dry, and properly buffed, apply the cold vulcanizing fluid in a thin, even coat. Use the brush supplied with the product or a clean applicator approved by the repair system. Cover only the prepared bonding area and the injury channel if the instructions call for it.
Work in a well-ventilated area and wear suitable eye and hand protection. Vulcanizing fluids and cements often contain solvents, so you should keep them away from sparks, open flames, and unnecessary skin contact.
Let the cement flash off until it reaches the tack level required by the product instructions. TECH’s fast-drying chemical vulcanizing fluid lists a recommended dry time of 3 to 5 minutes, while its heavy-duty blue vulcanizing fluid lists 8 to 10 minutes. Other brands and shop conditions can differ, especially in cold or humid weather.
Do not install the repair unit over wet cement unless the specific repair system tells you to do so. Wet cement can trap solvent, weaken the bond, and cause edge lift.
Install the Repair Unit
For a permanent puncture repair, use a repair unit that fills the injury channel and seals the innerliner. This can be a one-piece combination unit or a separate stem and patch system, depending on the repair chart.
- Pull or install the stem through the puncture channel as directed.
- Seat the patch over the prepared innerliner area without trapping air.
- Stitch the patch firmly from the center outward to press out air pockets.
- Trim the outside stem flush with the tread if the repair system requires it.
- Apply innerliner sealer to the buffed area and patch edge when required.
A patch alone may seal the innerliner but leave the puncture channel open to moisture. A plug alone may fill the hole but fail to seal the innerliner. Use the full repair system so water cannot reach the tire’s steel belts.
[Products Worth Considering]

Wykodra tire plugs provide quick vulcanizing repairs for tubeless tires, helping you seal punctures and get back on the road. The industrial-strength rubber creates a long-lasting, leak-resistant bond and is designed for emergency fixes without removing the tire. Choose between two standard plug sizes with color-matched options for small to larger damage across many vehicles and off-road uses.
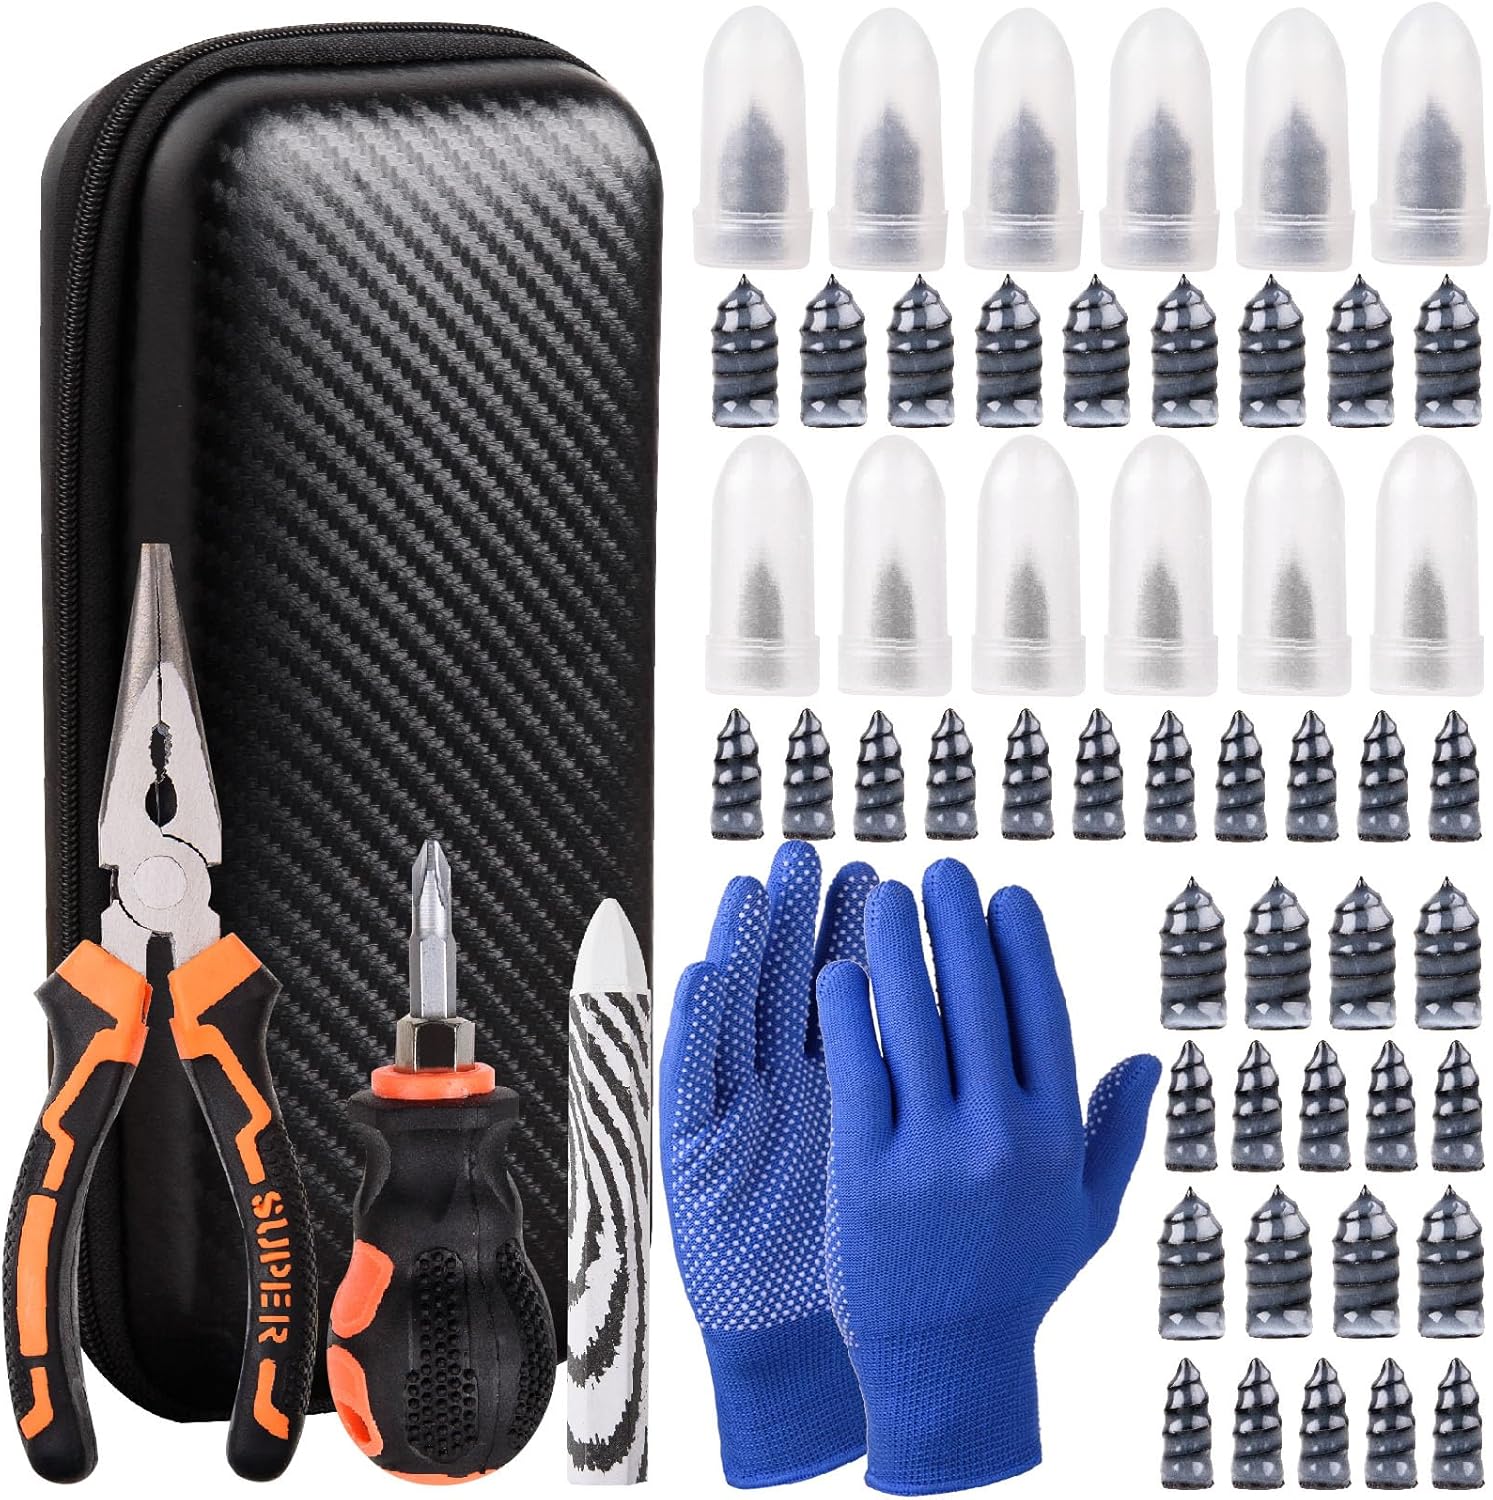
This tire sidewall puncture repair kit fixes flats fast without removing the tire, helping you get back on the road in minutes. It includes self-tapping repair nails, essential tools, gloves, and a portable storage bag for convenient roadside use. Designed for tubeless tires, it helps create a tight, leak-resistant seal for cars, motorcycles, trucks, SUVs, and ATVs.
Heat-Vulcanize the Tire
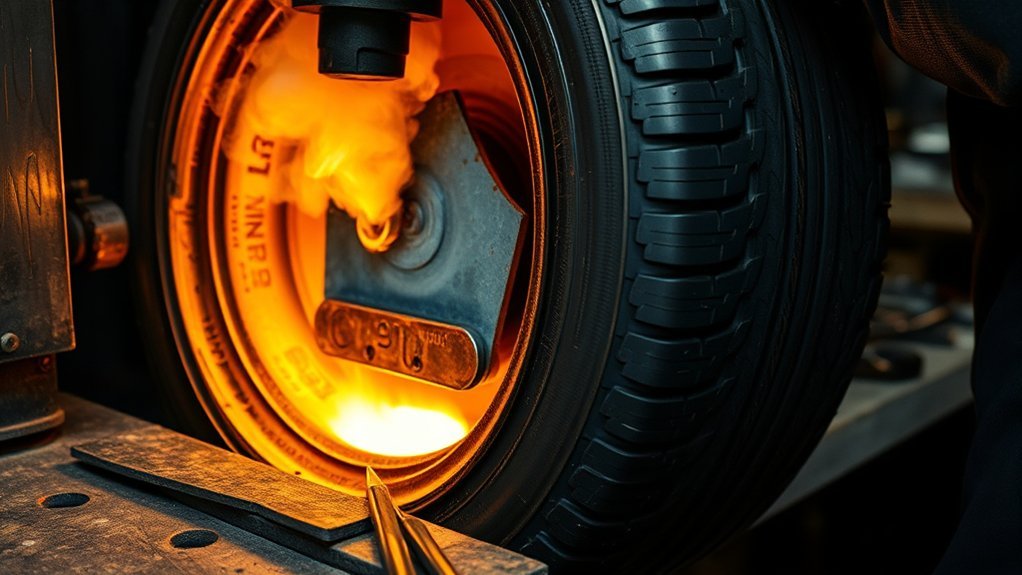
Hot vulcanizing should be done with the correct vulcanizing press, mold, heat pads, repair rubber, and pressure setup. Center the damaged area in the equipment so heat and pressure reach the full repair zone evenly.
Do not rely on one universal temperature. Some repair systems use heat ranges near 250°F to 300°F, while other product instructions allow different ranges. For example, REMA TIP TOP’s Cement SC-BL product information lists a vulcanizing temperature range of 18°C to 160°C / 68°F to 320°F and says special applications may require approval.
- Set the press temperature from the repair-material instructions.
- Use the pressure, mold shape, and cushion gum specified for the tire and injury.
- Keep the repair area clean, dry, and centered before clamping.
- Run one continuous cure cycle unless the equipment instructions say otherwise.
- Let the repair cool as directed before handling or inflating the tire.
Hot vulcanizing can produce a strong repair when used correctly, but it can also damage the tire if the heat, pressure, or repair unit is wrong. If you do not have the right equipment, training, and repair chart, use a qualified tire shop.
Let It Cure, Then Test for Leaks
After the patch or repair unit is installed, follow the exact return-to-service time from the repair-material maker. Some cold self-vulcanizing systems need extended cure time before operation. REMA TIP TOP lists 24 hours for self-vulcanizing repair patches at a minimum 18°C / 64°F, while hot-vulcanized repair patches should cool to ambient temperature before the tire goes back into operation.
Once the tire is ready, inflate it to the vehicle or tire maker’s recommended pressure. Brush a soap-and-water solution over the repaired area, valve stem, bead area, and tread puncture point. Bubbles mean air is still escaping.
- No bubbles: let the tire sit and recheck pressure after a short hold period.
- Slow bubbles: remove the tire from service and inspect the repair again.
- Pressure loss: do not drive on the tire until the cause is found.
- Visible patch lift: scrap or rework the repair according to shop procedures.
After the leak test, balance the tire if needed and reinstall it using the correct lug-nut torque. Recheck pressure the next day, especially after a repair on a tire that lost air before service.
Frequently Asked Questions
How many minutes does it take to vulcanize a tire?
The full time depends on the repair system. Some chemical vulcanizing fluids need only 3 to 10 minutes of flash-off time before patch installation, but that is not the same as full cure or return-to-service time. Hot vulcanizing may take longer because the tire must heat, cure, and cool as directed.
Can you vulcanize a tire at home?
You should not treat a passenger or light-truck tire as a home experiment. A proper permanent repair requires demounting the tire, inspecting the inside, using the correct repair unit, and following the repair chart. Small rubber items or inner tubes may be different, but road tires carry much higher safety risk.
What is cold vulcanizing fluid?
Cold vulcanizing fluid is a chemical bonding cement used with compatible tire repair materials. It helps bond the patch or repair unit to the prepared rubber surface without a heated press. It must be applied to a clean, dry, buffed area and allowed to flash off as directed.
Can you vulcanize a sidewall puncture?
No. Sidewall and shoulder areas flex heavily and are outside the normal puncture repair area for passenger and light-truck tires. If the injury reaches the sidewall or shoulder, replace the tire.
Is a tire plug the same as vulcanizing?
No. A simple outside-in string plug is usually considered temporary. A permanent puncture repair fills the injury channel and seals the innerliner with a compatible repair unit after the tire has been removed and inspected from the inside.
How do you know if the vulcanized repair worked?
The repaired tire should hold the correct pressure and show no bubbles during a soap-water leak test. The patch edge should stay flat, the stem should be trimmed as directed, and the tire should not lose pressure during a hold check.
Conclusion
Vulcanizing a tire is safe only when the tire is repairable and the repair follows the correct process. Start with the safety limits, remove the tire from the wheel, inspect the inside, prepare the rubber carefully, use the correct stem-and-patch or combination repair unit, and follow the product’s cure or cool-down instructions.
If the damage is in the sidewall or shoulder, larger than 1/4 inch / 6 mm, structural, overlapping, or caused by driving flat, do not repair it. Replace the tire. A careful repair protects the tire; a shortcut puts the whole vehicle at risk.
Sources
- U.S. Tire Manufacturers Association, Tire Repair Basics — supports tread-area repair limits, demounting, innerliner inspection, and plug-and-patch requirements.
- Tire Industry Association, Tire Repair — supports trained-technician guidance, sidewall/shoulder limits, and why plug-only or patch-only repairs are not permanent repairs.
- NHTSA TireWise — supports tire safety context, maintenance importance, and tire-related crash data.
- TECH Europe Vulcanizers Catalogue — supports chemical vulcanizing fluid dry-time examples.
- REMA TIP TOP Cement SC-BL Product Information — supports cure, return-to-service, ventilation, and hot-vulcanizing temperature guidance for that repair system.

Related Articles
AWD Tire Rotation Pattern: How Often and How to Do It
W**ondering the right AWD tire rotation pattern and timing? Discover the simple method, ideal schedule, and mistakes to avoid before your tires wear unevenly.
Read More
Wheel Damage: Types, Repair Options, and Costs
Many wheel damages look minor, but some hide costly safety risks—learn which repairs are worth it and when replacement is smarter.
Read More
Tire Balancing Weights: Types, Cost, and Why You Need Them
Precisely chosen tire balancing weights reduce vibration and wear, but which type fits your wheels and what it really costs may surprise you.
Read More