
How to Use Tire Plugs: Step-by-Step Repair Guide in 10 Minutes
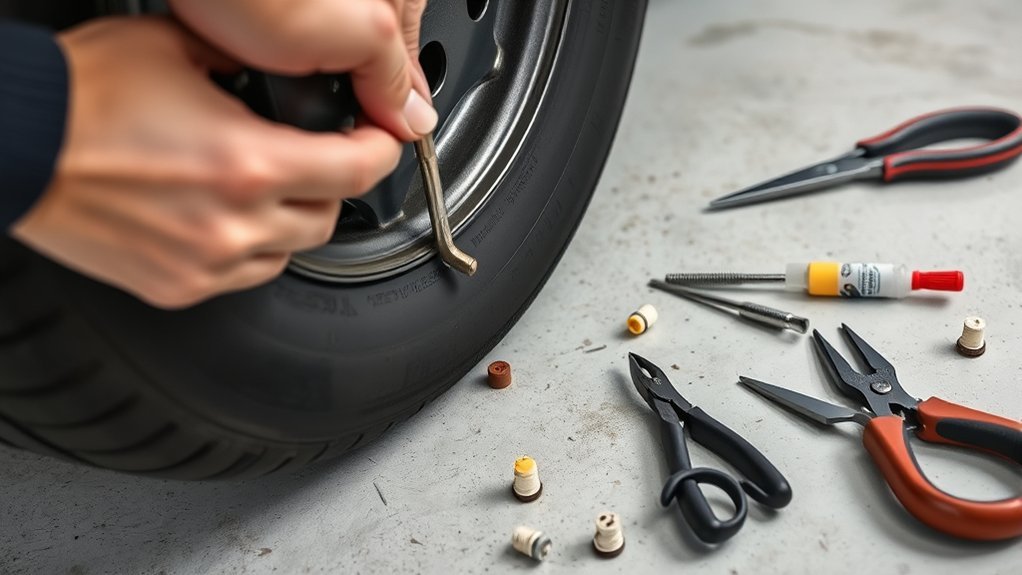
First, make sure the puncture is a small hole in the repairable tread area, not the shoulder or sidewall. If the tire has bulges, cracks, exposed cords, a large cut, or damage from being driven flat, do not plug it. Use a spare, call roadside assistance, or have the tire inspected. If the puncture is suitable for a roadside plug, gather your plug kit, pliers, rubber cement if your kit requires it, a pressure gauge, soapy water, and an air compressor. Pull the object out, ream the hole, insert the plug straight in, trim it, inflate the tire to the vehicle’s recommended pressure, and check for leaks.
Quick Answer
To plug a tire, confirm the puncture is a small repairable tread hole, remove the object, ream the channel, push a plug straight in with the insertion tool, trim the excess, inflate to the vehicle’s recommended pressure, and test with soapy water. Treat a string plug as a temporary roadside repair until the tire is professionally inspected.
Key Takeaways
- Only plug small punctures in the tread area; never plug sidewall or shoulder damage.
- Do not repair a tire with exposed cords, bulges, cracks, large cuts, or damage from being driven flat.
- Use a plug kit, pliers, reamer, insertion tool, pressure gauge, air compressor, and soapy water leak test.
- Push the plug straight in; do not twist the insertion tool while seating the plug.
- A roadside string plug can get you moving, but a proper long-term repair usually requires tire removal, internal inspection, and a plug/patch repair.
At a Glance
| Time Required | 15–30 minutes for a roadside plug, plus time for a professional inspection afterward |
| Difficulty | Easy to moderate, but only for small tread punctures |
| Tools Needed | Plug strips, T-handle reamer, insertion tool, pliers, rubber cement if included, air compressor, tire pressure gauge, soapy water, knife or flush cutters, gloves |
| Cost | A basic plug kit and portable air source; professional repair pricing varies by tire shop and tire condition |
Warning: Do not plug a tire if the puncture is in the sidewall or shoulder, larger than 1/4 inch, close to a previous repair, leaking from the bead or valve stem, or if the tire has been driven while flat. Install the spare or have the tire inspected instead.
Can You Fix This Tire With a Plug?
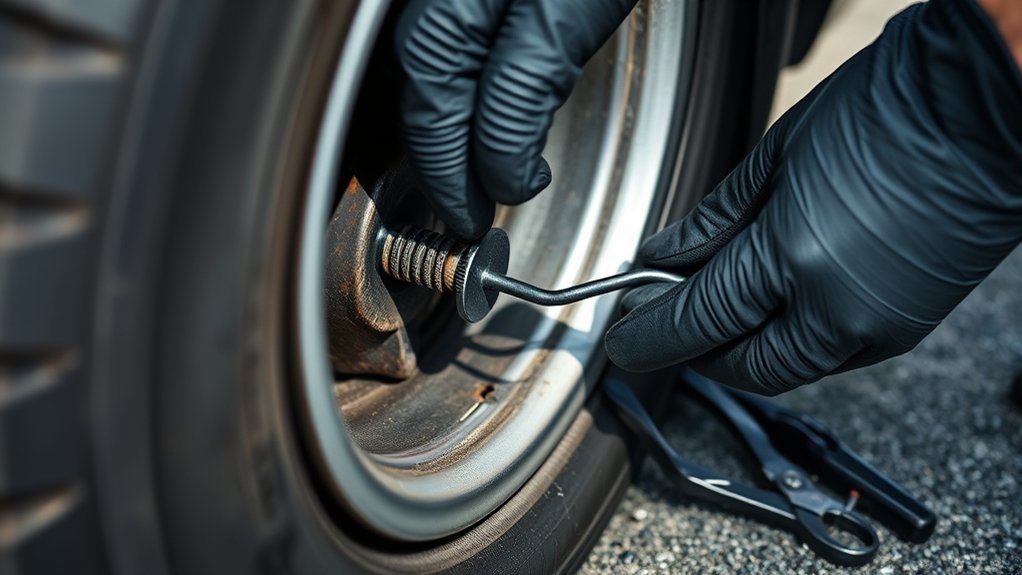
Before you plug a tire, inspect the puncture closely. A roadside string plug is only appropriate for a small puncture in the tread area. A hole larger than 1/4 inch, a cut, a gash, damage near the shoulder, or anything in the sidewall should not be plugged.
For a safe repair, the tire must also be structurally sound. Look for bulges, cracks, exposed belts, separated tread, or signs the tire was driven underinflated or flat. If any of those signs are present, stop and replace the tire or have it inspected by a professional.
For long-term service, a tire shop should remove the tire from the wheel, inspect the inside, fill the injury with a suitable stem or vulcanizing material, and patch the inner liner. A plug you install from the outside can help in an emergency, but it does not let you inspect hidden internal damage.
If you carry a mushroom plug puncture repair set, read its instructions before you need it. Different kits use different plug styles, and some are designed for specific tire types or off-road use.
[Products Worth Considering]

This tire repair patch tool kit helps you quickly seal small punctures using upgraded mushroom plugs and a built-in roller system that presses for even penetration. The tungsten buffing wheel and HSS twist drill bits prepare the damaged surface for stronger adhesion, while the crown-angle friendly plugs are designed to keep water and debris out. Ideal for puncture repairs on many vehicle types, from cars and trucks to bikes and scooters.

This tire repair kit provides fast emergency puncture repair without removing the tire from the rim, helping you get back on the road quickly. Its screw plug system is designed for punctures in both tread and sidewall and includes a complete patch plug tool set with essential accessories. A portable storage bag makes it easy to carry for cars, trucks, SUVs, motorcycles, and heavy-duty applications.
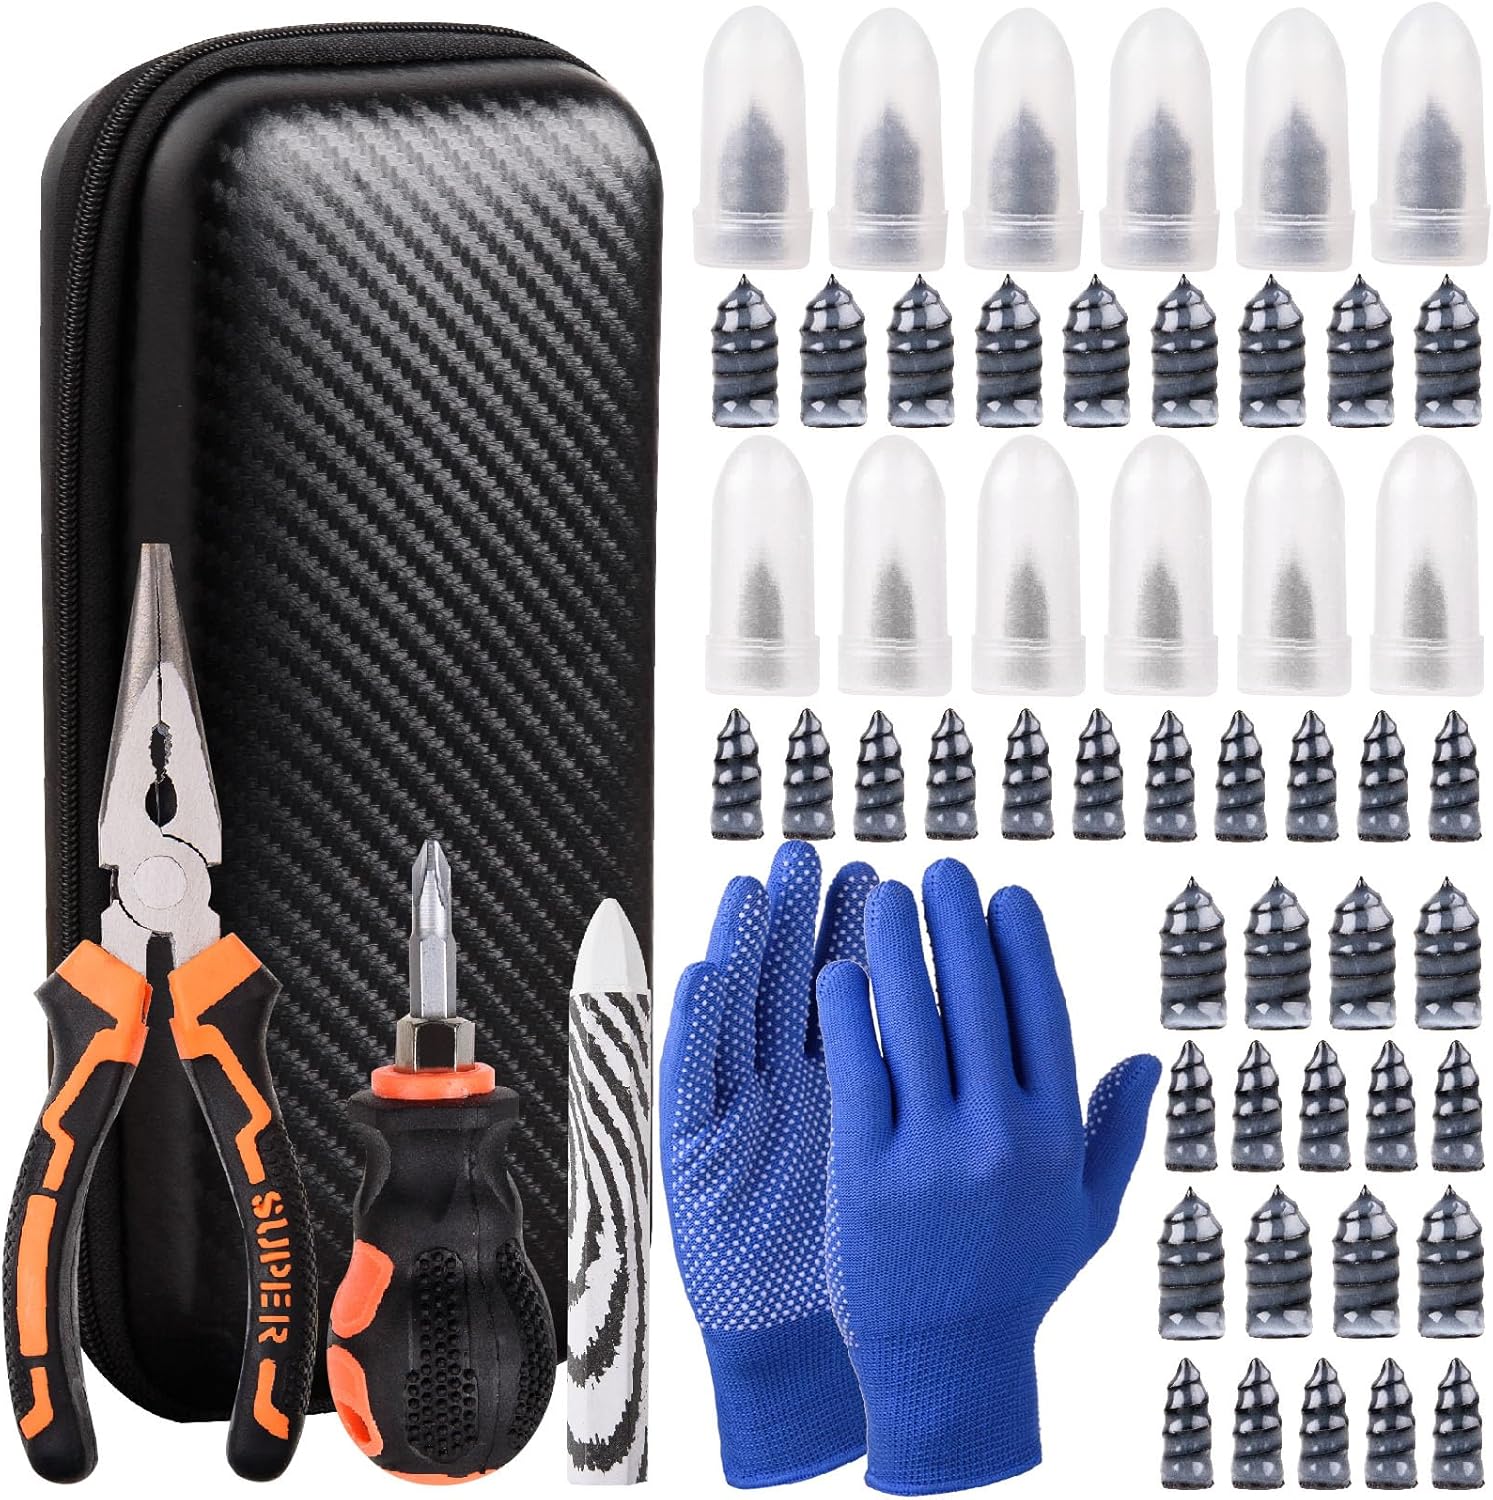
This tire sidewall puncture repair kit fixes flats fast without removing the tire, helping you get back on the road in minutes. It includes self-tapping repair nails, essential tools, gloves, and a portable storage bag for convenient roadside use. Designed for tubeless tires, it helps create a tight, leak-resistant seal for cars, motorcycles, trucks, SUVs, and ATVs.
Gather Your Tire Plug Kit
Get every tool within reach before you pull the nail or screw. Once the object comes out, air can escape quickly, so you do not want to hunt for a compressor or gauge halfway through the repair.
| Item | Purpose | Check |
|---|---|---|
| Repair plug strips | Seal the puncture channel | Soft, sticky, not dried out |
| T-handle reamer | Cleans and sizes the hole | Handle secure and tip clean |
| Plug installation tool | Pushes the plug into the tire | Eye is clean and not bent |
| Rubber cement | Lubricates and improves bonding when your kit calls for it | Fresh, capped, and usable |
| Pliers | Remove the nail, screw, or debris | Strong grip |
| Air compressor and pressure gauge | Restore and confirm tire pressure | Works from your 12V outlet or battery |
| Soapy water | Shows air leaks as bubbles | Ready in a spray bottle |
A reliable tire sealant can help in some emergencies, but sealant is not the same as a proper plug or plug/patch repair. It can also make later shop cleanup more difficult, so use it only when it is the best safe option available.
Park Safely Before You Start
Pull as far away from traffic as you safely can, turn on your hazard lights, set the parking brake, and work on level ground. If you cannot get to a safe location, do not kneel beside traffic to plug the tire. Call roadside assistance or move slowly to a safer spot if the tire can still hold enough air for that short movement.
Check whether the tire is losing air quickly. If it is almost flat, the safest move may be to install the spare or call for help. Driving on a flat tire can damage the internal structure, which can make the tire unsafe even if the outside puncture looks small.
Remove the Object and Ream the Hole
Grip the exposed puncturing object firmly with pliers and pull it straight out of the tire with a steady motion. Try not to wiggle it side to side, because that can enlarge the hole. Once the object is out, use the T-handle reamer from your tire kit to prepare the puncture for the plug.
- Insert the reamer into the hole until it follows the puncture path.
- Push and pull the tool while turning it to clean the channel.
- Make several controlled passes so the plug can slide in and seal evenly.
- Withdraw the reamer and confirm the path feels smooth and open.
Keep your movements deliberate. The goal is not to drill a new hole; it is to clean the existing puncture so the plug can seat tightly. Proper surface preparation matters, but remember that products marketed for sidewall or off-road patching are not a green light to repair highway tire sidewalls.
Pro Tip: Leave the reamer in the hole while you load the plug into the insertion tool. This slows air loss and keeps the channel open until you are ready to insert the plug.
Insert and Seat the Tire Plug
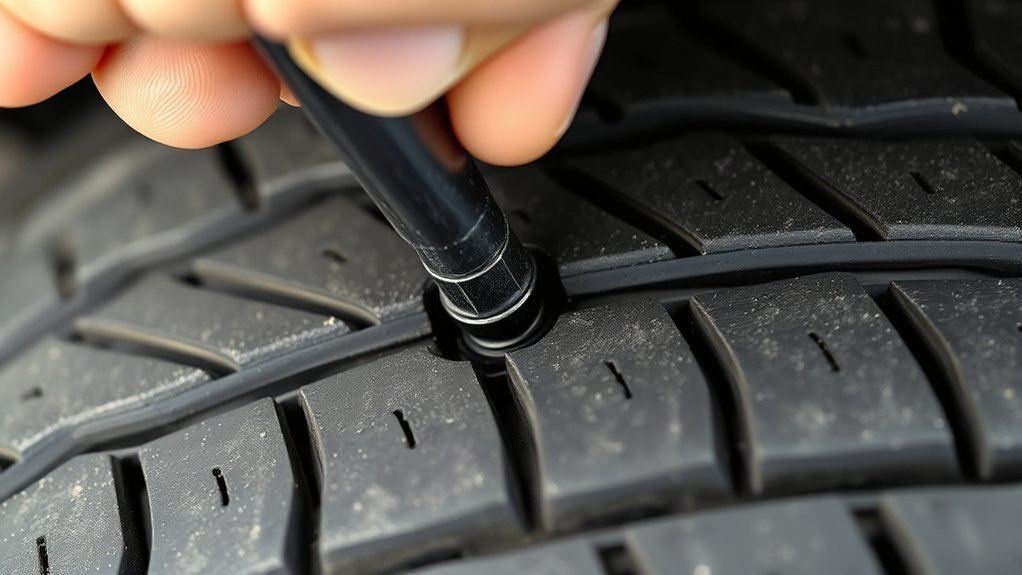
Thread the tire plug through the eye of the insertion tool so the tool holds the plug near its center. If your kit includes rubber cement, apply it exactly as the kit directions say. Do not assume a universal drying time; some kits want the cement wet during insertion, while others use different materials.
Line up the insertion tool with the puncture and push the plug straight into the tire. Do not twist the tool while seating the plug. Push until about 1/2 inch of plug remains outside the tread, then pull the tool straight back out in one smooth motion. The plug should stay in the tire.
If the plug pulls back out with the tool, reload it and repeat the insertion with steady pressure. After the plug is seated, use flush-cut pliers or a sharp blade to trim the excess plug nearly flush with the tread. A small amount can wear down naturally, but a long tail can snag or pull.
After installation, inspect the valve stem and cap. If air is leaking from the valve instead of the puncture, a plug will not fix the problem. A valve stem tool kit can help with valve-core issues, but replace damaged valve stems properly.
[Products Worth Considering]
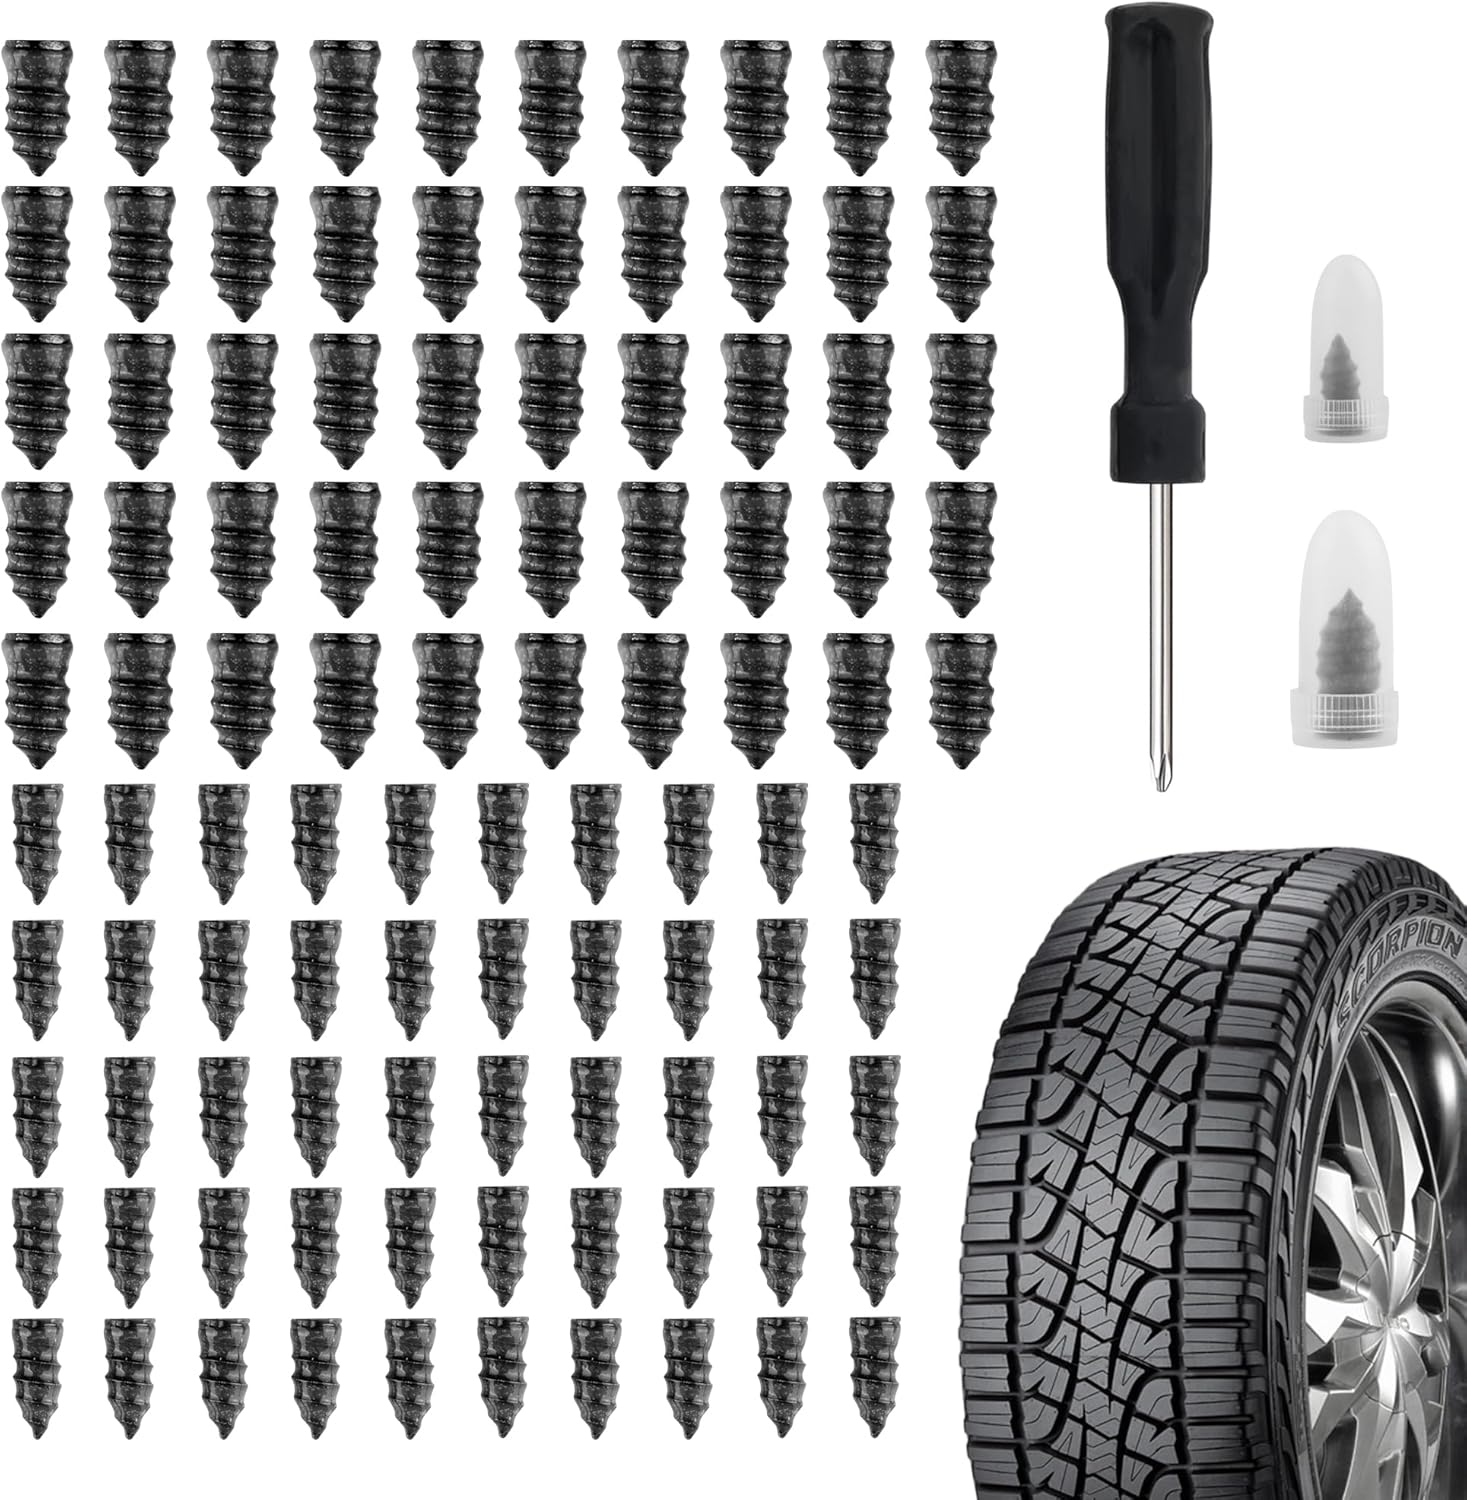
Salior’s tire plug kit provides a fast, reliable self-service fix for punctured or leaking tires without the need for flaring tools. Choose the correct plug size, then screw the nail into the puncture using the included screwdriver for an enhanced seal. The set is durable and convenient for on-the-go maintenance across multiple vehicle types.

Wykodra tire plugs provide quick vulcanizing repairs for tubeless tires, helping you seal punctures and get back on the road. The industrial-strength rubber creates a long-lasting, leak-resistant bond and is designed for emergency fixes without removing the tire. Choose between two standard plug sizes with color-matched options for small to larger damage across many vehicles and off-road uses.
Inflate the Tire and Check for Leaks
Once the plug is seated and trimmed, connect the air compressor nozzle to the valve stem. Inflate the tire gradually and check the pressure with a reliable gauge. Use the vehicle manufacturer’s recommended tire pressure, usually found on the driver-side door placard or in the owner’s manual, not the maximum pressure printed on the tire sidewall.
- Attach the compressor nozzle securely to the valve stem.
- Inflate the tire in short bursts.
- Check the pressure with a gauge.
- Spray soapy water on the plugged area and valve stem.
- Watch for bubbles that keep forming.
If bubbles appear at the plug, air is escaping. Press the plug area lightly, reinflate, and test again. If bubbling continues, do not keep driving on it. Install a spare, use a proper spare tire kit, or have the tire professionally repaired or replaced.
Note: Tire pressure should be checked when the tire is cold whenever possible. If you inflate a warm tire during an emergency, recheck and adjust it later after the vehicle has been parked long enough for the tire to cool.
What to Do After Plugging the Tire
Drive cautiously after a roadside plug. Avoid high speeds, heavy loads, and long trips until the tire has been inspected. Check the pressure again after a few miles and again the next day. If pressure drops, the repair is not holding or there may be another leak.
For the best long-term repair, visit a tire shop. A technician can remove the tire, inspect the inner liner, confirm the puncture is in the repairable tread area, and install the correct internal repair if the tire is safe to keep in service.
A plug that holds air is not the same as proof the tire is safe inside. Hidden liner, belt, or sidewall damage can only be found after the tire is removed and inspected.
Frequently Asked Questions
How do you plug a tire step by step?
Confirm the puncture is a small tread-area hole, park safely, remove the object with pliers, ream the hole, thread a plug into the insertion tool, apply rubber cement if your kit requires it, push the plug straight in, pull the tool out, trim the excess, inflate the tire, and check for leaks with soapy water.
Is a tire plug permanent?
A string plug installed from outside the tire is best treated as a temporary roadside repair. A professional long-term repair usually requires removing the tire, inspecting the inside, filling the injury, and patching the inner liner. If the tire cannot be inspected or keeps leaking, replace it.
How long should rubber cement dry on a tire plug?
Follow the instructions for your specific plug kit. Do not rely on one universal drying time. Some kits use cement as a lubricant and bonding aid during insertion, while others use different materials. Inflate and drive only after the plug is seated and the kit directions are satisfied.
How far do I push a tire plug in?
For most string-plug kits, push the plug in until roughly 1/2 inch remains outside the tread, then pull the insertion tool straight out. The plug should stay in the tire. Follow your kit’s instructions if they specify a different depth.
Do you twist a tire plug?
No. Push the plug straight into the puncture and pull the insertion tool straight back out. Twisting the insertion tool can disturb the plug or enlarge the puncture path, which can make the repair less reliable.
Can you plug a tire sidewall?
No. Do not plug sidewall or shoulder damage on a passenger vehicle tire. The sidewall flexes constantly and carries structural load, so a plug cannot make that area safe for normal road use. Replace the tire instead.
How far can you drive on a plugged tire?
Drive only as far as needed to reach a safe place or a tire shop unless the tire has been professionally inspected and repaired. Recheck pressure soon after plugging. If the tire loses air, vibrates, bulges, or leaks during the soapy-water test, stop driving on it.
Conclusion
Plugging a tire can turn a small tread puncture into a manageable roadside fix, but it starts with the inspection. If the damage is in the sidewall, shoulder, too large, close to another repair, or paired with bulges, cracks, exposed cords, or flat-driving damage, skip the plug and replace the tire or get help. If the puncture is suitable, ream the hole, insert the plug straight, trim it, inflate to the correct pressure, and check for bubbles. Then have the tire inspected so you know whether it is safe for long-term service.
Sources
- NHTSA TireWise — tire pressure, tread depth, tire safety, and tire maintenance guidance.
- Discount Tire: Tire Repair — repairable tire area, 1/4-inch puncture limit, sidewall/shoulder warnings, and internal inspection guidance.
- Discount Tire: How to Check Tire Pressure — placard pressure, gauge use, valve-stem checks, and inflation steps.

Related Articles

How to Book a Costco Tire Center Appointment
Tired of guesswork? Learn how to book a Costco Tire Center appointment and avoid surprises before your next visit.
Read More
How to Use Costco Tire Inflation: Step-by-Step
Never overinflate at Costco—learn the exact steps, tools, and tips to fill your tires safely and leave with confidence.
Read More
How to Book a Tire Appointment at Walmart
Mysterious steps make booking a Walmart tire appointment simpler than you think, but one crucial detail could save you time and money.
Read More