
How to Seat a Tire Bead With WD-40: Step-By-Step Guide
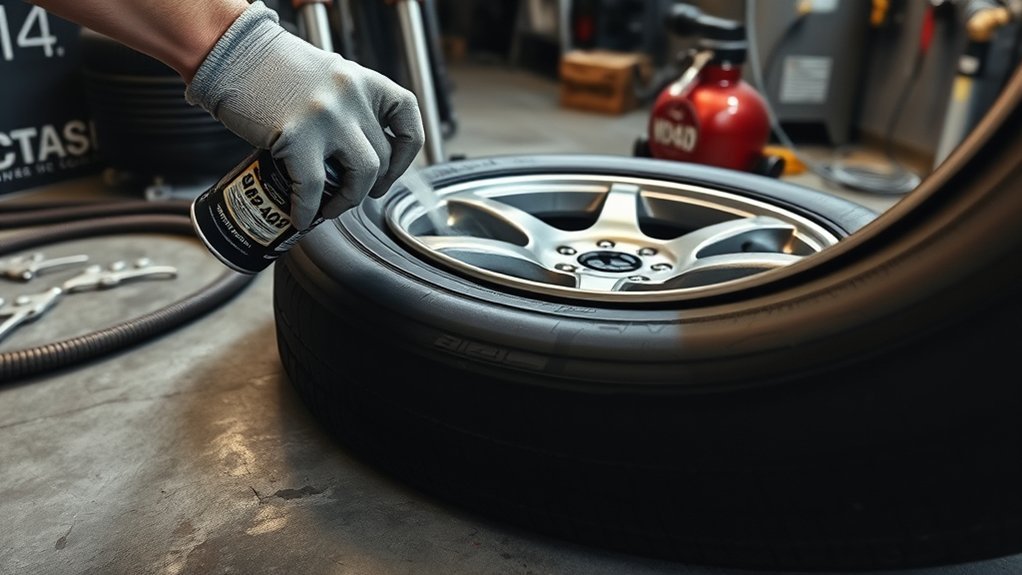
Trying to seat a tire bead with WD-40 may sound like a quick shop trick, but it is not the safest or most reliable method. WD-40 is a petroleum-containing, flammable aerosol, and tire-industry guidance warns against petroleum, silicone, solvent-based, flammable, or volatile substances for tire bead seating. The safer approach is to clean the rim, use approved tire bead lubricant, inflate with proper equipment, and stop if the bead does not seat evenly.
Quick Answer
Do not use WD-40 as your tire bead lubricant. To seat a tire bead safely, clean and inspect the tire and rim, apply approved tire mounting lubricant, use a compressor with a clip-on chuck and gauge, stay out of the tire’s trajectory, and stop if the bead will not seat by the manufacturer’s safe bead-seating pressure.
Warning: Tire bead seating can be dangerous. A mismatched, damaged, overinflated, or incorrectly seated tire/wheel assembly can fail with explosive force. If you do not have the right tools, training, and safety equipment, take the wheel to a qualified tire service professional.
Key Takeaways
- WD-40 is not recommended for seating tire beads because it is petroleum-based and flammable.
- Use commercial tire bead lubricant or a tire/wheel manufacturer-approved soap-based lubricant instead.
- Clean and inspect the rim, bead seat, valve, and tire bead before adding air.
- Use controlled inflation with a clip-on chuck, inline gauge, and enough hose to stand clear.
- If the bead does not seat by the safe bead-seating pressure, deflate completely, reposition, relubricate, and try again or stop.
At a Glance
| Time Required | 20–45 minutes if the tire and rim are clean, compatible, and undamaged |
| Difficulty | Moderate to advanced; not recommended without tire service training and proper safety equipment |
| Tools Needed | Approved bead lubricant, air compressor, clip-on chuck, inline gauge or regulator, valve-core tool, safety cage or mounting machine, gloves, eye protection, and soapy water for leak testing |
| Cost | Low if you already have the tools; otherwise a tire shop is usually the safer and cheaper choice |
Why WD-40 Is the Wrong Tire Bead Lubricant
WD-40 can reduce friction, but that does not make it a proper tire bead lubricant. The WD-40 Multi-Use Product Aerosol safety data sheet identifies the product as an extremely flammable aerosol and lists petroleum base oil and hydrocarbon ingredients. The U.S. Tire Manufacturers Association warns that silicone, petroleum, or solvent-based lubricants must not be used on tire beads because they may cause tire slip on the rim, harm tire or rim components, or create explosive vapor mixtures inside the tire.
That means the safer answer is simple: do not seat a tire bead with WD-40 as your bead lube. Use a product made for tire mounting, then inflate with controlled air pressure and proper safety equipment.
Note: If WD-40 has already been sprayed on the bead, wipe the tire bead and rim bead seat clean, let the area dry, and switch to approved tire mounting lubricant before inflating.
[Products Worth Considering]

This VEVOR tire bead breaker uses a slide-hammer impact and wedge tip to separate tire beads from rims quickly and efficiently without damaging hub surfaces. The long handle and sturdy steel construction help reduce user strain while providing reliable, portable tire changing for cars, trucks, and more. Ideal for home mechanics and repair shops handling multiple vehicle tire sizes.

The AstroAI 2 pack air chucks provide a heavy-duty, closed-flow locking design that helps keep air flowing during inflation while securely attaching to the valve stem. Built with 250 PSI rated brass components and compatible with Schrader valves, they feature 1/4" female NPT threads for a wide fit with common inflators. The straight tip and locking clip make filling tires and monitoring pressure more convenient.

This 2-pack closed-flow locking air chuck set delivers controlled airflow only when the valve stem is held in place, helping prevent leaks during inflation. Made for heavy-duty use with a 300 PSI maximum rating, it features a brass body for corrosion resistance and long service life. The 1/4" FNPT connection and quick-plug compatibility make it convenient for use with Schrader valve systems and common truck, RV, and auto air compressors.
Prep the Tire and Rim
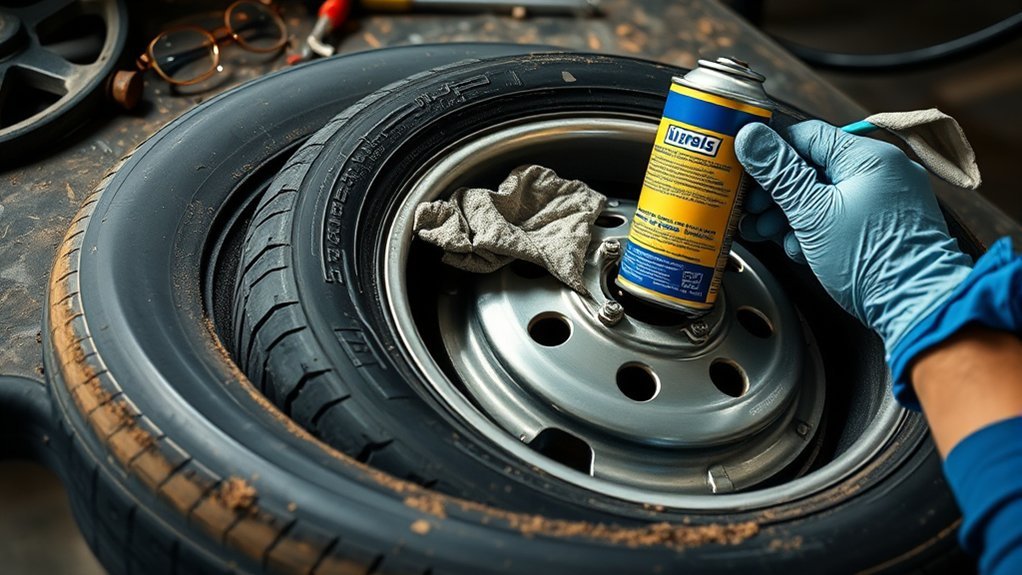
Before you try to seat the bead, inspect the tire and wheel carefully. Do not force a damaged tire onto a damaged or mismatched rim. Check the tire bead, sidewall, tread area, valve stem, rim flange, bead seat, and wheel surface. Stop if you see cracks, bead damage, severe corrosion, bent metal, broken components, loose rubber build-up, or a tire/rim size mismatch.
Clean the rim and bead seat until they are free of dirt, rust flakes, old sealant, grease, and debris. A clean bead seat helps the tire slide into place and seal evenly. Make sure the tire bead diameter matches the rim diameter exactly. A small mismatch can turn inflation into a serious hazard.
Gather Safe Bead-Seating Tools
Get every tool ready before adding air. You need a controlled air source, not WD-40, flame, or guesswork. For safe tire bead seating, use:
- Approved tire bead lubricant or tire mounting paste
- Air compressor with enough volume for the tire size
- Clip-on air chuck
- Inline pressure gauge or regulator
- Enough hose to stand outside the tire’s trajectory
- Valve-core remover, if extra airflow is needed
- Safety cage, restraining device, or tire mounting machine where applicable
- Eye protection and gloves
- Soapy water for checking leaks after seating
For workplace tire service, OSHA rim-wheel servicing rules require training and proper equipment for covered work, including restraining devices or barriers and remote inflation equipment. Even in a home-garage setting, the same safety logic applies: keep your body out of the blast path and control the pressure from a distance.
Apply Approved Tire Bead Lubricant
Use a thin, even coat of commercial tire bead lubricant on the tire bead and rim bead seat. The goal is to reduce friction long enough for the bead to slide into position, then allow the lubricant to dry without staying slippery. Do not flood the bead area. Too much lubricant can interfere with seating, trap moisture, or let the tire slip on the rim later.
If you do not have commercial bead lubricant, check the tire and wheel manufacturer’s instructions before using any substitute. A mild soap-based tire mounting solution may be acceptable in some cases, but avoid petroleum oils, penetrating sprays, silicone sprays, solvent-based products, and flammable aerosols.
Pro Tip: Remove the valve core during initial seating only if you need faster airflow and know how to control the process. Reinstall the valve core before setting the final operating pressure.
Inflate the Tire to Seat the Bead Safely
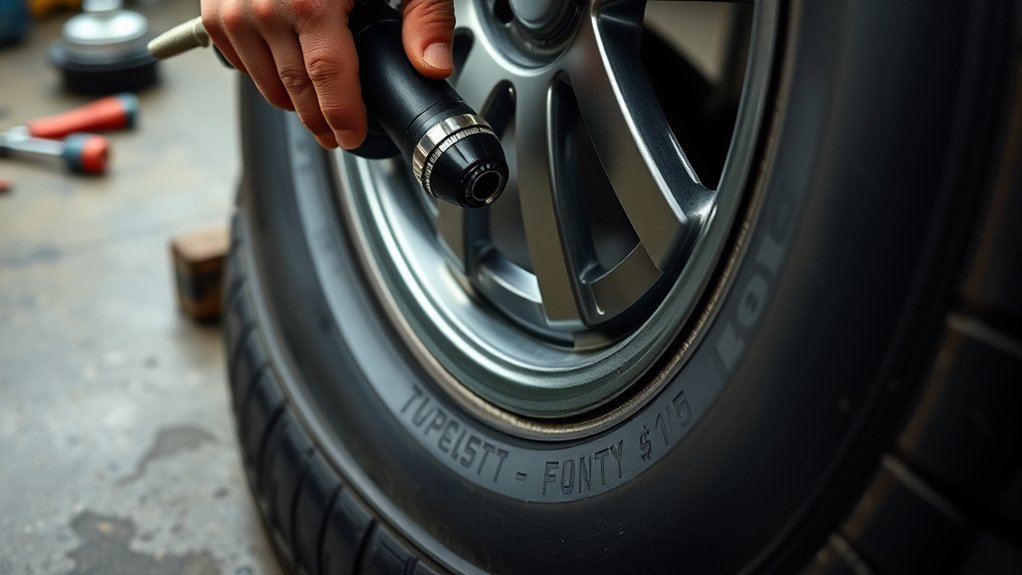
Place the tire/wheel assembly in a safety cage, on a mounting machine, or in another approved restrained position when required. Attach the clip-on chuck, stand clear of the tire’s trajectory, and add air slowly while watching both bead lines. Do not lean over the tire. Do not hold your fingers near the bead. Do not sit, crouch, or reach across the wheel while air pressure is rising.
As pressure builds, the bead should move outward and settle evenly against the rim. You may hear a pop when each bead seats. That sound can be normal, but it is also a reminder to stay clear. Keep checking that the bead line is rising evenly all the way around the rim.
Use the Correct Pressure Limit
Bead-seating pressure and final driving pressure are not the same thing. For bead seating, follow the tire or wheel manufacturer’s stated maximum bead-seating pressure. If no specific instruction is available, do not exceed the common industry limit of 40 psi for seating beads. Some tire makers specify lower limits, so always follow the most conservative applicable instruction.
For final operating pressure on a vehicle tire, use the tire information placard or the owner’s manual, not the maximum pressure molded into the tire sidewall. The National Highway Traffic Safety Administration says the recommended tire pressure and vehicle load limit are found on the vehicle placard and in the owner’s manual.
If the Bead Does Not Seat
If the bead does not seat by the safe bead-seating pressure, stop. Do not keep adding air. Completely deflate the tire, remove the valve core, reposition the tire, reapply approved bead lubricant, and try again. If the bead still will not seat, the tire may be too stiff, damaged, cold, poorly positioned, or mismatched to the wheel. At that point, take it to a tire shop.
If the bead will not seat at the safe pressure limit, the fix is not more pressure. Deflate, inspect, reposition, relubricate, or stop.
Use a Ratchet Strap Only With Caution
A ratchet strap can sometimes help a small tubeless tire by squeezing the tread area and pushing the sidewalls outward. This can help the bead contact the rim long enough for air to catch. It is not a substitute for safe inflation equipment, and it is not the right method for every tire.
If you use a strap, place it evenly around the center of the tread, tighten it only until the sidewalls begin to move outward, and keep your body clear while adding air. Once the bead starts to seal, stop inflating and release the strap before setting the final pressure. Never over-tighten the strap, and never use it to compensate for a damaged tire, bent rim, or incorrect tire/rim fit.
Never Use Starting Fluid or Fire to Seat a Tire Bead
Do not use starting fluid, ether, gasoline, brake cleaner, propane, WD-40 flame tricks, or any other flammable method to pop a tire bead into place. Fire seating can damage the tire, create an internal vapor explosion hazard, injure nearby people, and leave the tire unsafe even if the bead appears seated.
The safer reseating options are simple: clean parts, approved bead lubricant, correct tire/rim fit, controlled compressed air, proper restraint, and a trained tire technician when the bead refuses to seat.
[Products Worth Considering]

EVOULTES heavy duty tire inflator with an integrated gauge delivers accurate pressure readings from 10–120 PSI, helping you inflate, deflate, and check tires in one tool. The 16.5-inch extended dual-head air chuck with swivel base reaches hard-to-access dual wheel valves on trucks and RVs. A brass trigger core and side-mounted air release valve make operation smooth, with standard 1/4" NPT threading and quick-connect compatibility for easy setup.

The JACO FlowPro Tire Inflator measures, inflates, and airs down tires up to 100 PSI with battery-free operation and ±2% accuracy after calibration. It features a glowing pressure dial for night visibility, a heavy-duty steel build with a hybrid hose, and a precision push-to-inflate thumb trigger. The patented Lightning Air Chuck locks on for a secure seal, and the kit includes quick-connect hardware for easy inline use with your air compressor.
Check Bead Seating and Look for Leaks
Once both beads are seated, inspect the rim-to-bead interface on both sides. The bead line should be even all the way around the wheel. If one section sits low, looks wavy, or disappears behind the rim flange, deflate the tire and correct the seating before driving.
After the bead looks even, inflate the tire to the correct final pressure for the tire’s application. For most vehicle tires, use the vehicle placard or owner’s manual. Then spray soapy water around the bead, valve stem, and any repaired area. Bubbles mean air is escaping. If you see bubbles, hear hissing, or notice pressure dropping, deflate and fix the problem before using the tire.
- Check both sidewalls for an even bead line.
- Confirm the tire is at the correct final operating pressure.
- Spray soapy water around both bead areas.
- Watch for bubbles at the bead, valve stem, and rim.
- Recheck pressure after a few minutes.
Know When WD-40 Will Not Help
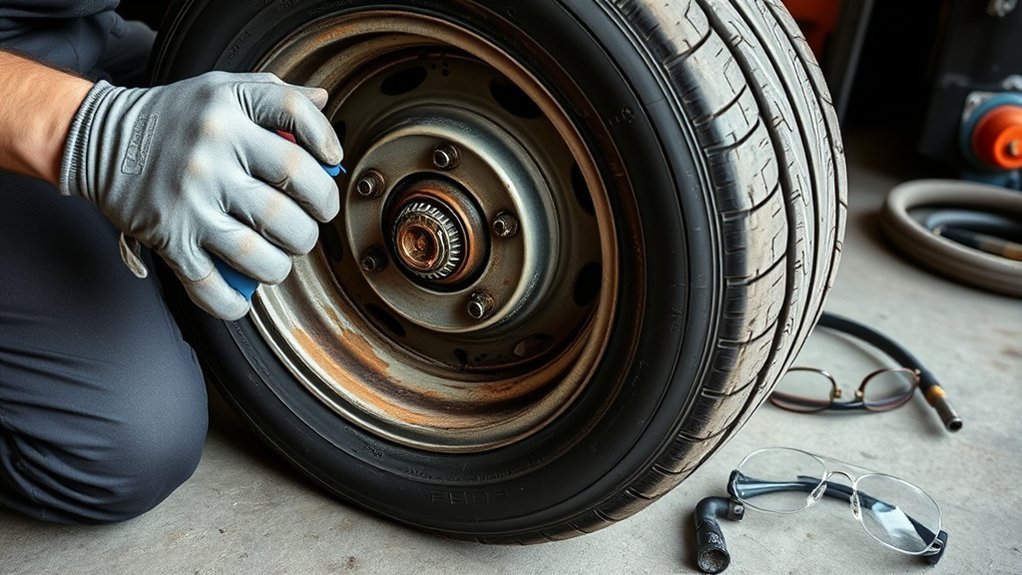
WD-40 will not inflate a tire, repair a damaged bead, fix a bent rim, replace a compressor, or make an unsafe tire/wheel assembly safe. It also is not a proper long-term bead lubricant. If the bead will not seat with clean parts, approved lubricant, correct positioning, and controlled air, the problem is not a lack of WD-40. The problem is usually fit, stiffness, damage, corrosion, weak airflow, or unsafe technique.
Do not keep spraying more product on the bead. Excess lubricant can make sealing worse and may leave residue where the tire needs firm contact with the rim. Clean the area and use the right tools.
Avoid Unsafe Tire-Inflation Mistakes
Most bead-seating mistakes come from rushing. Keep the process controlled and stop when something looks wrong. Avoid these common errors:
- Using WD-40, oil, silicone spray, or solvent as bead lubricant
- Using starting fluid or any fire method
- Inflating while leaning over the tire
- Holding the bead with your fingers during inflation
- Exceeding the manufacturer’s bead-seating pressure
- Using sidewall maximum pressure as the normal vehicle tire pressure
- Trying to seat a bead on a rusty, bent, cracked, or mismatched wheel
- Driving without checking for leaks
You want pressure to seat the bead, not force to overcome a hidden problem. When in doubt, deflate, inspect, and get professional help.
Use a Safe Backup Air Source
A reliable air source matters because bead seating often needs a quick, steady volume of air. A weak inflator may not move enough air to push the sidewalls outward. A shop compressor, portable air tank, or high-volume inflator can help, but the setup still needs a gauge, controlled valve, and safe body position.
Never use aerosol inflators, flammable vapors, or improvised pressure sources to seat the bead. Air pressure should be measured, controlled, and released safely. Once the bead is seated, adjust the tire to its correct final pressure and reinstall the valve cap.
Frequently Asked Questions
Can you use WD-40 to seat a tire bead?
You should not use WD-40 as tire bead lubricant. WD-40 is a flammable aerosol with petroleum-based ingredients, and tire-industry guidance warns against petroleum, silicone, solvent-based, flammable, or volatile substances for tire bead seating. Use approved tire bead lubricant instead.
What should I lubricate a tire bead with?
Use commercial tire mounting lubricant or tire bead paste. If a substitute is allowed by the tire or wheel manufacturer, use a mild approved soap-based mounting solution. Avoid oils, grease, WD-40, silicone spray, solvent-based products, and anything flammable.
How much pressure does it take to seat a tire bead?
Follow the tire or wheel manufacturer’s maximum bead-seating pressure. If no specific bead-seating limit is available, do not exceed 40 psi for bead seating. If the bead does not seat by that point, deflate completely, reposition, relubricate, and try again or stop.
Can I seat a tire bead without a compressor?
Sometimes, but it is harder and less predictable. You still need a safe, controlled air source with enough volume to push the bead outward. A portable air tank may work for small tires. Do not use fire, starting fluid, or aerosol inflators to replace proper compressed air.
Why does my tire bead keep leaking?
Common causes include dirt, rust, old sealant, rim corrosion, bead damage, a bent rim, a leaking valve stem, or an unevenly seated bead. Deflate the tire, clean and inspect the bead seat, relubricate with approved bead lubricant, reseat safely, and check again with soapy water.
Conclusion
WD-40 is not the right way to seat a tire bead. The safe method is to inspect the tire and rim, clean the bead seat, use approved tire mounting lubricant, inflate with controlled air pressure, and stay out of the tire’s trajectory. If the bead will not seat by the safe pressure limit, stop, deflate, reposition, and try again with proper lubricant—or let a trained tire professional handle it.
Sources
- U.S. Tire Manufacturers Association — Tire Bead Lubricants, Mounting Aids, Bead Sealers, OEM Mobility Kits, Tire Sealants, Balancing Substances and Flammable Substances — supports approved bead lubricant guidance and warnings against petroleum, silicone, solvent-based, and flammable substances.
- U.S. Tire Manufacturers Association — Demounting and Mounting Procedures for Motorcycle Tires — supports bead-seating pressure limits, deflation/repositioning guidance, and warnings about standing over the assembly.
- OSHA 29 CFR 1910.177 — Servicing Multi-Piece and Single Piece Rim Wheels — supports training, restraining devices, clip-on chucks, inline gauges, and trajectory safety.
- WD-40 Company — WD-40 Multi-Use Product Aerosol Safety Data Sheet — supports flammability and ingredient information.
- National Highway Traffic Safety Administration — Tire Safety — supports using the tire information placard or owner’s manual for final recommended tire pressure.
- Continental Tires — Tire Mounting Safety Instruction — supports the warning that tire mounting should be performed by qualified professionals with proper tools and procedures.

Related Articles
How to Use a Tire Spoon: Pro Technique for Mounting Tires
Careful technique makes tire mounting easier, but the real pro trick for using a tire spoon starts with one overlooked step.
Read More
How to Unmount a Tire: Tools, Steps & Pro Tips for Clean Removal
Start unmounting a tire with the right tools and pro tricks, then discover the cleanest way to avoid costly damage.
Read More
How to Tie a Tire Swing: Safe Knot & Hanging Guide
D**iscover the safest knot, rope, and branch choices for a tire swing, plus expert tips that could prevent a dangerous mistake.
Read More